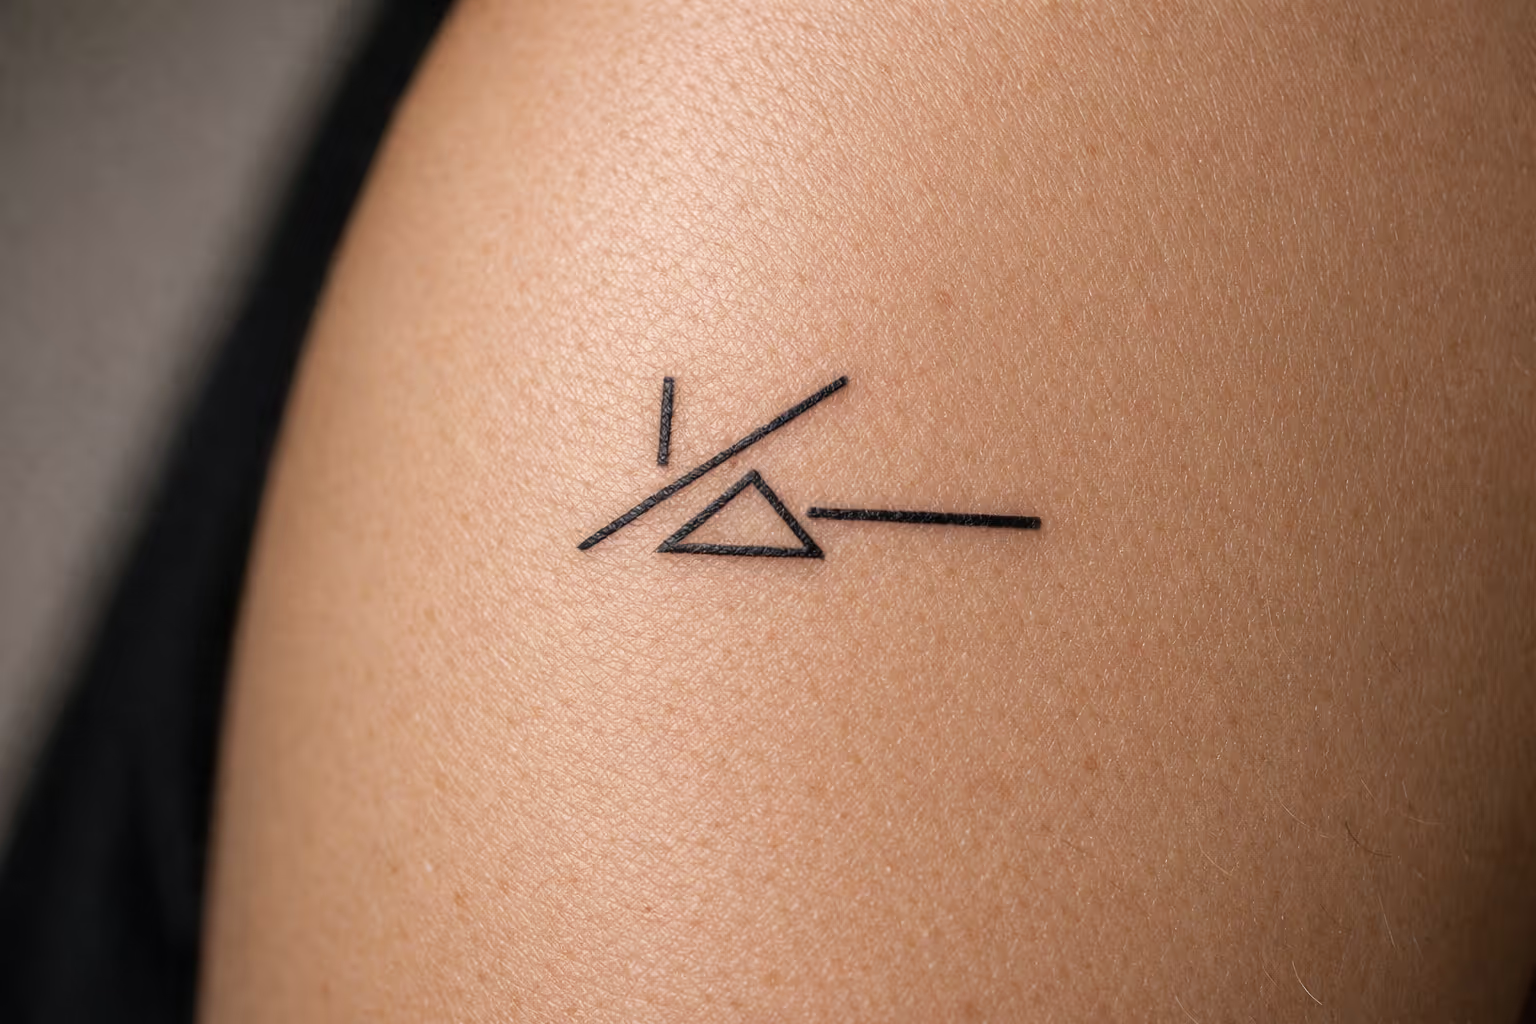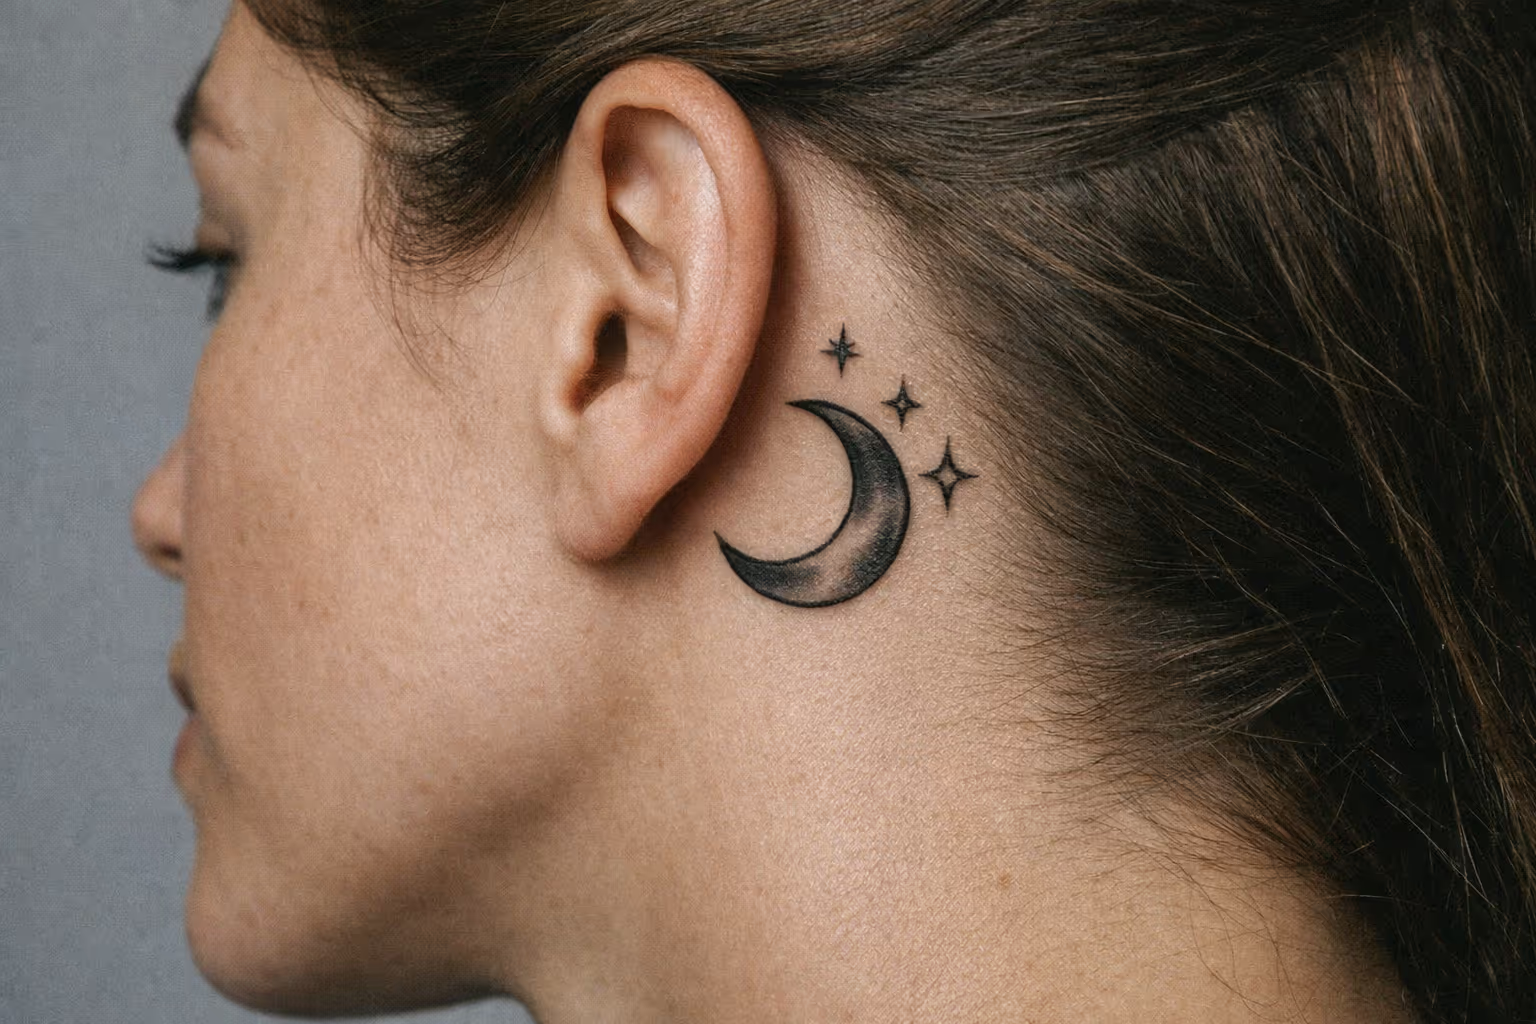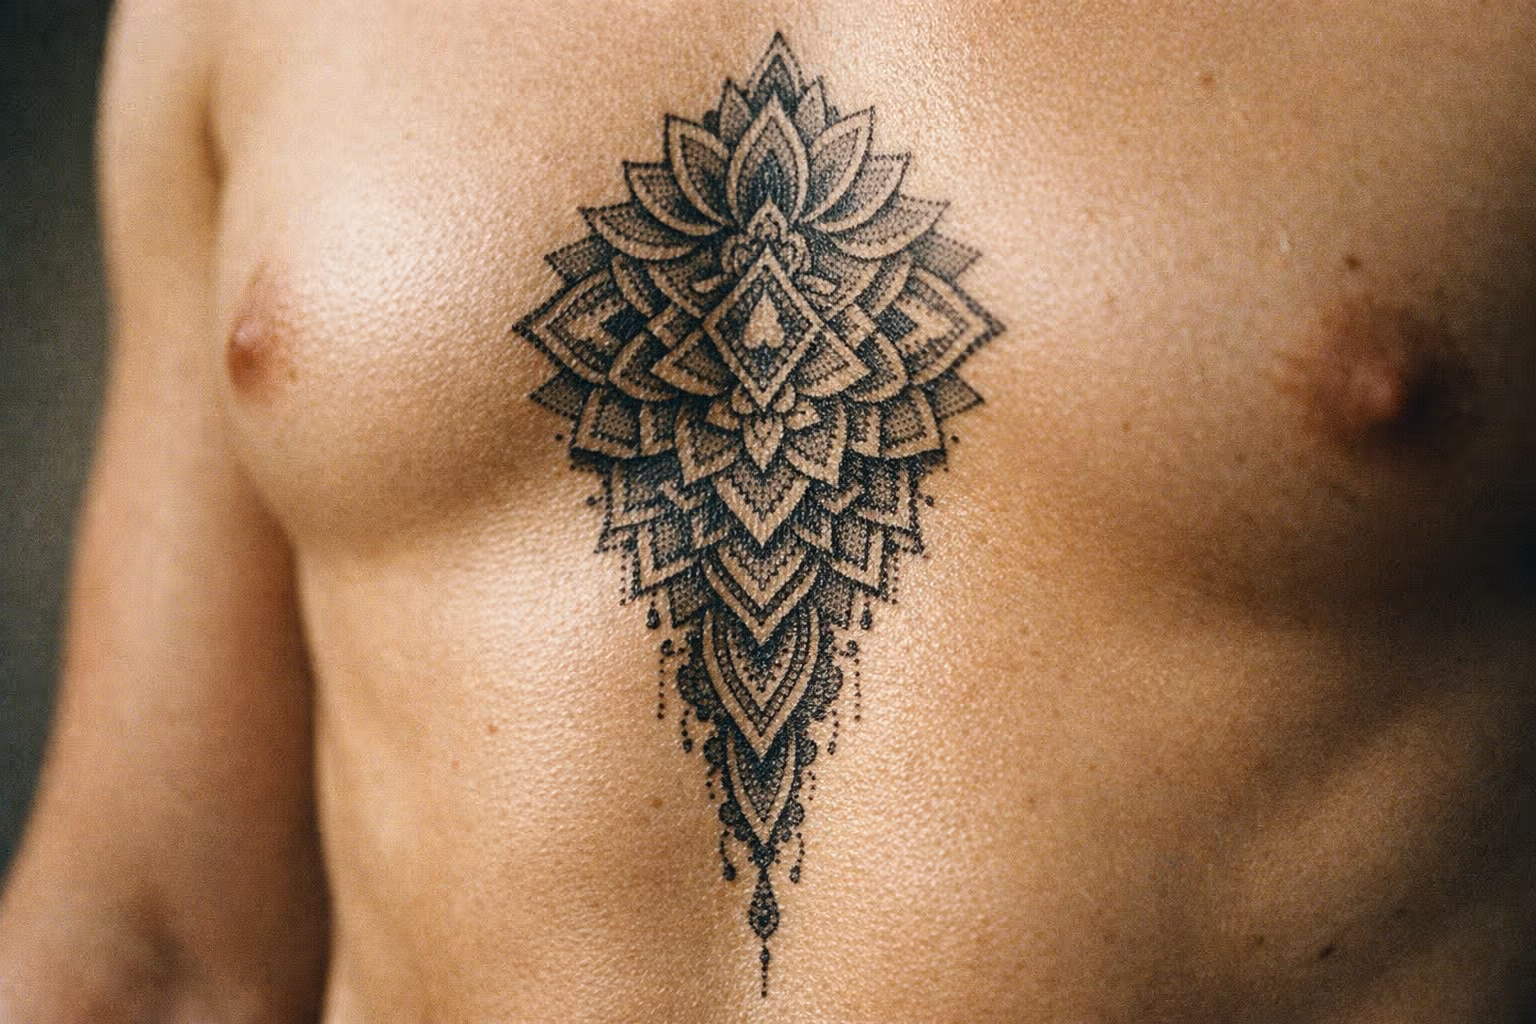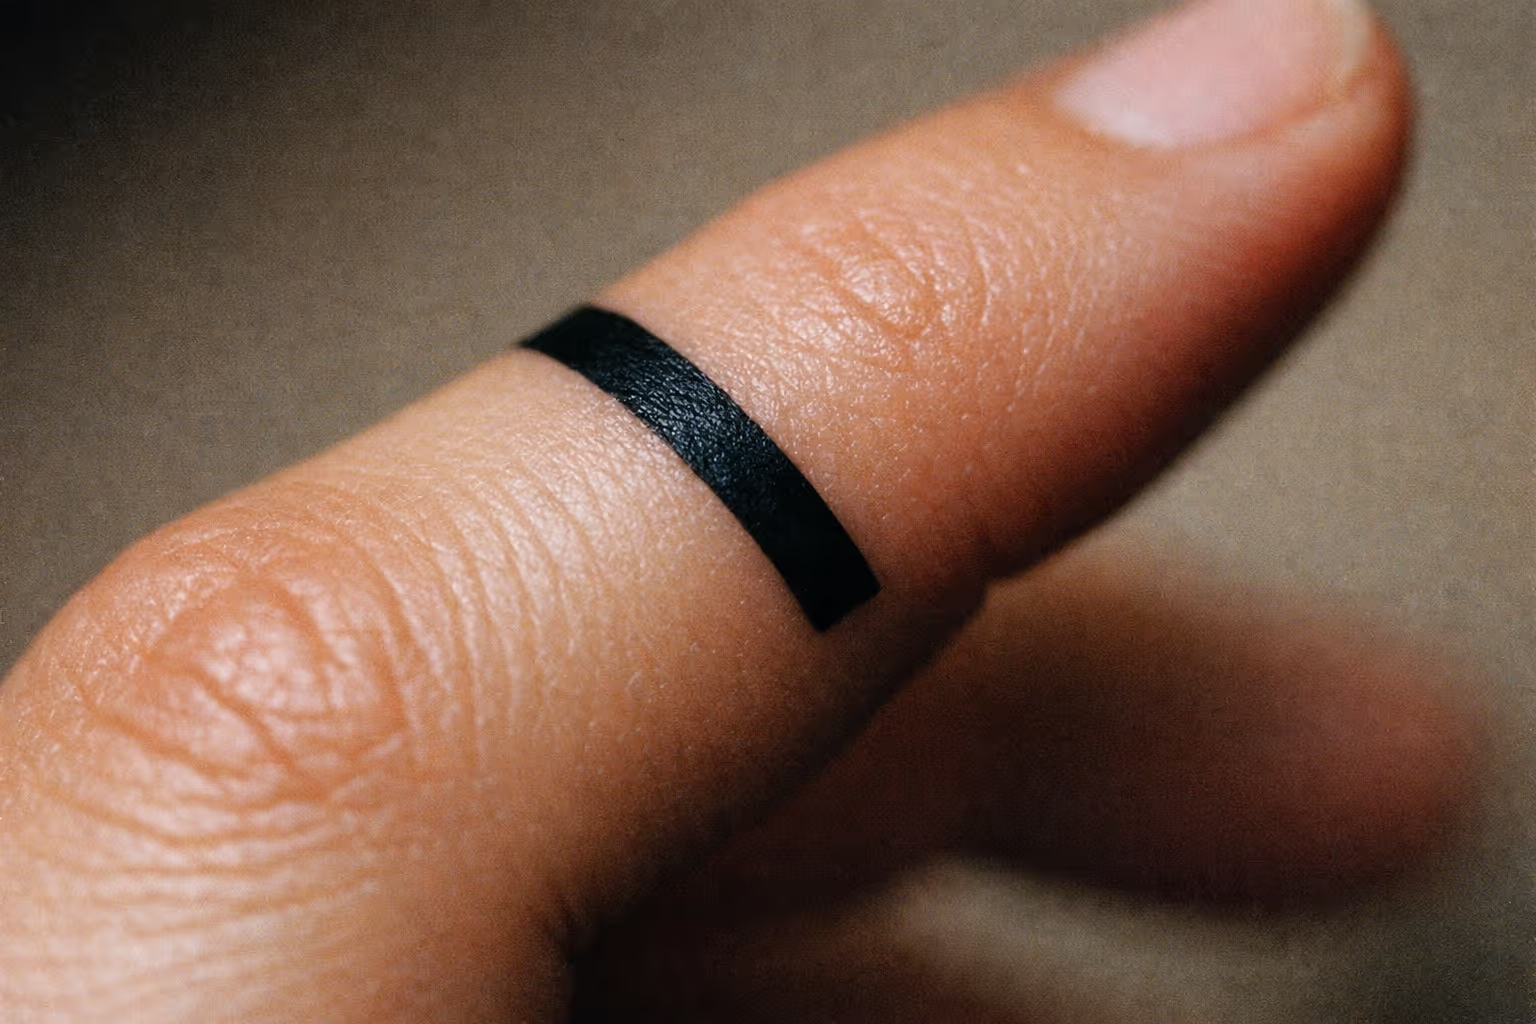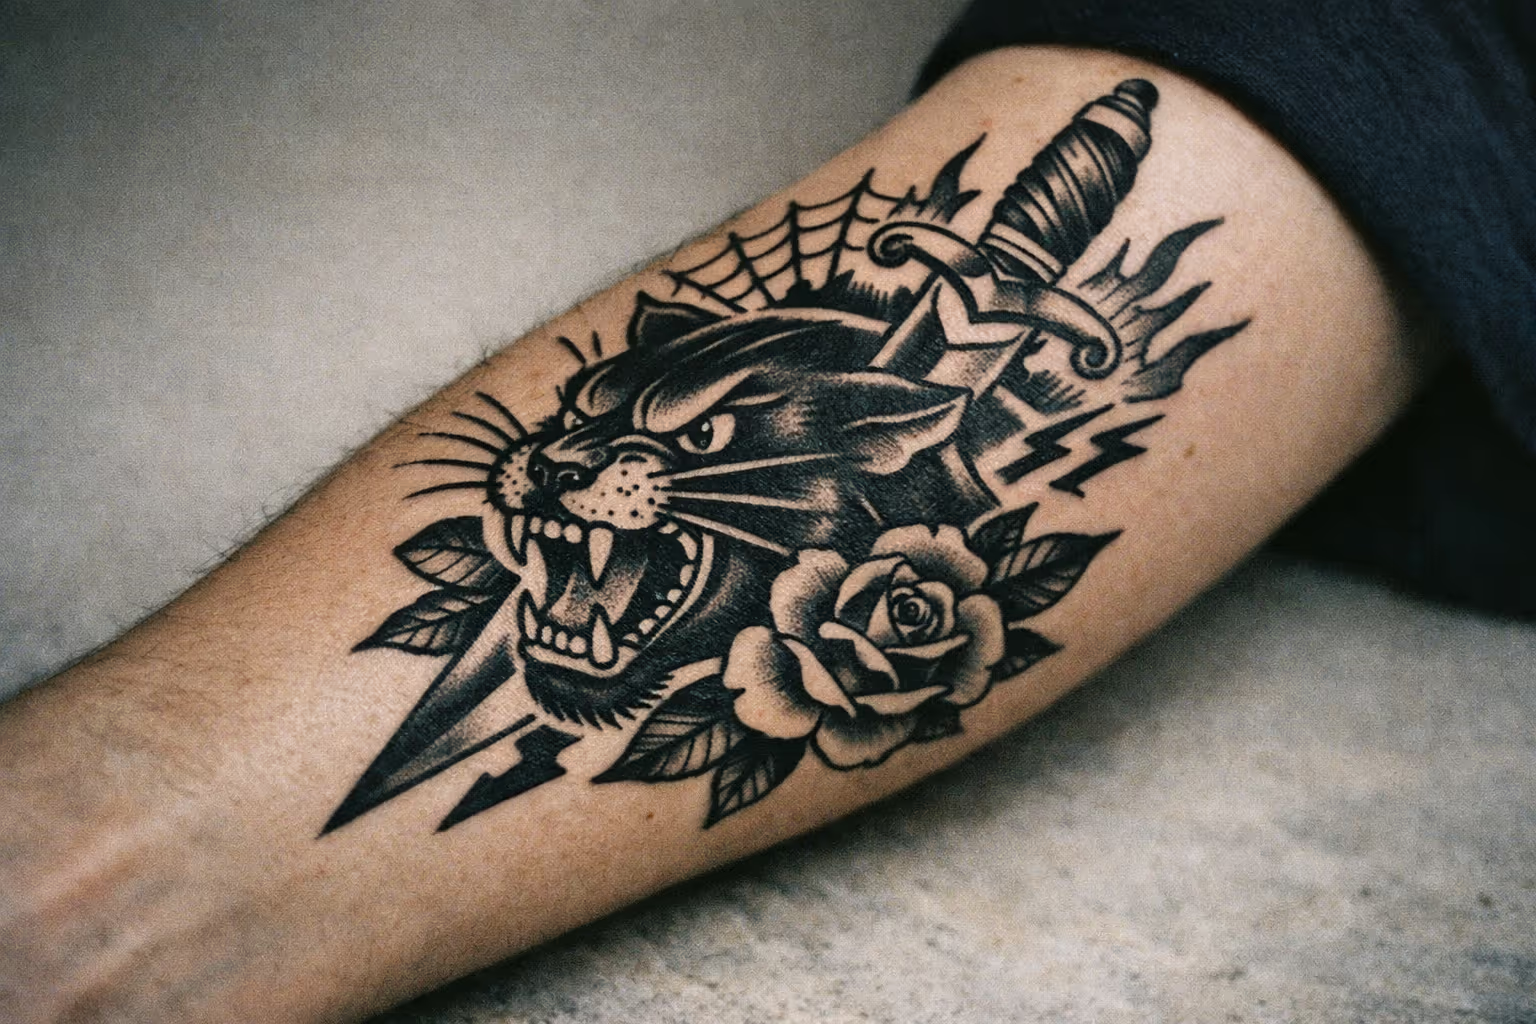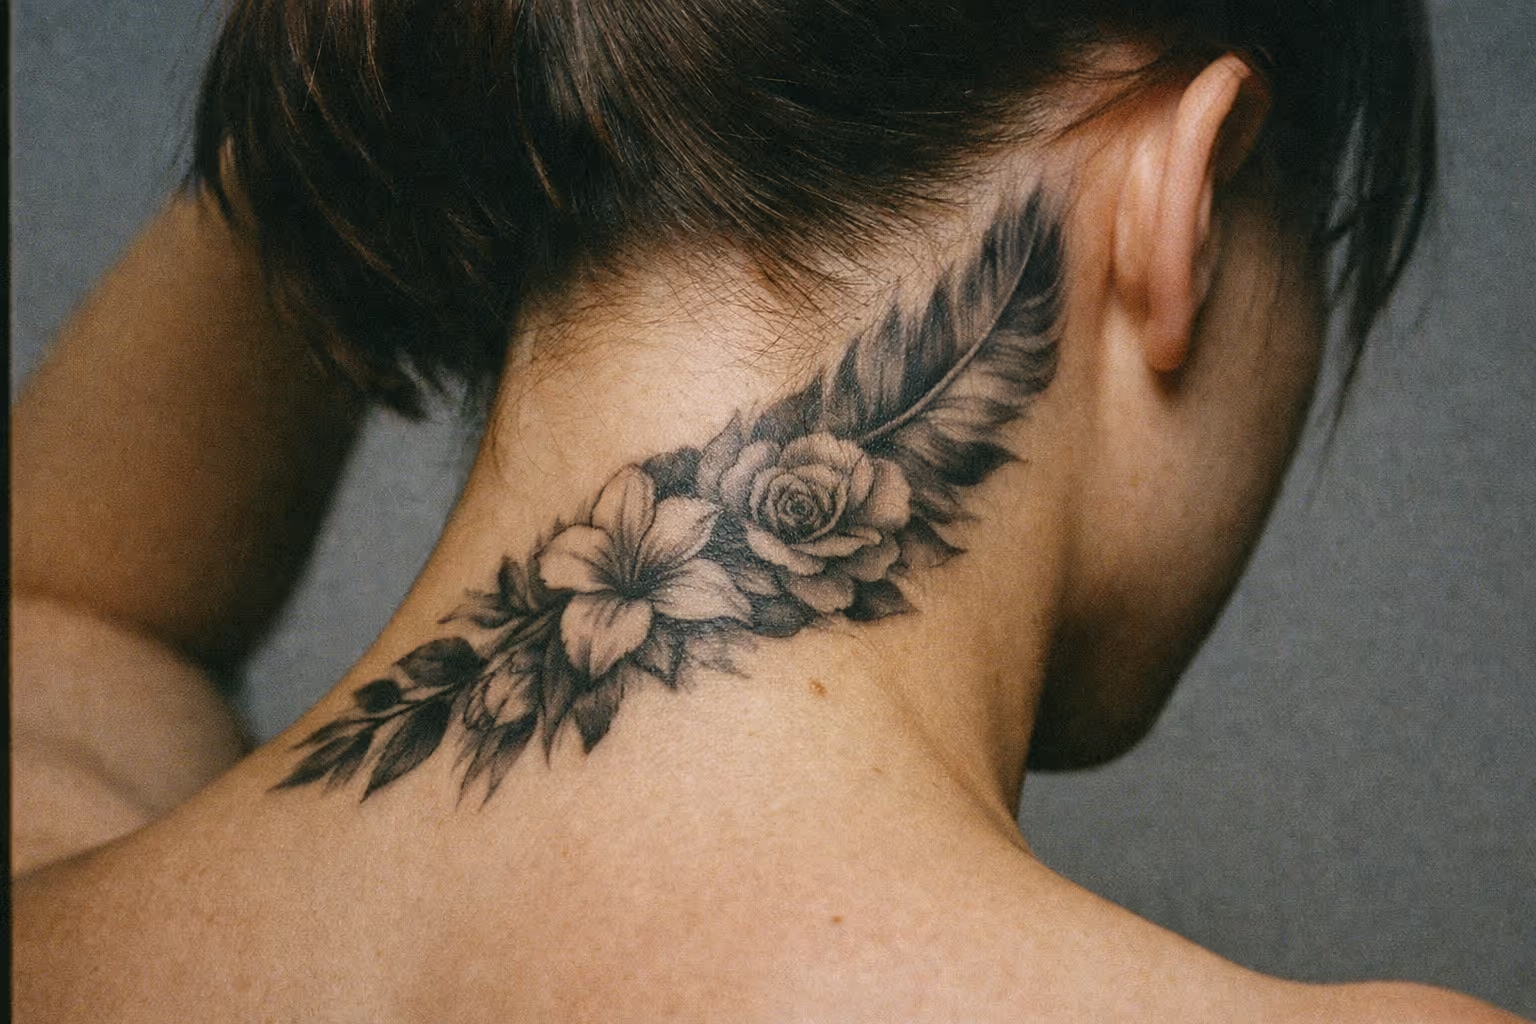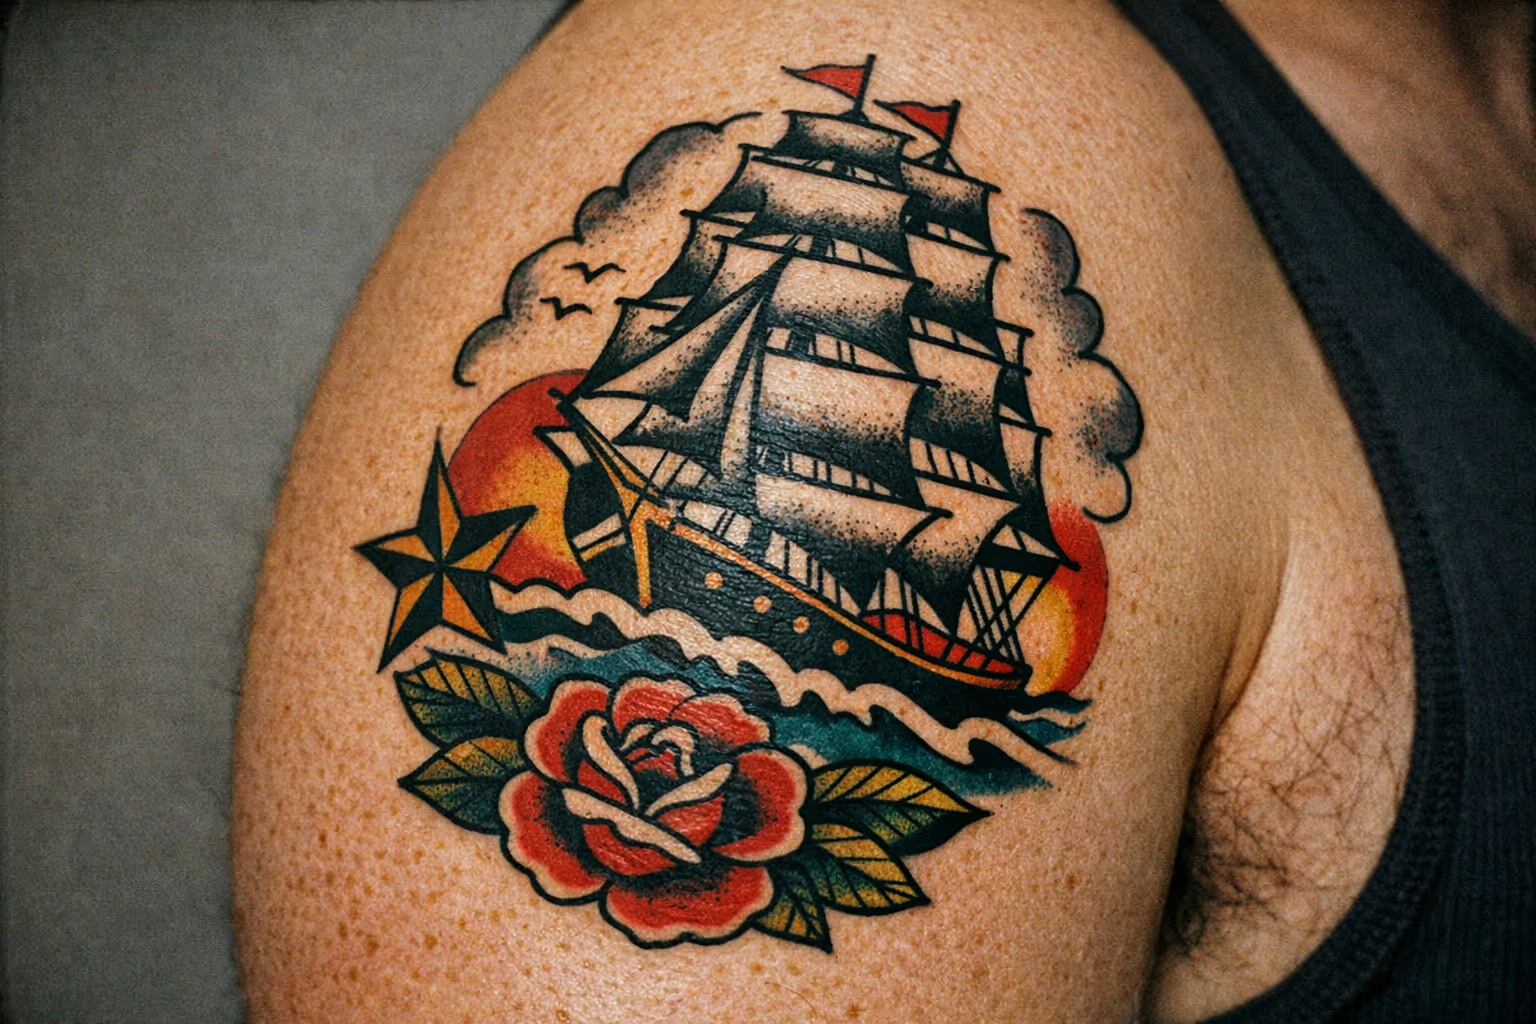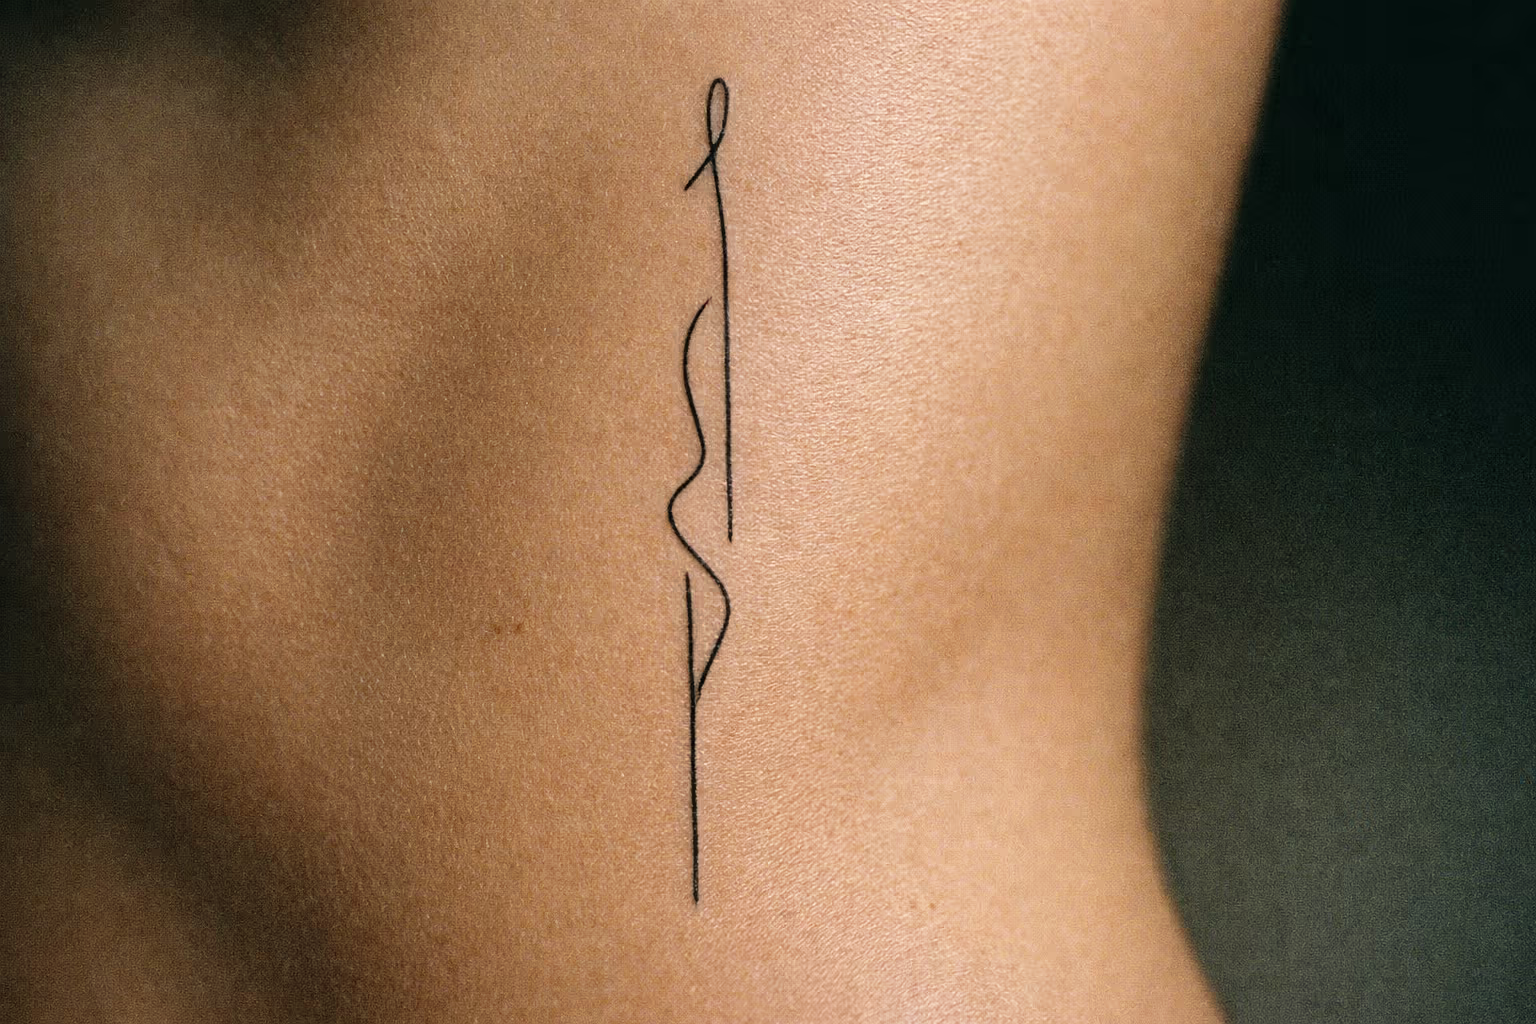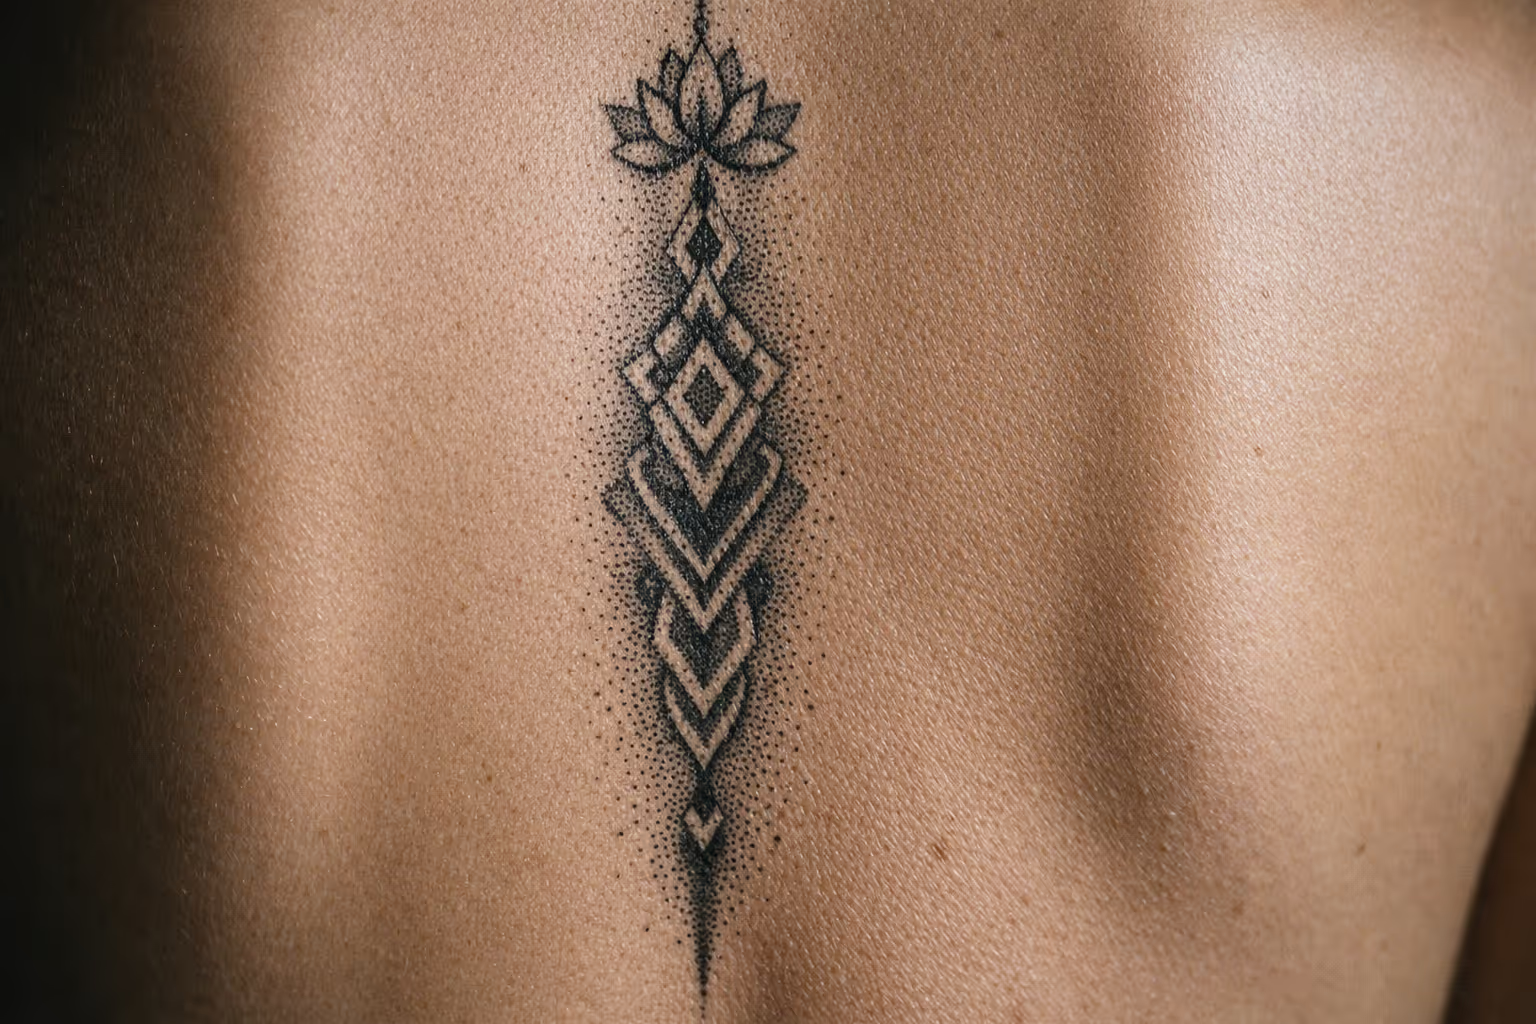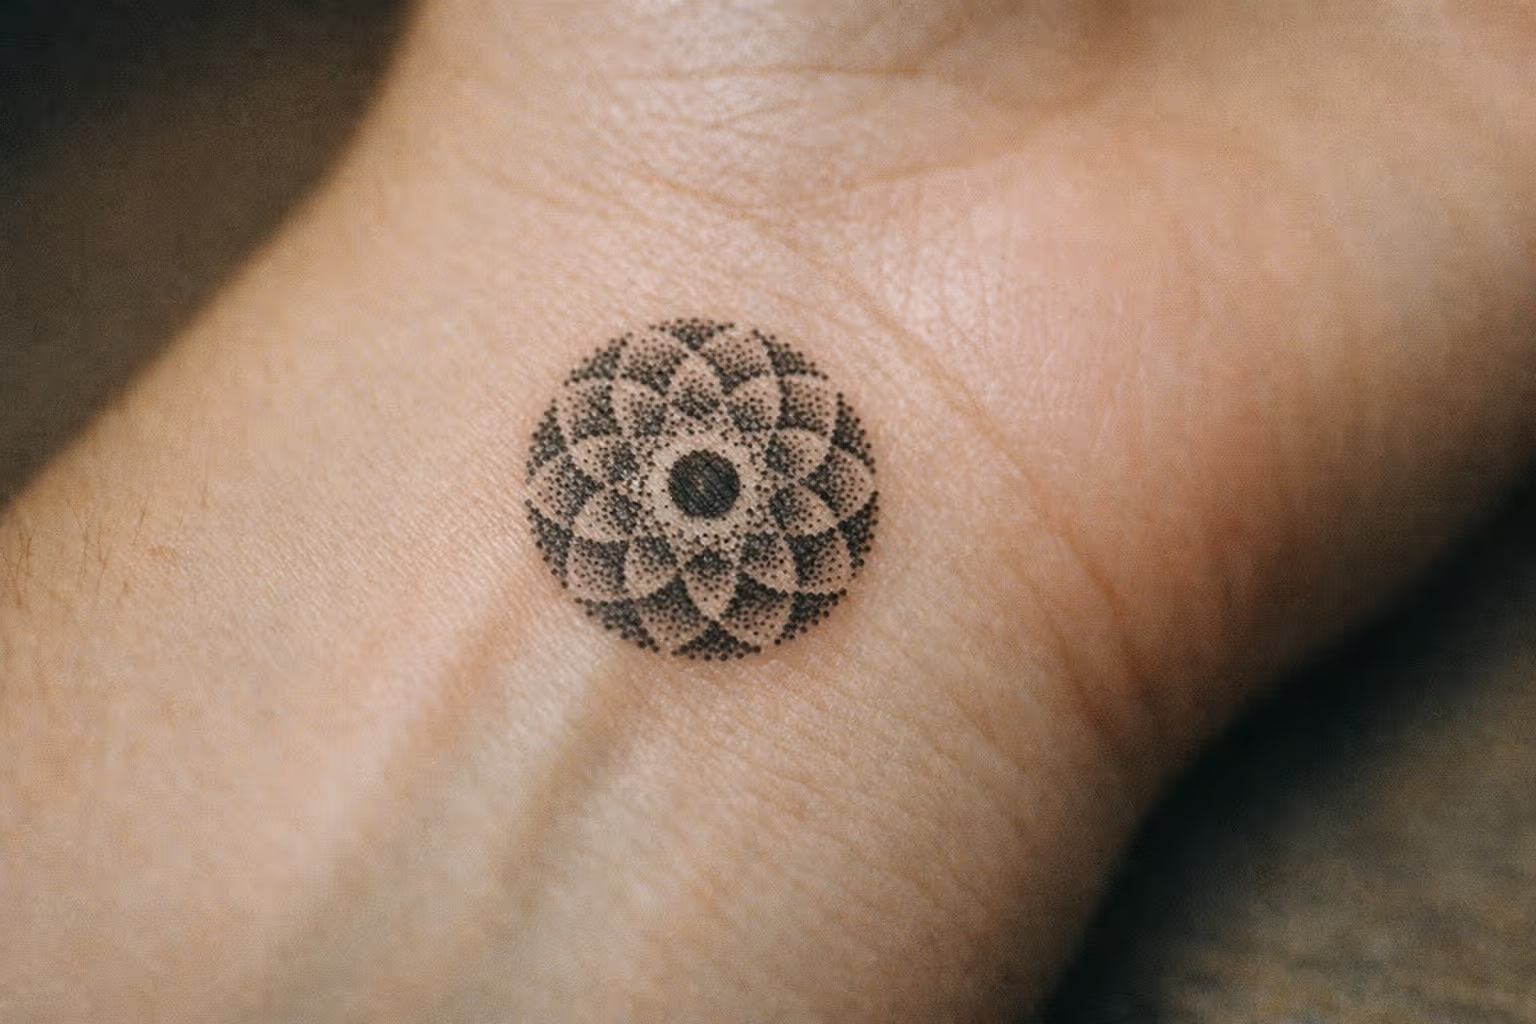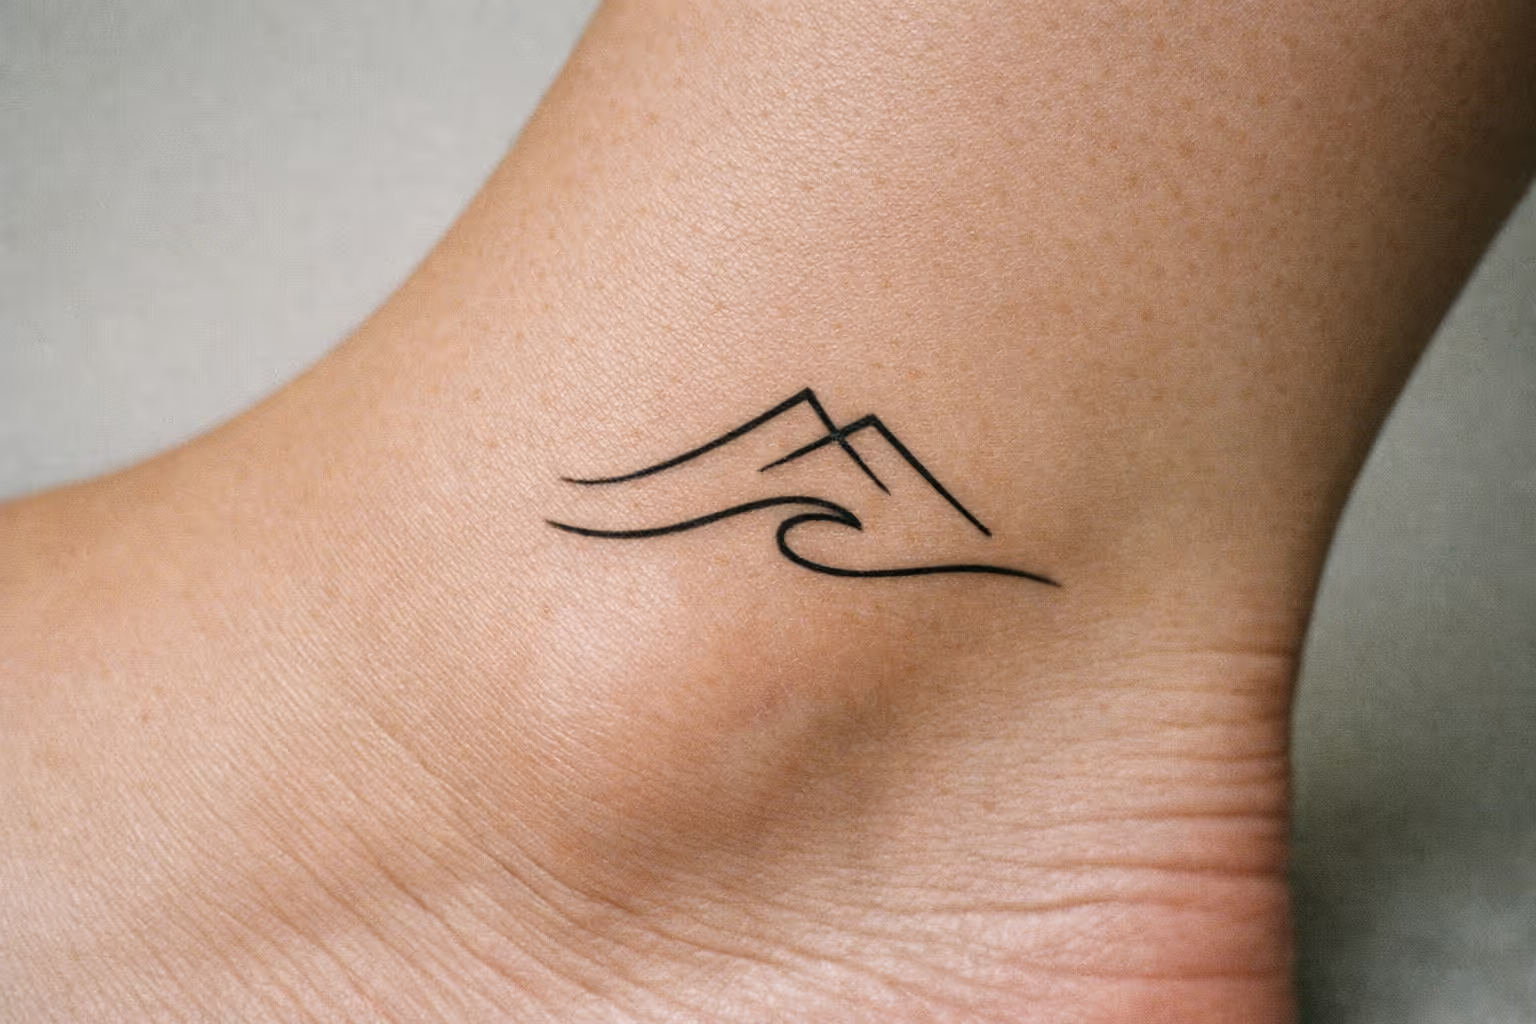
The forearm and outer upper arm come up in almost every first-tattoo conversation, and there’s a practical reason for that: they hurt less, they’re easy for the artist to reach, and they age well. This tattoo placement guide maps the four variables that actually decide whether you’ll still like a piece in ten years - pain, visibility and career risk, how the skin ages and stretches, and whether the design’s shape fits the surface. Most people arrive with a design already picked and need to figure out where it goes. Others are starting cold and want to avoid a spot they’ll regret. Either way, placement is a set of trade-offs, not a beauty contest.
✓ Pros
- Low-pain placements (outer arm, thigh, calf) are also the most forgiving for first-timers
- Career-safe spots (upper arm, shoulder blade, outer thigh) hide under standard clothing
- Stable, low-sun placements age markedly better than exposed or high-friction ones
- A stencil check before the needle starts lets you reposition at zero cost
- Forearm, outer upper arm, calf, and outer thigh work for nearly every style and size
✗ Cons
- High-visibility placements (hands, neck, fingers) carry real career risk in many industries
- Stretch-prone areas (belly, hips, breasts, upper arms) can distort designs with body changes
- Fine-line and detailed work degrades faster in high-motion areas (inner elbow, fingers, armpit)
- Once tattooing begins, placement is permanent - repositioning is not possible
- Finger, palm, and foot tattoos need frequent touch-ups from daily friction and skin turnover
Why Placement Is a Practical Decision, Not Just an Aesthetic One
A good placement decision balances four variables at once: pain tolerance for the session length, visibility against your career, how much that skin will stretch or fade over time, and whether the design’s shape suits the surface. Optimize for only one - usually how it looks in a photo - and you inherit the other three as problems later.
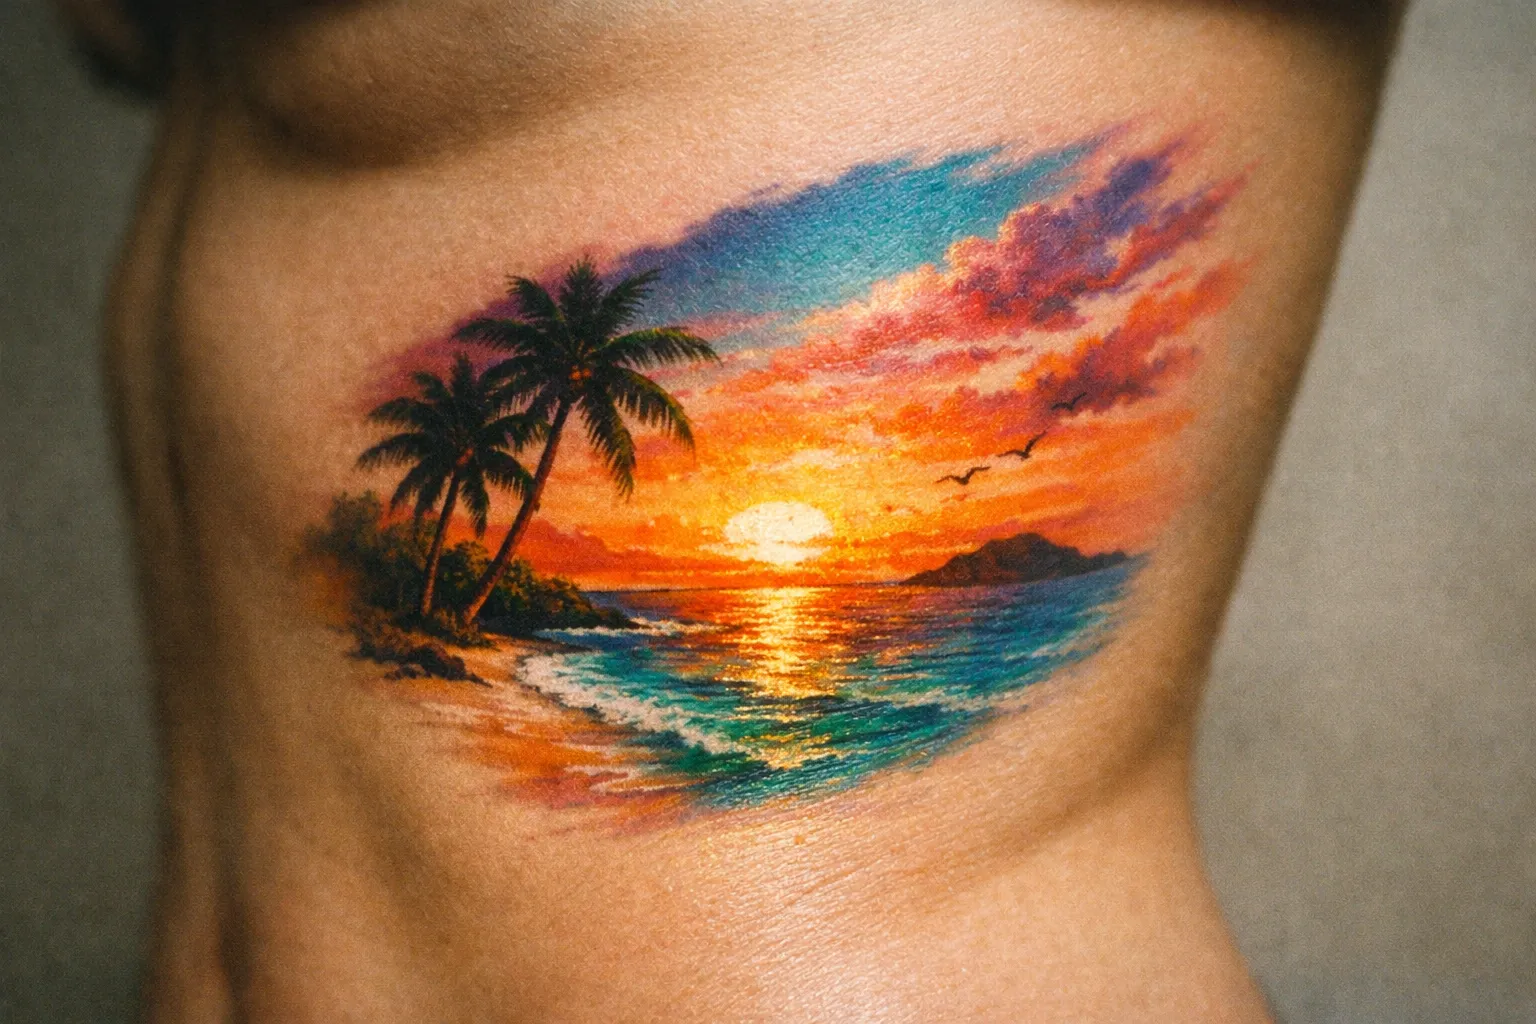
I’ve had clients come in with a beautiful reference image and zero thought given to where it goes on their body. The design shape tells you a lot. The rule for tattoo placement is simple to state and easy to ignore: match the design’s shape and size to the body area’s flat planes, curves, and motion range. A long, narrow design suits the forearm, ribcage, or calf. A round or compact design sits better on the shoulder, upper arm, or ankle. The design should follow muscle and bone rather than fight them (5). A snake that spirals with the radius of the forearm reads clean; the same snake stamped flat across a curved bicep warps the moment you flex.
The 1/3 Rule and Why Artists Use It
The 1/3 rule treats roughly one-third of a limb segment as a natural visual unit for a standalone piece. The upper arm between shoulder and elbow, for example, holds a single cohesive design at about that scale without looking cramped or lost. Push much larger or much smaller and the proportions read off.
It also applies to composition: balance darks, midtones, and open skin so the design reads clearly instead of filling every inch. Negative space is part of the piece, not wasted room.
How to Check Placement Before the Needle Starts
The stencil check is your last free decision. Ask the artist to apply the stencil before any needle work, then stand up, sit down, and move through the positions you actually spend time in. A design that looks centered standing up can shift when you sit or raise your arm. Check it in a mirror from the angles other people see, not just the angle you look down at.
Once tattooing starts, the placement is locked (3) - stencil time is the only point where moving it costs nothing.
Ranking Spots by Pain Level - From Easiest to Hardest
Ranking tattoo placement by pain level comes down to tissue: areas with more fat, thicker skin, and fewer nerve endings hurt less, while thin skin over bone hurts most. Personal tolerance shifts things somewhat, but the tiers below hold up across most people.
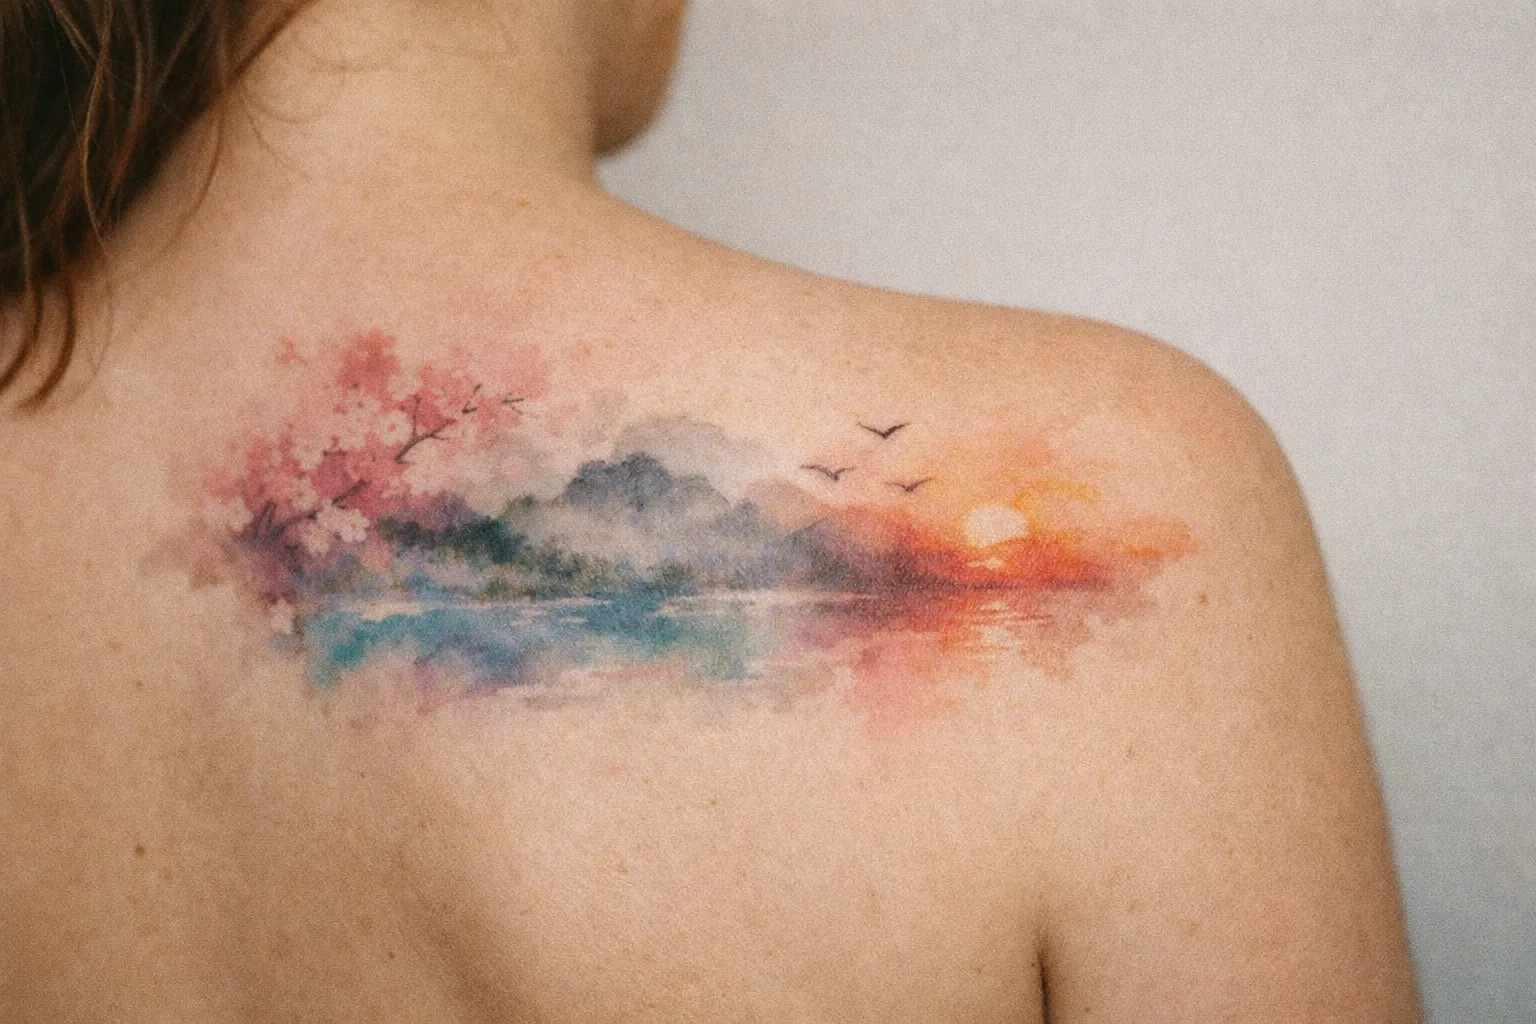
The Least Painful Spots - and Why They Work for Beginners
The lowest-pain tier is the outer upper arm, outer thigh, and calf - padded, thick-skinned, and forgiving during a longer sit. These are the spots I steer first-timers toward because you can get a decent-sized piece done without the session becoming an endurance test.
The moderate tier includes the forearm, shoulder, and outer chest. The forearm is the most artist-friendly surface on the body: flat, accessible, and easy to work at a comfortable angle. It’s manageable pain-wise and heals well.
Above that sits the harder tier - upper back, inner arm, and inner thigh. More nerve density means more sensation, but these are still workable, especially in shorter blocks.
High-Pain Placements Worth Knowing Before You Book
The most painful placements are thin skin over bone, dense nerve zones, or both: ribs, sternum, spine, armpit, wrists, hands and fingers, feet and toes, ankles, shins, knees, and neck. None of these belong on a first tattoo, and all of them reward shorter sessions.
For these spots, plan 2 to 3 hour blocks at most. A 4-hour rib session is a fast path to an unfinished piece - flinching wrecks line quality long before the design is done. Ribcage hurts considerably more than forearm; spine hurts more than upper back. If you’re committed to an extreme-tier placement, ask your artist about a 4-5% lidocaine numbing cream applied 30 to 60 minutes before the session. It dulls sensation for an hour or two, but always clear it with the artist first, since some have concerns about ink absorption.
Visibility and Career Risk - Placements That Are Easy to Hide vs. Hard to Ignore
Sorting tattoo placement by visibility runs from spots exposed in any professional setting to spots hidden by a collared shirt and trousers. Where you land on that spectrum should be a conscious choice, especially if you work in a conservative industry.
Placements That Cover With Standard Work Clothing
Low-visibility placements hide under normal clothing: upper arm, shoulder blade, outer thigh, hip, calf, upper back, and ribcage. A collared shirt, trousers, or a skirt covers all of them without effort. This is the safe zone if you want the option to conceal at will.
Mid-visibility spots - inner forearm, ankle, and lower leg - show in casual dress but disappear under formal or professional clothing. A reasonable middle ground for anyone who wants the tattoo visible day-to-day but coverable when it matters.
High-Visibility Spots - What to Think Through Before You Commit
High-visibility placements stay exposed in most professional settings: wrist, outer forearm, hand, fingers, and neck. Of these, hands, neck, and face are the ones most likely to affect hiring in conservative fields. The forearm is borderline - fine in plenty of industries, a real problem in a few. Think through your actual career context before you commit to anything above the wrist line.
The practical sweet spot for most people: a placement that hides under normal clothing but photographs easily. The outer forearm, upper arm, calf, or outer thigh all hit that balance. As for the “most attractive” placement - there’s no single winner. Readability and body flow matter more than a universal ranking. A design that follows muscle and bone reads cleaner in motion than one forced onto a curved or high-deformation surface.
How Skin Ages and Stretches - Placements That Hold Up vs. Those That Don’t
How a placement ages is the axis most guides skip, and it’s the one that drives the most long-term regret. Skin that stretches, sees a lot of sun, or rubs against clothing degrades a tattoo faster than any other factor.
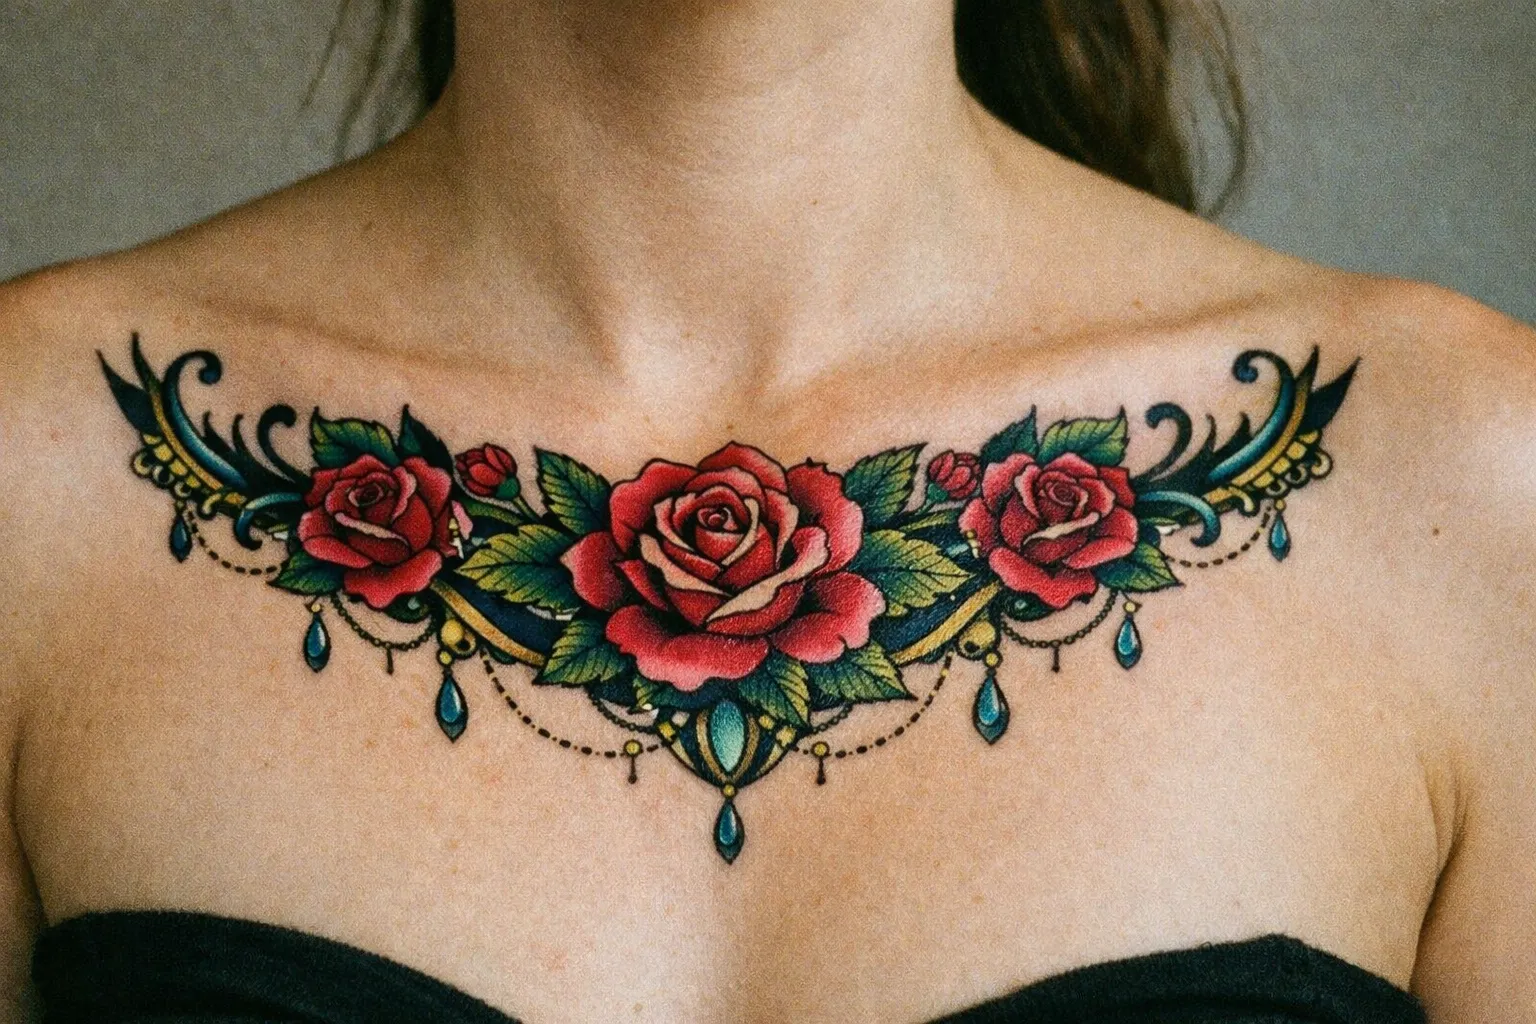
Stretch-Prone Placements and What Happens to the Design
Stretch-prone areas distort when your body composition changes: belly, hips, buttocks, breasts, upper arms, thighs, and armpits (8). Weight shifts, pregnancy, and muscle gain all pull at the skin, and the design goes with it. Fine-line work, geometric patterns, and portraits show the damage first - a clean grid becomes a warped one, a symmetrical face goes lopsided.
More resilient areas hold their lines longer: upper back, outer chest, forearms, and lower legs (8). Firmer skin with less expected sagging keeps a design looking fresher for years (9). If you’re planning significant body changes, favor these placements or wait.
Sun Exposure, Friction, and the Placements That Fade Fastest
UV exposure is the leading long-term fade factor, full stop. The most sun-exposed placements - wrist, forearm, hand, neck, and foot - fade faster than covered skin. Once the tattoo is fully healed, apply SPF 30-50+ every time that skin sees sun. This single habit does more for the ten-year appearance of a tattoo than almost any other aftercare step (1).
Friction is the quieter killer. Waistbands, bra straps, and sock lines rub the same spots during healing and over years. Ribcage, hip, lower back, and thigh all sit under clothing that abrades them. Loose clothing during healing isn’t optional on these placements.
Line weight also decides longevity. Very thin lines from a 3RL or smaller needle blur or fade within 5 to 10 years, especially on fingers, hands, and feet. Thicker lines from a 5-7 round needle hold clarity well past that window. High-deformation zones - inner elbow, armpit, fingers - break down fine linework fastest, so bold outlines are the smarter call there.
First Tattoo Placement - Where to Start Without Regret
The safest first tattoo placement is one of four spots: outer forearm, outer upper arm, calf, or outer thigh. All four are low-pain, easy for the artist to work on, concealable, and resilient to aging - they consolidate every variable in your favor at once (6).
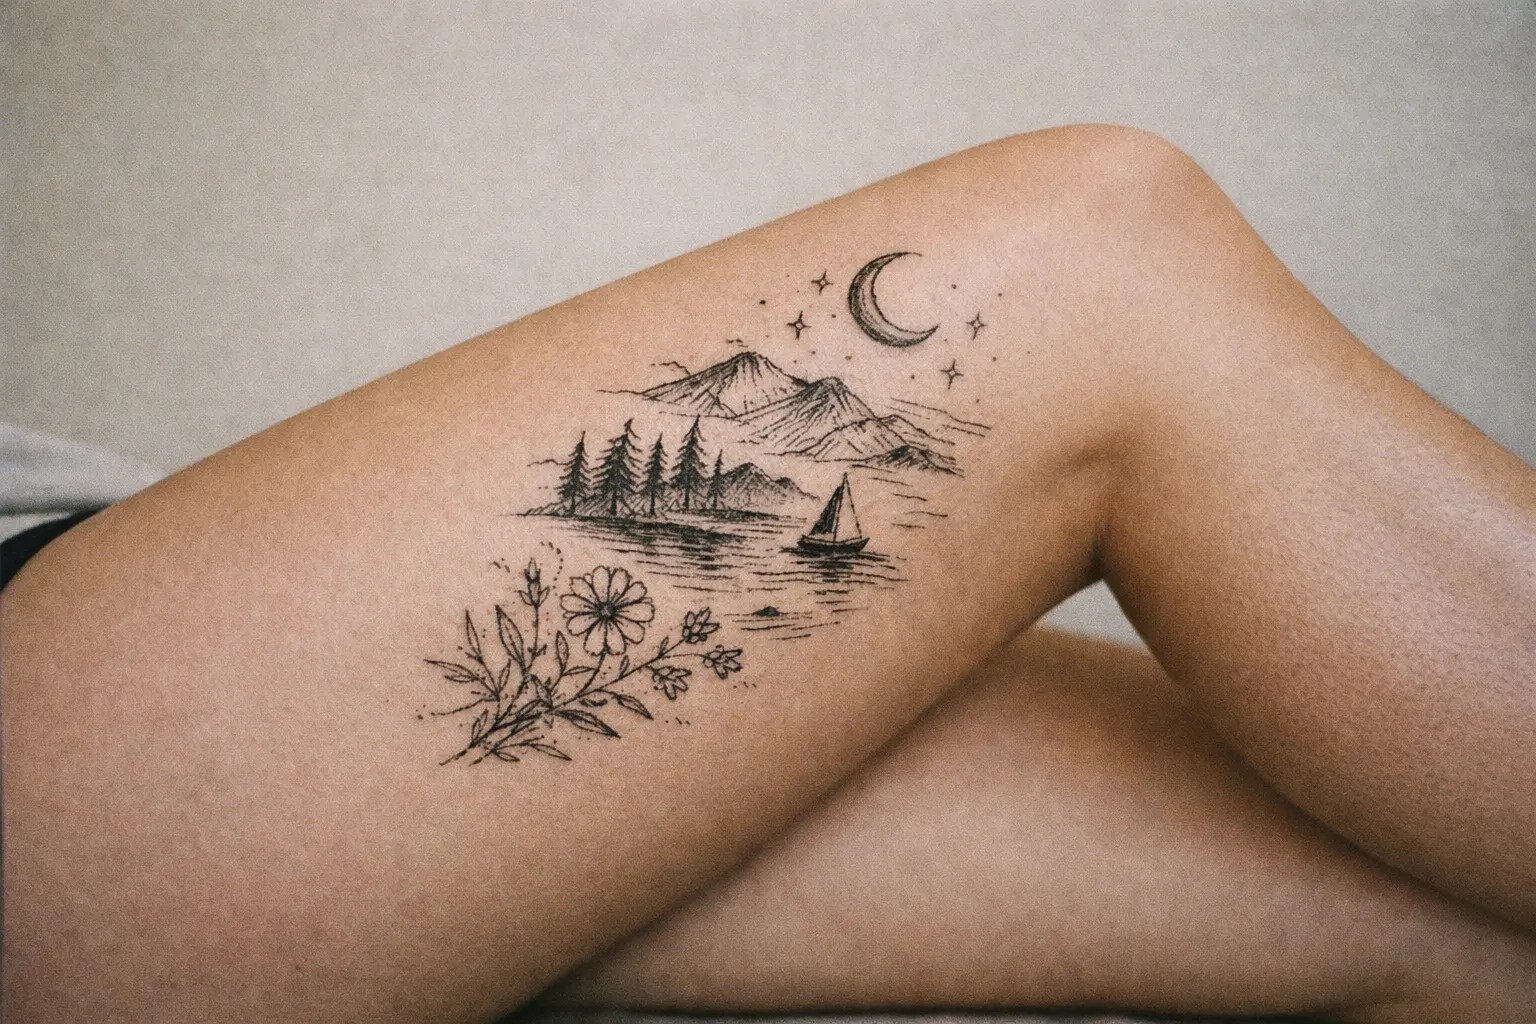
The Four Placements That Come Up in Every First-Tattoo Conversation
The forearm and outer upper arm dominate first-tattoo recommendations for concrete reasons: flat surface, artist-friendly working angle, good healing conditions, and easy to photograph. The calf and outer thigh bring the same benefits with even lower pain and more surface area for detail.
For a first piece, aim for 2 to 5 inches (5 to 13 cm) on one of these low-pain placements. That range is large enough to hold clean detail and small enough to keep the session short. Don’t cram complex artwork into under 2 inches on a first piece - it blows out and blurs. More surface area buys more detail that survives.
What to Avoid as a First Placement - and Why
Skip ribs, sternum, hands, fingers, feet, and neck for a first tattoo. They’re either high-pain, poor-healing, or career-visible before you know your own tolerance - and often two of the three at once. Learn how your body handles the needle on a forgiving spot first.
Before you commit, do a mirror check with the stencil or a temporary version, moving through your normal positions - body position changes readability. And prep properly: sleep well, eat within 2 to 3 hours of the session, hydrate, and skip alcohol and NSAIDs for 24 hours beforehand, since both thin the blood and affect ink saturation.
Placement Considerations for Women - What the Searches Are Actually Asking
Searches around tattoo placement for women usually mean three things underneath the surface: concealability, how a design adapts to body curves, and which areas are more prone to stretch changes. The real differentiators are pain, visibility, and future skin changes - not gender itself (8, 9).
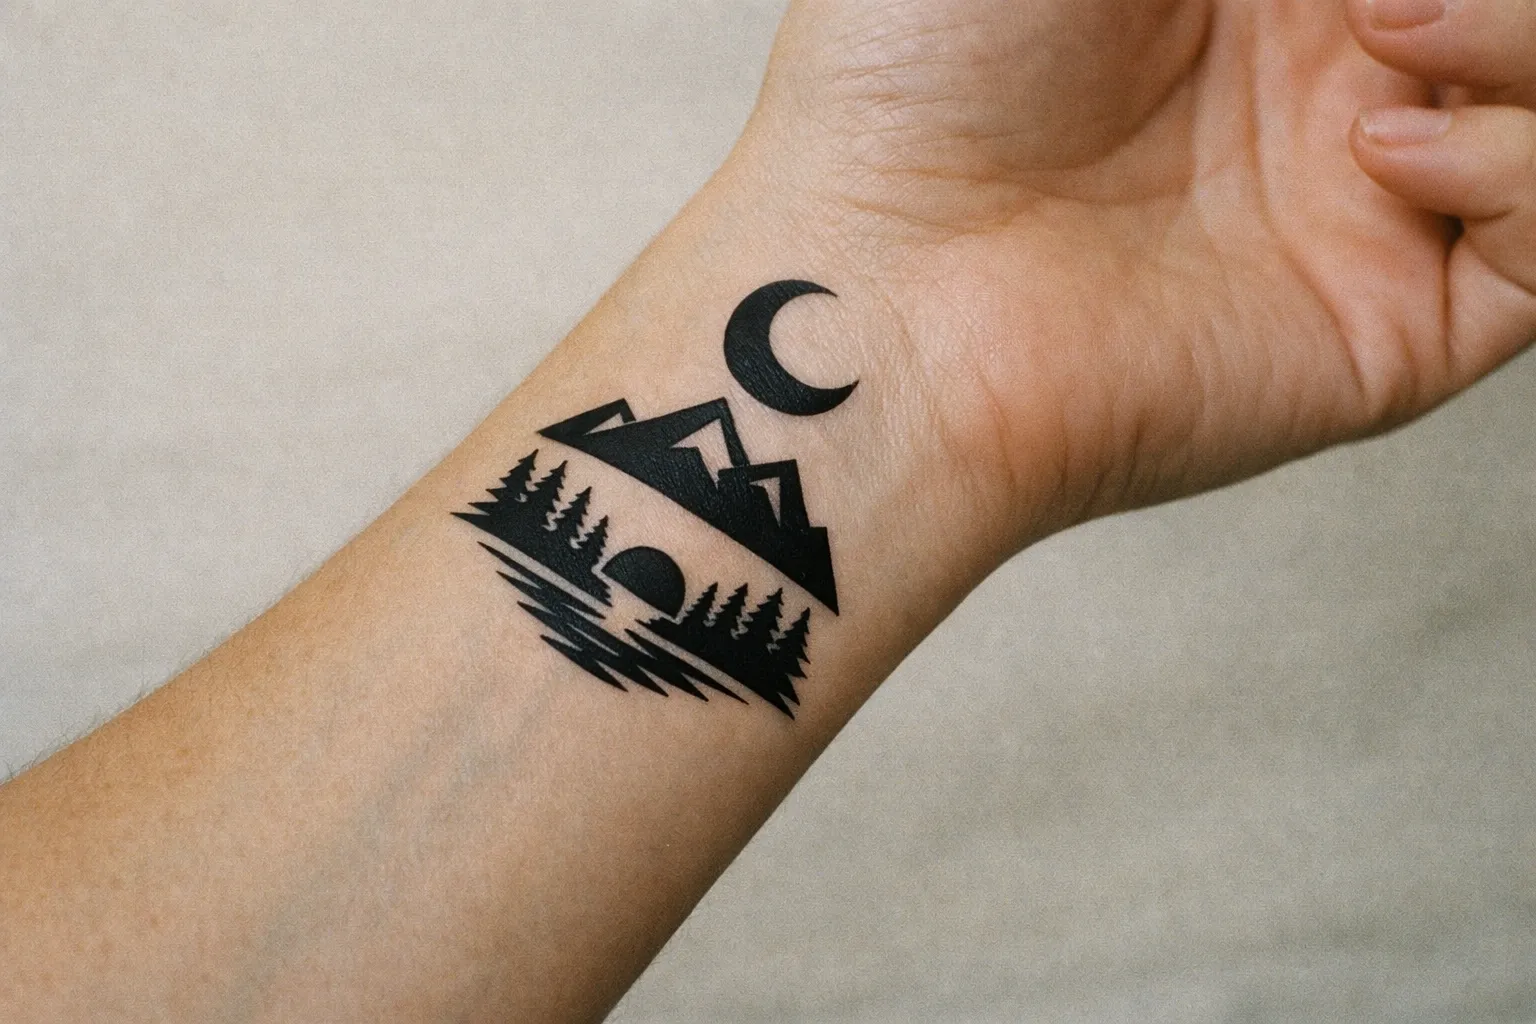
Body Curve Placements and How Design Shape Adapts
Several placements adapt well to body curves and hide under standard work clothing:
- Sternum / under-bust - striking vertical or symmetrical designs, but sharp pain over the breastbone; 4-7 inches (10-18 cm).
- Hip - concealable, suits curved and flowing designs; 4-8 inches (10-20 cm).
- Outer thigh - low pain, large flat surface for detailed work; 5-10 inches (13-25 cm).
- Shoulder blade - covers with any top, manageable pain; 6-10 inches (15-25 cm).
- Calf - low pain, ages well, easy to cover or show; 4-8 inches (10-20 cm).
- Inner forearm - visible in casual dress, coverable in formal; 3-6 inches (8-15 cm).
High-Stretch-Risk Areas to Plan Around
The zones most likely to distort with body-composition changes are the belly (especially lower), hip, breast and under-bust, and inner thigh (8). Fine-line and geometric work here is high-risk long-term - a pregnancy or significant weight shift pulls those precise lines out of true. Bold, simple designs with thicker outlines survive far better in these spots.
One honest note on the under-bust and sternum placement: it photographs beautifully and reads dramatic, but it combines sharp pain over the breastbone with real stretch risk if your body composition changes. The sternum and ribcage are among the most painful placements regardless of body type, so neither belongs on a first tattoo.
Placement Considerations for Men - Common Spots and What Actually Ages Well
Searches for tattoo placement for men cluster around a handful of spots, and most of them age well if you respect sun exposure and session length. Here’s the honest read on each, with size ranges.
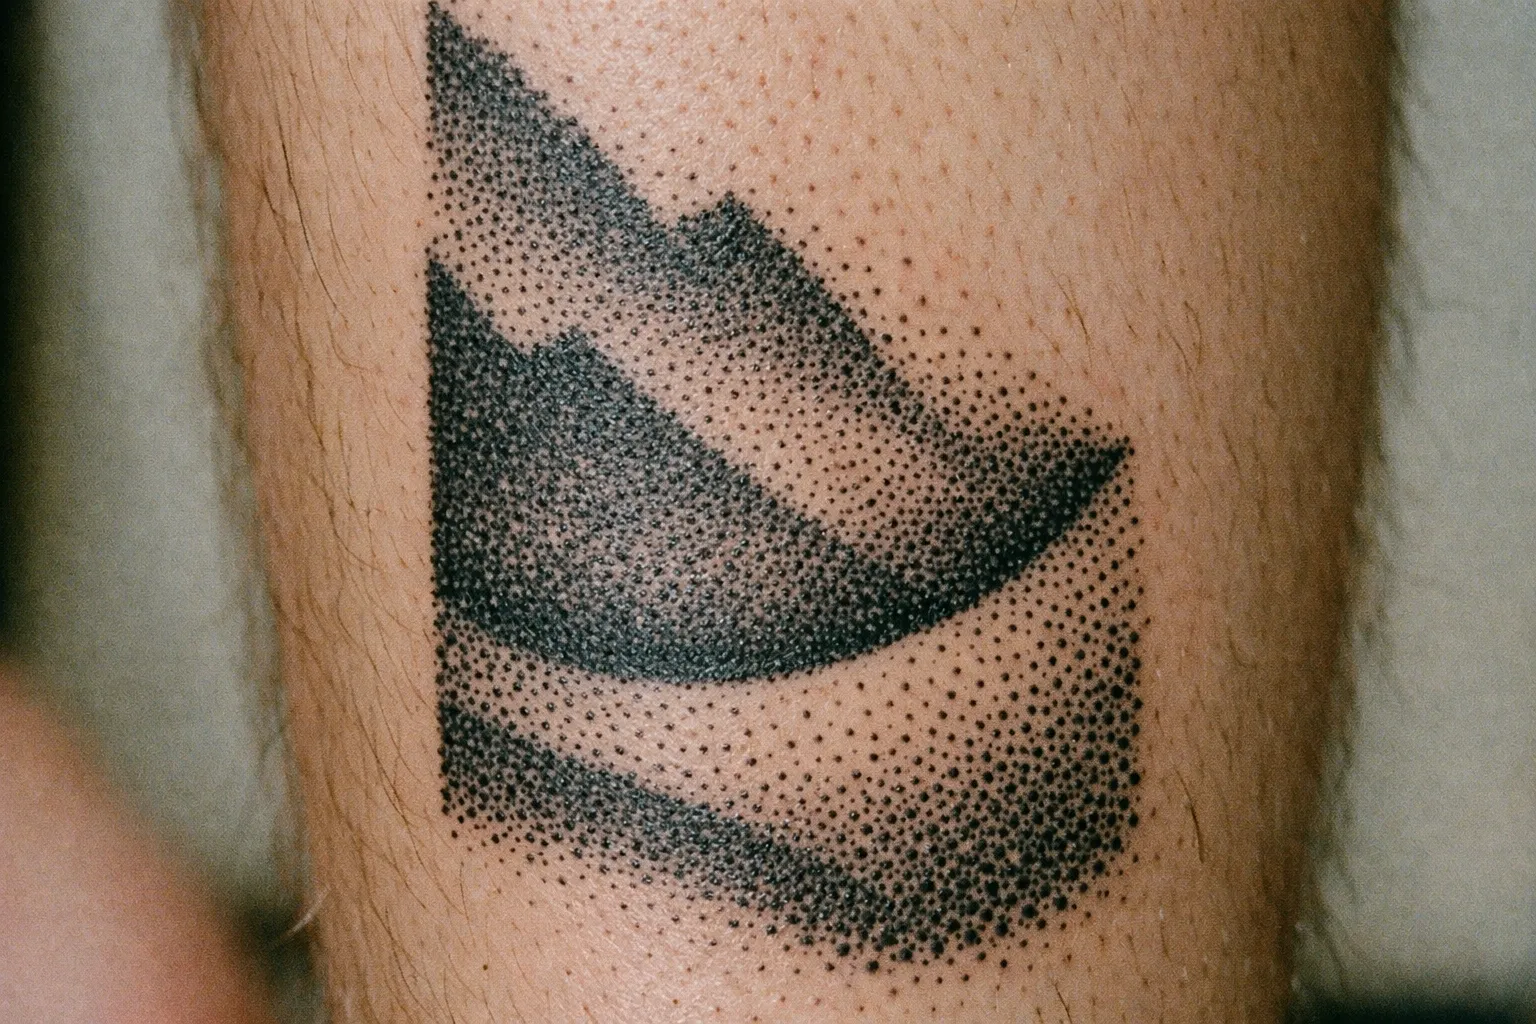
Forearm and Upper Arm - Why They Dominate Male Placement Requests
The forearm (3-7 inches / 8-18 cm) is the most-recommended first-tattoo placement: visible or coverable with long sleeves, low-to-moderate pain, and it ages well with SPF care. Worth knowing that forearms get more sun and friction than upper arms, so they fade slightly faster - sunscreen matters here.
The upper arm and shoulder (4-6 inches / 10-15 cm) are prime anchor points for future sleeve work. The outer surface sits in the lowest pain tier; the inner bicep is notably sharper. Upper arm placements also age better than forearm pieces because the skin is more protected from daily sun and friction.
Chest, Back, and the Placements That Need More Planning
The chest (6-10 inches / 15-25 cm) carries symbolic pieces well. The outer pec is manageable, but the sternum is sharp - thin tissue over bone - and not a first-tattoo call. The upper back is the largest flat canvas on the body; shoulder blades are manageable, the spine is brutal, and the whole area covers easily and ages well.
Hands, neck, and face are job-stoppers in many industries. Plan around your professional context before committing to any of them.
If a sleeve is the goal, build it slowly. Start with 1 to 2 anchor pieces on the upper arm and forearm, then live with them 3 to 6 months before adding connectors and background. Rushing the plan is how sleeves end up reading like a sticker collection.
Placement Quick Reference - Pain, Visibility, and Aging at a Glance
| Outer forearm | Upper arm (outer) | Wrist | Hand / fingers | Outer chest / pec | Sternum | Ribcage | Upper back | Spine | Hip | Outer thigh | Inner thigh | Calf | Ankle / foot | Neck / behind ear | |
|---|---|---|---|---|---|---|---|---|---|---|---|---|---|---|---|
| Pain Level | Low-Moderate | Low | High | Very High | Moderate | High | Very High | Moderate | Very High | Moderate | Low | High | Low | Very High | High |
| Visibility | High | Low-Mid | High | Very High | Low-Mid | Low | Low | Low | Low | Low | Low-Mid | Low | Low-Mid | Mid | Very High |
| Aging / Stretch Risk | Low | Low | Low | High (fade) | Moderate | Moderate | Low | Low | Low | Moderate | Moderate | Moderate | Low | High (fade) | Low |
| Best For | First tattoos, most styles | First tattoos, sleeve anchors | Small designs, experienced only | Experienced, touch-up budget | Symbolic pieces | Experienced, not first tattoo | Experienced, short sessions | Large pieces, easy to cover | Experienced only | Concealable pieces | Detailed work, first tattoos | Experienced, friction planning | First tattoos, all styles | Small designs, touch-up budget | Career-risk aware only |
Practical Rules Before You Finalize Any Placement
Determining the right tattoo placement comes down to working through pain, visibility, aging, and design fit in order, then confirming it all with the stencil before a single needle passes. The four variables narrow your shortlist; the stencil check confirms the choice.
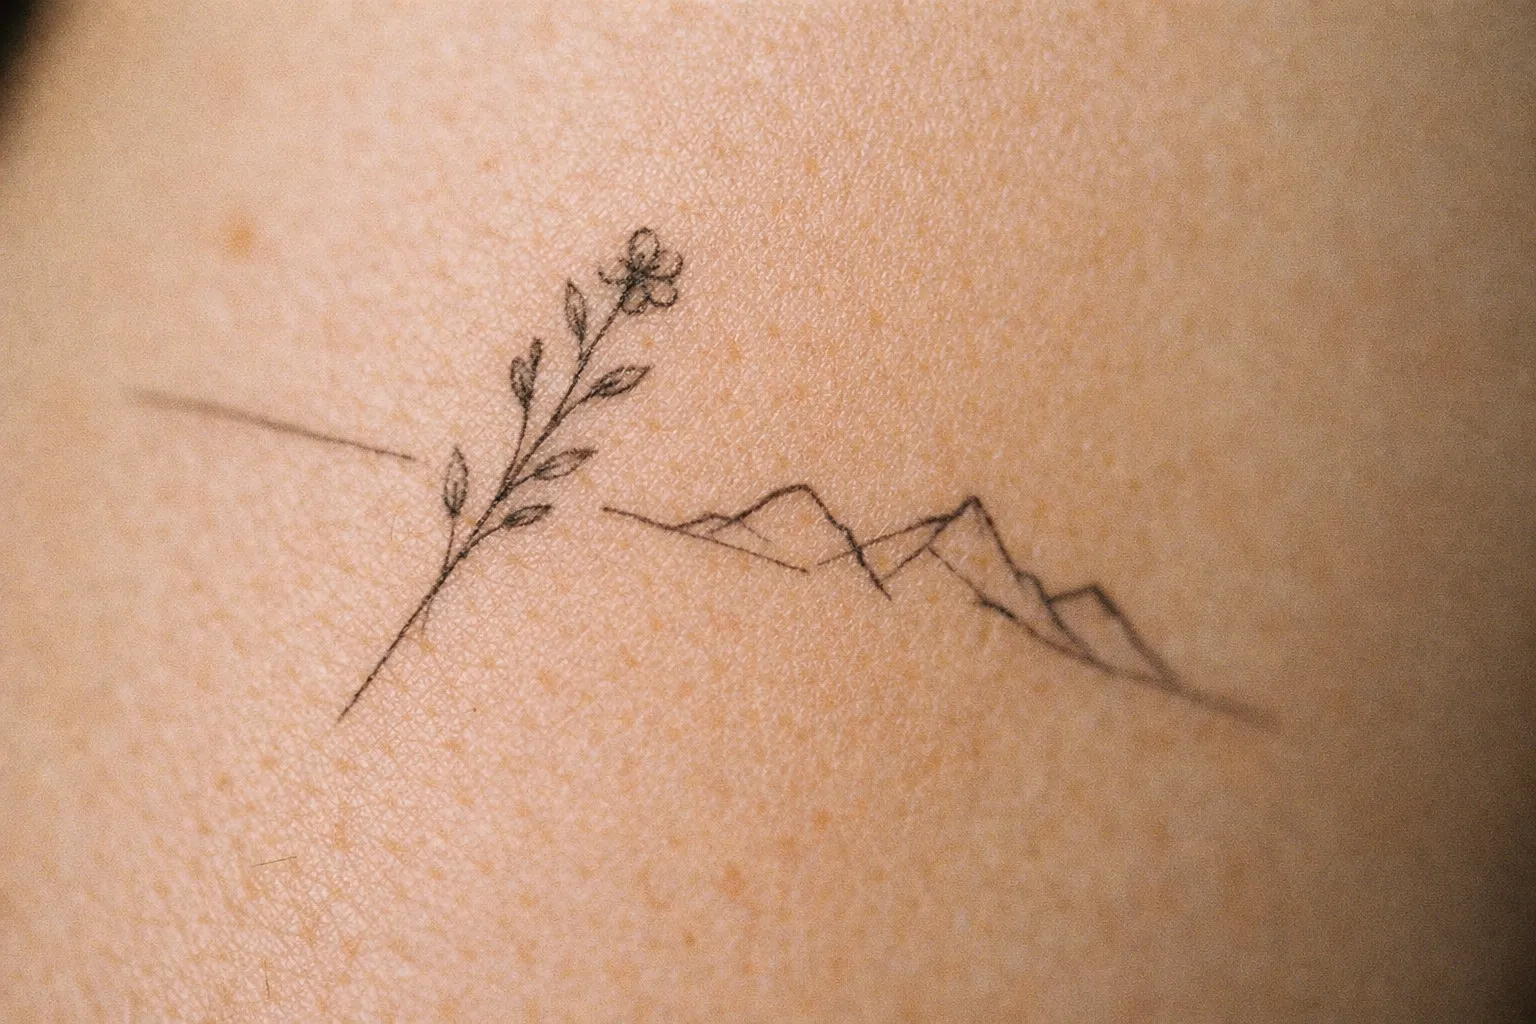
The Stencil Check - Your Last Free Decision
Ask for the stencil before any needle work, then stand, sit, and move to test readability. Check it in a mirror from the angles other people actually see. This is the only moment where repositioning costs nothing - once tattooing starts, the placement is permanent (3).
I tell every client the same thing: if you’re not sure about the stencil position, we move it. Takes five minutes. Fixing it after the fact takes a cover-up.
Clothing, Friction, and Healing Logistics by Placement
Some placements need wardrobe planning before you even book:
- Ribcage, hip, thigh, and lower back need loose clothing for 2 to 4 weeks to reduce friction during healing (1). Plan your wardrobe before the session, not after.
- Skip heavy sweating and strenuous exercise for at least 48 hours post-session (10). Spots that rub under gym clothing - inner thigh, ribcage, lower back - need extra recovery planning.
- Once fully healed, apply SPF 30-50+ on any placement that sees regular sun. UV is the primary long-term fade factor.
- For extreme-tier placements (ribs, sternum, feet, armpit), a 4-5% lidocaine cream applied 30 to 60 minutes before can help - ask the artist first.
How to Finalize Your Tattoo Placement Before the Session
15 minutesStep-by-step process to confirm your tattoo placement considering pain, visibility, aging, and design fit.
- 1
Narrow by pain tolerance
Decide which pain tier you can manage for the session length your design requires. First-timers: stick to tier 1 or 2.
- 2
Check visibility against your career and daily life
Will this placement need to be covered at work? Can it be covered with standard clothing?
- 3
Assess the aging and stretch risk
Is this area likely to change significantly with your body over the next 10-20 years? Does your design style (fine-line vs. bold) suit the surface?
- 4
Match design shape to body surface
Long and narrow designs suit forearm, ribcage, calf. Round or compact designs suit shoulder, upper arm, ankle. Let the design guide the placement.
- 5
Request the stencil before the session starts
Stand, sit, and move with the stencil on. Check it in a mirror. This is your last free decision.
- 6
Plan your clothing and aftercare logistics
High-friction placements (hip, ribcage, lower back, inner thigh) need loose clothing for 2-4 weeks. Book the session when you can manage that.
Tattoo Placement - Frequently Asked Questions
- What is the rule for tattoo placement?
- Match the design's shape and size to the body area's natural planes and motion range. Confirm the stencil while standing, sitting, and moving before the needle starts.
- What is the 1/3 rule in tattooing?
- On a limb, roughly one-third of a segment is a natural visual unit for a standalone piece. Balance darks, midtones, and open skin for clear design reading.
- What is the most attractive tattoo placement?
- Readability and body flow beat universal rankings. The best placement fits the surface without distortion, conceals or shows as needed, and holds lines in ten years.
- Do finger and hand tattoos really fade that fast?
- Yes. Skin on fingers and palms turns over faster, and daily friction stresses ink. Finger-side tattoos need frequent touch-ups; budget accordingly.
- How does sun exposure affect a tattoo long-term?
- UV damage is the primary long-term fade factor. Sun-exposed placements fade faster. Apply SPF 30-50+ every time the skin is exposed after healing.
- Can I get a tattoo on a stretch-prone area?
- Yes, but plan for it. Areas like belly, hips, breasts, and upper arms distort with body changes. Bold, thick-lined designs hold better than fine-line work.
- How long should I wait before working out after a tattoo?
- Avoid heavy sweating and strenuous exercise for at least 48 hours. High-friction placements need extra care in the first 1-2 weeks. Pools and hot tubs wait until healed.
What Actually Determines a Good Placement Decision
Four things, weighed together: pain you can manage for the session length, visibility that fits your career, aging and stretch risk over the next decade, and whether the design’s shape actually suits the surface. Almost all placement regret traces back to optimizing for one of those - usually how it looks - while ignoring the other three.
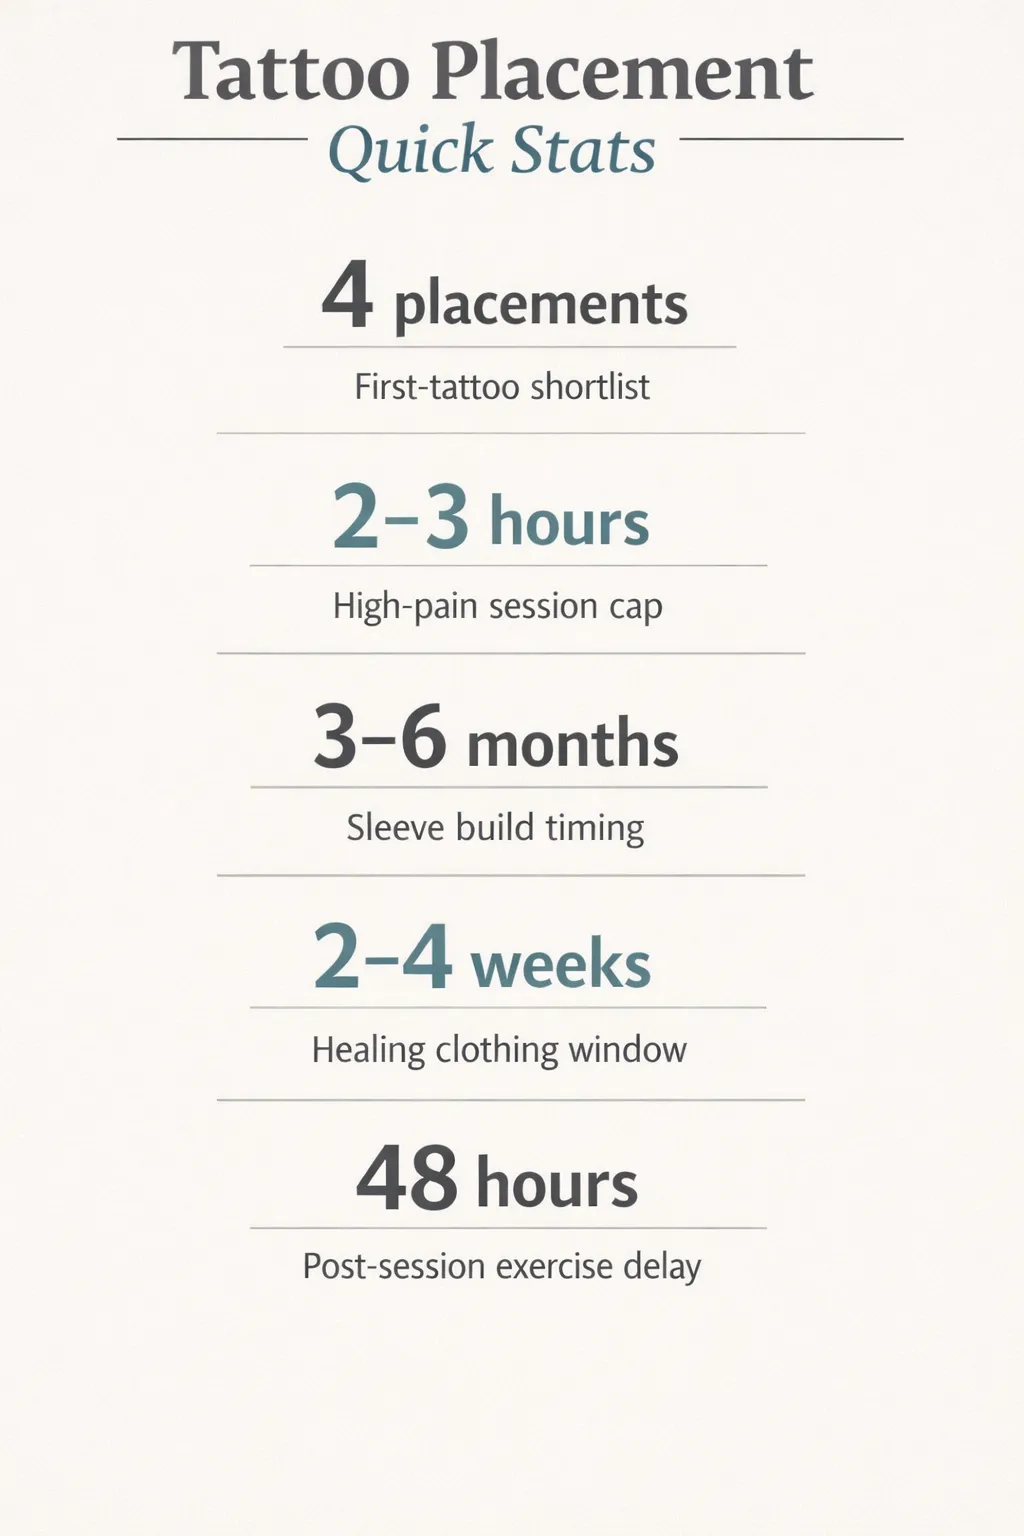 4 first-tattoo placements; 2-3 hour sessions; 3-6 month sleeve cadence; 2-4 weeks healing; 48 hours post-workout delay.
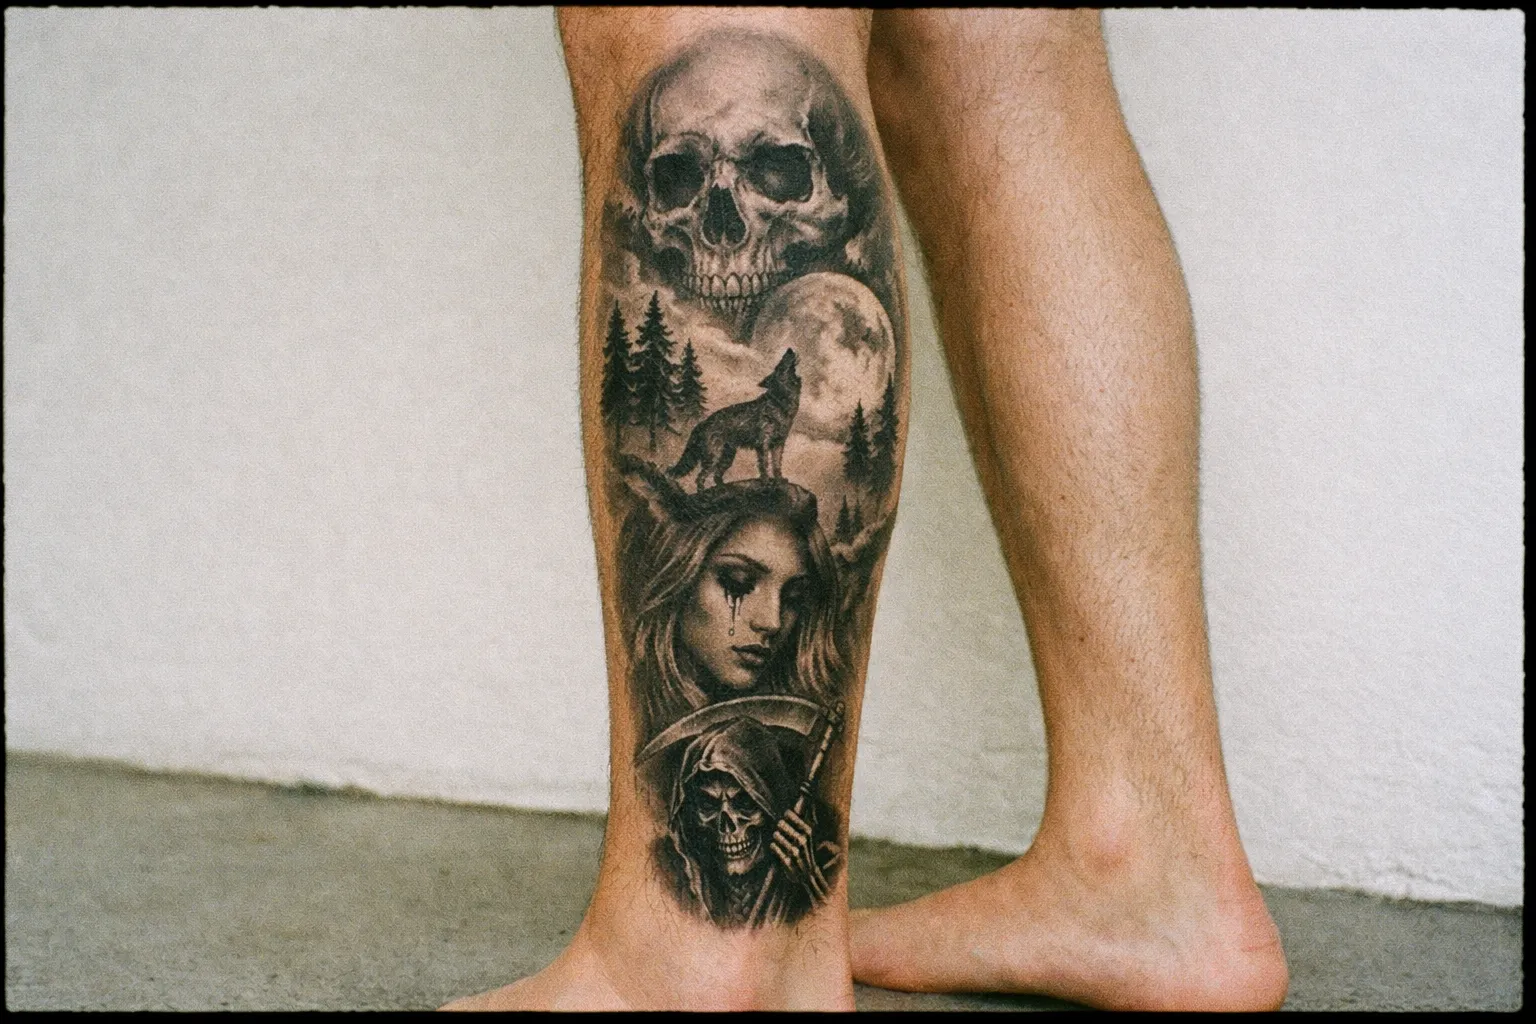
Start with the pain tier you can sit through, check it against your career, weigh how that skin will age, and match the design shape to the body. Use the placement pages linked above for detail on whichever spot you’re leaning toward.
And the single most useful habit: get the stencil on, move around in it, and don’t let the needle start until it looks right from every angle you’ll actually be seen in.