The spine runs 40-60 cm from C7 to S1, and it moves every time you bend, twist, or breathe. That single anatomical fact drives every decision a spine tattoo demands: how the stencil gets aligned along a moving centerline, which line weights survive a decade of flexion, how painful each segment reads, and how you sleep for the next three weeks. Yes, it looks striking in an open-back top and disappears completely under a work shirt. But this is a placement guide, not a design gallery, so here is what the placement actually asks of you before you commit.
This is one of the most concealable placements on the body and one of the most technically demanding. The vertical corridor is only a few centimeters wide, symmetry is unforgiving, and pain varies wildly depending on which vertebrae you’re working over. Get the constraints straight first, then pick a design that fits them.
✓ Pros
- High concealability under standard clothing; fully visible in swimwear or open-back tops, and you control when it shows.
- A long vertical canvas that suits narrow, elongated designs few other placements can hold.
- The spine line is the harder part, not the easier one: Saniderm marks the spine 'very painful' and our own pain chart puts it at 6-8 against 4-6 for the back away from the midline.
- Segmental options (upper, mid, lower) let you start small and extend the piece later.
✗ Cons
- Vertical symmetry is unforgiving; a 1-2 mm stencil misalignment shows across 40+ cm of length.
- Fine, ultra-straight lines on the midline are vulnerable to distortion from bending, twisting, and weight changes.
- The lower spine and tailbone can be significantly more painful than the mid or upper spine.
- Healing is complicated by clothing friction, backpack straps, and the difficulty of sleeping on your back.
- Long sessions of 4-6+ hours in a prone position are physically demanding independent of the needle.
What “Spine Tattoo” Actually Means as a Placement
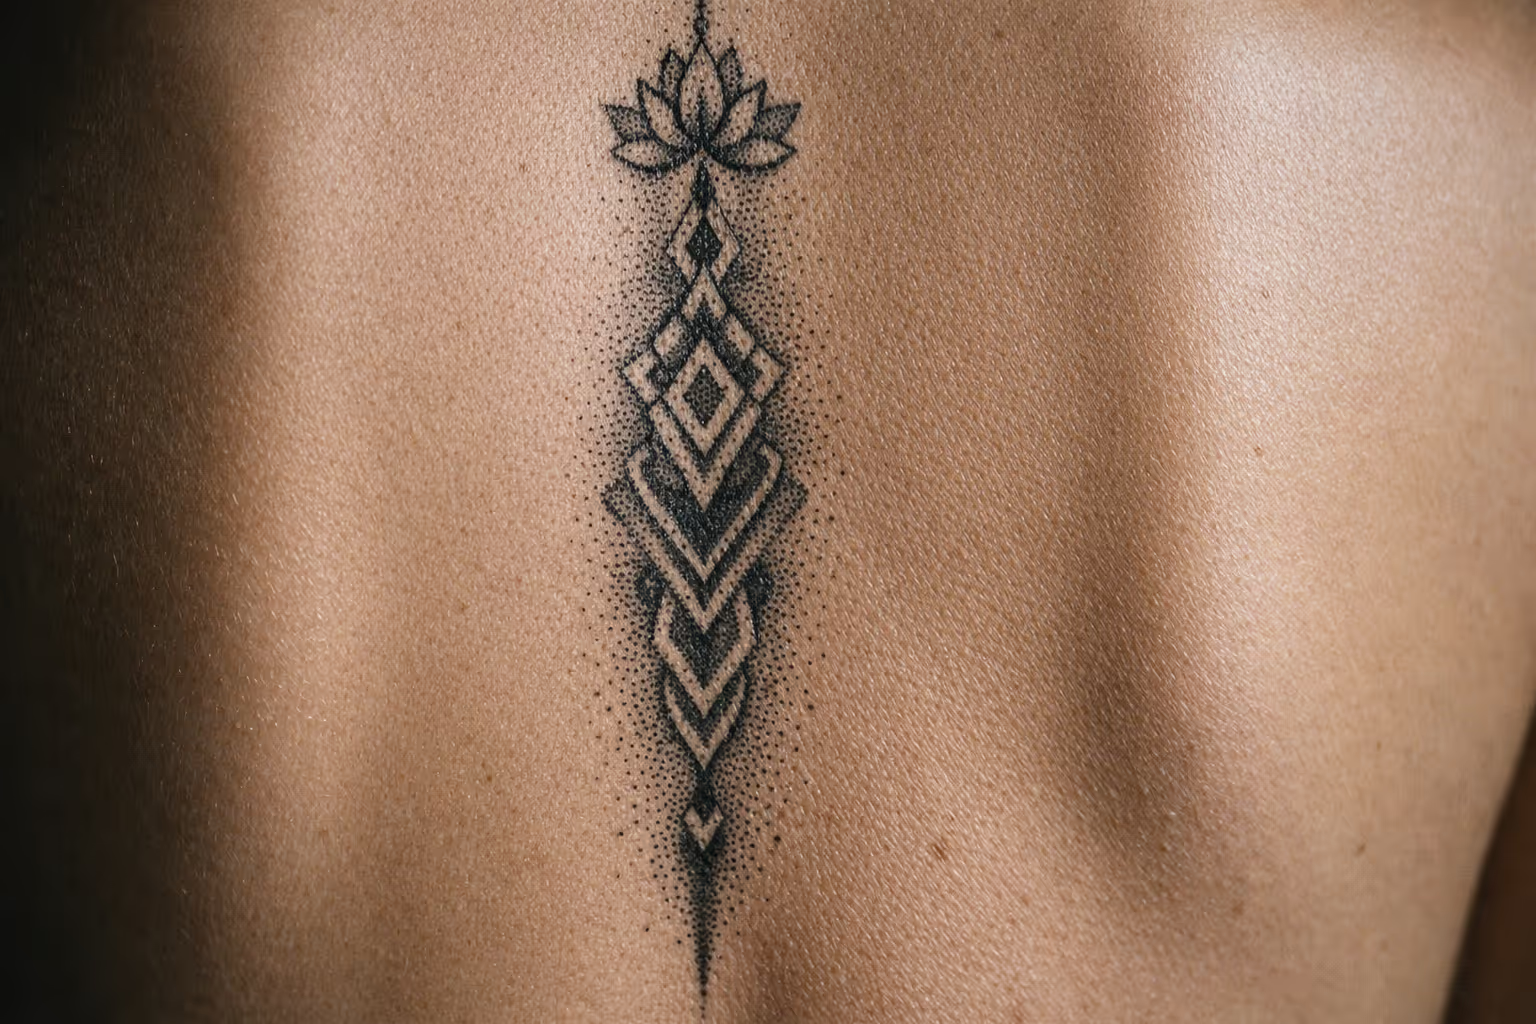
A spine tattoo is a design that follows the vertebral midline of the back, anywhere from C7 at the base of the neck down to S1 at the tailbone, roughly a 40-60 cm span on an average adult, though most pieces cover only a partial segment. It’s a subset of back tattoos, distinguished by the fact that it tracks the central axis rather than spreading across the broad back surface. Think of it as a narrow corridor, not a wide canvas.
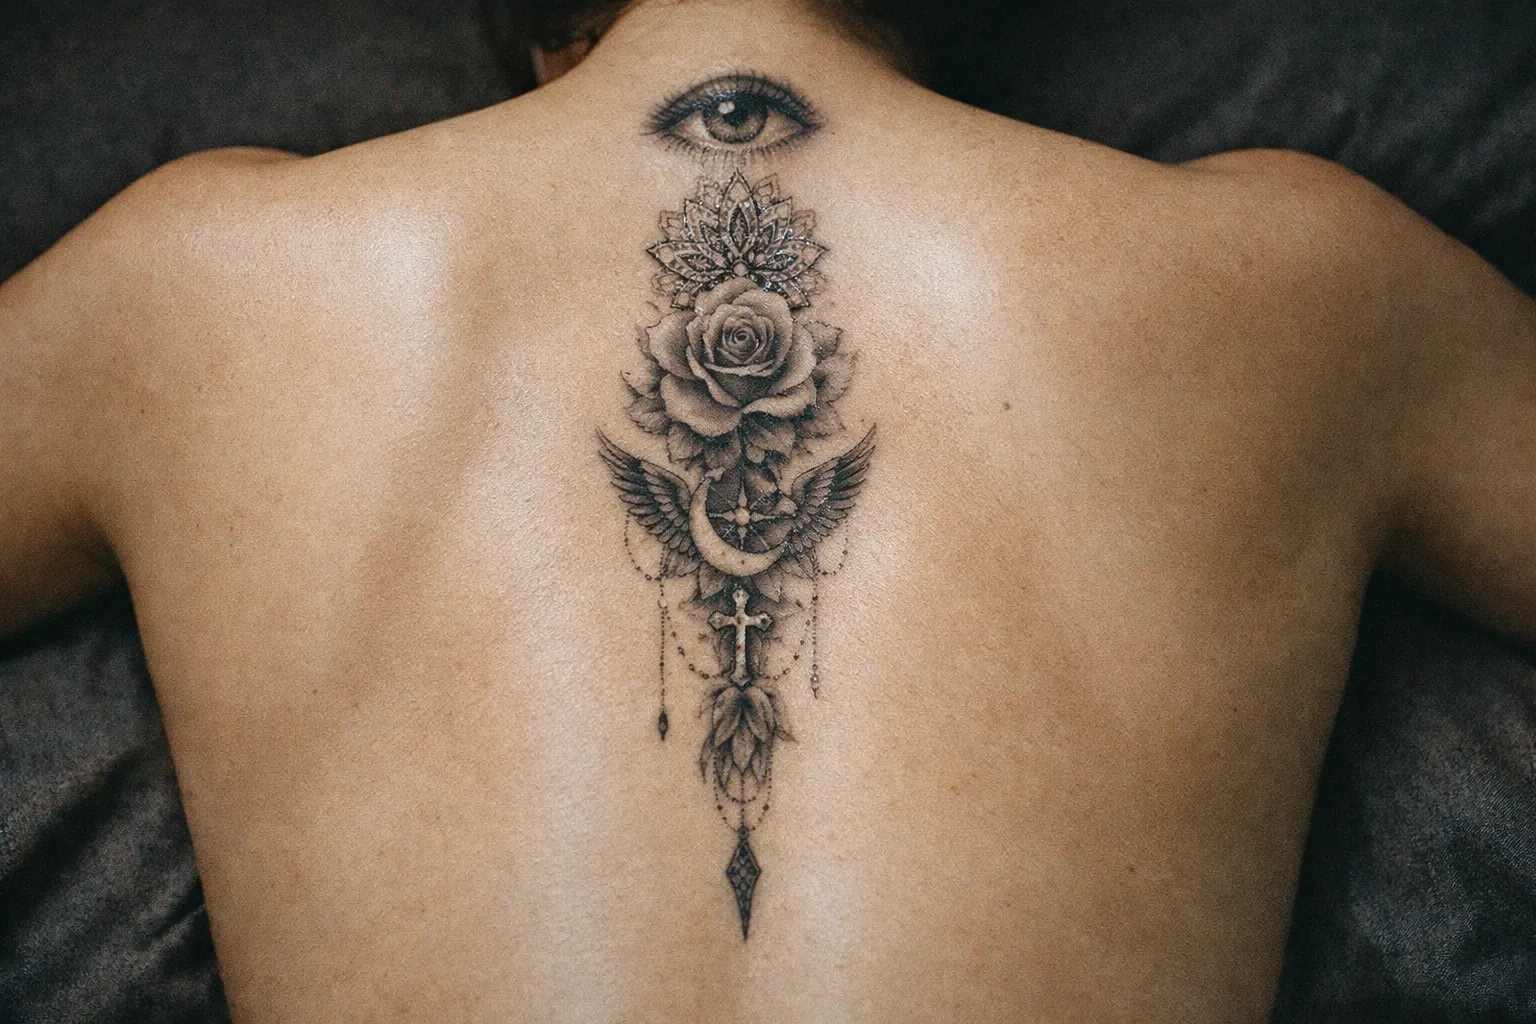
That distinction matters more than people realize. A shoulder blade piece or an upper back mandala has 15-20 cm of lateral space to work with, which forgives small placement errors. The spine gives you a strip only a few centimeters wide, running along the one line your eye uses as the body’s reference for straightness. This is what makes it categorically different from the rest of the back placement family, and why the technical constraints below are specific to it.
For anatomical context: the spinal cord itself measures about 45 cm in adult men and about 43 cm in adult women, running from the base of the neck to roughly the first or second lumbar vertebra. The vertebral column is longer, around 70 cm in men and 60 cm in women. A “full spine” tattoo from C7 to S1 follows the visible midline over most of that length, landing in that 40-60 cm range.
Upper, Mid, and Lower Spine: Three Different Placements in One
Each segment behaves differently enough that treating “the spine” as one placement is a mistake. I’ve worked on clients who sailed through mid-spine sessions and then hit a wall the moment we moved into the lower lumbar. These are genuinely different experiences.
Upper spine runs from the nape to about mid-shoulder-blade level, roughly 10-20 cm. It’s the easiest segment to conceal (a standard collar covers it) and it’s often reported as more tolerable pain-wise thanks to the muscle cushioning around the upper thoracic vertebrae. Short scripts, small mandalas, and minimalist symbols sit well here, and most fit into a single 1-2 hour session.
Mid-spine runs from between the shoulder blades down to the lower ribcage. It’s the most popular segment, carries moderate pain, and accommodates vertical florals, geometric lines, and longer scripts. This is where most narrative spine pieces live.
Lower spine, from the lumbar region down to the tailbone and sacrum, is the highest-pain segment and the most hidden under a waistband. It gets used for small symbols or as the terminal end of a full-length piece. If you’re extending a design all the way down, schedule this segment for a session when you already know your pain tolerance, not your first sitting.
The Vertical Symmetry Problem (And How Artists Solve It)
The spine is the body’s central axis, which means any deviation in stencil placement is immediately visible. A misalignment of even 1-2 mm compounds over 40+ cm of vertical length. On a broad placement, a small drift disappears into the surrounding space. On the spine, the eye constantly compares your line against the natural centerline of your back, so there’s nowhere for an error to hide.
Good artists solve this before the needle touches skin. The stencil should go on while you’re standing or sitting straight, not lying prone, because your posture determines where the midline actually sits. A plumb-line check against the vertebral prominences keeps the design centered, and a careful artist works with the spine’s natural curve rather than forcing a rigid vertical over it. The spinal column isn’t a straight rod: it has cervical, thoracic, and lumbar curves, and mapping a design from C7 to S1 can deviate several centimeters from a pure vertical plumb line.
Your posture during stencil application is the variable most people ignore. Slouch, and the thoracic curve increases, shifting the apparent midline by several millimeters across the mid-back. That drift only becomes obvious once you stand fully upright, by which point the ink is permanent. Stand in your natural posture, not braced rigid, not hunched.
Ask to see the stencil in a mirror before you lie down. Once you’re prone, small shifts in how you settle onto the table can skew the line, and the artist is now working off a reference that may no longer be centered on the standing you.
Design Choices That Work With the Spine’s Natural Curve
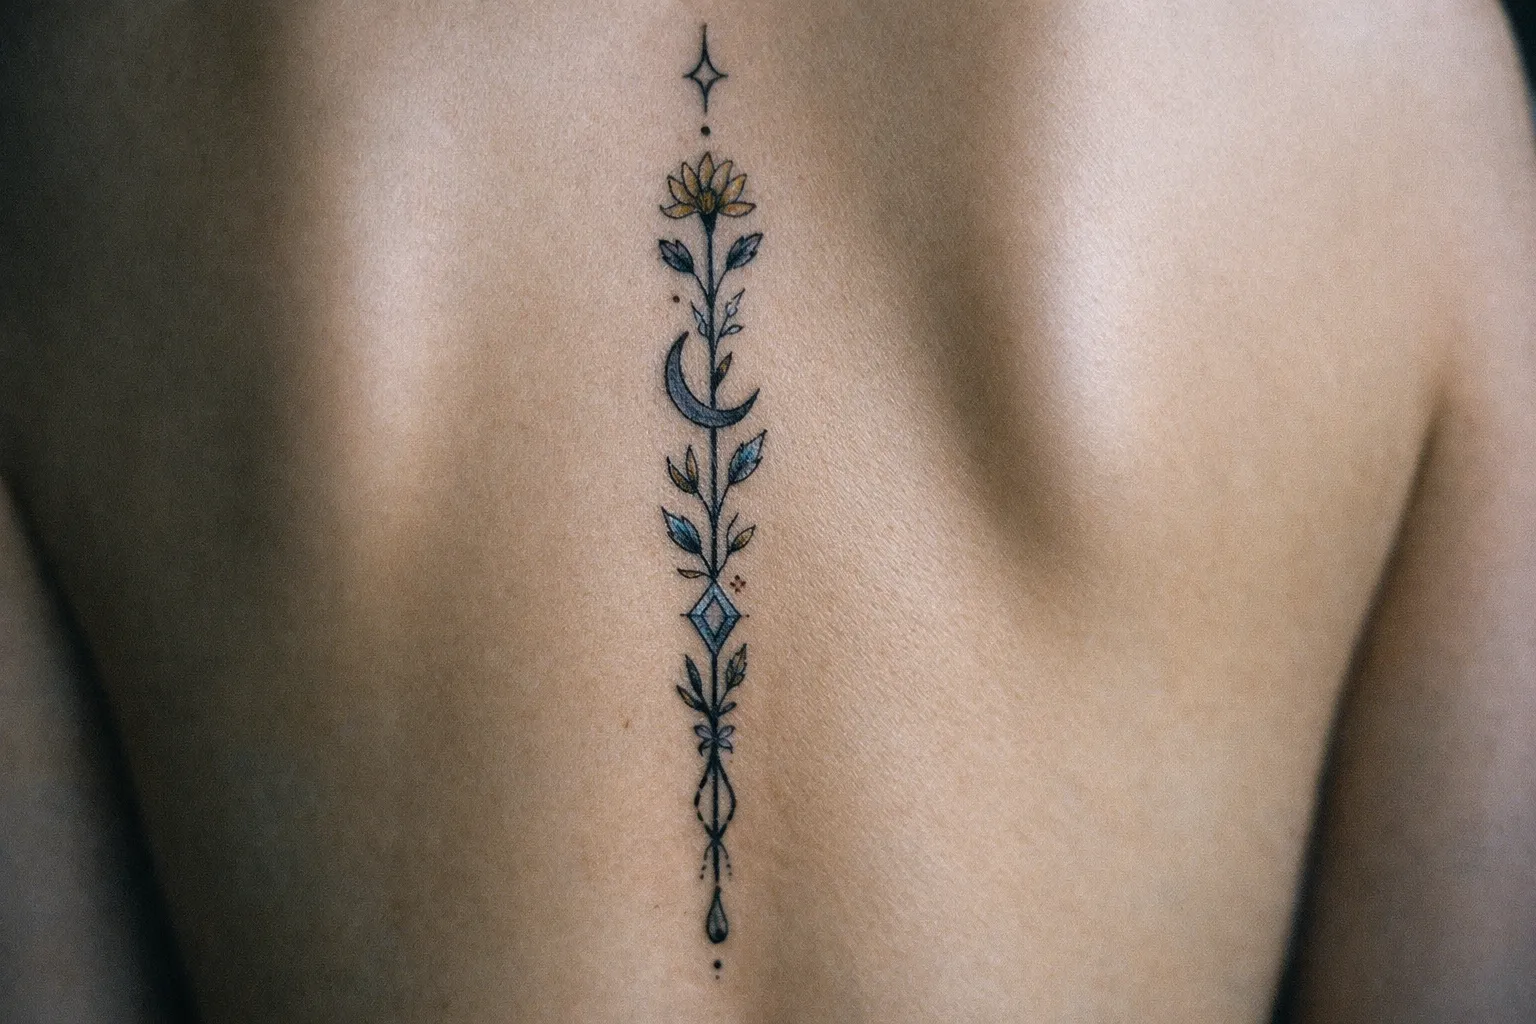
Not every design carries the same symmetry burden. Organic compositions (trailing vines, serpentine scripts, flowing florals) tolerate minor asymmetry because there’s no rigid reference line for the eye to catch. A vine that wanders slightly reads as intentional. A geometric straight line that wanders reads as a mistake.
Ultra-fine straight lines placed exactly on the midline are the hardest thing to execute cleanly on this placement and the most likely to expose any deviation. Perfectly mirrored bilateral elements are just as punishing. If you want a design that ages well and forgives the artist a fraction of a millimeter, lean organic. If you’re set on rigid geometry, understand you’re choosing the least forgiving option on the least forgiving placement, and pick a specialist accordingly.
How the Spine’s Movement Affects Line Quality Over Time
The back bends, twists, and stretches all day, and the spine is the axis of that movement, so ink placed directly on the midline experiences more mechanical stress than ink sitting on the relatively stable upper lats. This is the trade-off nobody discusses at a first consultation and everybody notices five years later.
Here’s the biology. Surface healing, the epidermis closing and shedding, completes in about 2-3 weeks. The dermis where the ink actually sits keeps remodeling for 6-12 weeks in the deep dermal phase, and collagen reorganization around the pigment can continue for months. During that window the skin is biologically unstable, and it’s exactly when fine lines are most vulnerable to softening. On a high-movement zone, high-tension segments see more collagen remodeling, which is why straight lines across the back can show subtle distortion over time that the same lines on a forearm wouldn’t.
Fine single-needle lines on the midline carry the highest long-term risk here. Blowout risk is actually lower on the back than on thin-skin areas like the inner wrist, but long-term softening is real, and visible warping when you bend or your weight fluctuates is the honest downside of delicate work on a moving placement.
Weight changes and postural shifts over years can distort a perfectly aligned piece. Worth raising at consultation, not discovering later. And if you’re getting script down the spine, letter height matters: script characters under roughly ½ inch (12-13 mm) risk losing legibility as the skin ages and the ink softens. Plan for adequate letter size from the start.
Fine Line vs. Heavier Linework: What Actually Holds on a Moving Placement
Fine-line minimalist designs are enormously popular on the spine, and they look razor-sharp fresh. They also carry the highest long-term risk of softening and distortion on this specific placement. That’s not an argument against them; it’s an argument for going in with clear eyes.
A step up in line weight (not American traditional thick outlines, just heavier than single-needle) holds a design’s structure far better through years of movement. The extra ink gives the line something to lose before it reads as blurred. Blackwork with solid fills ages the most predictably of all, because a solid shape tolerates a little softening at its edges without losing its form. If you want the delicate fine-line look and you want it to still look intentional in ten years, that’s a genuine tension, and the honest resolution is usually meeting in the middle on line weight.
Spine Tattoo Pain: Honest Breakdown by Segment
Treating spine tattoo pain as a single number is misleading, because it varies enormously by segment and by person. Some people describe the upper and mid-spine as ticklish or nearly painless, and a few genuinely fall asleep during shorter sessions. Others hit the lower spine and describe it as among the worst tattoo pain they’ve experienced, with nausea reported in extreme cases. Both accounts are true; they’re just describing different vertebrae.
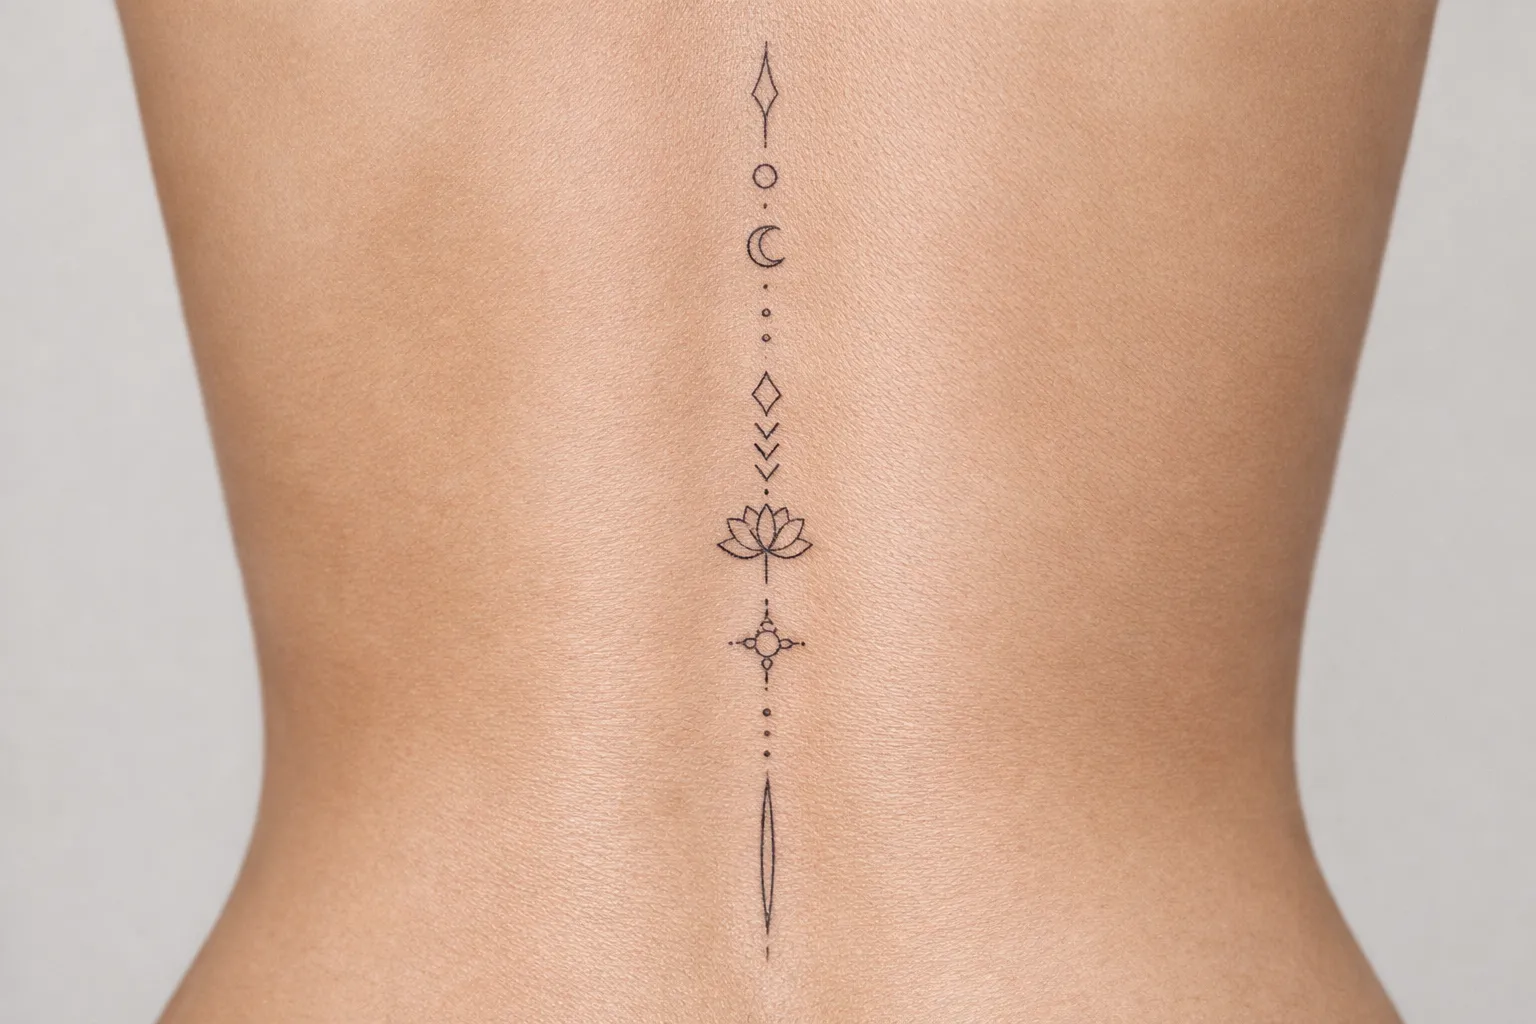
The upper and mid-spine sit over muscle that cushions the vibration, and the paraspinal muscles are less brutal than the areas around them. The lower spine and sacrum are a different story. The dorsal rami of the spinal nerves run closer to the surface around the sacrum and coccyx, and the bony prominence there means less soft tissue between the needle and bone. Worth noting: this pain has nothing to do with proximity to the spinal cord. The cord ends around the first or second lumbar vertebra, and below that the canal holds only nerve roots. Tattooing the lower spine doesn’t go anywhere near the cord; the pain is superficial nerve endings and bone, not depth.
Then there’s the sensation people never see coming: vibration. The buzz of the machine traveling along the spine creates an intense, resonant hum that some find harder to sit through than sharp pain, especially deep into a 4-6 hour session. It’s a distinct experience, and it catches first-timers off guard every time.
Why Adjacent Structures Often Hurt More Than the Spine Itself
Here’s the part that surprises people: pain distribution along the spine is uneven, and the structures beside the midline can hit harder than the vertebral line itself, or, depending on the segment, the spine can be the worst of it.
The shoulder blades are bony, with little soft tissue over the scapula, so the machine vibrates close to bone and that stretch reads harder than the muscle around it. The midline is harder still. Saniderm’s pain chart puts the back as a whole at 5-8 out of 10 and marks the spine itself “very painful”, and it frames the comparison in relative terms: placing a design off to either side of the spine makes a back session “much more comfortable” than tattooing the spine itself (5). Our own pain chart lands in the same place, with the upper back away from the spine at 4-6 and the spine at 6-8.
The practical implication: if your design extends off the midline, plan your breaks around the bony stretches rather than assuming the whole back behaves the same. The vertebral line is the part that will test you most, with the ribcage flanking it a close second.
First Tattoo on the Spine: What the Accounts Actually Say
Forum accounts split pretty cleanly on this. Forum accounts from first-timers often report the spine as manageable: “ticklish,” one describing falling asleep during the procedure. Others warned that the mid-back and lower spine were rougher than they’d braced for, which lines up with pain chart data rating the spine as “very painful” in its more intense segments.
The honest read: upper or mid-spine for a first tattoo is a reasonable choice for someone with moderate pain tolerance. Lower spine to tailbone as a debut piece is a gamble: you have no reference point, and it’s the harshest segment. A short segment of 10-20 cm is far more accessible for a first session than a full-length piece, and starting small lets you extend later once you actually know how your body responds.
Session Planning: How Long It Actually Takes
Session length on the spine scales with size and detail, and the biggest planning mistake is booking a marathon single sitting for an ambitious piece. Here’s the realistic breakdown.
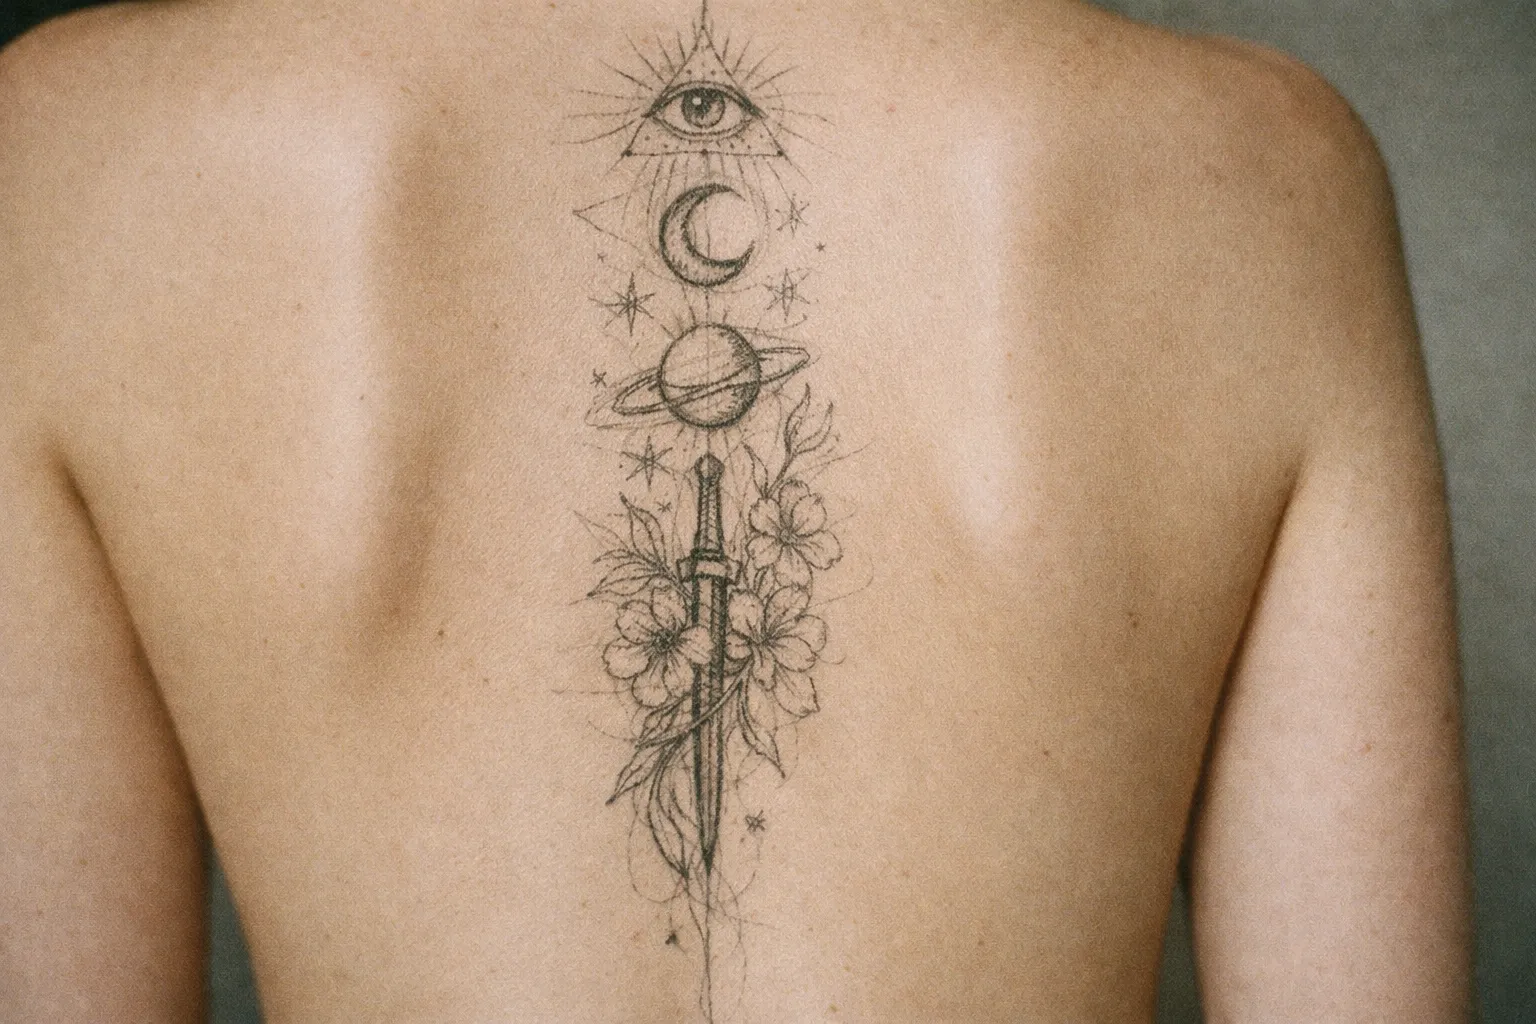
A small segmental piece of 5-10 cm typically runs 1-2 hours in a single session, the accessible entry point for a first-timer. A medium piece of 10-20 cm with moderate detail runs 3-4 hours, done as one longer session or split into two shorter ones. A large multi-segment piece of 20-35 cm runs 4-6 hours and is best split, with outline and shading in separate sessions. A full spine from C7 to S1, 40-60 cm, is 6-10+ hours of total work and should never be attempted in one sitting; plan on 2-3 sessions of 3-4 hours each.
To lay that out plainly: small pieces need one session and make a good first-timer entry point; medium pieces need one or two; large pieces need two, with the outline and shading separated; and a full spine needs two or three sessions minimum.
Why split? Because people run out of road. Multiple accounts describe having to stop at 3.5-4 hours because of pain, nausea, or plain exhaustion. In a 2021 r/tattoo thread, a user with chronic back issues found their spine session unbearable and had to stop around 3.5-4 hours, followed by nausea far more intense than they’d expected. An aborted session leaves you with an incomplete piece, which is a real risk of over-ambitious single-session planning.
The prone position is its own factor, separate from needle pain. Lying face-down for 4-6 hours puts accumulating pressure on your chest and hips, and people with existing back problems report this as particularly rough: maintaining spinal extension on a flat table loads the lumbar facets and paraspinal muscles for hours.
How to Structure a Multi-Session Full Spine Project
For a full-length project, sequence it deliberately. Session one should establish the composition: outline the full design, or at minimum the upper segment, so the alignment and layout are locked in before any shading commits the piece. Session two onward handles shading and detail, segment by segment. Schedule the lower spine and tailbone segments for sittings when you already know your tolerance, not the first day.
Space major sessions 3-6 weeks apart so the surface heals fully before you go back over adjacent skin, because surface healing needs 2-3 weeks minimum, and full dermal settling runs 4-6 weeks. Within each session, plan breaks around the high-pain zones: tell your artist before you start that you’ll want to pause when the work moves onto the shoulder blades or lower lats. Communicating that up front beats jerking away mid-line when the pain spikes.
Session Planning by Piece Size
| Small (5-10 cm) | Medium (10-20 cm) | Large (20-35 cm) | Full spine (40-60 cm) | |
|---|---|---|---|---|
| Approximate Length | Single segment | Partial spine | Multi-segment | C7 to S1 |
| Typical Session Time | 1-2 hours | 3-4 hours | 4-6 hours | 6-10+ hours total |
| Sessions Needed | 1 | 1-2 | 2 | 2-3+ |
| Notes | Good first-timer entry point | One longer or two shorter sessions | Split outline and shading | Never attempt in one sitting |
Is Risky? Skin, Health, and Practical Considerations
A spine tattoo is not medically dangerous for a healthy person, despite the persistent myth. The fear that tattooing near the spine risks nerve damage or spinal injury isn’t supported by anatomy: the needle places pigment into the mid-dermis, a few millimeters below the surface, which stays well superficial to spinal ligaments, the vertebral canal, and the cord itself. Ordinary tattooing over the spine simply doesn’t reach those structures.
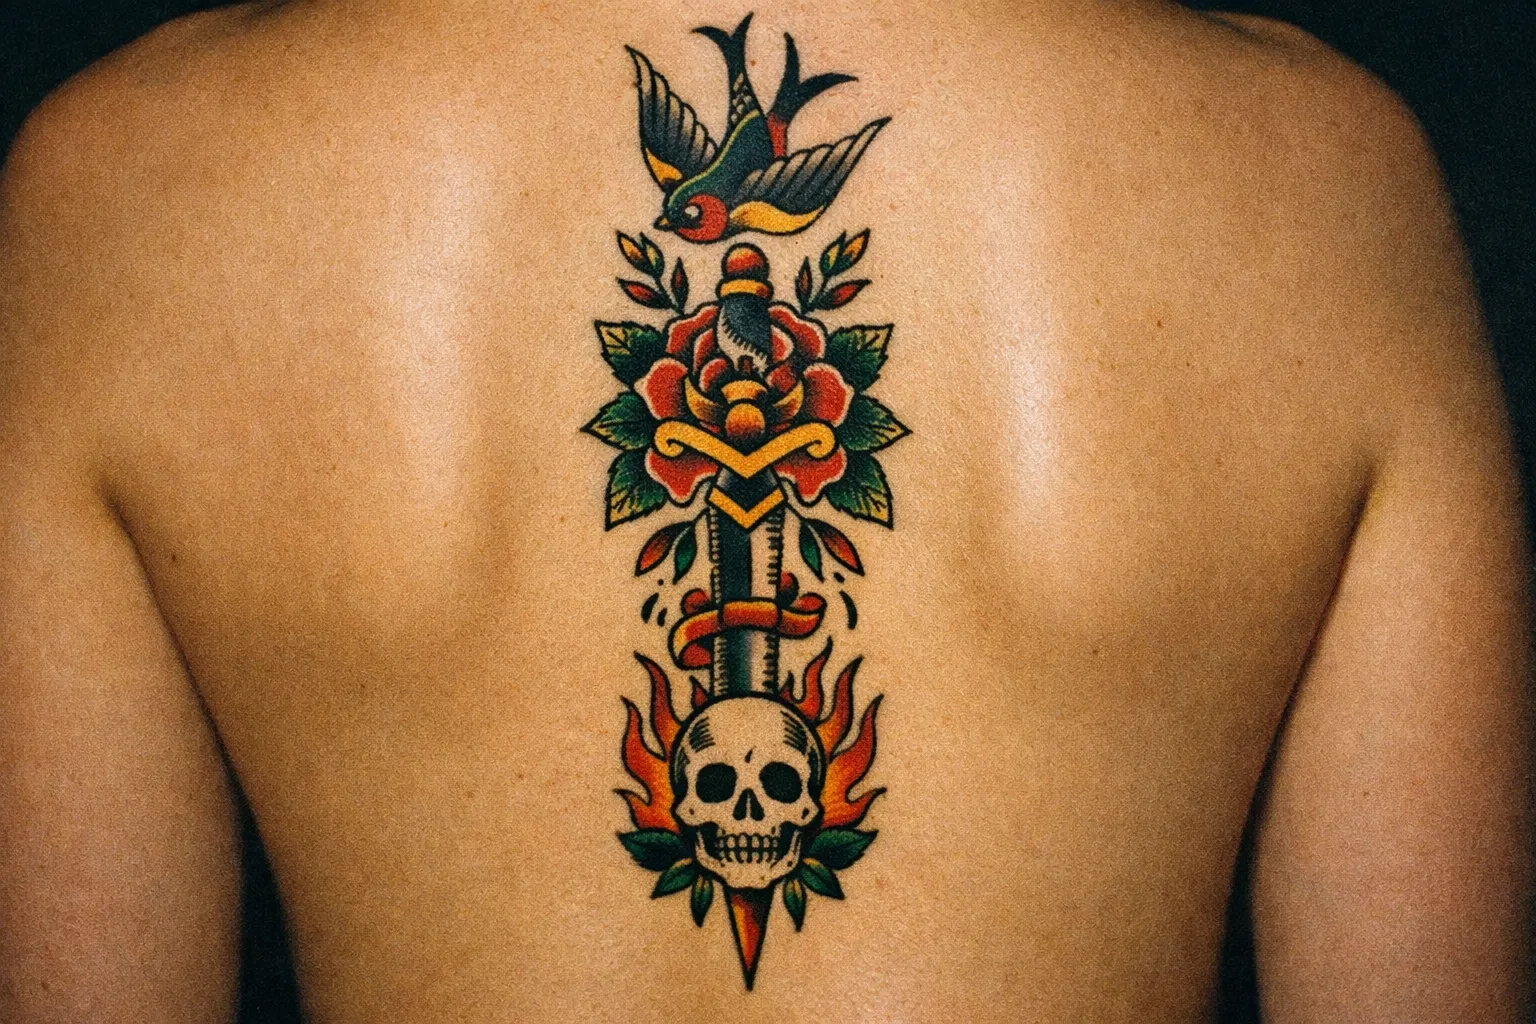
The real risks are practical, not neurological. Active acne, eczema, or significant scarring along the planned line can compromise linework quality and raise blowout risk, because inflamed skin already has a disrupted barrier, which impairs healing and increases the odds of scarring, especially along a long linear placement. These are the actual contraindications, and they’re worth resolving before you book.
Chronic back issues change the calculus too. People with existing back problems consistently report more intense sessions, because the prone position for 3-4+ hours aggravates pain that’s already there. Shorter sessions and explicit communication with your artist aren’t optional here; they’re how you get through it without an aborted appointment.
Skin condition on the day matters. Sunburn, irritation, or broken skin on the back should push the appointment back; tattooing over compromised skin hurts ink retention and healing, and the back is a difficult area to self-inspect if something goes wrong.
The honest summary: spine tattoos carry no realistic medical danger for healthy people, but they carry higher practical risk than a forearm or outer-arm placement, specifically around session management, healing logistics, and long-term line stability. That’s a manageable set of risks, but it’s a real one.
Visibility and Concealment: The Placement’s Practical Appeal
The spine is one of the most concealable placements on the body. Any standard shirt, blouse, or jacket covers it completely, with no wardrobe management required for professional settings. Because the actual tattoo corridor is only a few centimeters wide and runs down the center of the back, essentially any garment with a full back panel hides it. In practice, the spine offers one of the largest tattoo canvases that stays 100% covered by ordinary office clothing.
Then it’s visible on demand. Open-back tops, swimwear, and low-back dresses reveal the full piece, and you control exactly when that happens. That on/off flexibility is a big part of why the spine draws people in conservative professional environments who still want significant body art.
Clothing becomes a design constraint worth planning around. A standard crew-neck collar sits roughly at the C7 level, so positioning the top of the piece just below that line keeps it hidden under most shirts. At the bottom, placing the design above the natural waistband (a few centimeters above the iliac crest) keeps it concealed under regular trousers and skirts while still letting it extend most of the spine’s length. The lumbar region alone spans roughly 15-20 cm, giving you room to work with.
Upper spine pieces near the nape add another layer of control unique to that segment: a small tattoo within about 5 cm of C7 shows with your hair up and vanishes with it down. If you want maximum reveal-or-hide flexibility, that’s the segment for it. For the lower end of the spectrum, the lower back placement shares much of the same concealment logic for the lumbar-to-sacrum zone.
Healing: The Specific Challenges of This Placement
Spine tattoo healing follows the standard timeline but comes with placement-specific complications that generic aftercare advice skips. Surface healing takes 2-3 weeks, full dermal healing runs 4-6 weeks, and dense or heavily shaded work can push closer to six. The complications are all about where the tattoo sits.
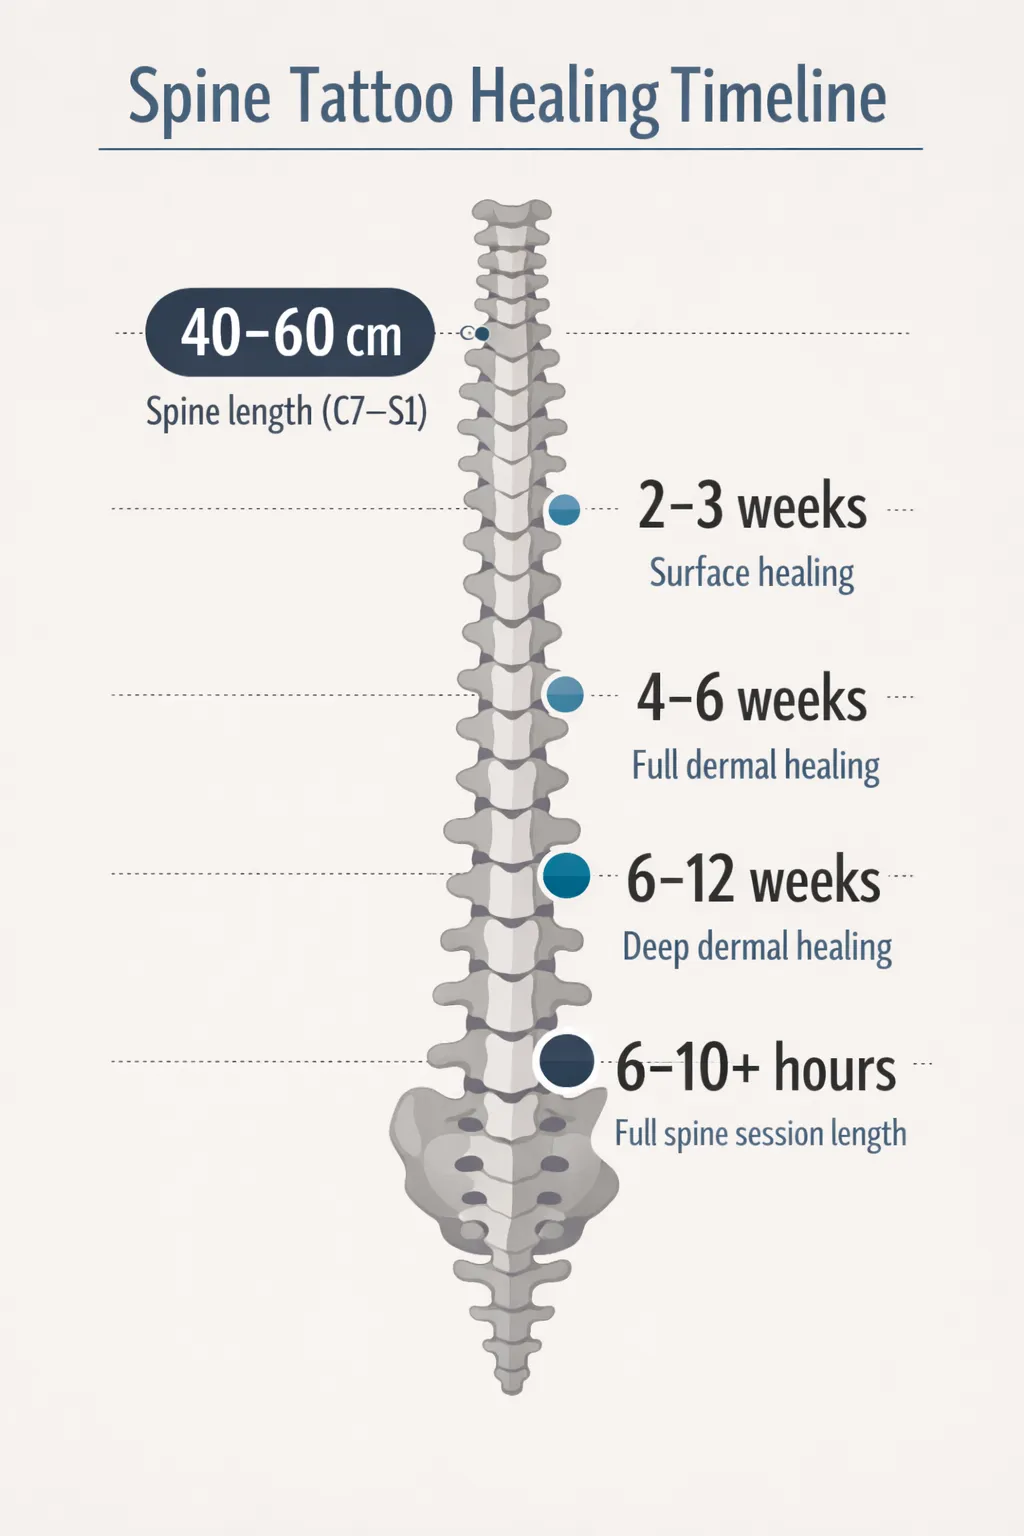 Timeline of spine tattoo healing and session length, using canonical figures: 40-60 cm spine, epidermal 2-3 weeks, full dermal 4-6 weeks, deep dermal 6-12 weeks, and 6-10+ hours for a full spine session.
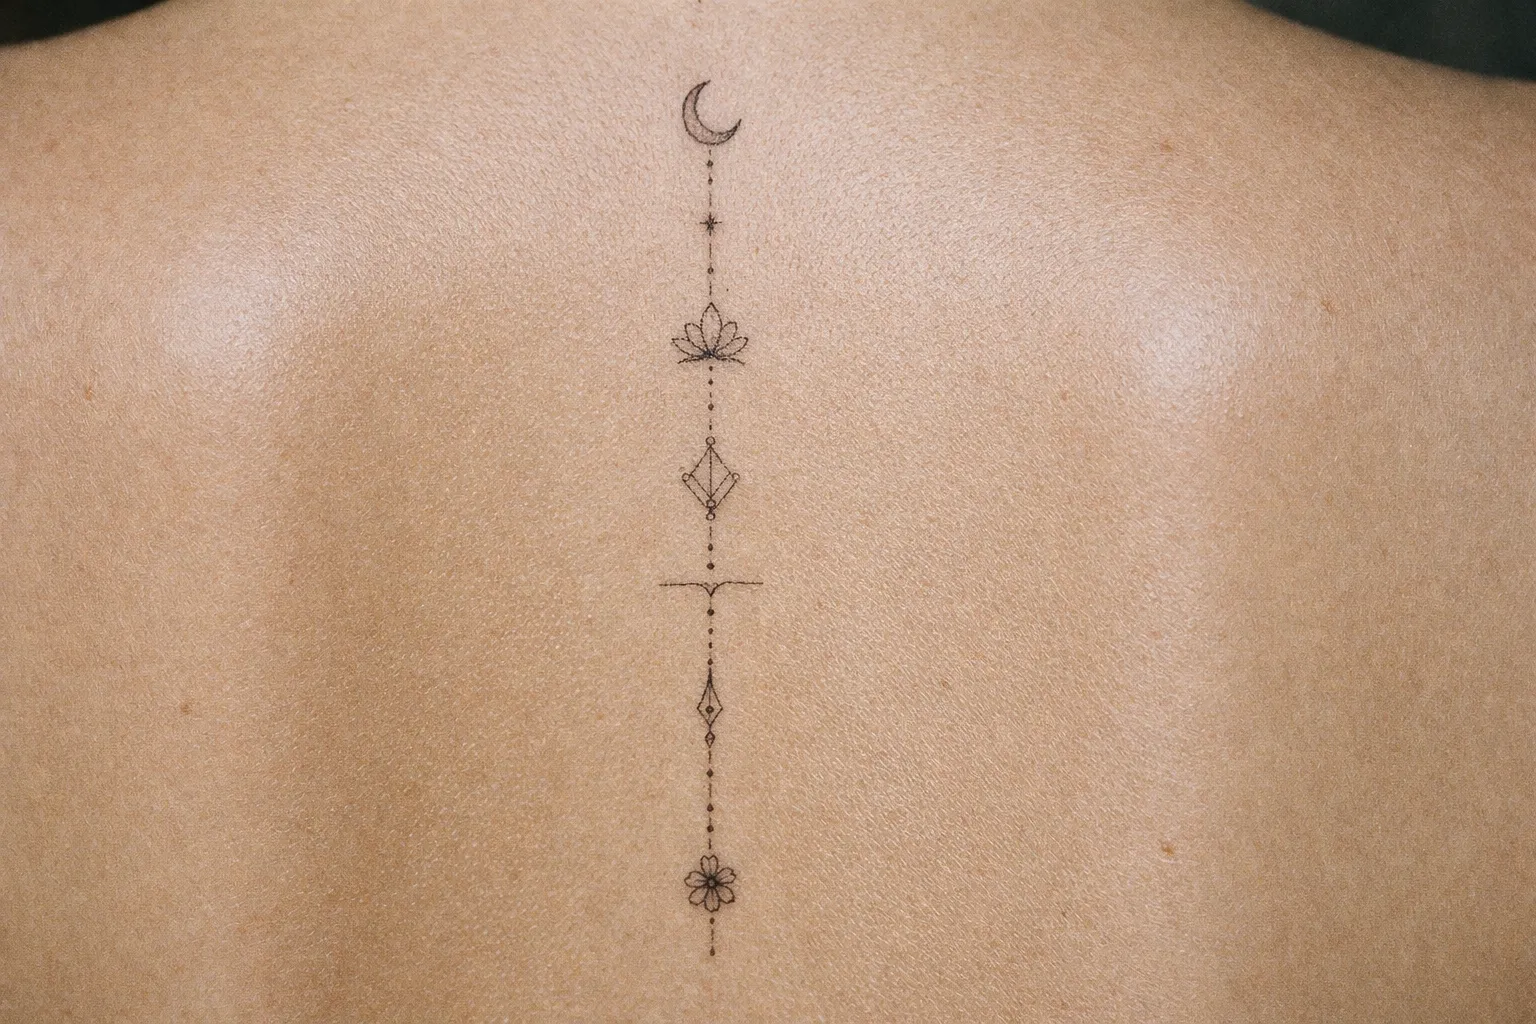
Clothing friction is the primary hazard. Bra straps, backpack straps, waistbands, and fitted sportswear all cross the spine, and every one of them threatens fresh ink during the first 1-2 weeks. This needs active management, not passive hope.
Sleep is the second problem. Lying flat on your back presses the tattoo into the bedding, so sleeping prone or on your side is standard for the first week. Some people use a travel pillow positioned to keep direct pressure off the tattoo entirely.
The itch phase deserves a specific warning. Multiple accounts describe the 1-2 week itching on the spine as intense, more demanding than on many placements, partly because the area is large and hard to reach, and partly because you can’t easily distract yourself from it. No scratching, no exception; disrupting scabs on a long linear piece creates patchy color loss that’s a nightmare to fix.
Activity restrictions apply too. Skip swimming, baths, and hot tubs until fully healed, and limit intense back-stretching exercise (yoga, heavy lifting with spinal flexion) for the first two weeks. Deep dermal healing continues for 6-12 weeks, so reintroduce high-stretch activity cautiously across the first 4-6 weeks rather than jumping straight back in.
Wear Timeline: What to Avoid and When
Days 1-3: The tattoo is a fresh open wound and soreness peaks. Wear loose cotton tops or button-downs only, keep any strap or waistband off the tattoo, and sleep prone or on your side.
Week 1: Peeling begins. Continue with loose clothing and keep avoiding strap and waistband friction. No swimming or soaking. Clean the tattoo 2-3 times daily with a fragrance-free soap, pat dry with a paper towel, and apply a thin layer of the ointment your artist recommends. This is the friction-critical window: flakes and scabs are forming and shedding, and mechanical disruption now causes lasting damage.
Weeks 2-4: The itch peaks then subsides, and surface healing is largely complete by the end of week 2-3. Full dermal healing still takes 4-6 weeks. Bra straps and backpacks can resume cautiously once the surface is fully closed and no longer tender. If you’re heading outside during this phase, sun-protective clothing over the area is worth the inconvenience, because UV exposure on healing skin fades ink faster and can disrupt pigment before it’s fully settled.
The Bra Question: Practical Answers
You can’t wear a bra normally right after a back tattoo, because standard straps cross the mid-spine and shoulder-blade area, exactly where most spine tattoos sit. Wearing one during the first 1-2 weeks risks friction, scab disruption, and uneven healing.
The workarounds: strapless bras, bralettes with thin straps positioned away from the tattoo, or going without for the first week where that’s practical. The worst offender is a sports bra with a wide back band: it sits directly across the tattooed zone under tension. Avoid those entirely until the surface has fully healed, typically 2-3 weeks minimum.
Before You Book: What to Prepare and What to Tell Your Artist
Preparation determines a surprising amount of the outcome on a placement this demanding. Get the physical prep right, brief your artist honestly, and catch alignment issues before they’re permanent. Here’s how to prepare for a spine tattoo session:
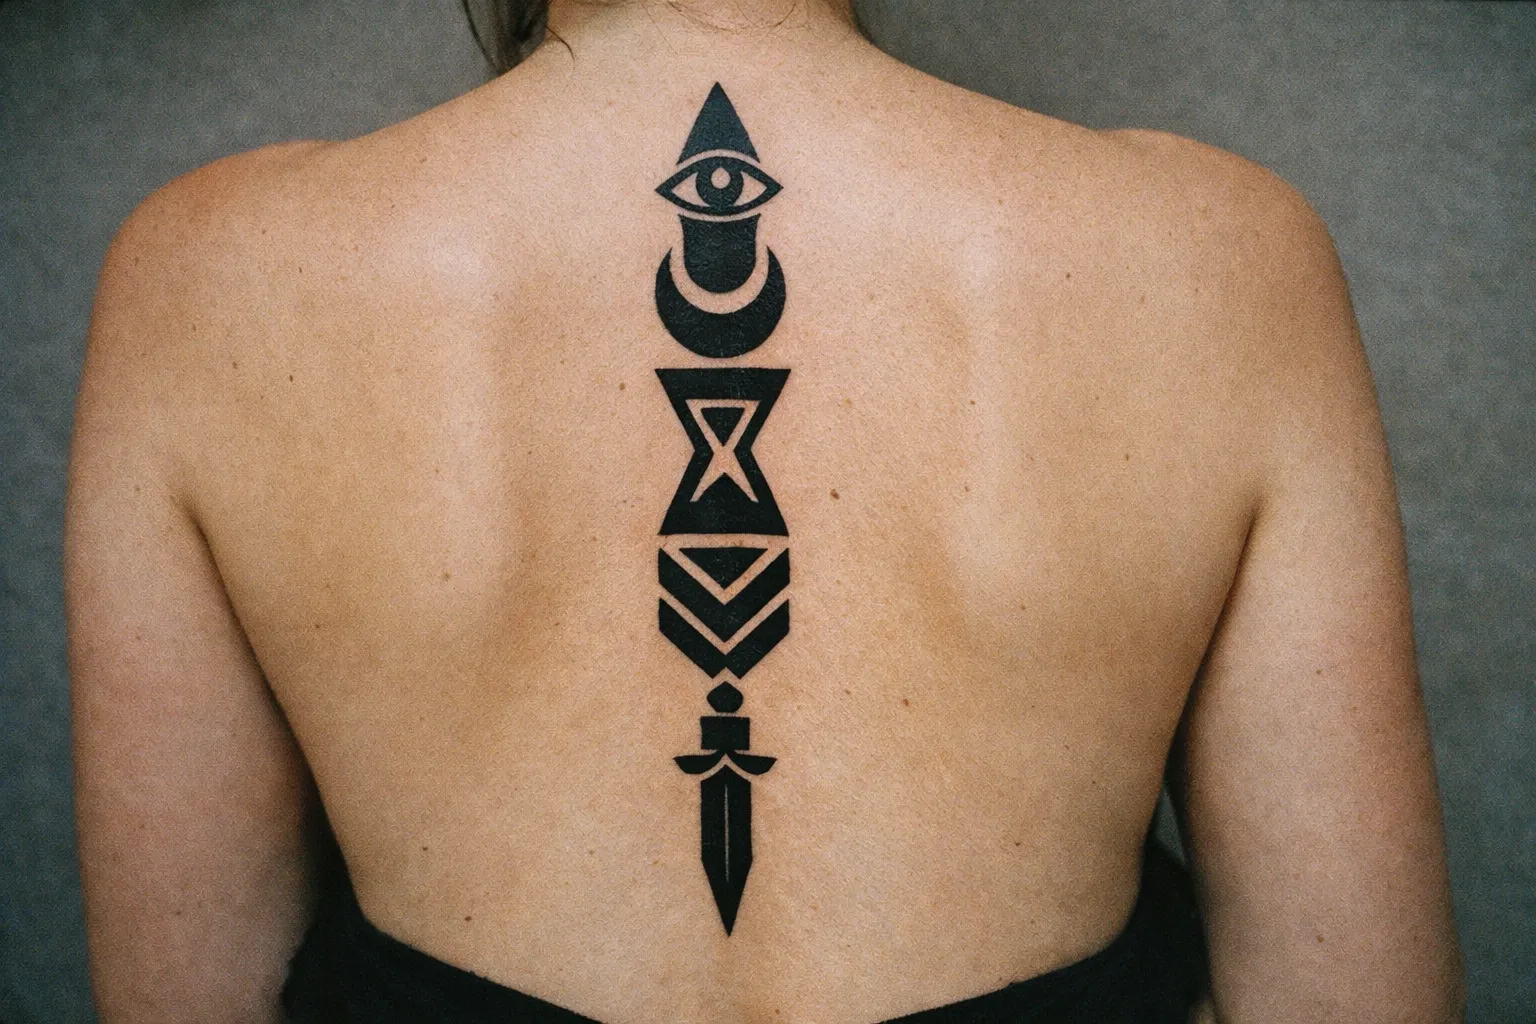
How to Prepare for a Spine Tattoo Session
About 2 hoursKey steps to physically and logistically prepare for your spine tattoo appointment
- 1
Eat a full meal 1-2 hours before your appointment
Low blood sugar amplifies pain and raises faintness risk during long prone sessions.
- 2
Hydrate the day before and morning of
Well-hydrated skin takes ink more evenly and helps you endure the session.
- 3
Avoid alcohol for at least 24 hours beforehand
Alcohol thins blood, increases bleeding and pain sensitivity.
- 4
Wear a loose button-down or zip-up to the studio
Avoid pulling fabric over a fresh tattoo when leaving; plan post-session outfits.
- 5
Stand straight during stencil application
Your natural posture determines the midline; slouching shifts the stencil.
- 6
Review the stencil in a mirror before lying down
Confirm vertical alignment is centered; this is your chance to catch errors.
- 7
Communicate your limits
Tell the artist if you need breaks; pausing cleanly preserves line quality.
Beyond the checklist, use the consultation to tell your artist what actually affects the work: your honest pain tolerance, any chronic back issues, how long you can realistically hold a prone position, and your clothing and lifestyle constraints during healing. Come with clean, moisturized skin (moisturize in the days leading up, not on the day itself) and no sunburn or active breakouts on the back. If you’re still weighing this against other options, it’s worth comparing placements before you commit, because the spine asks more of you than most.
Frequently Asked Questions
Frequently Asked Questions
- Are spine tattoos really painful?
- Pain varies significantly by segment and individual. Some people describe the upper and mid-spine as ticklish or nearly painless; others find the lower spine and tailbone among the worst pain they've experienced, with nausea in extreme cases. Saniderm's pain chart marks the spine itself 'very painful' and advises placing designs to either side of it for a more comfortable session, so the central line is not the easy part. Vibration from the machine traveling along the spine is a distinct sensation that catches many first-timers off guard.
- Is a spine tattoo a back tattoo?
- Yes, a spine tattoo is a specific subset of back tattoos. It follows the vertebral midline from the nape (C7) to the tailbone (S1), or a segment of that range. It's distinct from broader back placements because it occupies a narrow vertical corridor rather than a broad surface area.
- Is it risky to get a spine tattoo?
- Not medically, for healthy people. The needle reaches only the dermis, nowhere near spinal structures. Real risks are practical: active skin conditions can compromise linework; chronic back issues make the prone position harder; and movement makes ultra-fine linework prone to distortion.
- Can I wear a bra after a back tattoo?
- Not immediately. Standard bra straps cross the mid-spine and shoulder-blade area, creating friction on fresh ink. For 1-2 weeks, use strapless bras, thin-strap bralettes positioned away from the tattoo, or go without. Wide-band sports bras should wait until full healing.
- How long does a spine tattoo take to heal?
- Surface healing takes 2-3 weeks; full dermal healing 3-4 weeks or up to 6 for dense work. The itch phase peaks around weeks 1-2 and is often more intense on the spine due to the large, hard-to-reach area.
- Can I get a spine tattoo as my first tattoo?
- Upper or mid-spine in a 10-20 cm segment is reasonable for moderate pain tolerance. A full-length piece is a significant undertaking, especially the lower spine. Starting with a partial piece is more manageable.
- Do spine tattoos age well?
- Design choice matters. Organic designs with adequate line weight hold structure better than ultra-fine single-needle lines. The spine's constant movement causes distortion in rigid, thin designs. Scripts should keep letter height above ½ inch (12-13 mm) for legibility.
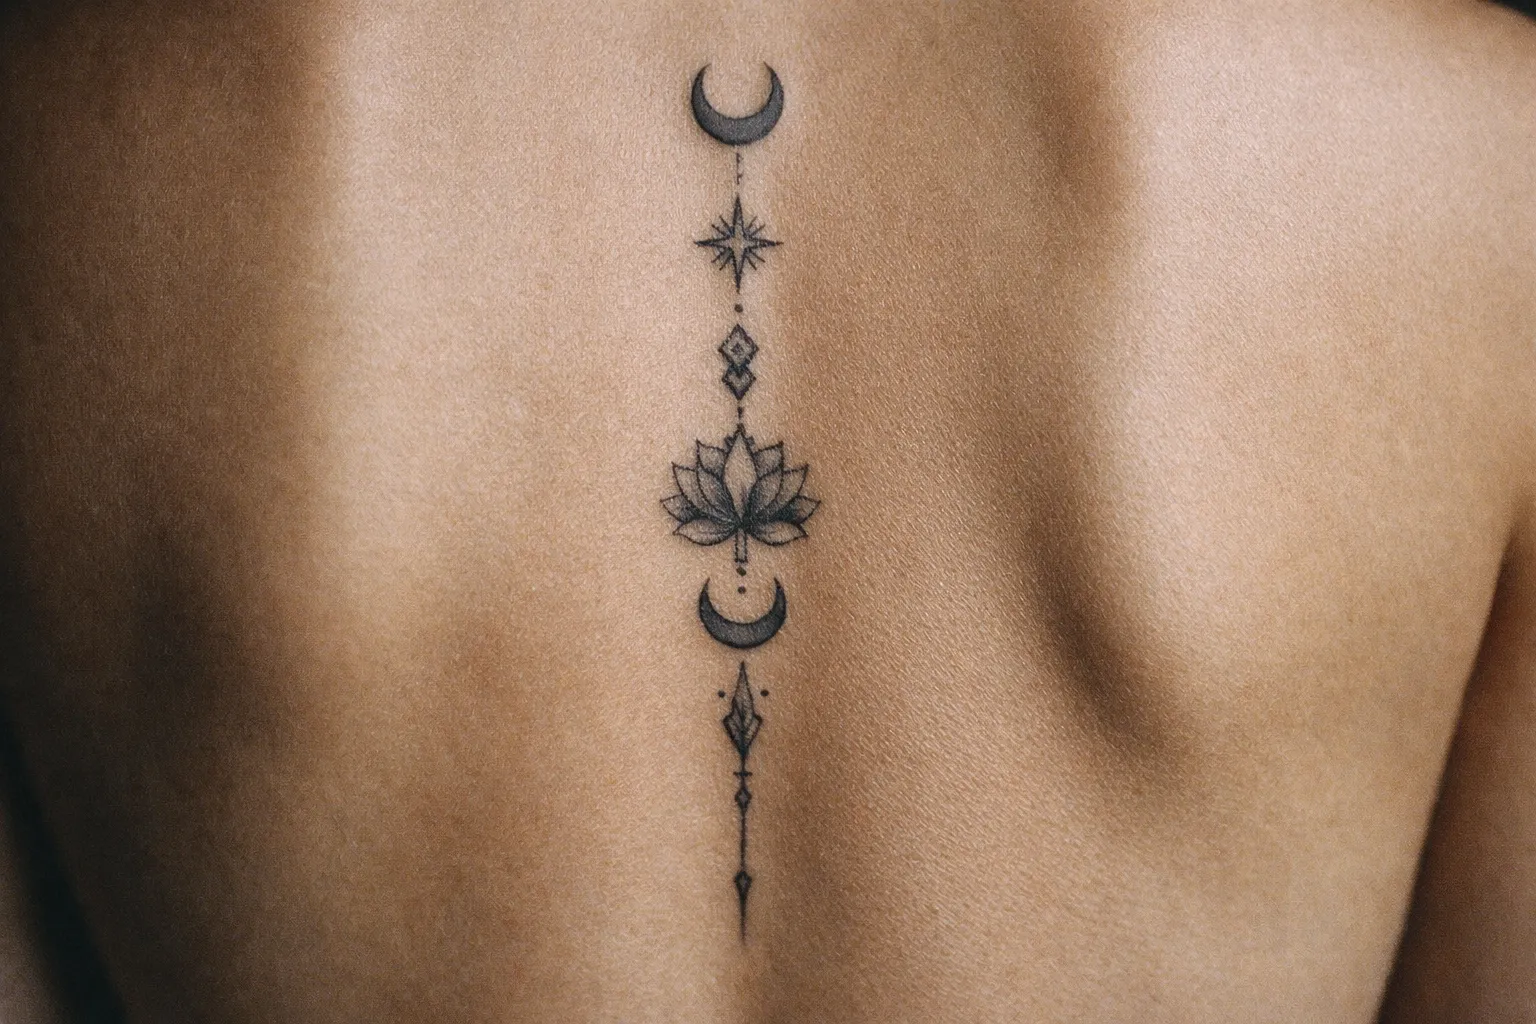
The Three Things That Actually Determine How a Spine Tattoo Turns Out
Strip away everything else and three decisions carry the outcome.
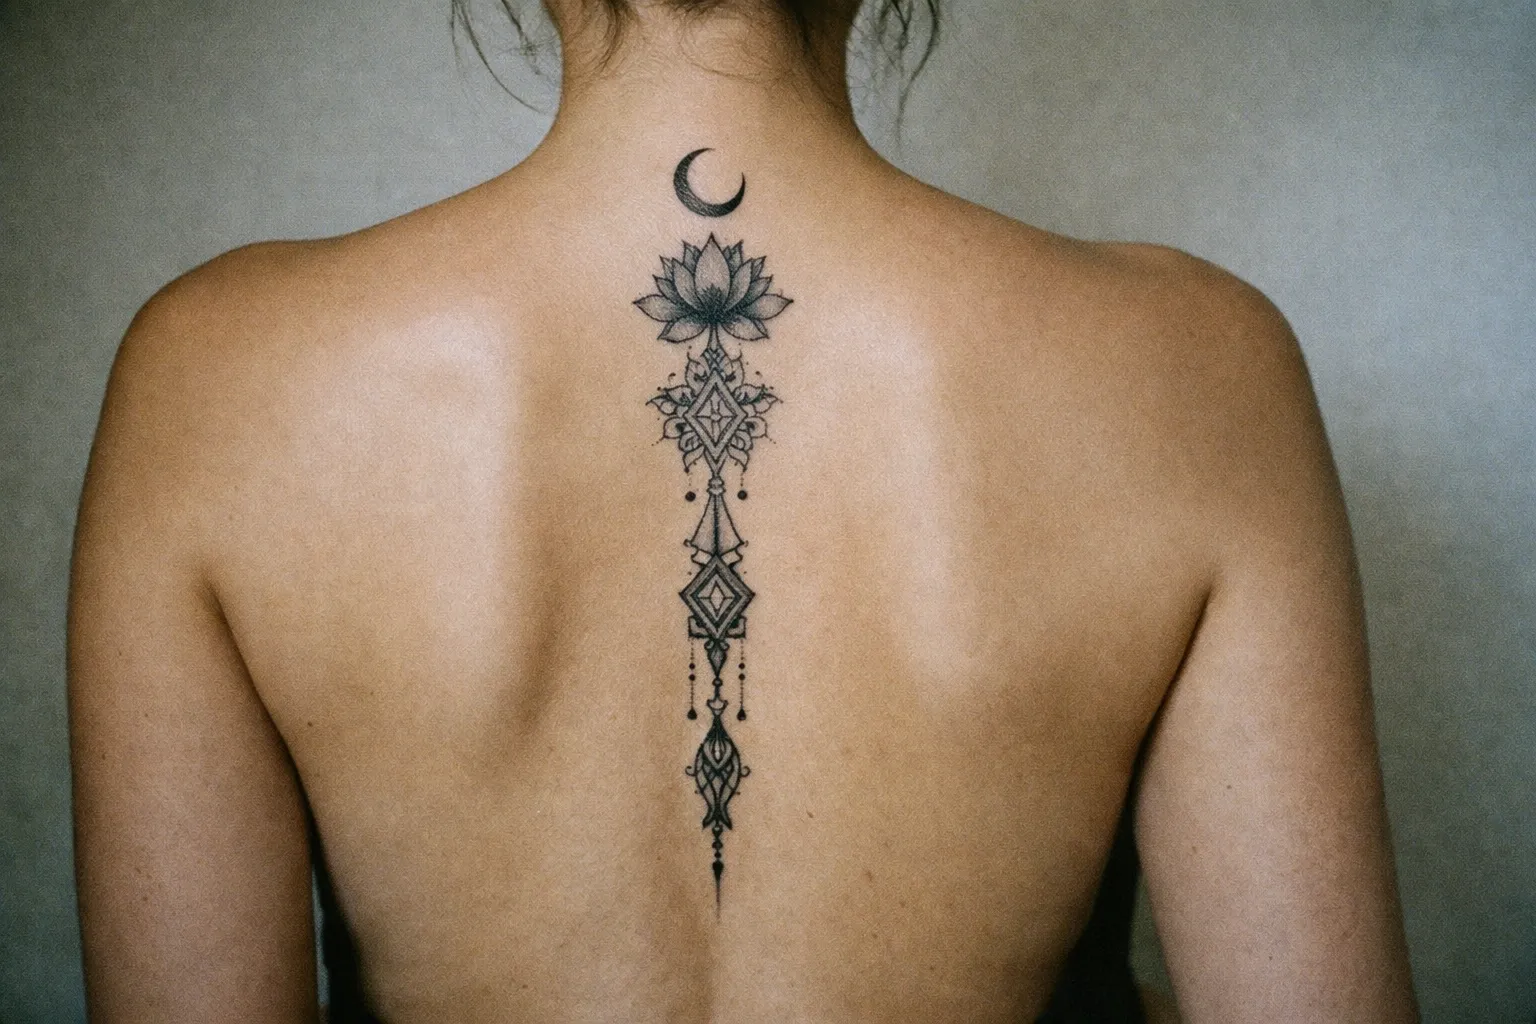
Stencil alignment and posture. Everything downstream depends on getting the vertical line right before the needle touches skin. Stand straight, check the stencil in a mirror, and be demanding at that moment: it’s the only one where a centering error is still fixable.
Design weight relative to the placement’s movement. Fine-line minimalism looks sharp the day you get it. Slightly heavier linework looks sharp in ten years on a surface that bends every day. That’s the trade-off, and it’s worth resolving honestly at consultation rather than regretting later.
Session and healing logistics. Splitting a large piece into 3-4 hour sessions and managing clothing friction for 2-3 weeks afterward is what makes the healed result match the fresh one. Skimp on either and the work suffers.
The spine’s constraints (symmetry on a moving axis, pain that swings by segment, healing that dictates how you dress and sleep) are specific enough that artist selection matters more here than on a forgiving placement like the outer forearm. When you’re vetting artists, look at their healed spine work specifically, not just their general portfolio. Healed photos on this exact placement are the only reliable measure of whether they can hold a clean line down the one part of your body that never stops moving.