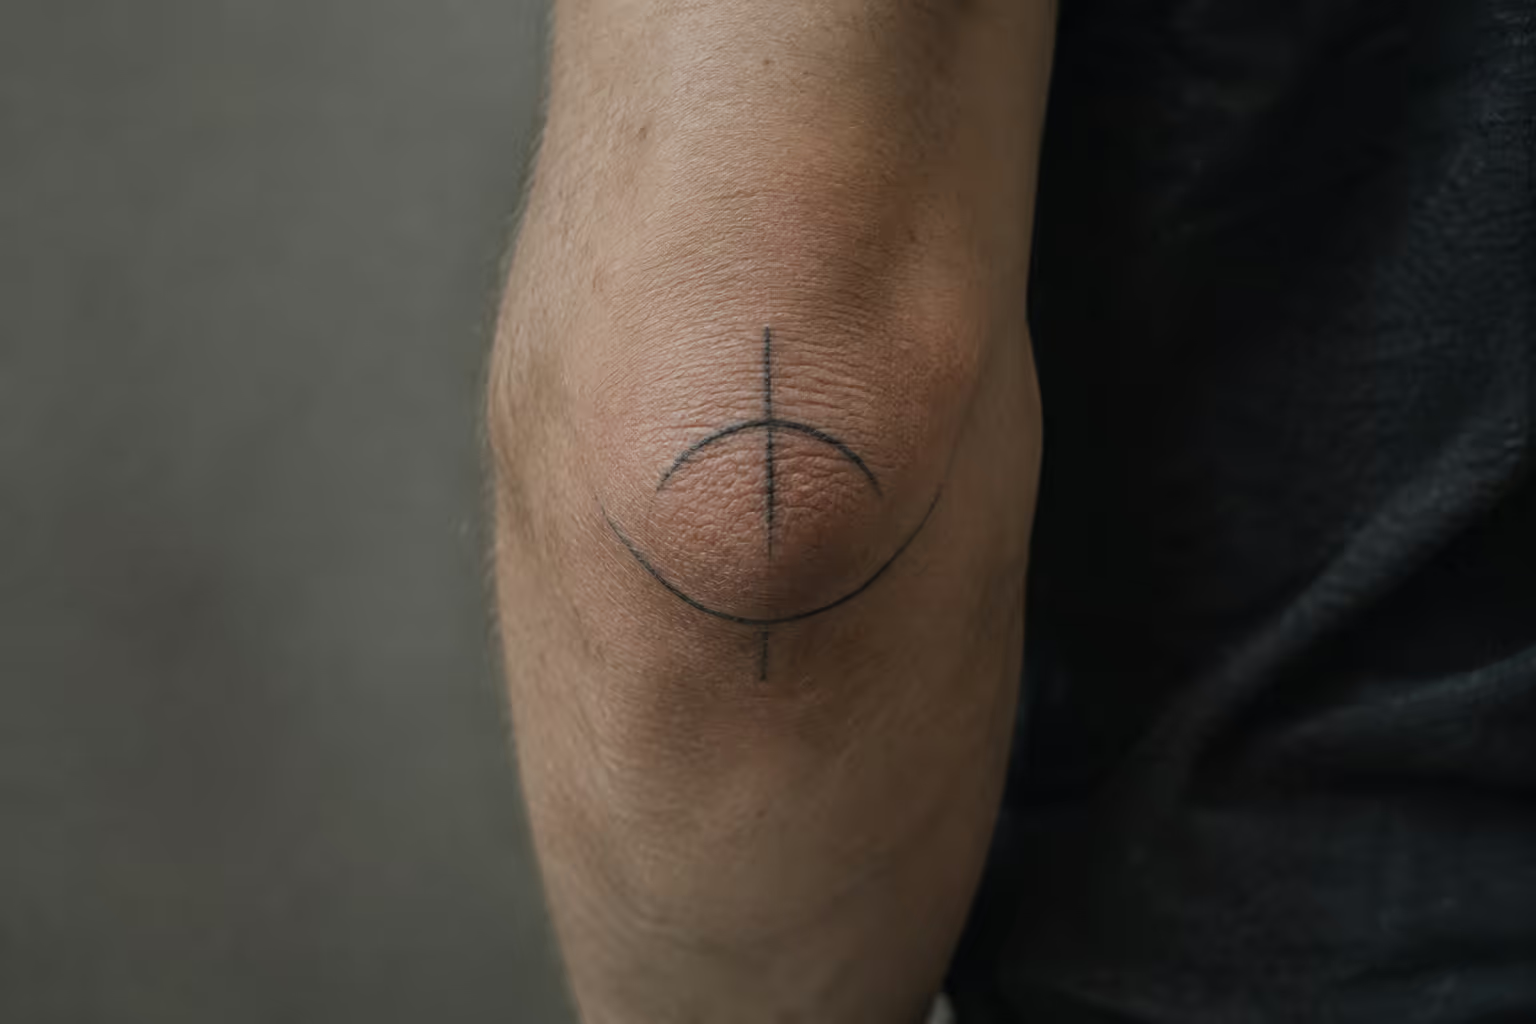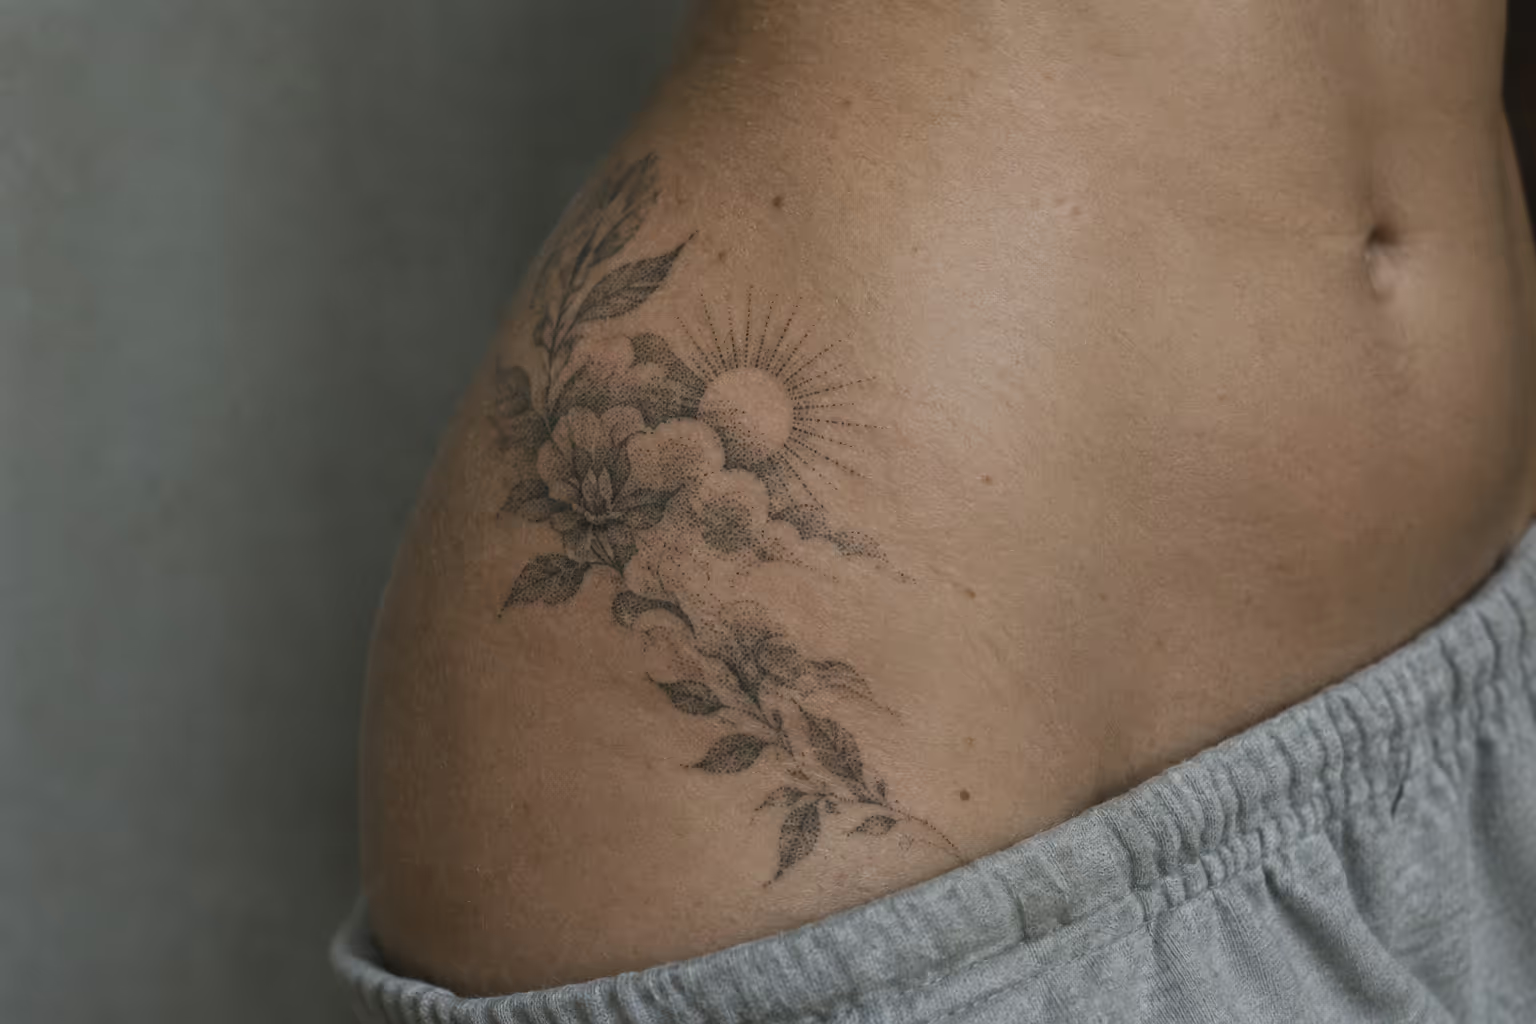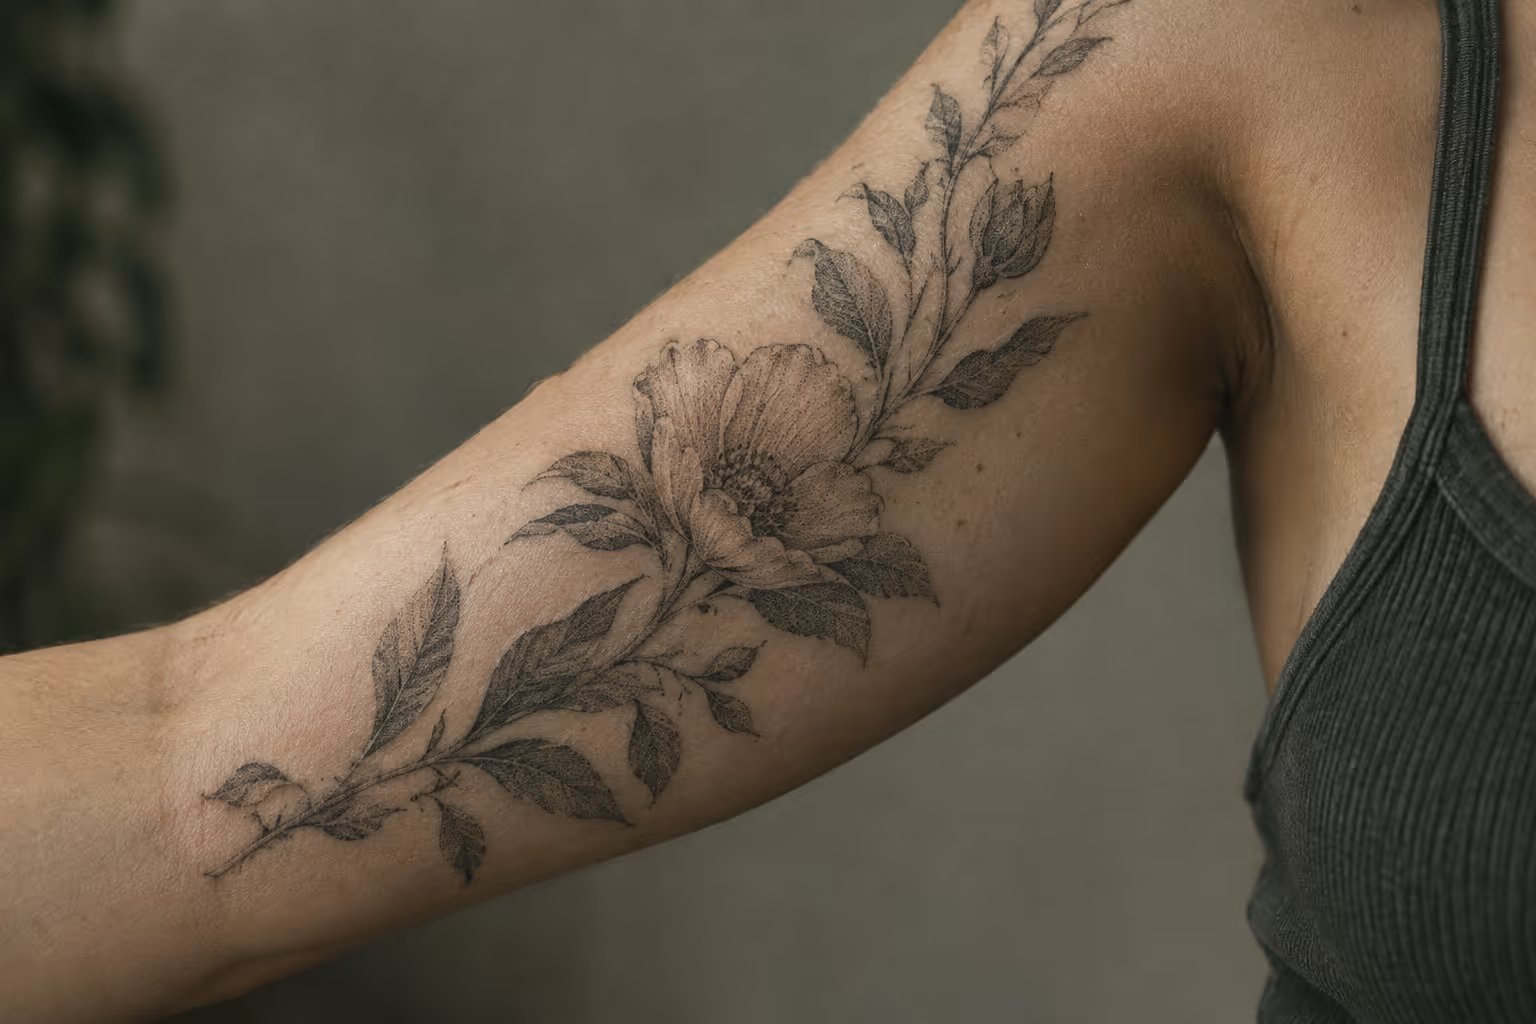
An inner bicep tattoo sits on the soft inside of the upper arm, between the armpit crease and the inner elbow, and it is one of the more tender spots on the arm. Pain charts disagree on how much it hurts. Healing has to work around constant bending and sleeve friction. The designs that hold up are the ones built for a narrow, curved strip of skin that moves every time you lift a coffee cup.
The tradeoff is easy to state. On the plus side, the placement is discreet: a T-shirt sleeve covers it and your arm hides it at rest. It also handles script and small motifs well. On the minus side, it is more sensitive than the outer bicep, it takes clothing friction during healing, and a large piece here needs more recovery time than a small one.
✓ Pros
- The arm's natural length gives vertical layouts a clear direction to follow.
- Sleeve coverage makes it easier to control when the tattoo is visible.
✗ Cons
- A design can shift visually as the arm rotates, so placement needs checking in more than one position.
- Soft, moving skin leaves less room for cramped lettering or tightly packed detail.
Why the inner arm feels different from the outer bicep
An inner arm tattoo sits on softer, looser, less visible skin than the outer bicep, so it tends to hurt more, hide more easily, and move more while it heals. Those three facts shape every decision that follows.
Visibility first. With your arms at your sides, most people will never see the inner bicep. It shows when you raise your arm, reach overhead, or wear a tank top, and a short sleeve covers most or all of it. That makes it a common pick for people who want a tattoo they control the reveal on. The same design on the outer bicep reads from across a room. On the inner arm it reads when you choose to show it.
The skin is the bigger difference. The outer bicep has firmer skin over muscle, which gives the needle a steady surface. The inner bicep has thin, sensitive skin over nerves that run down the underside of the arm, which makes it a fairly tender spot (7). For the tattooer, thinner and looser skin means more stretching by hand to keep the surface taut, and more care with depth so lines don’t blow out.
Then there’s movement. Bend your elbow and the biceps bunches up, pulling the skin toward the crease. Raise your arm and the skin near the armpit stretches flat. Rotate your palm up or down and the whole panel twists slightly toward the front or the back of the arm. A design that looks centered with your arm hanging loose can drift once you move. This is why stencil placement on this spot takes longer than on a forearm.
Loose skin near the armpit crease
The top third of the inner bicep, where it meets the armpit, is the loosest skin on the placement. It folds when your arm is down and stretches when it’s raised, and it can feel thin and slightly crepey even on younger clients. Pain guides list the armpit and inner bicep together among the higher-pain areas of the body (8).
In practice, this zone affects design in three ways:
- Straight lines are harder to pull because the skin shifts under the needle, so long horizontal lines near the crease need a confident artist.
- Anything that crosses into the fold will crease when your arm hangs down, which distorts lettering and geometric shapes.
- Healing here gets more rubbing from sleeves and from the side of your torso, especially during sleep.
Many artists keep the top edge of a design a little below the crease for these reasons. Ask yours where they’d stop the piece, and why.
Inner bicep tattoo pain: what the charts get wrong
Inner bicep tattoo pain usually ranks above the outer bicep in published charts, but the charts disagree on exact scores, and individual reactions vary widely. Read any rating as broad context for your own planning, not a forecast of how your session will feel.
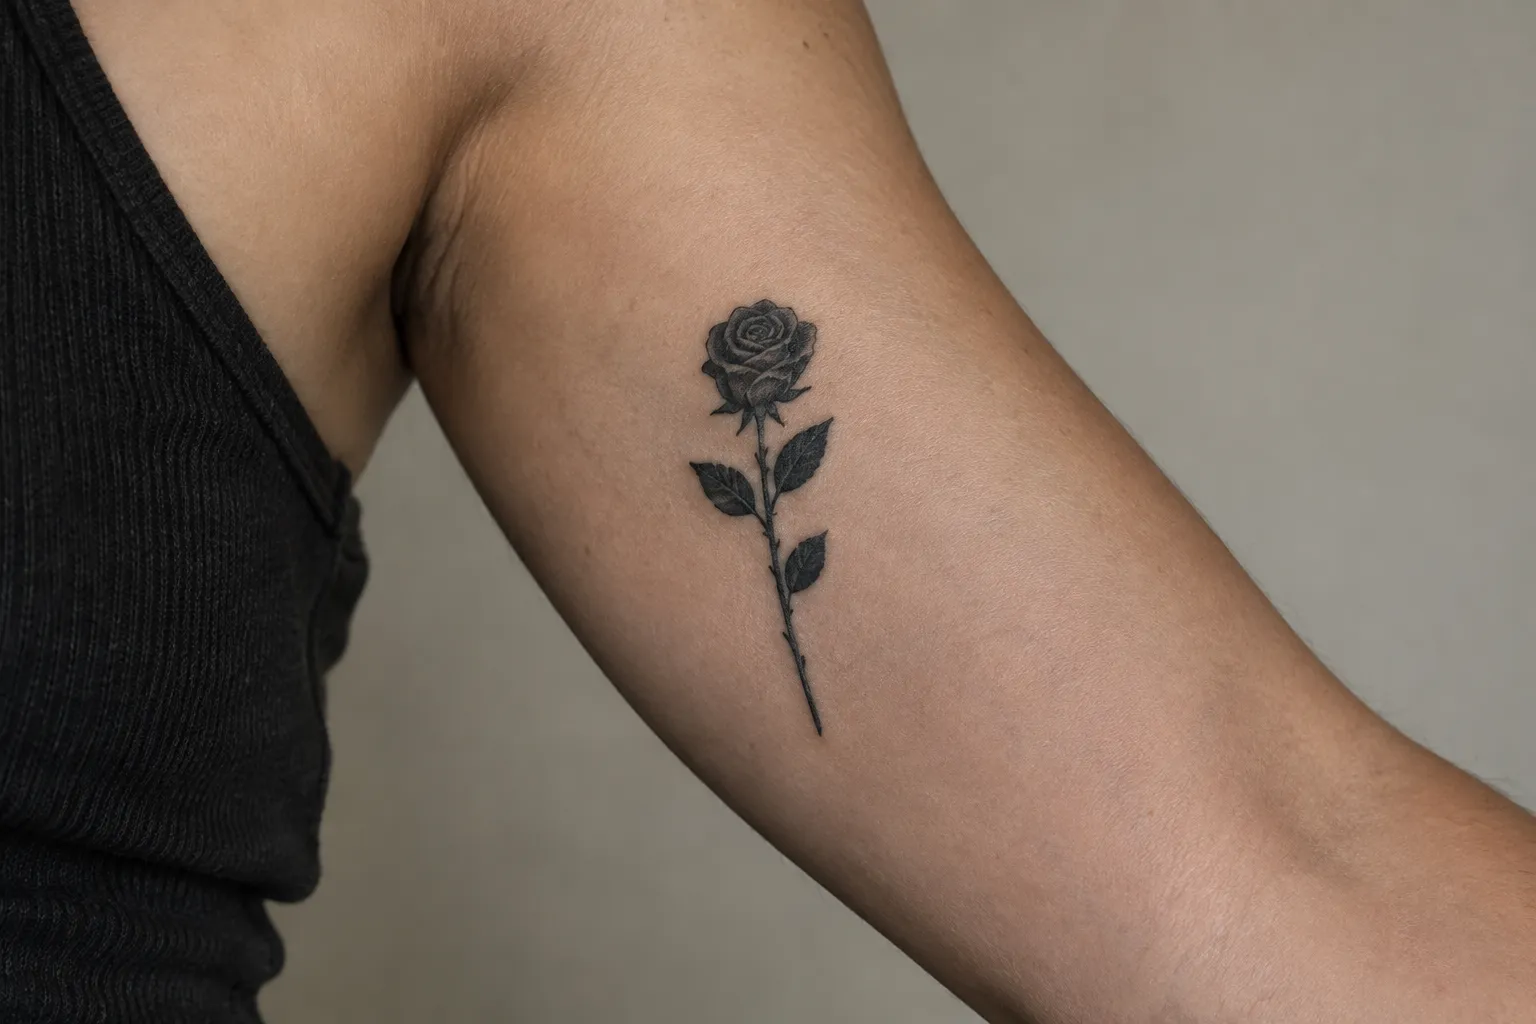
How it compares to the outer bicep
Healthline puts the armpit and inner bicep in its more painful group and the upper arm and shoulder in its less painful one (8). The general pattern from pain guidance holds here. Areas with more fat, fewer nerve endings, and thicker skin hurt less. Areas with less fat, more nerve endings, and thinner skin hurt more (8). The outer bicep sits on the gentler side of that line. The inner bicep sits on the sharper side.
Healthline’s higher-pain group also includes the inner or outer elbow, and its lower one the forearm (8). Our tattoo pain guide reads the arm the same way: the outer upper arm is in the lowest tier, the armpit in the highest, and the bicep in between. For the wider body comparison, ribs and feet will almost always hurt more than a forearm or shoulder (7).
The middle of the panel is usually the most tolerable part. The ends are where people tend to flinch: the top edge near the armpit and the bottom edge near the elbow crease. If your design runs the full length of the inner arm, expect the session to feel uneven. The middle stretch will go by easily, and the two ends will need more patience.
Style changes the experience as well. Bold lines and heavy shading or color saturation hurt more because the needle works the skin longer (7). A fine-line script piece and a packed black-and-grey panel on the same spot are two different sessions.
Why pain charts disagree with each other
Pain charts are estimates, not standardized medical measurements. Each chart builder picks its own scale and groups body areas in its own way, and none of them measured your nerves. One chart splits its ratings by sex, on the theory that body shape changes how a placement feels, and scores the inner bicep higher for women than for men (6). Two charts can look equally confident and still disagree on the same spot.
Individual variation is wider than any chart can show. One tattoo supply company describes clients who sat through an 8-hour session without flinching and others who passed out during a 15-minute script tattoo (7). That range covers people getting tattooed in the same shop, on similar placements, with similar designs.
So use the charts for one thing only: knowing that the inner bicep is a step up from the outer arm. Then plan around that. Eat before your session, ask your artist about breaks, and tell them early if a section near the armpit or elbow is hard to sit through. A good tattooer would rather pause briefly than fight a client who keeps tensing the arm. Tensing pulls the skin and makes the linework harder.
How healing unfolds week by week
On our tattoo aftercare timeline, the surface of a new tattoo looks healed around weeks 3-4 and the ink is fully settled around week 6. Cleveland Clinic adds that the deeper layers of skin keep healing for months after the surface looks done (3). That gap matters on a placement that bends and rubs as much as the inner arm.
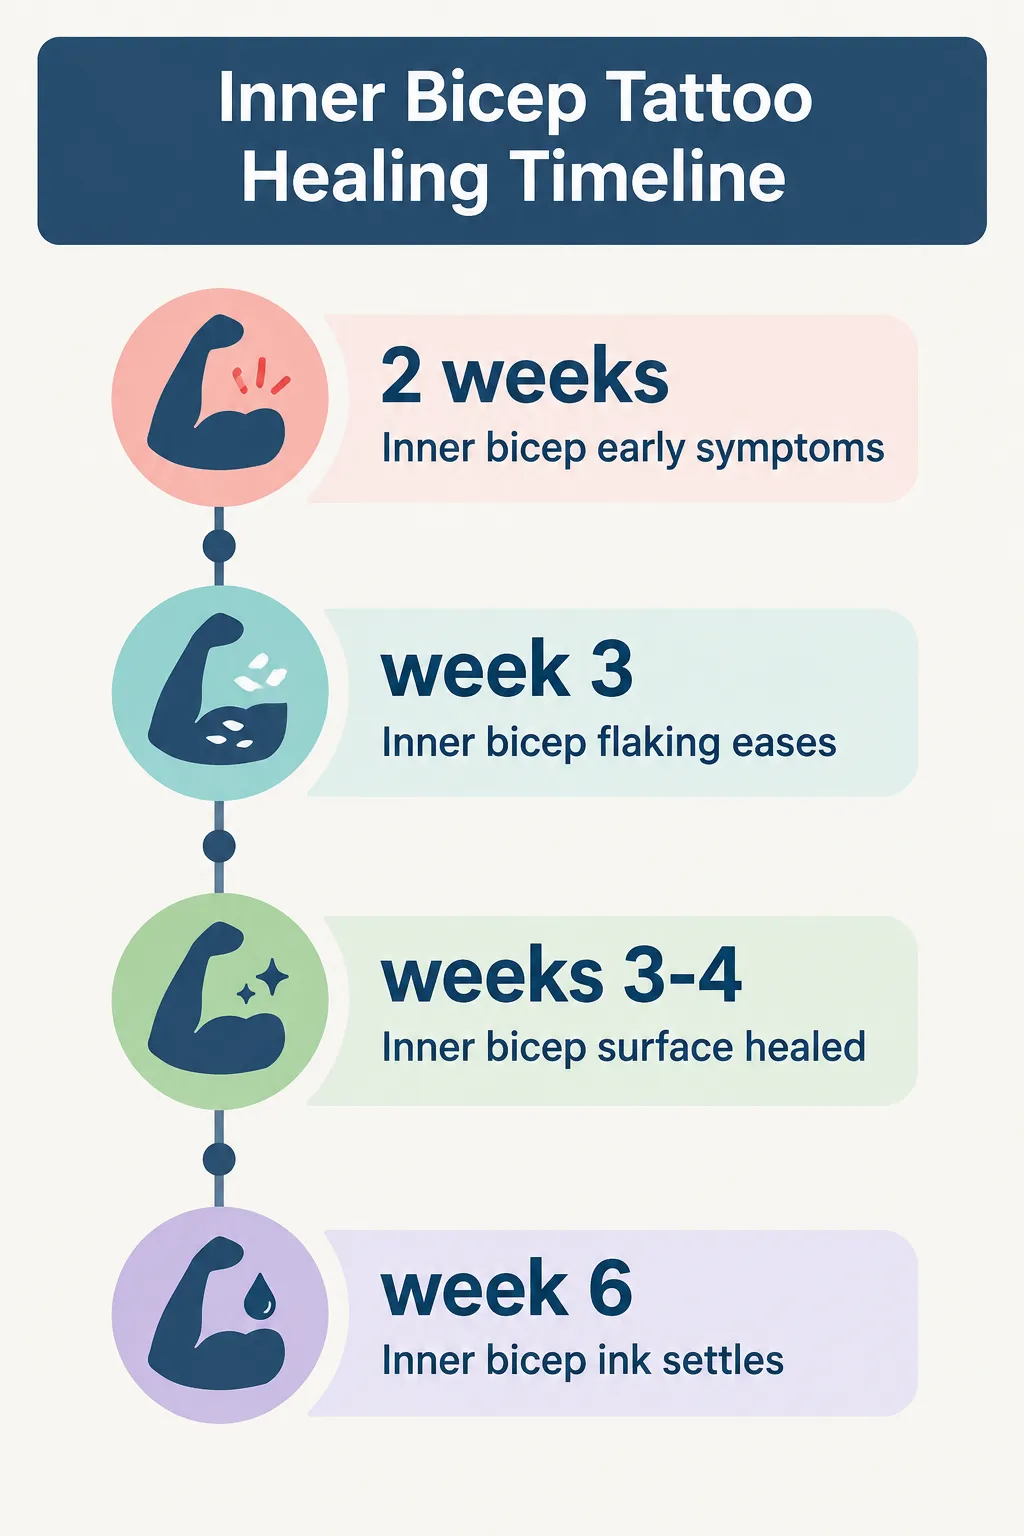 Healing timeline: itching, flaking, and scabbing may begin in the first 2 weeks, flaking often eases around week 3, the surface usually looks healed by weeks 3-4, and the ink settles around week 6.
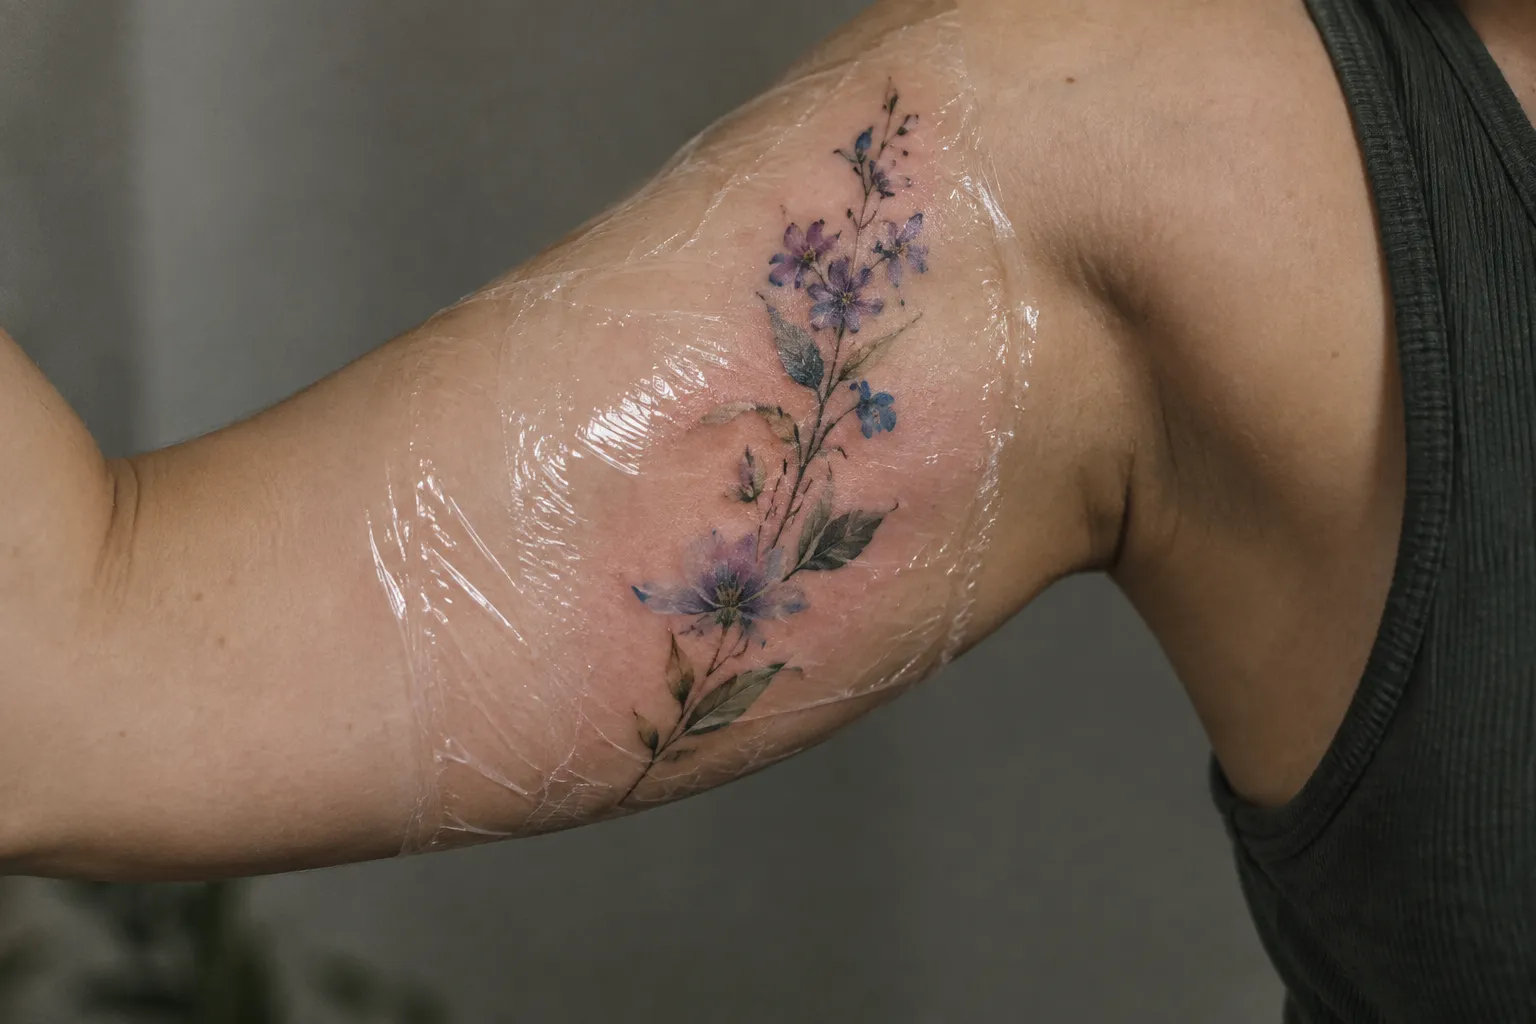
Size changes the clock. Larger tattoos can take a few months to heal fully, while smaller arm tattoos may heal faster than work covering the chest or back (3). A single line of script on the inner bicep and a half-sleeve panel that wraps into it will not follow the same schedule.
First two weeks
Itching, flaking, and scabbing may begin within the first 2 weeks (3). In the first days, some redness and swelling are normal. The skin will feel sore, and you may see clear fluid seeping from the tattoo (1). All of that is part of normal healing.
On the inner arm, this phase has a few placement-specific annoyances. Flakes catch on sleeves. Scabs near the elbow crease can crack when you bend your arm fully. The skin near the armpit stays warm and slightly damp, so it may feel itchier than a forearm piece would. None of this is a problem in itself. It just means you need to be deliberate about clothing and about not scratching. Tapping the itchy area lightly, or holding a clean, cool hand against it, works better than willpower alone.
Weeks three to six
Flaking and scabbing often ease after about 3 weeks (3). After the flaking stops, the tattoo can look slightly dull or cloudy for a while as the new top layer settles. This is the stage where fine linework looks less crisp than it did fresh. Don’t judge the final result yet.
By weeks 3-4, the surface usually looks healed, and around week 6 the ink has fully settled. The tattoo looks finished, the texture feels normal to the touch, and most people relax their routine at this point. That’s reasonable for daily habits, as long as you remember that surface healing is a milestone, not the finish line.
Beyond six weeks: deeper healing and ongoing monitoring
Deeper skin can keep healing for several more months after the surface looks done (3). The practical risk is assuming a healed-looking surface means complete healing, then soaking it or giving it heavy sun too early.
There’s a second reason to keep paying attention. The American Academy of Dermatology notes that an infection can appear immediately after tattooing, or days or months later (1). Reaching the six-week mark does not mean you can stop watching. Surface healing and being clear of complications are two different milestones. If redness spreads or darkens instead of fading, or pain keeps going or gets worse instead of easing, treat it as a warning sign rather than slow healing (1).
Design ideas that work on this placement
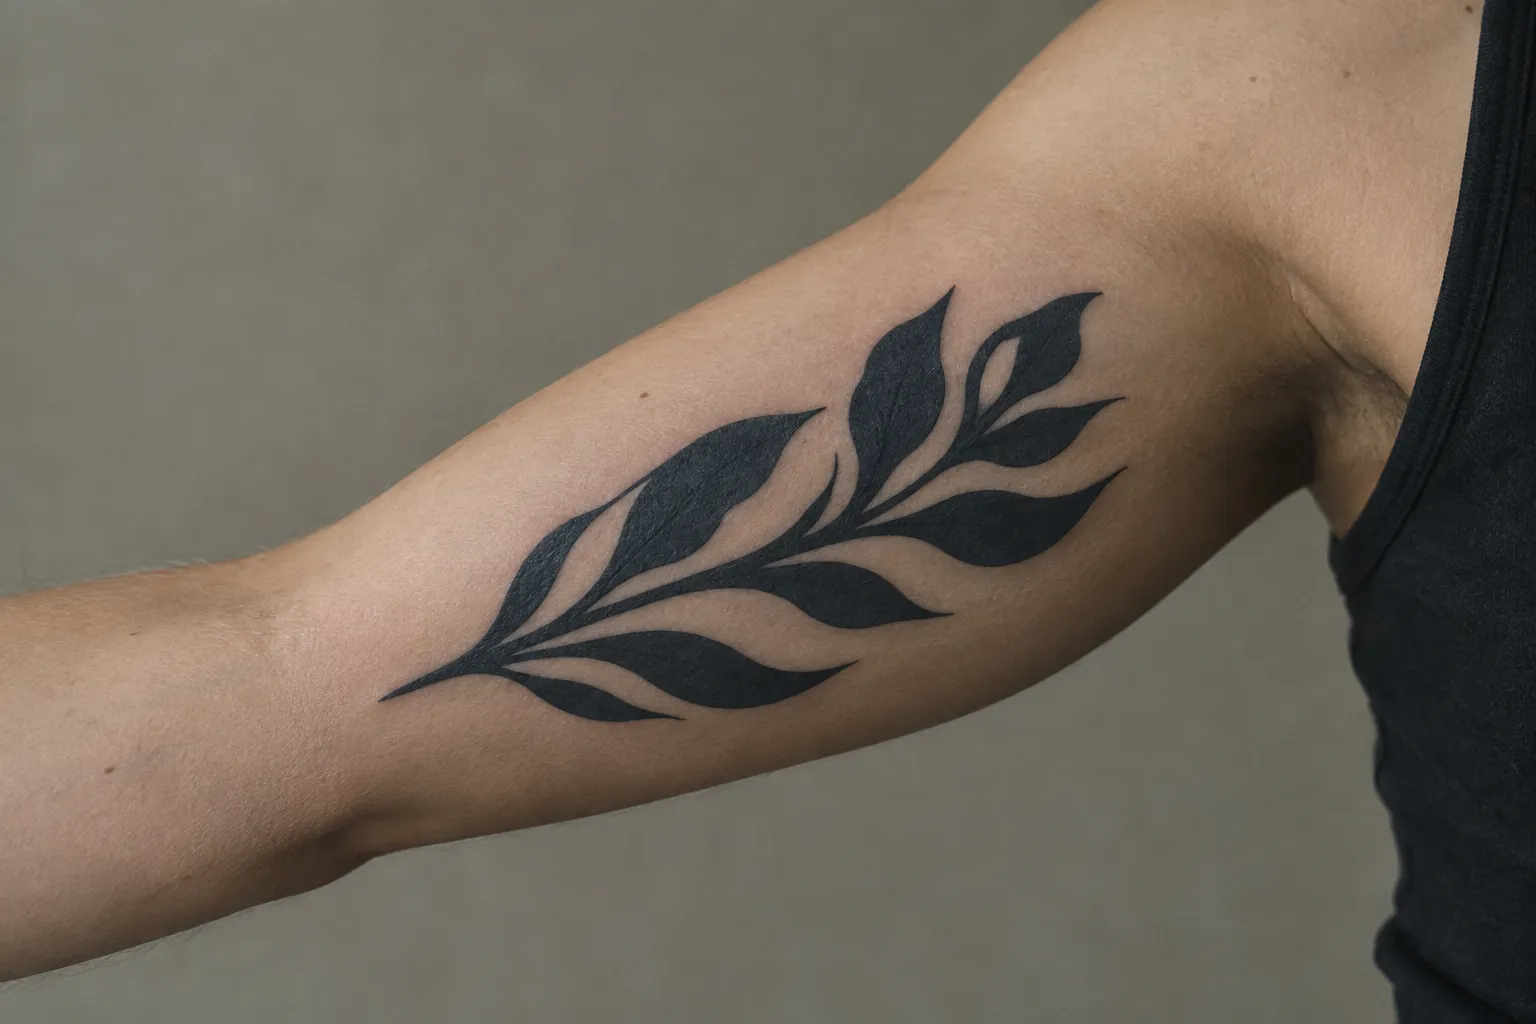
The inner bicep tattoo ideas that age best follow the arm’s length. Vertical script, slim fine-line motifs, and larger pieces planned across several sessions all suit the narrow, curved panel. Wide, square compositions fight the shape. Long, narrow ones work with it.
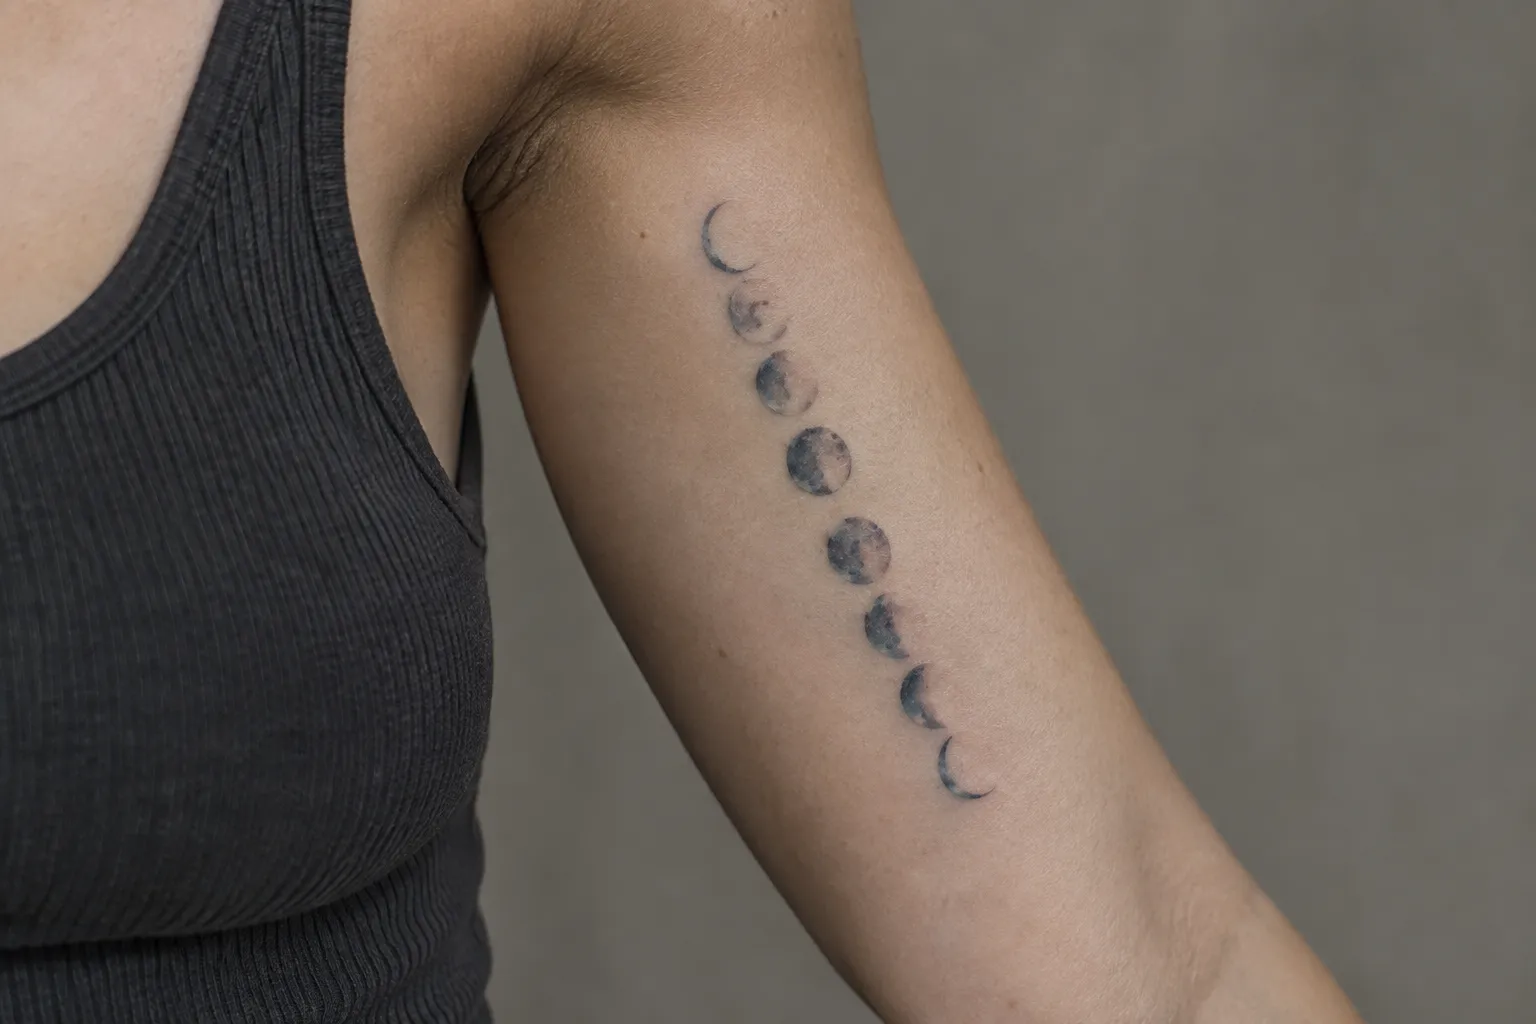
Before picking a motif, look at your own arm. Some inner arms are long and flat, others are short and curved, and the amount of usable flat skin between the armpit crease and the elbow varies a lot from person to person. Bring references and have your artist adapt them to your arm instead of sizing from a flat mock-up on a screen.
Script and lettering
Lettering is the classic inner arm tattoo, and the placement suits it. The long axis gives room for a vertical line of text, and the low visibility appeals to people choosing a name, a date, or a line that’s meant for them more than for strangers. One inner bicep design guide recommends clean, fine-line fonts for legibility (2), and that matches what holds up on soft, thin skin. Simple letterforms with open counters (the enclosed spaces in letters like “a,” “e,” and “o”) stay readable as ink settles over the years. Tight, ornate loops close up.
Size lettering by letter height, meaning the height of the whole letter, and keep to these floors:
- Standard script: at least 12 mm (1/2 in) letter height.
- Fine or ornate script: about 25 mm (1 in) letter height, because thin strokes and flourishes need room to stay separate.
- Block, serif, typewriter fonts, and numerals: at least 6 mm (1/4 in) letter height.
Anything smaller than those floors may look sharp the day it’s done and blur into a gray line within a few years, especially on skin that stretches every time you bend your arm.
You also need to choose the orientation. Text running vertically down the arm reads from your own point of view when you look down at it, or for someone facing you when your arm is raised, depending on which way it’s set. Text running horizontally across the panel wraps around the curve, so long phrases will disappear around the sides. Settle this with the stencil on, not in your head.
The common pitfall is cramming too many words into too little skin. A full sentence in fine script squeezed between the elbow and the armpit forces the letters below the floors above, and that’s the piece that comes back for a rework.
Fine-line and minimalist motifs
Fine line has two technical hallmarks. It uses thin needle groupings for delicate linework, and it relies on minimal shading and plenty of open skin. Those traits fit the inner arm’s discretion. Good candidates include a single botanical stem running up the arm, a short column of moon phases, a small single-line figure, or a slim geometric shape that follows the arm’s length. A palm-sized motif sitting in the middle of the panel avoids the most sensitive skin at both ends.
The pitfall with fine line is detail placed too close together. Thin lines need breathing room, because ink spreads slightly in the skin over the years. Two lines that sit a hair apart when fresh can merge once healed and aged. On the inner arm, a second pitfall is shaky lines from poorly stretched skin. That’s an artist problem, not a client problem, and it’s why you should check healed fine-line work on soft placements in a portfolio, not just fresh photos.
Fine line on this placement also needs honest expectations about aging. Thinner lines are more likely to soften and fade over time than bold ones, and the inner arm gets less sun than the outer arm, which helps. If you want delicate work that stays crisp for decades, ask your artist whether a slightly heavier line weight would hold better at your chosen size.
Larger pieces split across sessions
The inner bicep also works as part of a bigger composition, either as a standalone panel running from the armpit to the elbow or as the inside of a half or full sleeve. Bold styles handle the soft skin well. American traditional, with its thick black outlines and limited palette, holds its shape here because heavy outlines resist blurring. The pitfall in traditional work is a thin or wobbly outline that leaves the color with nothing to hold it in place. Black-and-grey shading also fills the inner arm nicely, though packed shading over the whole panel is a longer, more tender session.
Because larger tattoos take longer to heal fully (3), a big inner arm piece is often split into sessions. A common approach is outline first, then shading or color after the first pass has healed. If you want a quicker recovery, choose a smaller design or plan the bigger idea in stages instead of booking one long sitting on this sensitive spot.
Comparing the main design types side by side helps you choose:
- Script or lettering is small to medium and usually takes one session. It carries moderate friction risk, and legibility depends on keeping letter heights above the floors.
- A fine-line motif is small and usually takes one session. Friction risk is lower if it sits mid-panel, and the main concern is spacing the details so they don’t merge.
- A small symbol is compact and takes one short session. It carries the lowest friction risk, and bold, simple shapes read best.
- A larger composite piece covers most of the panel and often needs several sessions. It has the highest movement and friction exposure during healing, and any lettering inside it still needs full letter height.
Sizing myths and how to size on a moving arm
A proportion rule of thumb gives you a starting size, not a final one. On the inner bicep, the size that works is the one checked on your own arm, in more than one position.
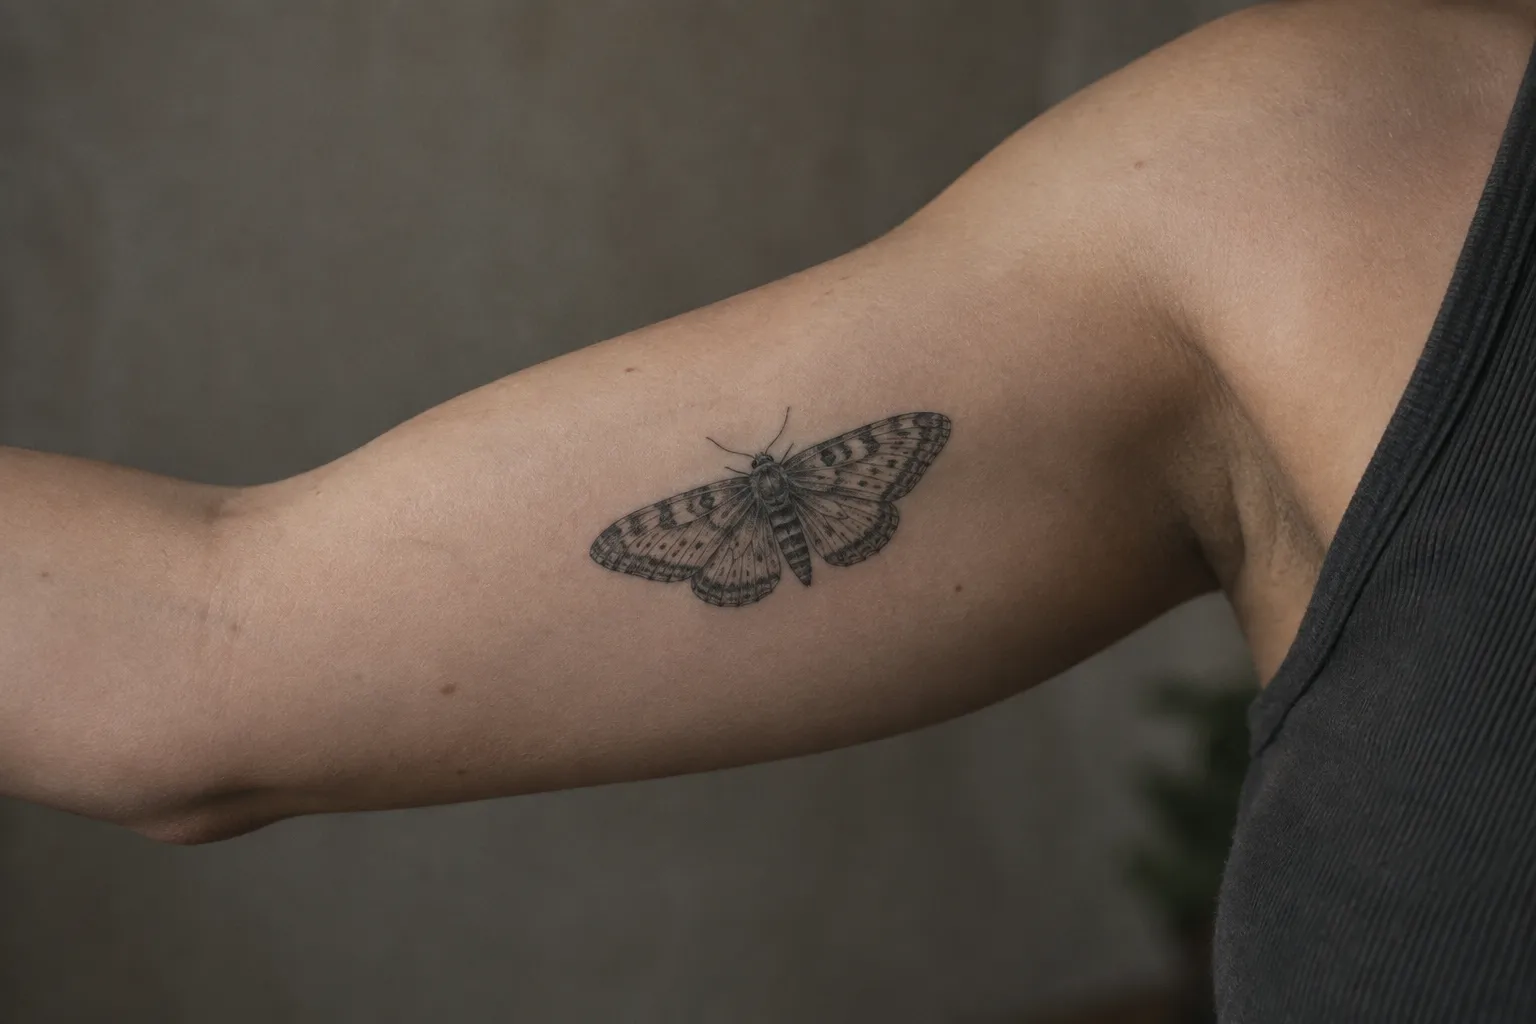
A ratio worked out on a flat mock-up assumes a still surface, and the inner arm is neither flat nor still. The same proportion makes a different shape on two people’s arms, and either one changes when the arm bends.
What works instead is sizing the design on your actual arm:
- Ask to see the stencil in more than one arm position before the session: arm hanging relaxed, elbow bent, arm raised overhead, and palm turned up.
- Check the edges in each position. Watch whether the top creases into the armpit fold, whether the bottom bunches at the elbow, and whether the sides slide out of view.
- Look in a mirror and also straight down at your arm. You’ll see the tattoo from above far more often than anyone else sees it from the front.
- Resize before you sit, not after. Restenciling takes a few minutes. Living with a design that’s a size off lasts a lot longer.
This check catches the most common sizing mistake on this spot: a design that looks right on paper and wrong on a bent arm.
Two myths are worth clearing up. “Smaller always hurts less” is only partly true. A small piece means a shorter session, but a tiny, detail-heavy design can need more passes than a simple, larger one. And “fine line works at any size” ignores the letter-height and spacing limits above.
Aftercare that matches the inner arm’s movement
Aftercare for an inner arm tattoo comes down to three habits. Wash it gently twice daily, keep it moisturized, and wear loose, breathable clothing so fabric doesn’t stick to or rub the healing skin (3). The general routine is the same as anywhere else on the body. What changes is how much attention you give to friction.
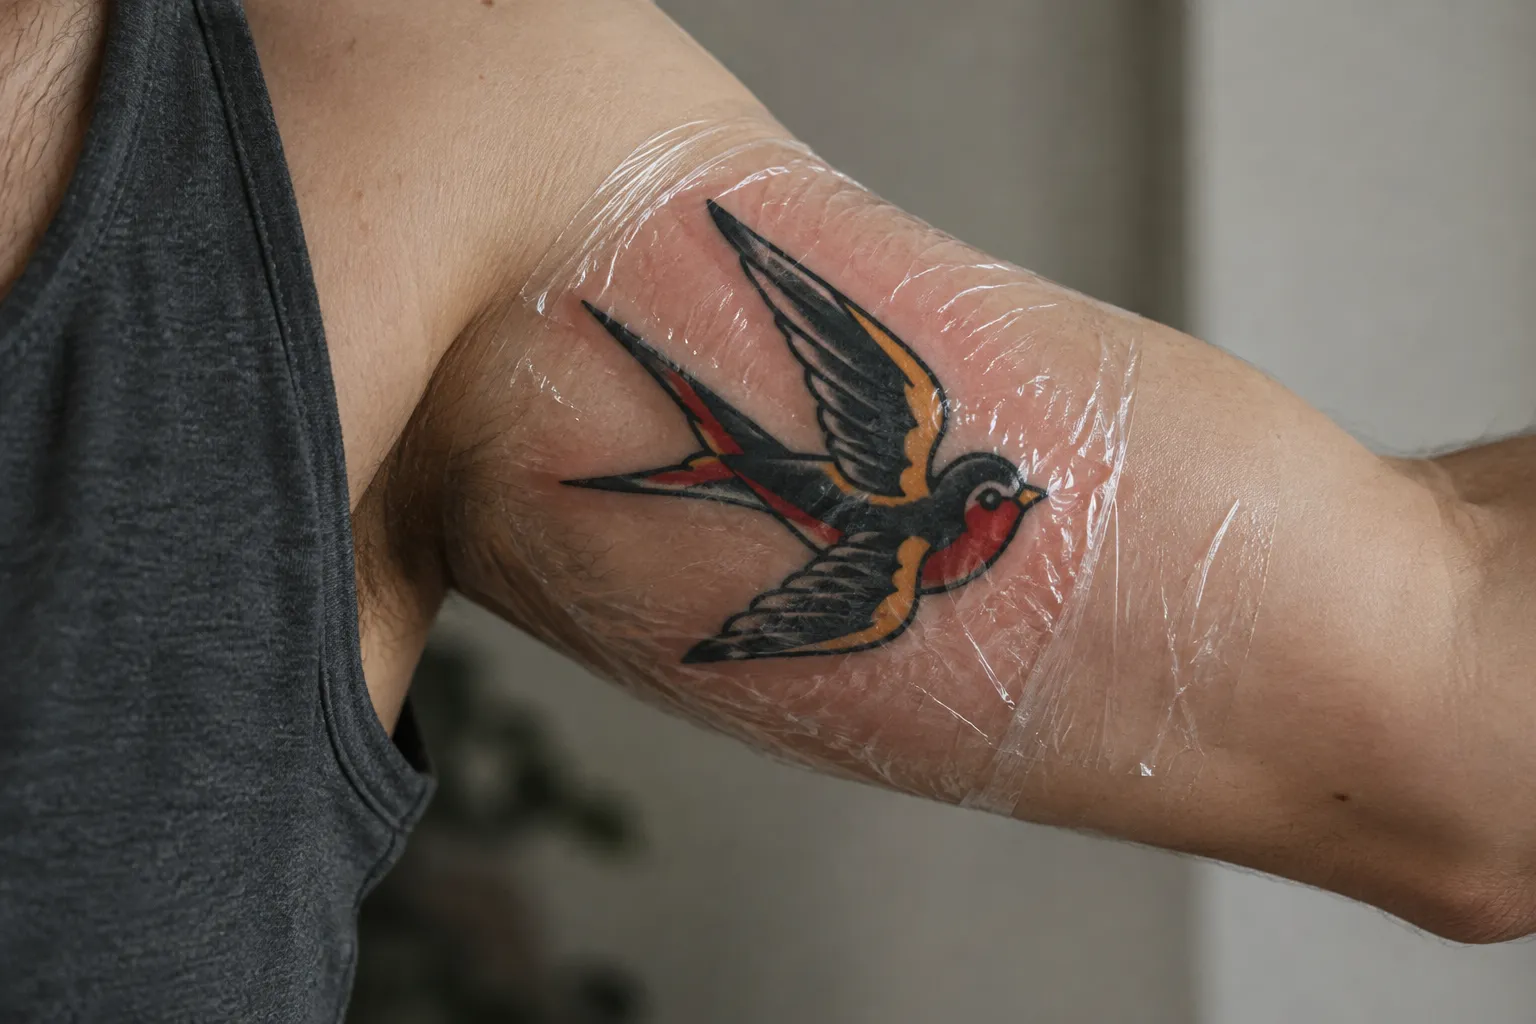
Daily routine
Follow your artist’s instructions for how long to keep the initial bandage or wrap on (3). The step-by-step breakdown below covers washing, moisturizing, and clothing choices stage by stage.
The inner arm adds one more daily habit: sleep. If you sleep on the tattooed side, your arm presses against your torso all night. Try the other side for the first week, or lay a clean, soft cotton layer between arm and body.
What to avoid
Cleveland Clinic lists several things to keep away from a healing tattoo, and on the inner arm, friction tops the list (3).
- Tight clothing and friction. Cleveland Clinic puts tight clothing first on its list (3). On the inner arm, that means snug sleeves, compression tops, and straps that ride up into the armpit.
- Picking or scratching scabs. Let them fall off on their own (3). Pulling a scab early can lift ink and leave a light patch.
- Soaking. Skip pools, baths, and hot tubs until the tattoo is fully healed (3). Short showers are fine.
- Direct sun during healing (3). Keep it out of direct sun for the first 4-6 weeks: the inner arm is shaded most of the time, but tank tops and outdoor training expose it more than you’d think.
- Heavy arm work in the first days. Repeated full bends, like curls and pull-ups, stretch the skin and soak it in sweat. Ask your artist when to return to training.
Know the difference between normal healing and a problem. Soreness, clear fluid, itching, flaking, and scabs can all be normal (1). See a doctor or a board-certified dermatologist right away if you notice any of the following (1):
- Redness that darkens or spreads instead of fading
- Pain that continues or gets worse instead of easing
- A rash of itchy, red, painful bumps within the tattoo
- Pus or open sores in the tattoo
- Fever, chills, or shivering
Before your session, tell your artist about any medications you take, blood thinners included.
How to care for an inner bicep tattoo as it heals
About 6 weeks for the ink to settle; deeper skin keeps healing for monthsFollow your artist's bandage instructions, then adjust washing, clothing, and monitoring as the skin heals.
- 1
Days 1-3: Clean gently
After the initial wrap comes off as directed by your artist, wash gently twice daily with mild, fragrance-free soap and lukewarm water, pat dry, and apply a thin layer of fragrance-free moisturizer. Wear loose clothing that does not rub the tattoo.
- 2
Week 1: Protect peeling skin
Continue gentle washing and moisturizing. Let itching, flakes, and scabs settle without scratching or picking, and avoid fitted sleeves that press on the inner arm.
- 3
Weeks 2-4: Reduce friction while it settles
Keep the area moisturized as needed and avoid tight sleeves and soaking while the skin is still healing. Flaking often eases around week 3.
- 4
Weeks 3-6: Check the surface
The surface usually looks healed by weeks 3-4 and the ink settles around week 6, but deeper skin is still healing. Keep it out of direct sun until about week 6.
- 5
After week 6: Keep monitoring
Watch for spreading or darkening redness, worsening pain, pus, open sores, or fever, and seek medical care if these occur. Protect the healed tattoo with sunscreen when it is exposed.
Should you get a tattoo on your inner bicep?
A tattoo on your inner bicep suits you if you want a placement that’s easy to hide and you can handle a tender spot that needs careful, friction-aware healing. If both of those are true, it’s a strong choice. If either one isn’t, the outer bicep or forearm may serve you better, and our tattoo placement guide compares the other spots on the body.
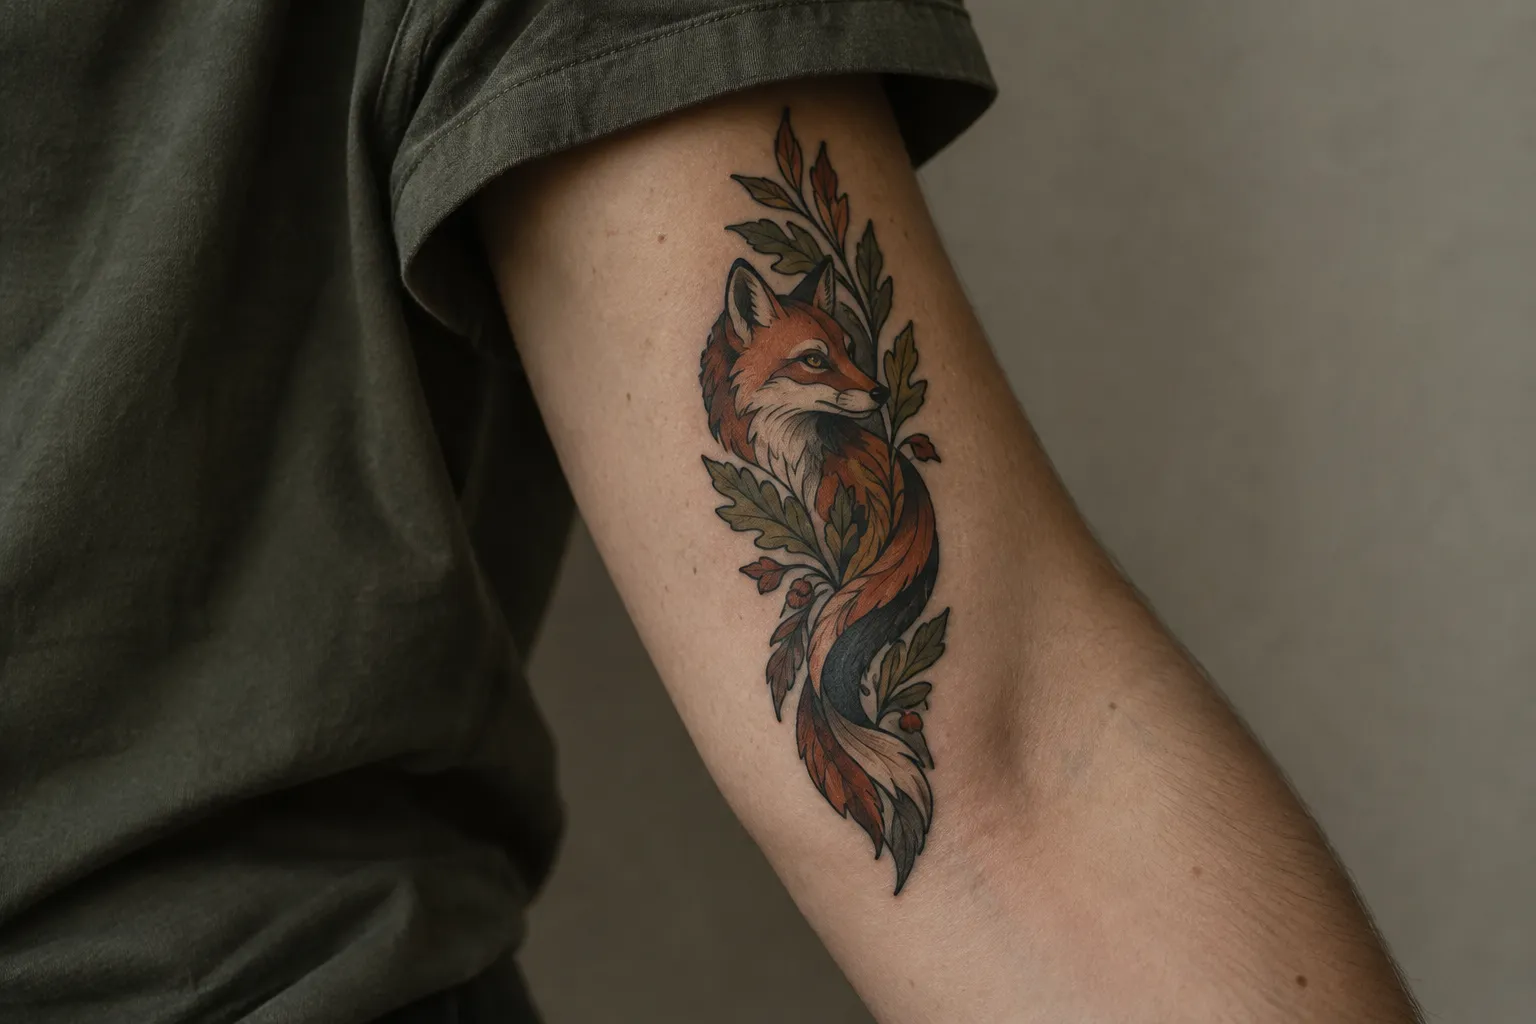
The advantages are clear. It’s discreet, it’s covered by most sleeves, and it’s visible on your terms. It suits vertical script and slim motifs, it gets less sun than the outer arm, and it can grow into a sleeve later.
The tradeoffs are equally clear. One tattoo pain chart calls the inner bicep a fairly tender area (7). Healing involves daily contact with sleeves and your own torso. And a large piece here needs more recovery time than a small one (3).
For a first tattoo, or if you’re unsure about your pain tolerance, start smaller. A palm-sized motif in the middle of the panel avoids the most sensitive skin near the armpit and elbow and heals faster. If you already have a bigger idea, split it into sessions rather than sitting for it all at once. Settle the session plan with your artist.
Choose an artist whose portfolio shows healed work in the style you want, ideally on soft placements like the inner arm, ribs, or inner thigh. Fresh photos hide shaky lines and blowouts, and healed photos show them. Then bring these questions to the consultation:
- How will this design sit on my arm when it’s relaxed, bent, and raised?
- Where would you stop the top edge relative to the armpit crease?
- Is the lettering or detail big enough to stay readable as it ages?
- Should this be one session or split into several?
- How would you adjust line weight for this placement?
- What aftercare do you want me to follow, and when can I train again?
Cost and booking considerations
The cost of an inner bicep tattoo is set mostly by size, detail, the artist’s rate, and the number of sessions, rather than by the placement itself, so the reliable figure is the quote you get at consultation. There’s no fixed price for “an inner bicep tattoo” because the placement covers everything from one word of script to a full panel.
The main factors that move the price:
- Size and coverage. A small motif mid-panel and a piece running from the armpit to the elbow are different jobs.
- Detail and style. Dense shading, color saturation, and intricate fine line take longer than open, simple linework.
- Artist rate and pricing model. Some artists charge by the hour, others quote a flat price per piece, and many shops have a minimum charge for small tattoos.
- Number of sessions. A larger inner arm piece split into an outline session and a shading session is billed across both.
- Placement difficulty. Loose skin near the armpit crease takes more stretching and care, which can add time to the session.
Get the quote in writing or in a message during the consultation, and ask what’s included. Check whether a touch-up after healing is covered, how deposits work, and whether the deposit applies to the final price. Shops vary on all three.
Don’t shop this placement on price alone. Fine line on thin, moving skin shows an artist’s skill quickly. A cheaper session that blows out or heals patchy costs more once you add a rework or a cover-up. Pay for the portfolio with healed soft-skin work, and size the design to fit your budget rather than squeezing a big idea into a cheaper, smaller version that drops below the lettering floors.
Frequently Asked Questions
- Do inner bicep tattoos hurt more near the armpit or the elbow?
- The armpit edge and inner elbow crease are often sharper than the middle of the panel because the skin is more sensitive there.
- How should I size an inner bicep tattoo?
- Judge the stencil on your own arm relaxed, bent, and raised, and keep standard script at 12 mm (1/2 in) letter height or more.
- Should I get a tattoo on my inner bicep if I train regularly?
- Plan the session around time away from movements that stretch or sweat on the area, and ask your artist when to resume training.
- How much do inner bicep tattoos cost?
- Ask for a written consultation quote that states the session plan, deposit terms, and whether a healed-work touch-up is included.
- How long does an inner bicep tattoo take to heal beneath the surface?
- The surface usually looks healed by weeks 3-4 and the ink settles around week 6, while deeper skin keeps healing for months after that.
- Can I wear long sleeves while an inner bicep tattoo heals?
- Loose, breathable sleeves are suitable; avoid fitted or compressive fabric that repeatedly rubs the healing skin.
What to settle before the stencil goes on
Treat pain scores as rough context. The inner bicep is a step up from the outer arm, and that’s about as precise as any chart can be. The decisions that change your result are more practical. Size the design on your bent, relaxed, and raised arm with your artist. Keep lettering at 12 mm (1/2 in) letter height or more for standard script. Keep the top edge clear of the armpit fold. Plan loose sleeves and a twice daily washing routine around the arm’s constant movement.
If you want a faster recovery, choose a smaller piece or split a big idea into sessions. And when the surface looks healed, around weeks 3-4, keep watching the skin anyway. Worsening redness or pain after that point still needs a doctor, not more moisturizer.