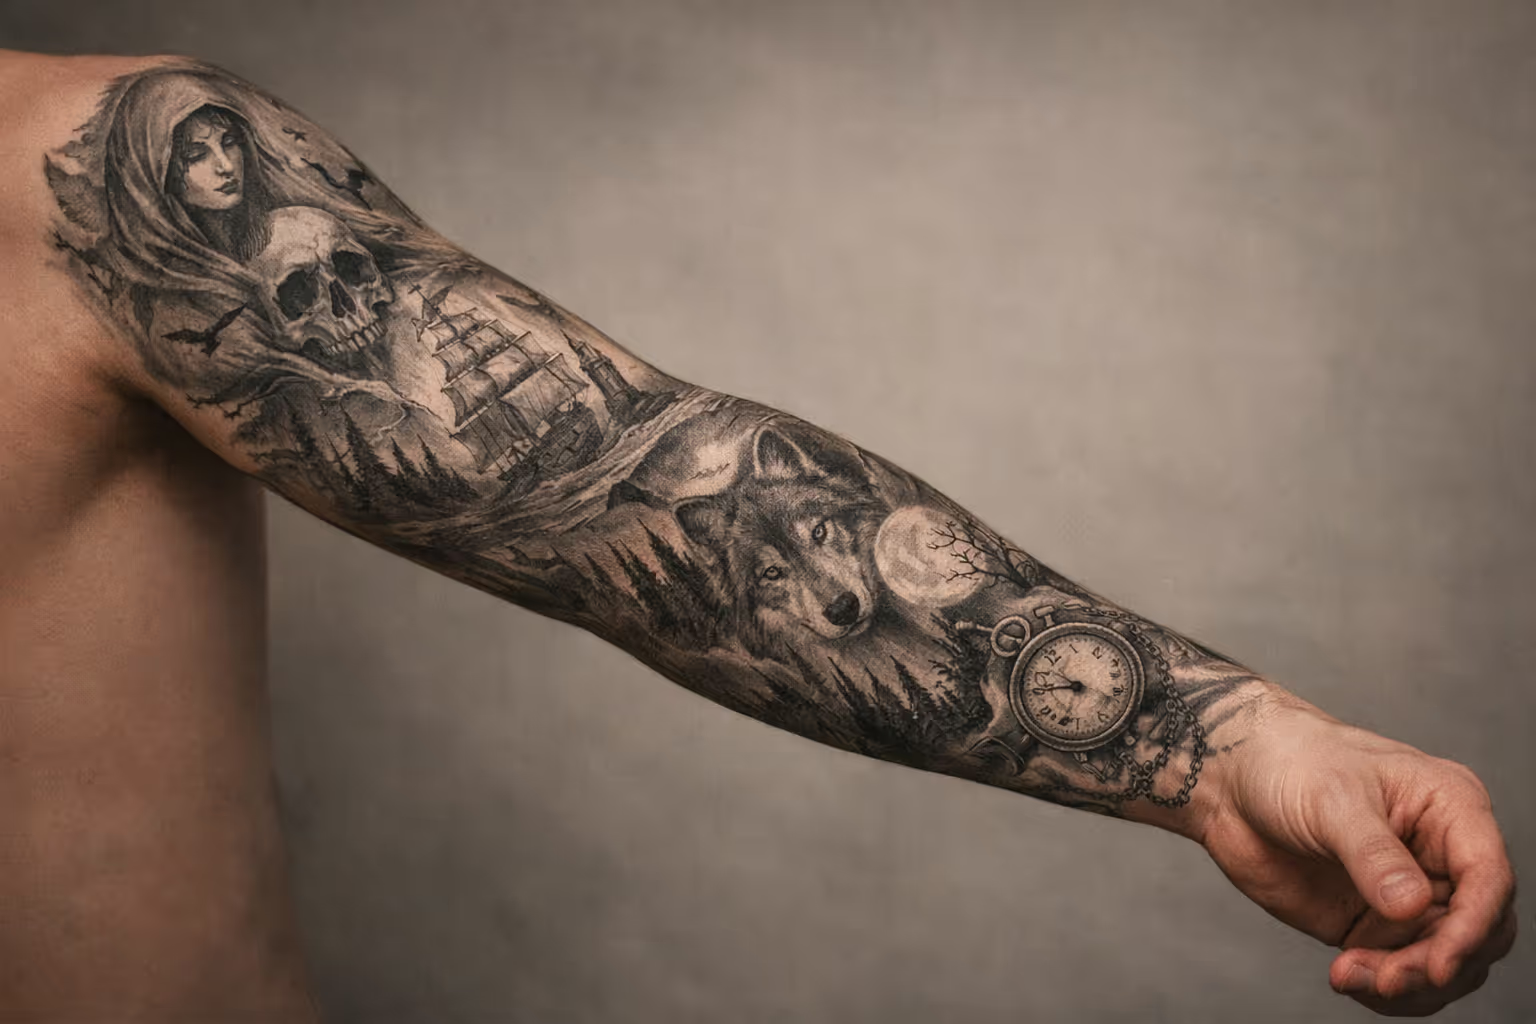
Most people book their first sleeve session without a clear idea of where the sleeve will actually end. That’s a mistake. A sleeve tattoo isn’t just a bunch of separate pieces you hope will fit together later. It’s one continuous composition planned for the whole arm. The first and most important decision is scope: quarter, half, or full sleeve. Each of these covers different amounts of skin, costs different money, takes different amounts of time, and requires a different level of planning before the needle hits your skin. Nail the scope and the anchor piece, and your sleeve will still read as one design five years down the line. Get them wrong, and no amount of filler will fix it.
Committing to a Sleeve Tattoo: What You Gain and What You Sign Up For
A sleeve gives you enough flat space to tell a real visual story: water swirling around the elbow, a dragon wrapping the forearm, a mandala anchoring the shoulder cap. But it’s a commitment that stretches over months or even years, and the trade-offs matter before you start.
✓ Pros
- Large canvas allows genuine compositional storytelling
- Each stage (quarter → half → full) can stand alone
- Black-and-gray sleeves age predictably and integrate well
- Phased build reduces financial risk
- Strong visual impact with professional concealment option
✗ Cons
- Multi-session commitment spans months to years
- Budget can escalate well beyond initial estimates
- Inner arm, elbow ditch, and wrist are genuinely painful zones
- Rushing sessions damages healed skin and final saturation
- Finding an artist who designs for arm-wide continuity takes research
Quarter, Half, or Full: What Each Scope Actually Covers
Sleeve scope is about anatomy: a quarter sleeve covers roughly one zone of the arm, a half sleeve covers about half the arm, and a full sleeve runs from shoulder to wrist. Knowing these definitions upfront is crucial because scope dictates session count, healing load, and how much compositional planning you need before the first line.
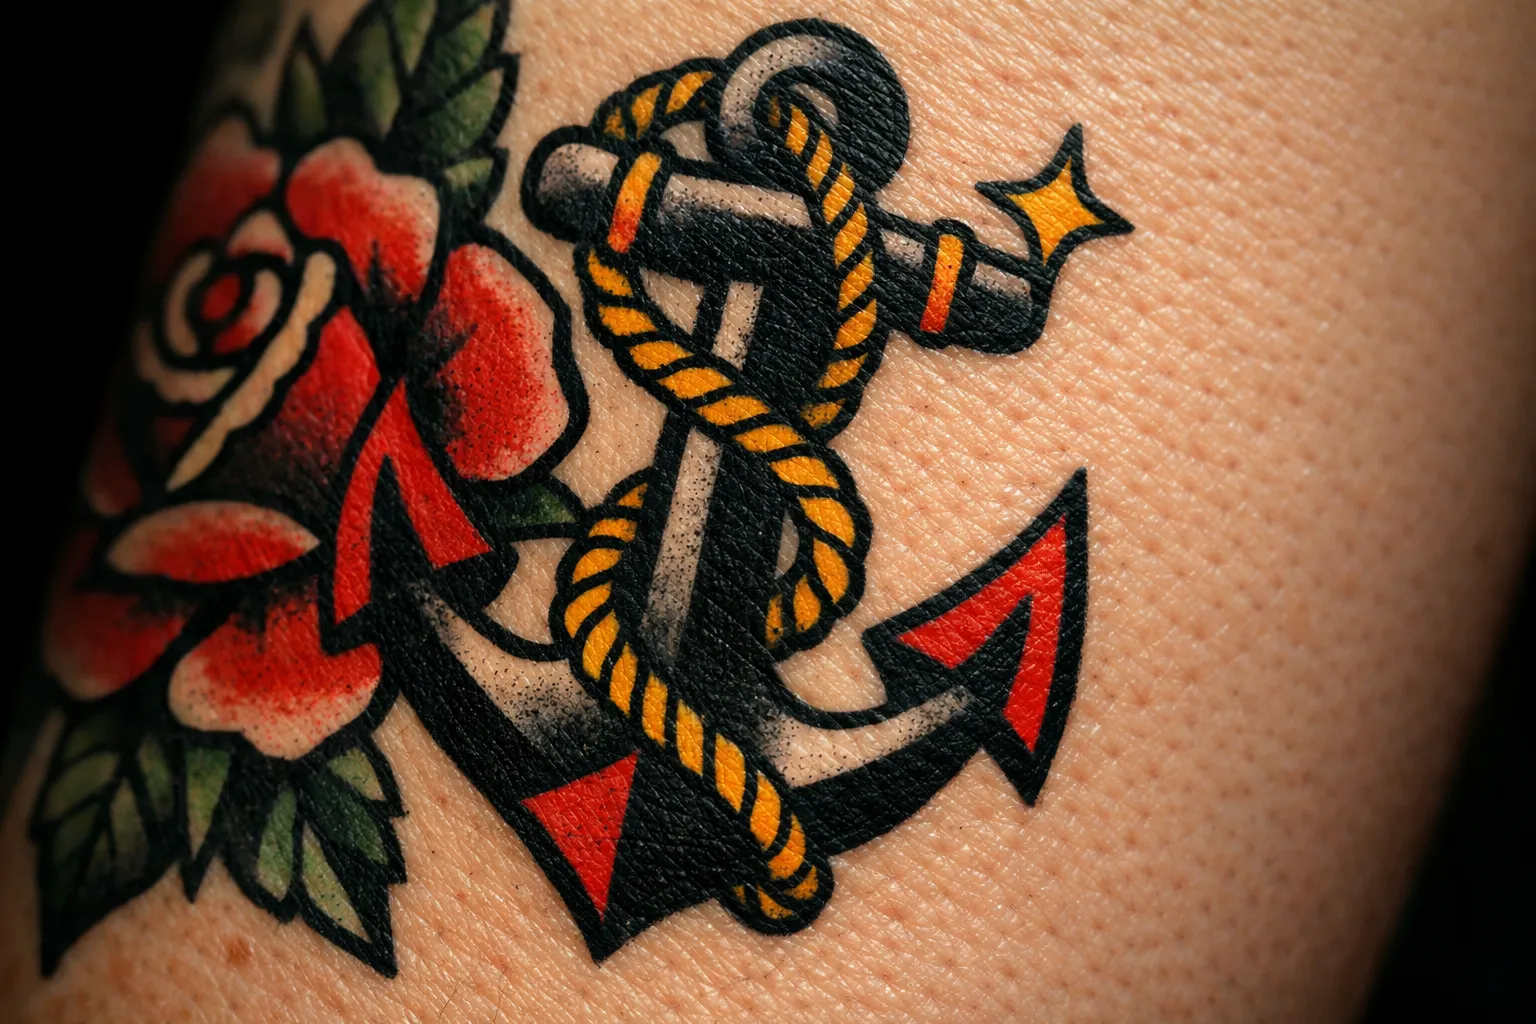
A quarter sleeve covers about 4 to 6 inches: either shoulder cap to mid-bicep or elbow to mid-forearm. A half sleeve covers either the upper half (shoulder to elbow) or the lower half (elbow to wrist). A full sleeve is the entire run, shoulder to wrist, and it’s the only scope that demands a complete composition plan from session one. You can’t just patch continuity across three zones after the fact.
Quarter sleeve tattoo: the anchor-first approach
A quarter sleeve covers one arm zone, usually shoulder cap to mid-bicep or elbow to mid-forearm. Expect about 3 to 6 hours spread over 1 to 2 sessions, at roughly $500 to $1,500 (1). It’s the lowest-commitment entry point for sleeve work. Because it sticks to one zone, it’s also the easiest to expand later: a quarter sleeve on the upper arm can anchor a half sleeve without redrawing what’s already healed. If you’re on the fence about the full commitment, start here.
Upper-arm vs. forearm half sleeve: which half you start with matters
The half sleeve is the most misunderstood scope because “half” splits two ways. An upper-arm half sleeve runs from shoulder to elbow. A forearm half sleeve runs from elbow to wrist. These are distinct projects with different visibility and aging characteristics. The forearm gets more sun and friction, so it fades faster; the upper arm stays protected and holds up longer. If you plan to eventually do both, the upper-arm half sleeve is usually the smarter place to start.
Full sleeve as a single composition, not a series of tattoos
A full sleeve tattoo is a shoulder-to-wrist composition, and that’s where people often underestimate the complexity. A full sleeve typically runs 15 to 30+ hours of tattooing time over 5 to 10 sessions (1)(4). Highly detailed or advanced work sits above that band and can take well over a year to complete. Line direction, background, and negative space all have to flow continuously around shoulder, elbow, and wrist. You commit to that plan from the start. There’s no clean way to bolt continuity onto three separately designed zones once they’ve healed.
Sessions, Hours, and Healing Gaps: How the Timeline Stacks Up
The timeline for a sleeve depends on total tattoo hours, how many sessions you break those into, and the healing gap between sessions. Those gaps aren’t optional: they’re why a 30-hour full sleeve can stretch over most of a year.
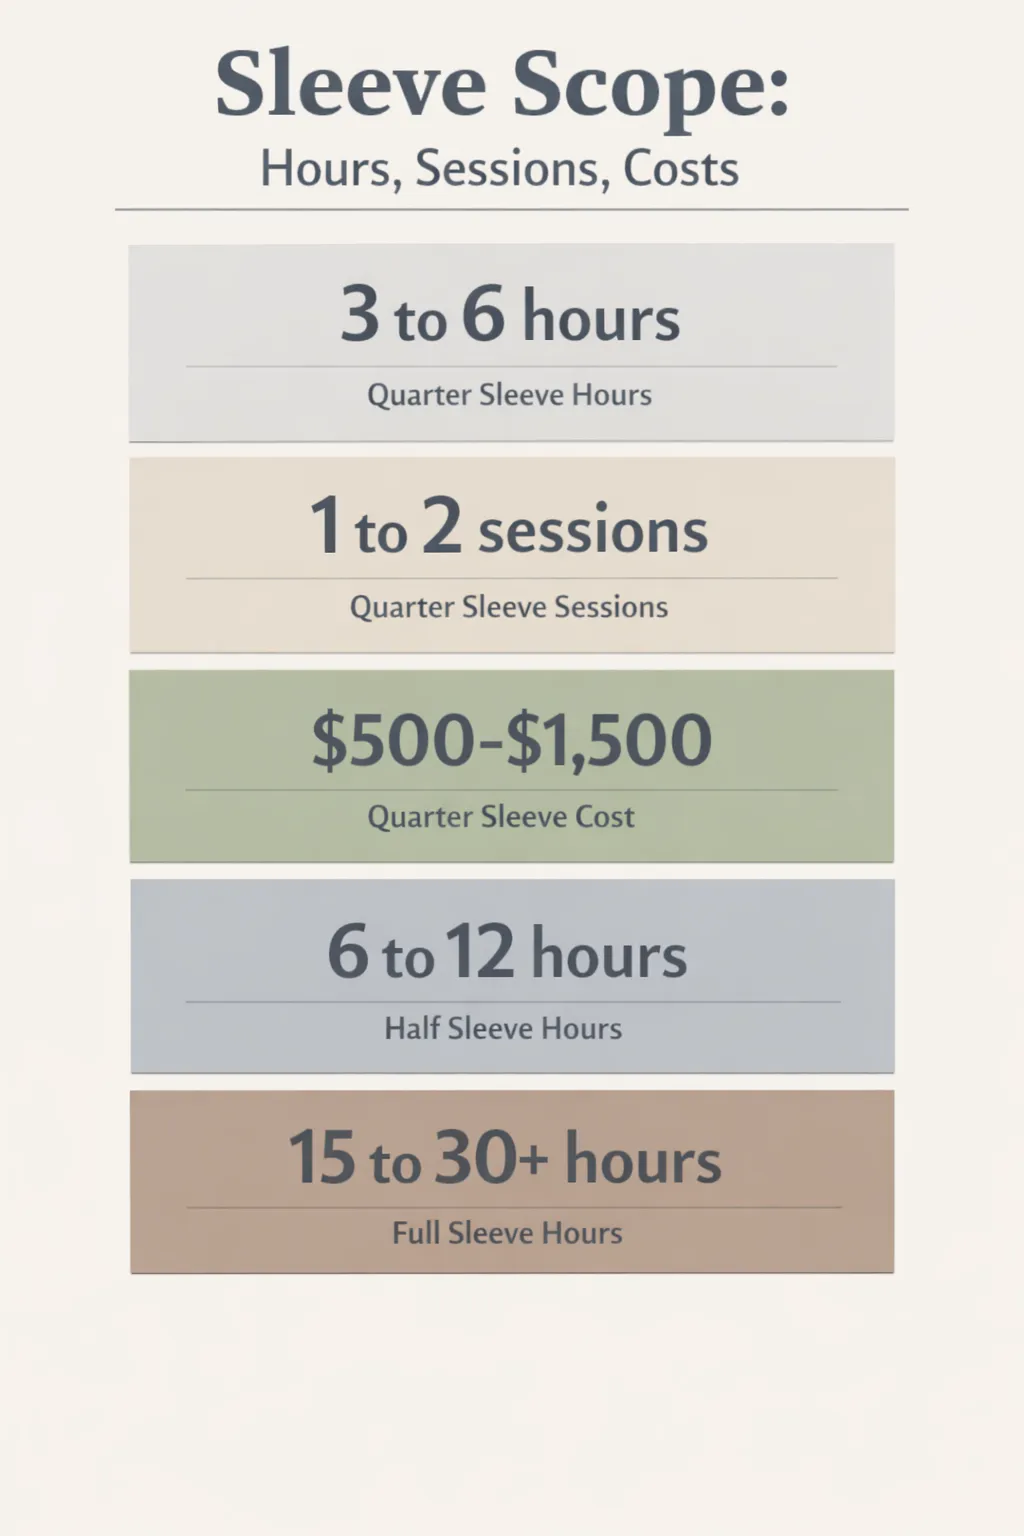 Sleeve scope at a glance: a quarter sleeve runs 3-6 hours over 1-2 sessions for $500-$1,500, a half sleeve 6-12 hours, and a full sleeve 15-30+ hours.
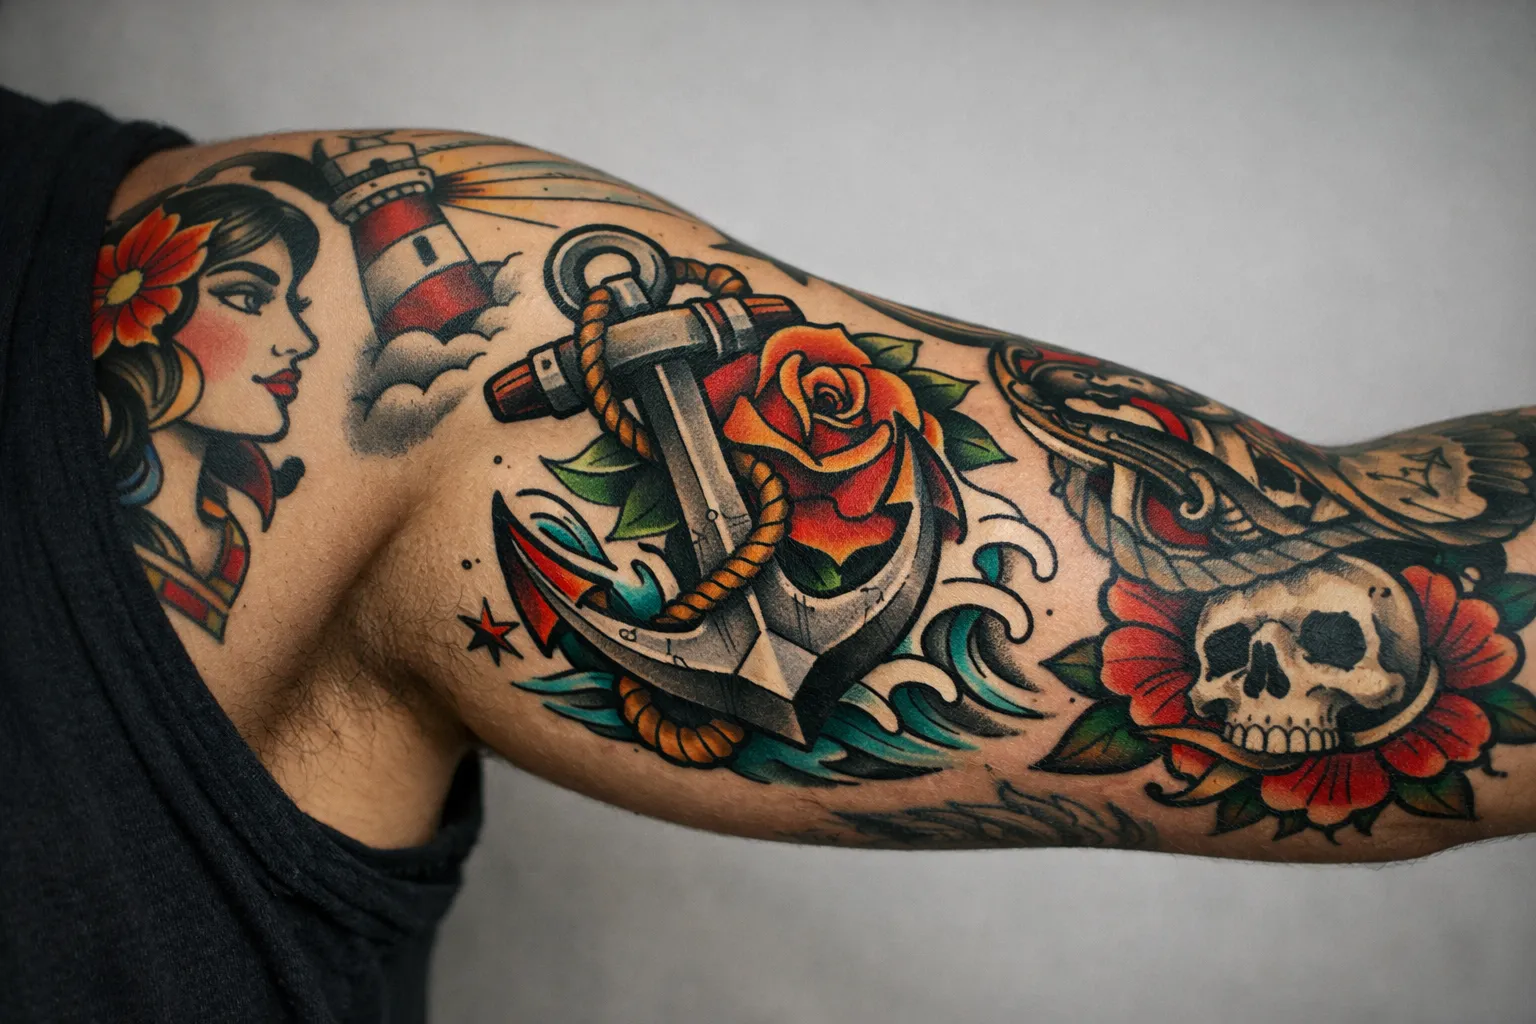
Here’s how the three scopes break down:
- Quarter sleeve: about 3 to 6 hours over 1 to 2 sessions (1). Fastest finish, lowest healing load.
- half sleeve tattoo: usually 6 to 12 hours depending on style (1). Simple blackwork sits at the low end; dense Japanese irezumi or color realism pushes the high end. Plan 2 to 4 sessions (1)(4).
- Full sleeve: typically 15 to 30+ hours over 5 to 10 sessions (1)(4). Sessions themselves commonly run 4 to 6 hours (10). Heavier realism and dense Japanese work sit at the top of that band and beyond.
Healing gaps run 2 to 4 weeks between sessions: the skin needs that long to close before it takes new trauma, and going back sooner risks blowouts, poor ink retention and infection (3). Surface skin heals in about 2 to 3 weeks, while the deeper layers keep settling for months afterwards, and that is what controls scheduling. Artists working heavy saturation or fine-line detail often push for longer gaps.
Rushing sessions damages the work. Tattooing skin that isn’t fully healed means ink doesn’t hold well: saturation ends up patchy, lines can blow out, and you’ll need more touch-ups. A standard full sleeve realistically takes 2 to 6 months from first line to fully healed, while dense or detailed work can stretch to 6 to 18+ months. A full Japanese sleeve, covering the whole arm with a single narrative, commonly runs 6 to 10 sessions and lands in the $5,000 to $11,000 band (10).
Why the elbow and wrist zones slow everything down
Joints slow progress for two reasons: they hurt more, and the skin behaves differently. The elbow ditch and inner wrist have thin skin right over bone and tendon. That means more pain and more careful, shorter work. Most artists break these zones into shorter sessions, which stretches the overall project. If your design crosses the elbow, expect that session to be shorter and spaced further from the next one.
Session spacing: the 2 to 6 week rule and when to push it further
Two to four weeks is the bare minimum between sessions; four to six weeks is safer for heavy saturation or detail. Push it further when the previous session was large, dense, or over a joint. This isn’t about surface healing, which is done in a few weeks, but about giving deeper tissue time to settle before you traumatize it again.
How to schedule a sleeve build across sessions
2 monthsA sensible step-by-step approach to planning your sleeve tattoo sessions for optimal healing and flow.
- 1
Anchor session
Tattoo your focal piece first, the one everything else will build around.
- 2
Heal fully
Wait 4 to 6 weeks before going back to allow deeper tissue recovery.
- 3
Review
Assess how the anchor healed before committing to the next part.
- 4
Build the next zone
Move to the adjacent area, keeping line direction and flow consistent.
- 5
Add backgrounds and filler
Connect your main pieces with water, smoke, wind bars, or botanical elements.
- 6
Touch-up pass
After everything's healed, assess what needs a final pass, and do this last rather than piecemeal.
What a Sleeve Actually Costs: and What Drives the Price Up
There’s no universal price for a sleeve tattoo. Costs vary widely by artist reputation, city, and style, so don’t anchor on a single number. In the U.S., a full sleeve commonly runs $2,000 to $6,000 or more depending on detail and artist (4), and one costing guide puts the same band at $2,500 to $6,000+ (1). Dense realism, Japanese work or top-tier artists push well past that.
Here’s how the three scopes compare practically:
- Quarter sleeve: one zone, 3 to 6 hours over 1 to 2 sessions, about $500 to $1,500 (1). Expands easily into a half sleeve, and the lowest-risk entry.
- half sleeve tattoo: upper arm or forearm, 6 to 12 hours over 2 to 4 sessions (1), and $800 to $3,000 depending on the shop (1)(4). Can grow into a full sleeve if planned.
- Full sleeve: shoulder to wrist, 15 to 30+ hours across 5 to 10 sessions, $2,000 to $6,000+ (1)(4), and materially more for detailed realism or Japanese styles. Least expandable: you plan it all up front.
Hourly rates in the U.S. run about $100 to $300+, and the spread inside that band matters more than the band itself: roughly $100-$150 for an apprentice, $150-$250 for an experienced artist, and $250-$400+ for a top-tier name (1). What drives the price up beyond the hourly rate? Color saturation (more passes), realism (longer sessions), artist specialization, and custom design fees for a full mockup, which can add $100 to $500. Touch-ups add to the total too.
Project-based pricing vs. hourly math: why the final number surprises people
The surprise comes when you treat a sleeve like simple hours times rate. Detailed realism and Japanese sleeves are often priced as projects because artists know the work will run long and prefer to avoid nickel-and-diming chair time. A quoted $150/hour rate sounds reasonable until you multiply it by 30 hours and add a design fee and a couple of touch-ups. Ask for a project estimate upfront and whether touch-ups are included.
What $500 actually gets you toward a sleeve
At mid-tier U.S. rates ($100 to $160/hour), $500 buys 3 to 5 hours of work, enough for one 4 to 6-inch anchor piece on the forearm or upper arm, not a sleeve. Medium tattoos in that size range usually take 2 to 4 hours and cost $200 to $800. That’s a solid first session toward a quarter sleeve: get one strong focal piece placed and healed, then build out. Trying to spread $500 across several small fillers is the worst use of your budget: you end up with disconnected fragments and no anchor.
Sleeve Tattoo Scope Comparison
| Quarter Sleeve | Half Sleeve | Full Sleeve | |
|---|---|---|---|
| Coverage Zone | Shoulder cap to mid-bicep or elbow to mid-forearm | Upper arm (shoulder to elbow) or forearm (elbow to wrist) | Shoulder to wrist |
| Estimated Hours | 3-6 | 6-12 | 15-30+ |
| Typical Session Count | 1-2 | 2-4 | 5-10 |
| Healing Gap Between Sessions | 2-4 weeks | 2-4 weeks | 2-4 weeks |
| Rough Cost Range (U.S. Mid-Tier) | $500-$1,500 | $800-$3,000 | $2,000-$6,000+ |
| Expandability | Easiest to expand to half or full sleeve | Can grow into full sleeve if planned | Least expandable, plan the full composition upfront |
Theme, Flow, and the Composition Decisions That Make or Break a Sleeve
The biggest mistake I see is treating a sleeve as a collection of random tattoos instead of one continuous composition. The fix is a flow map: a rough plan for how the whole arm reads before you start. This is the step most guides skip but it’s what makes your sleeve look intentional years later.
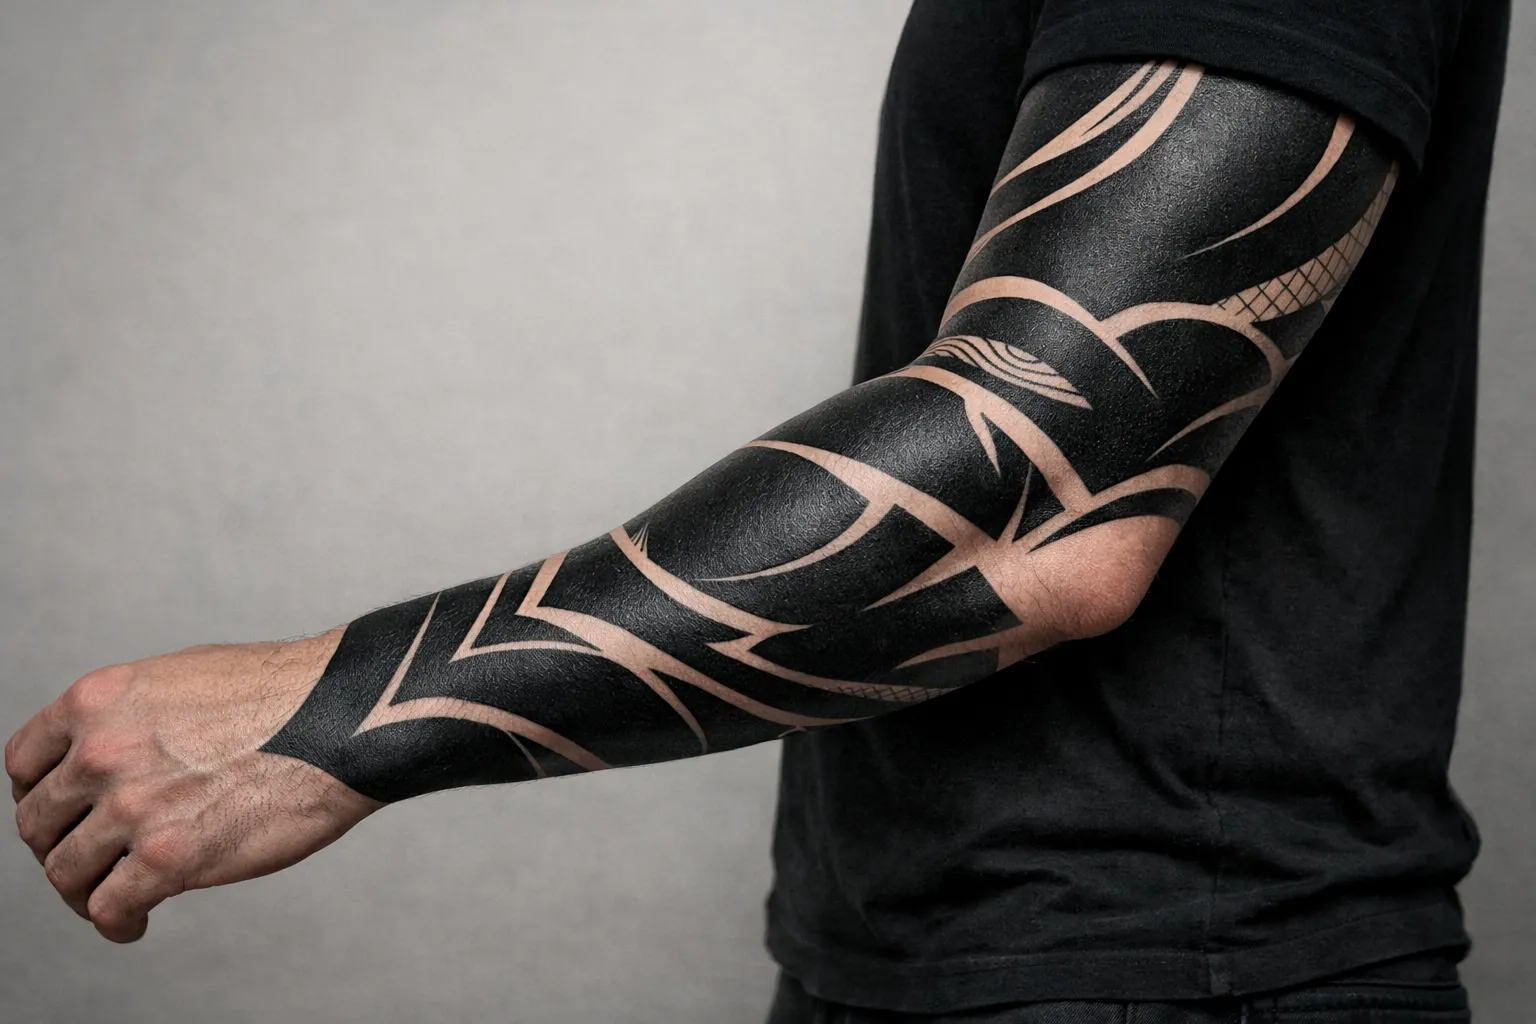
Placing the anchor motif: upper arm vs. forearm as the starting point
Decide where your focal piece lives first (upper arm, shoulder cap, or forearm) because everything else builds around it. The anchor sets how the sleeve reads from a distance and in motion. The upper arm is usually the stronger anchor: the skin ages better there, with less sun and less friction. Forearms are tempting because they’re visible, but they fade faster. Build your anchor on the upper arm and extend downward when you can.
Connecting elements: backgrounds, filler, and how to handle the elbow
Theme unity is what separates a sleeve from a sticker collection. Commit to one style (all Japanese irezumi, all black-and-gray realism, all geometric dotwork, or all botanical) and keep line weight and palette consistent throughout. Mixed styles look cluttered no matter how good each piece is.
The three transition zones are shoulder-to-bicep, the elbow, and the wrist. The elbow is the hardest to work with. Line direction and negative space must flow around the joint, not fight it. The elbow ditch often forces design tweaks mid-project. This is where connectors earn their keep: water, smoke, wind bars, and botanical backgrounds help guide the eye around joints. Use negative space deliberately: intentional skin breaks keep your sleeve legible after years of layering. If you want to expand later, leave unused skin lanes on the inner bicep or inner forearm. Crowding early kills your options.
Black-and-gray vs. color: the aging and session-count trade-off
Black-and-gray ages more predictably and integrates more easily across sessions. It’s the safer choice for multi-session builds. Color raises session counts and saturation needs because saturated pigment requires more passes, and it fades less evenly over decades. Studios often bracket sleeve complexity like this: minimal black-and-gray sleeves run 15 to 30 hours, standard sleeves 30 to 50 hours, and advanced or Japanese color sleeves 50 to 120+ hours. Color isn’t wrong: just know it lengthens the project and its aftercare.
Sleeve Ideas for Men: Themes That Hold Up Across the Whole Arm
Strong sleeve ideas for men come from theme categories with built-in design rules, not random inspiration lists. Each style handles joints and negative space in ways that hold up across the whole arm.
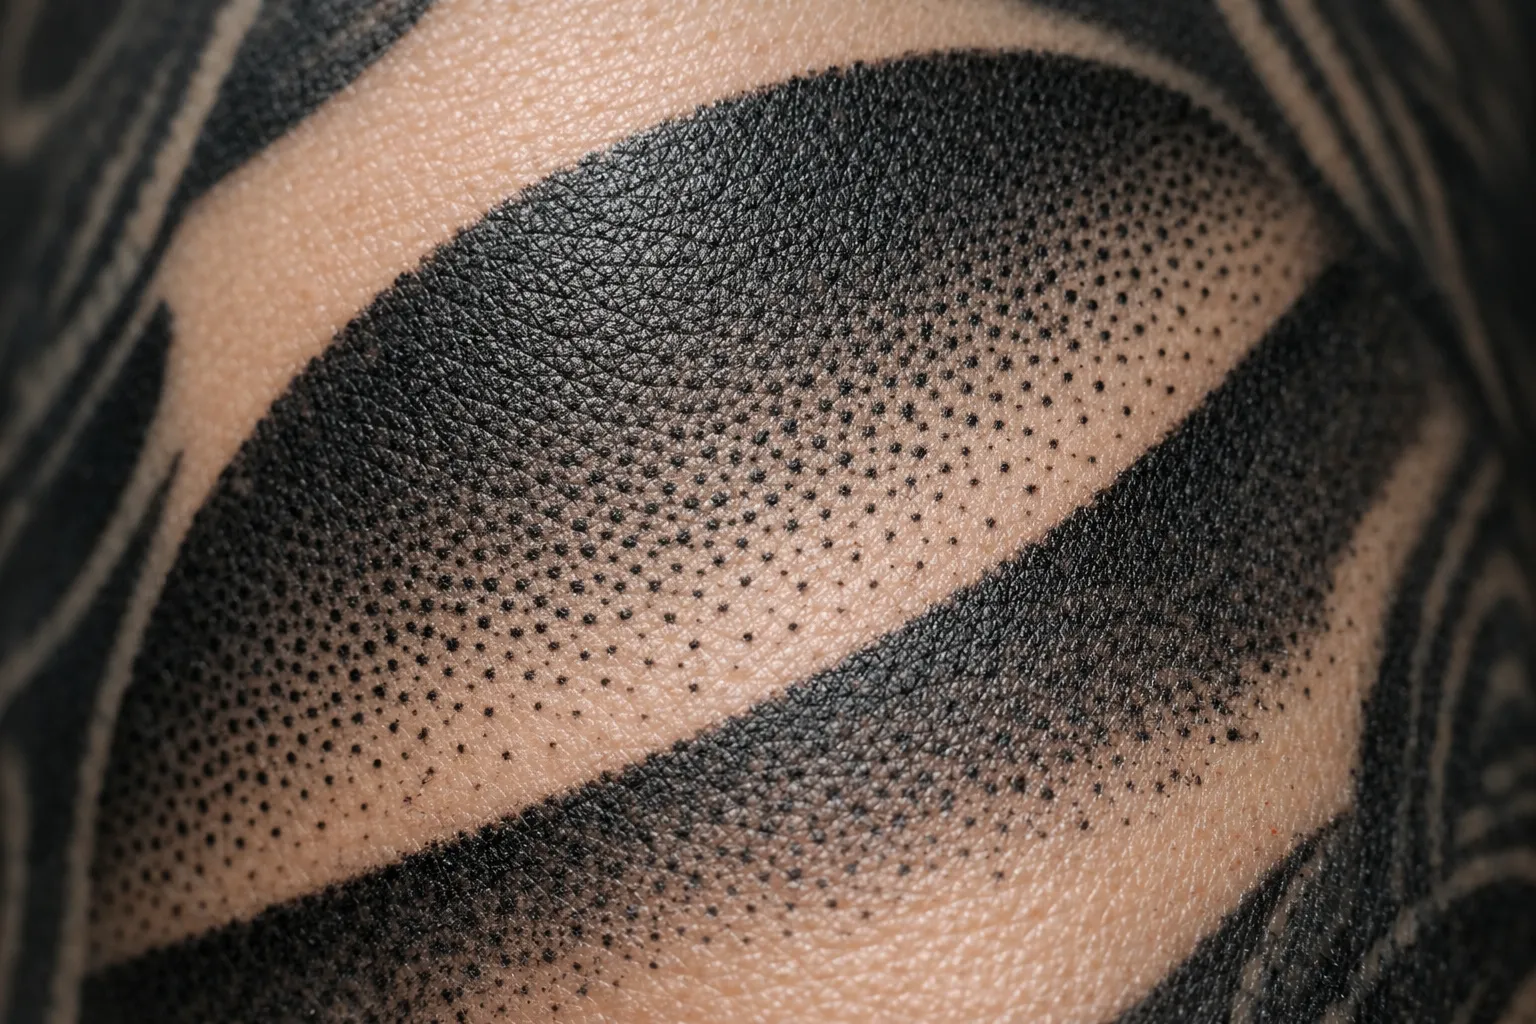
Japanese irezumi: why it’s the most sleeve-friendly style
Japanese irezumi works so well for sleeves because of its structure: dragons, koi, hannya masks, oni, and cherry blossoms come with wind bars and wave backgrounds that flow naturally around the elbow. The backgrounds are designed to wrap the arm. Bold outlines age well. Irezumi suits half or full sleeves, though a full sleeve is its own price tier: $5,000 to $11,000 over 6 to 10 sessions (10), for dense dragon and koi narratives.
Black-and-gray realism: placement and artist selection
Black-and-gray realism covers portraits, religious imagery like praying hands and rosaries, and animals like wolves, lions, and tigers. It requires a specialist, not a generalist. A full sleeve in realism sits at the top of the 15-to-30+ hour band and often beyond it, since saturation and detail both add passes. The upper arm and forearm are best for detailed realism: avoid packing heavy detail right into the elbow ditch, where skin moves and blurs fine work. Always check healed portfolios, not just fresh photos) realism lives or dies on how it settles.
Geometric, biomechanical, and neo-traditional as full-arm narratives
Biomechanical (gears, pistons, exposed “machinery” beneath skin) works best as a full sleeve because the mechanical story needs room to develop, and the inner arm becomes a feature, not an afterthought. Neo-traditional uses bold outlines and a wider palette than American traditional, with strong graphic contrast that reads across the whole arm; skulls, daggers, animals, and roses make good anchors. Geometric and dotwork: mandalas, sacred geometry, Polynesian patterns: scale cleanly from quarter to full sleeve because negative space is built into the style. The gender line is softening here; fine-line florals and ornamental linework are increasingly requested by men as filler or inner-arm accents. Scale and line weight determine how a motif reads, not the subject.
Sleeve Concepts for Women: Botanical, Ornamental, and Fine-Line Approaches
These styles dominate women’s sleeve requests but the planning logic is the same: you still need an anchor and a flow map.
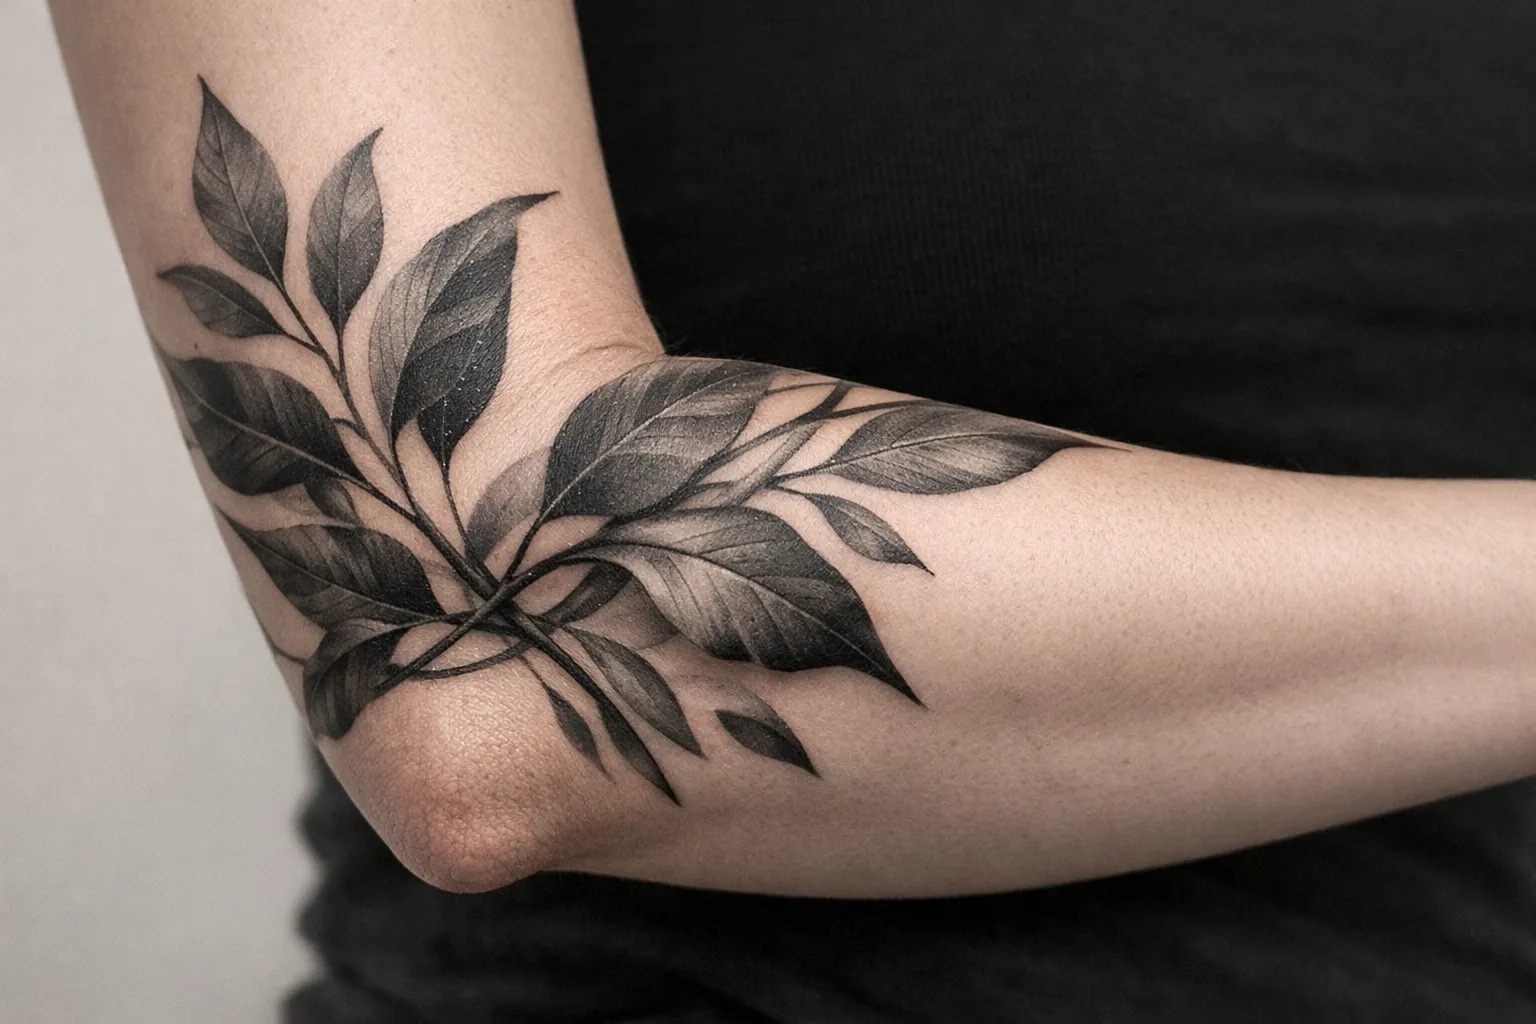
Botanical and floral sleeves: how stems and vines solve the elbow problem
Botanical and floral work (roses, peonies, wildflowers, trailing leaves) handles the elbow better than most motifs because stems and vines create natural connectors flowing around joints. This works well as a forearm half sleeve or full sleeve. Black-and-gray botanical ages cleaner than color, holding shape as skin changes. A forearm half sleeve in botanical style is one of the most popular entry points for women planning longer projects: it stands alone and expands later.
Fine-line and ornamental: what actually lasts vs. what fades
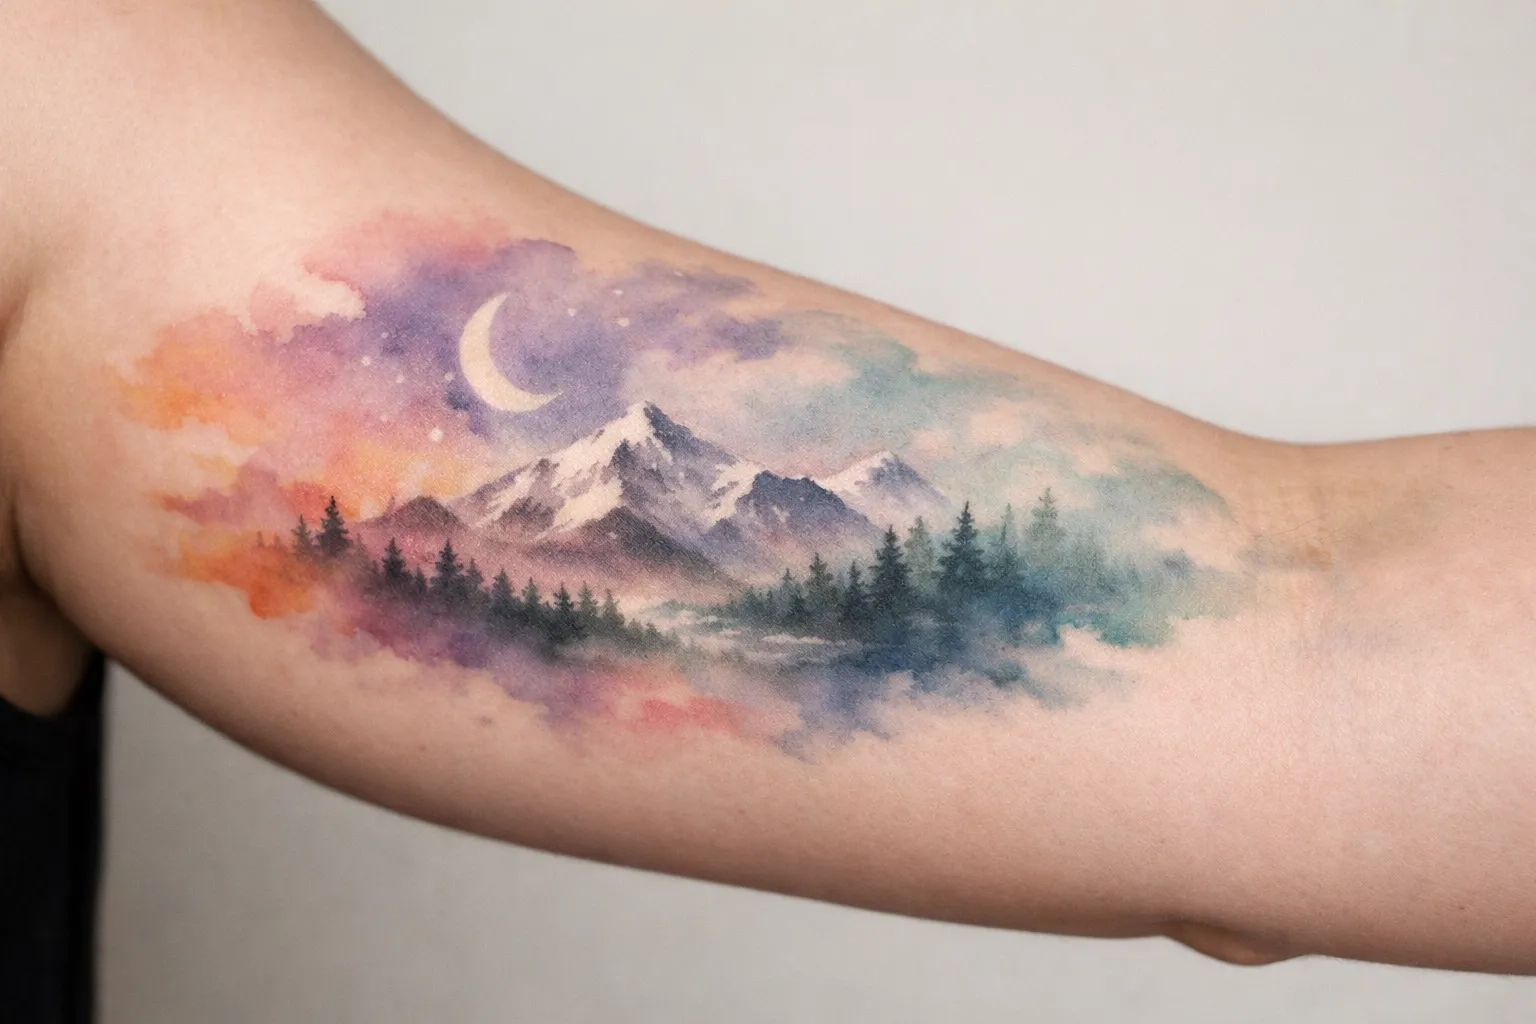
Ornamental linework (mandala-inspired patterns, lace-like geometric detail, dotwork accents) suits the inner arm and forearm. Negative space is structural here, not an afterthought. Fine-line imagery: delicate animals, moon phases, constellations, portrait-style faces: looks great fresh but needs honest expectations around aging. Very thin lines blur over time; ask for a 5 to 7 round needle minimum so the work lasts a decade without fuzzing. Placement matters: forearms age better than inner wrists, which see more friction. Watercolor-style washes need a defined subject with strong black outlines underneath, or the color will fade and drift. Always treat the linework as the skeleton.
Pain Across the Arm: Which Zones Are Manageable and Which Aren’t
A half-sleeve tattoo ranges from moderate pain on the outer upper arm to genuinely rough on the inner arm and elbow ditch. No numeric scale is honest, but here’s a relative ranking from easiest to hardest: outer upper arm, outer forearm, inner bicep, inner forearm, elbow ditch, wrist and inner wrist.
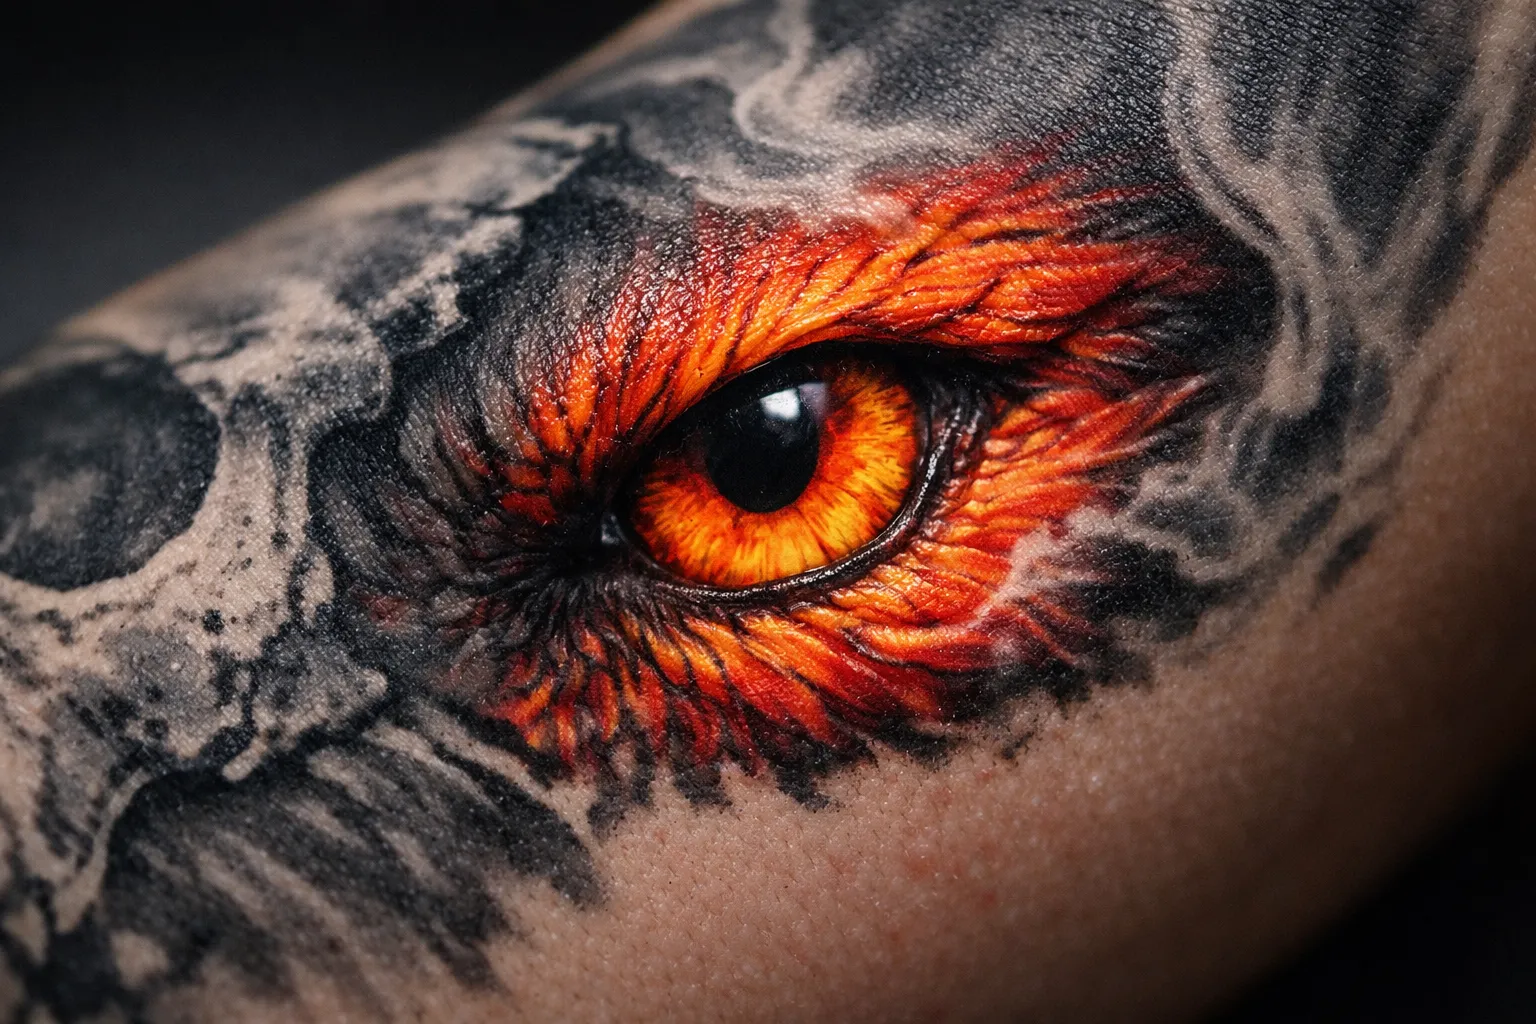
Inner-arm pain is often underestimated. The skin there is thinner and more sensitive, which can add 30 to 50 percent more time to a session because you need more breaks. That’s a scheduling reality, not just comfort. For context, the ribcage and sternum are worse than any arm zone: important if your sleeve is planned to connect to a chest piece.
The elbow ditch: why every sleeve artist plans around it
The elbow ditch (antecubital fossa) is the toughest zone in a sleeve. Thin skin over bone and tendon means most artists tattoo it in shorter bursts and design around it to avoid dense detail in the crease. Practically, don’t book a 6-hour session for your first elbow tattoo, and schedule elbow or inner-arm work when you have recovery time. Advanced sleeves with heavy elbow and inner-arm work often run 50 to 80 hours over 8 to 15 sessions partly because those zones force shorter, spaced-out visits.
Aftercare Across a Multi-Session Project
Aftercare for a sleeve is cumulative: you’re managing healed sections while new ones are fresh, and friction from tight sleeves is a real issue that slows saturation.
Here’s the timeline for each fresh section:
- Day 1 to 3: Open wound. Clean 2 to 3 times daily with unscented antibacterial soap, pat dry, and apply fragrance-free moisturizer or your artist’s recommended ointment. Avoid tight clothing over the area.
- Week 1: Peeling starts around day 4 to 7. Don’t pick. Moisturize 2 to 3 times daily and avoid soaking: no swimming or long baths.
- Week 2 to 4: Surface looks closed but deeper layers are still healing. Color may look dull or “milky”: that’s normal. Resume normal activity but avoid direct sun and pools.
- Week 4 to 8: Full internal healing. Once healed, use SPF 30 to 50+ sunscreen on any exposed areas. UV exposure causes most long-term fading, especially with color.
Surface skin heals in 2 to 3 weeks, but complete healing takes 4 to 6 weeks, with deeper tissue taking up to two or three months. Wait until the section is fully healed before deciding on touch-ups (at least 4 to 6 weeks) because judging partially healed skin leads to unnecessary overworking.
Protecting healed sections while new ones are fresh
Once a section is healed, sun and friction are the main threats. Keep healed work covered with sun-protective clothing or SPF, and watch for sleeves rubbing fresh sections nearby. A bad heal from overusing ointment, constant friction, or sun exposure can cause blown-out lines and fading that costs $400 or more to fix. That’s money wasted fixing avoidable problems.
Frequently Asked Questions
- How much does a half sleeve tattoo cost?
- A half sleeve typically runs $800-$3,000 at mid-tier U.S. shops, with premium or high-detail work pushing higher. Hourly rates sit around $150-$250 for an experienced artist. Style complexity (dense Japanese irezumi vs. simple blackwork) is the biggest variable. Expect 6-12 hours of work across 2-4 sessions.
- How painful is a half-sleeve arm tattoo?
- The outer upper arm is manageable: most people's least painful sleeve zone. The inner arm, elbow ditch, and inner wrist are significantly harder. A half sleeve that includes the elbow ditch will have at least one session that's genuinely uncomfortable, regardless of your pain tolerance.
- How big is a $500 tattoo?
- At mid-tier U.S. rates ($100-$160/hr), $500 buys roughly 3-5 hours of work: enough for a solid 4-6 inch piece on the forearm or upper arm. That's a strong anchor piece toward a quarter sleeve, not a sleeve itself.
- What is a quarter sleeve tattoo?
- A quarter sleeve covers roughly one zone of the arm: typically the shoulder cap to mid-bicep, or elbow to mid-forearm. It takes about 3-6 hours across 1-2 sessions, around $500-$1,500, and is the lowest-commitment entry point for a sleeve project. Each stage can stand alone or expand later.
- Should I start a sleeve on the upper arm or forearm?
- Upper arm first is the stronger choice. Upper arm skin ages better than forearm skin: less sun exposure, less friction. Forearms are visible and tempting to start with, but they fade faster. Build the anchor on the upper arm and extend down.
- Can I mix styles in a sleeve?
- Technically yes, but it's risky. Mixing very different styles (American traditional outlines with fine-line minimalism, for example) often reads as a sticker collection rather than a composition. A unified theme with consistent line weight and palette ages better and looks more intentional.
Three choices will make or break your sleeve long-term: scope, anchor placement, and artist selection. Be honest about your scope: quarter, half, or full, and if half, which half. Place your anchor on the upper arm, which holds up better than the forearm, then build outward. Find an artist who designs for the whole arm, not just individual pieces, and check healed work, not just fresh photos. If you’re unsure about budget or commitment, the phased build) quarter sleeve first, then expand: is the safest path. Before you book, put together a reference board of 5 to 10 images that share a consistent line weight and palette, not a jumble of every style you like. That’s what turns a consultation into a solid plan.