If you’re seeing a blue-gray haze bleeding past your tattoo’s lines, here’s the first thing to know: a tattoo blowout is not something you caused with bad aftercare. It happens in the chair, when ink is driven too deep and spreads through the wrong layer of skin - an artist’s error, not yours. That distinction matters, because it changes what you can do about it. Here’s how to tell a real blowout from normal settling, how to fix one, and how to avoid it next time.
What a Tattoo Blowout Is, What Causes It, and How to Fix It
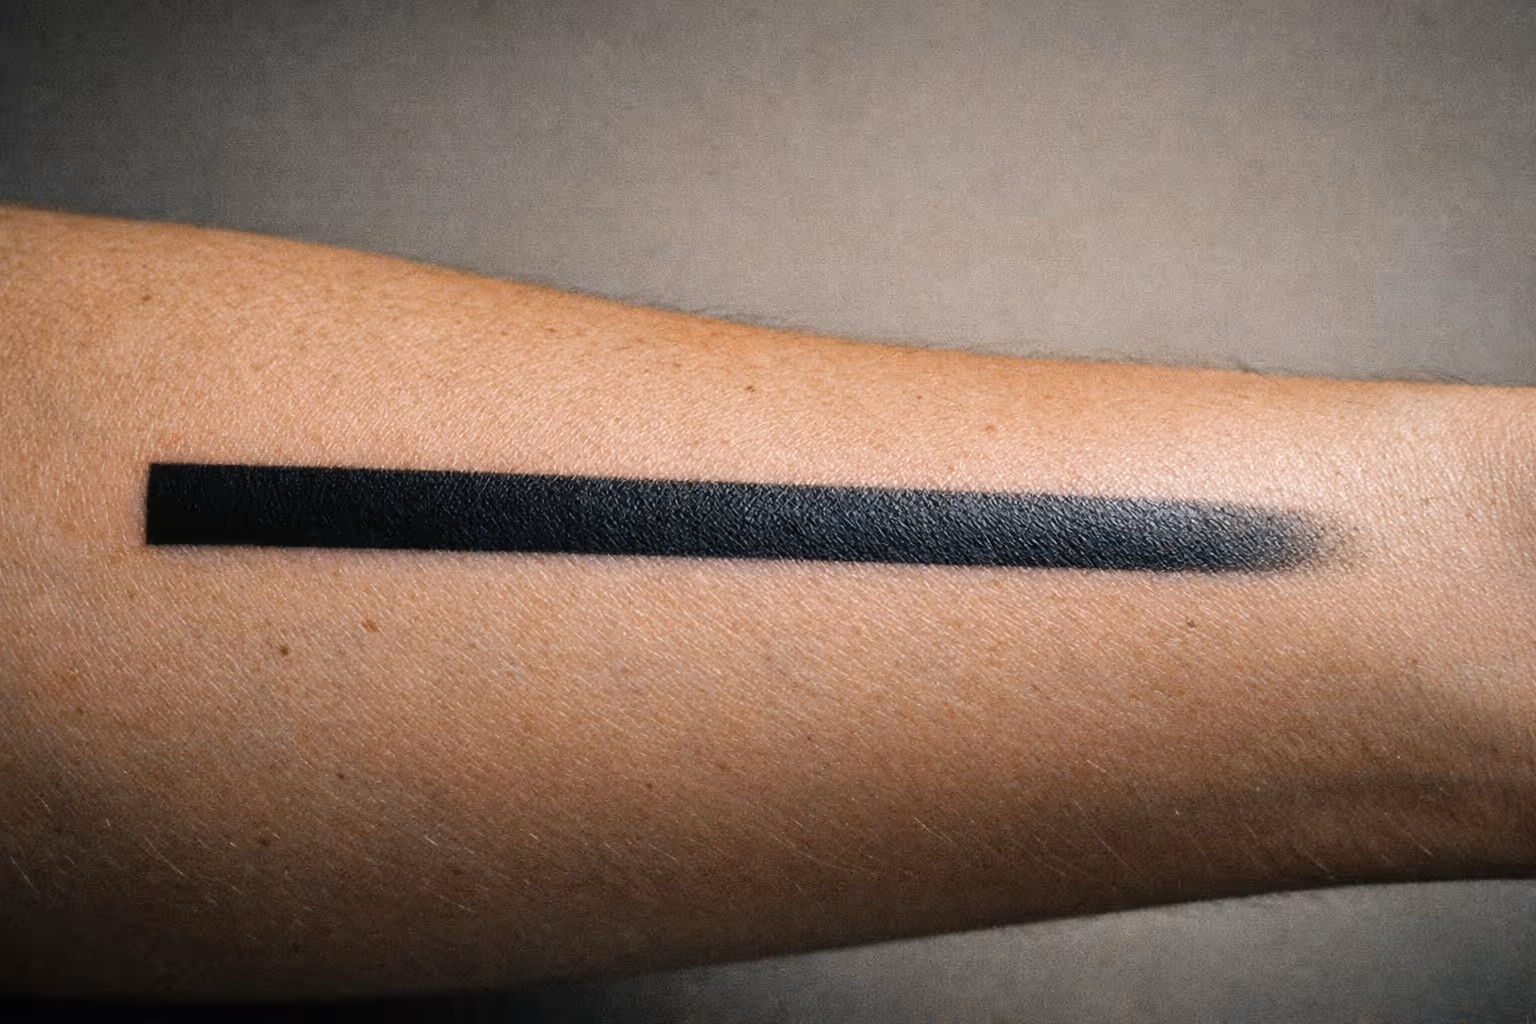
What is a tattoo blowout, stripped of the technical language: ink ended up in the wrong skin layer. Tattoo ink is supposed to sit in the dermis, roughly 1-2 mm down for most people. When it gets pushed into the deeper subcutaneous or fat layer, it can travel sideways under the skin and produce that blurry, smudged border you’re looking at (2) (5).
It’s almost always a cosmetic problem, not a medical one - unless you’re also seeing signs of infection like heat, pus, fever, or pain that keeps getting worse (3). The ink migration is more like dye spilling under a paper towel than something your body can organize back into a clean line.
What a blowout actually looks like (healed vs fresh)
Most blowouts:
- Look like shadowing or feathering outside the line, usually blue or gray under black ink (3)
- Stay visible after peeling ends
- Can be small - sometimes 1-2 mm beyond the line - or large enough to distort a small design entirely (1) (6)
When it shows: most blowouts become noticeable within 1-3 days, and can actually look worse as swelling drops over the first couple of weeks (1) (3). That timing is why people assume their aftercare caused it. It didn’t. The ink placement happened during the session.
Recognizing the Signs
Spotting a blowout is easier once you know what it’s not.
Blowout vs normal healing (the common misdiagnosis)
In the first one to two weeks, you can see:
- Bruising near lines, especially on thin skin
- A temporary smudgy look from swelling
- A cloudy appearance from plasma and scabbing
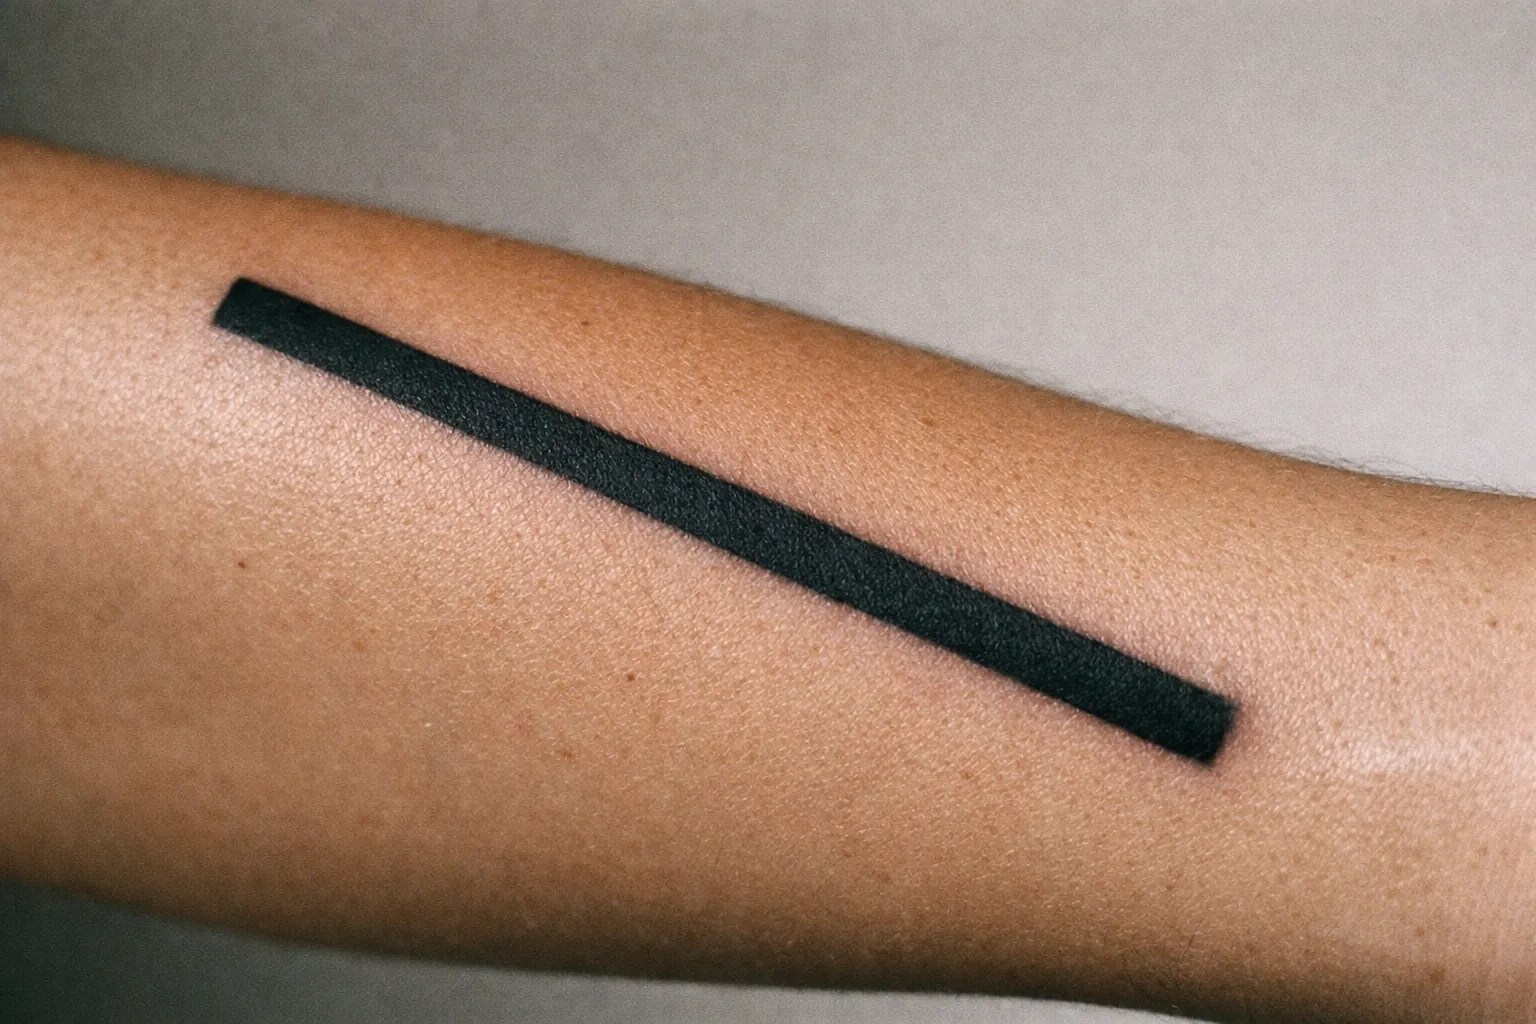
All of that can calm down as the skin closes and flaking finishes. A true blowout:
- Still looks like a soft-edged shadow after the tattoo is fully closed
- Usually remains noticeably blurry past 4-6 weeks - that’s my personal checkpoint before planning any fix
I tell clients to take a clear photo in good light once a day for a week. Blowout shadowing looks consistent from shot to shot. Bruising changes color and fades. If it’s shifting, give it more time.
High-risk placements where blowouts are easiest to spot
Some areas show blowouts fast because the skin is thin, moves constantly, or sits right over tendons and bone:
- Fingers and sides of hands
- Inner wrist
- Ankles and tops/sides of feet
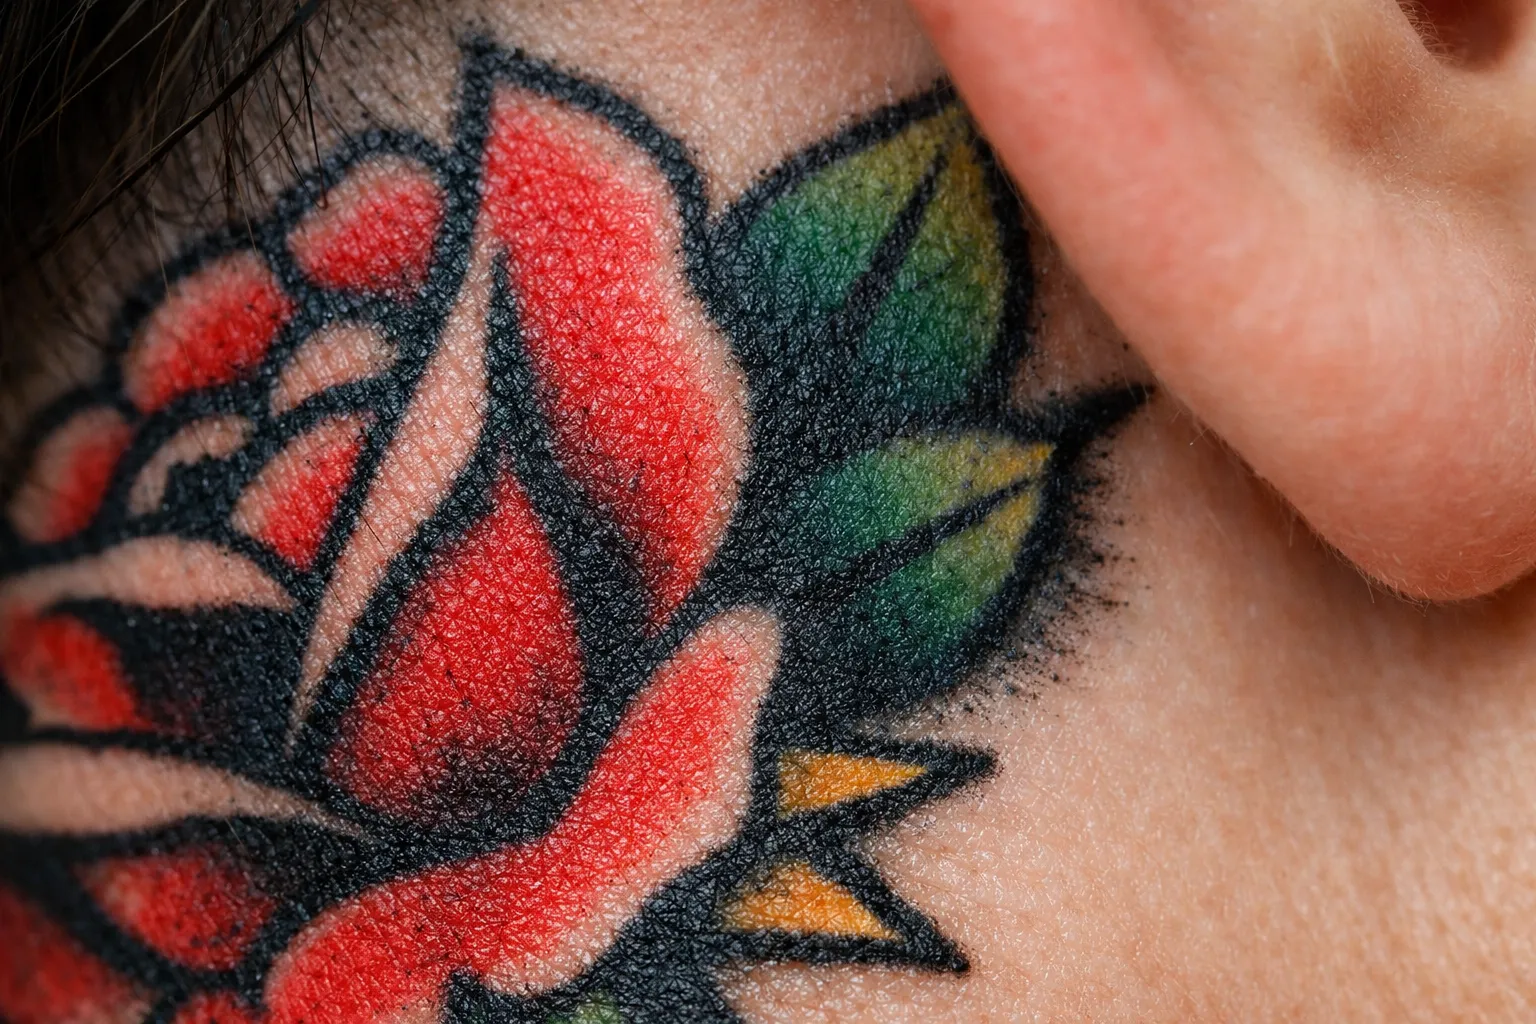
- Behind the ear
- Inner bicep and inner arm (thin, stretchy skin that doesn’t give you much to work with)
If you got fine-line script on a finger and it looks like it’s bleeding outward, that’s the classic scenario. I’ve seen it happen on perfectly executed sessions just because the placement makes it almost inevitable.
What Causes It
Most articles stay vague here. Let’s be specific. What causes a tattoo blowout almost always comes down to technique, skin, and placement - usually some combination of all three (2) (6).
Tattoo Needle Depth and Angle
Depth is the main variable. Ink placed too deep hits the looser, fattier layer under the dermis and spreads (2) (5). Angle matters too: a steep or inconsistent needle angle can push ink sideways instead of placing it cleanly in the dermis (2) (6).
Setup situations that increase risk:
- Lining on a curved body part like a wrist or ankle, where keeping a consistent angle is genuinely hard
- Not enough skin stretch, so the needle dips deeper when the skin bunches
- Overworking the same line trying to get it crisp, which drives pigment deeper each pass
Inexperienced Artists and Blowouts
Blowouts are relatively common among newer artists because controlling depth and angle consistently takes real time and repetition (6). That’s not a knock - it’s just how the skill develops. It does mean that high-risk placements, very fine lines, and a developing hand is a combination worth thinking about before you book.
If you’re choosing an artist for delicate work, look for:
- Healed photos, not just fresh ones
- Consistent line weight with no fuzzy edges in healed shots
- Specific experience in fine-line or micro work if that’s what you’re getting (2) (5)
Skin Type, Age, and High-Risk Zones
Even with a solid artist, some skin just doesn’t cooperate:
- Thin or delicate skin is easier to push through (2) (5)
- Older skin (60+) and heavily sun-damaged skin can be more fragile and prone to ink spread (5)
- Hands, feet, fingers, and toes are high-movement and thin-skinned - blowouts are more common there, full stop (2) (5)
The placements where crisp lines tend to stay crisp:
- Outer forearm
- Upper arm
- Upper thigh
- Calf
These areas have more stable skin and a more forgiving dermis (2) (5). If a client comes to me wanting micro-detail script, I’ll always ask if we can move it to the outer forearm before I agree to put it on a finger.
Tattoo Ink and Blowouts
Ink quality can affect overall healing, but blowouts aren’t primarily an ink brand issue. The consistent consensus is depth and angle, plus skin and placement (2) (6). Where ink does factor in is visibility - some pigments and dense black packing make a halo look more obvious than it might otherwise.
One myth worth killing: you didn’t cause a blowout by gently washing it, sleeping on it once, or bumping it lightly. Ink migration that looks like a blowout is almost always created during application (2) (7).
Fixing a Tattoo Blowout: Treatment, Cover Up, and Other Options
There isn’t a cream that puts ink back in the dermis. That’s not how any of this works.
A tattoo blowout fix is usually one of these:
- Wait and reassess once it’s healed
- Cover or rework it with smarter design choices
- Laser the blown-out haze, then optionally re-outline
- Full removal - rarely necessary for a small halo
First: don’t fix anything until it’s healed
Most artists will tell you to wait at least 4-6 weeks before committing to a cover-up or rework (1) (4). Tattooing over a fresh blowout too early can add more trauma, push more ink around, and make the blur bigger. Laser clinics also typically want full healing before treatment - often 6-8 weeks after the tattoo (4).
I’ve had clients come in at week two wanting me to fix something that looked completely different at week six. Patience is annoying but it’s the right call here.
The Effectiveness of Tattoo Removal Creams
Creams don’t reliably fix blowouts. They might slightly fade superficial pigment over long use, but blowout ink is sitting deeper and spread out. A lot of “removal” creams also irritate skin, which is the last thing you want on tattooed skin that’s already dealing with something.
If you want a short-term workaround while you wait:
- High-coverage tattoo concealer makeup hides a lot day-to-day for about $20-$40 per product
Not a fix. Buys you time.
Laser Correction for Tattoo Blowouts
Laser can be a solid tattoo blowout treatment because it can break up that blurry overspray area without fully removing the tattoo - especially useful when the blowout is mostly around the edges and the main design is still intact.
What to expect:
- Typical cost: $200-$500 per session for small areas in the US; very small spots (3 cm or under) often land around $200-$300
- Session count: 3-10 sessions depending on pigment, depth, and your skin
- Spacing: usually every 6-8 weeks
- Total timeline: easily 6-18 months if you need multiple rounds
Newer picosecond systems - commonly marketed as PicoSure or PicoWay - are often promoted as more efficient than older nanosecond lasers for some inks, potentially reducing session count in certain cases. Worth asking about when you consult.
Best use case: you like the tattoo but the halo makes it look unfinished. Laser just the haze, then re-outline once it’s stable.
Surgical Removal for Blowouts
Surgical excision removes the skin with ink and stitches the area closed. It works, but it’s invasive and leaves a scar. For most small blowouts, it’s overkill compared to laser or a redesign.
This route makes sense for very small tattoos in areas where a linear scar is acceptable, or when laser isn’t an option for medical or logistical reasons. For the vast majority of blowout situations, it’s not where I’d start.
Covering Up a Tattoo Blowout: What Actually Works
A tattoo blowout cover up is often the fastest and most cost-effective path when it’s planned well.
Typical pricing:
- Most shops run $100-$200+ per hour minimums; small cover or rework sessions often land at $150-$500 depending on detail and location
Cover-up approaches that tend to work:
- Thicker line weight: turning a fine-line outline into a bolder one
- Shading or background: adding soft black/gray shading to absorb the halo
- Blackwork accents: strategic solid blacks that make the blur visually irrelevant
- Reframing the design: turning a tiny symbol into a larger piece with a border that contains the spread
Cover-up approaches that often fail:
- Trying to redo it as even finer linework in the same spot, especially on fingers or wrists
- Adding light pastel color to distract from it - it usually doesn’t work, it just adds noise
- Packing white ink on top to clean the edges - white ages unpredictably and doesn’t erase blur
Placement reality check: if your blowout is on the side of a finger or the inner wrist, a cover-up may need to be bigger than you want in order to look intentional. Think 2-4 in / 5-10 cm rather than another tiny 1-inch micro piece in the same spot.
How to Prevent It
Prevention is where you actually win. Everything else is damage control.
Choose Your Artist Based on Healed Linework
Fresh tattoos hide a lot. Healed tattoos don’t.
Look for:
- Healed photos with clean edges and no fuzzy halos
- Proof they work in your style - fine-line, American traditional, blackwork
- A track record on the specific placement you want (hands and feet are their own skill set, and not every good artist has it)
A practical filter: 4.5 stars or higher in reviews is a reasonable starting point, but always follow up by checking portfolios for healed work (5). Fresh photos in a portfolio tell you almost nothing about how the work holds up.
Match the Design Style to the Placement
Some styles handle minor spread better than others.
American traditional - technical hallmarks: thick black outline + limited palette - hides minor spread because the line is supposed to be bold. Pitfall when done badly: shaky thick lines look worse than shaky thin ones, because you can’t pass it off as intentionally delicate.
Fine-line/minimalist - hallmarks: tight needle groupings + low visual weight - is less forgiving. The common pitfall is artists chasing hairline-thin lines on thin skin, then compensating by going deeper to get the ink to stick. That’s a direct path to blowout.
If you want fine-line, put it on safer real estate: the outer forearm or upper arm when possible. At least then if something goes slightly wrong, the fix is manageable.
Placement Strategy: Zones Ranked by Blowout Risk
Higher risk:
- Fingers, sides of hands, toes
- Inner wrist
- Ankles, tops and sides of feet
- Behind the ear
- Ribs and side body for very fine lines (movement plus thin skin is a rough combination)
Lower risk:
- Outer forearm
- Upper arm and shoulder cap
- Upper thigh
- Calf
If you’re committed to a high-risk zone, make the design more forgiving: bolder lines, more shading, less micro-detail. A slightly larger design at 2-3 in / 5-7.5 cm on a wrist will hold up better than a 1-inch hairline piece in the same spot.
Aftercare That Prevents Complications
Aftercare doesn’t cause blowouts. But bad aftercare can make a messy tattoo look messier through extra inflammation, scabbing, and pigment loss. Keep it boring:
- Day 1-3: wash gently 2-3 times per day, pat dry, apply a thin layer of aftercare ointment if your artist recommends it. Avoid friction and tight clothing over the area.
- Week 1: switch to a fragrance-free moisturizer, thin layer. Don’t pick at flakes.
- Week 2-4: keep moisturizing as needed, avoid soaking, and protect it from sun with sun-protective clothing - skip sunscreen until the skin is fully closed.
That routine won’t reverse a blowout that already happened, but it lets the tattoo settle cleanly so you can accurately judge what you’re dealing with. For a full breakdown of each healing stage, the week-by-week healing rules cover what to expect from day one through full integration.
How to Manage a Tattoo Blowout After Getting Inked
2 monthsStep-by-step guidance on documenting, caring for, and deciding on treatment for a tattoo blowout.
- 1
Days 1-7: Document and Reduce Inflammation
Take clear photos daily in consistent lighting. Keep aftercare simple with gentle washing and light moisture. Avoid massaging the area to move ink.
- 2
Weeks 2-6: Let It Settle Before Deciding on a Fix
Allow swelling and peeling to subside. By 4-6 weeks, judge healed line quality and book a consult with your artist to discuss options.
- 3
After 6-8 Weeks: Choose Your Treatment Path
Decide between leaving the blowout, doing a cover-up, laser correction plus re-outline, or full removal based on severity and preference.
What to Do If Your Tattoo Shows Signs of a Blowout
This is the part most people actually need, and most guides skip past it. The HowTo steps above give you the timeline - here’s the decision logic behind each phase.
Days 1-7: Your only job is documentation and basic care. Don’t try to assess anything yet - swelling distorts everything. A photo taken in the same light each day gives you a real comparison baseline.
Weeks 2-6: Once peeling is done, you can start reading the tattoo honestly. By 4-6 weeks, healed line quality is visible enough to plan next steps (1) (4). Book a consult with your artist somewhere in this window - many consultations are free; some shops charge $20-$50 for a full redesign appointment.
After 6-8 weeks, you’re in decision territory:
- Minor halo (about 1-2 mm): consider leaving it, or do a subtle rework with thicker lines or a touch of shading
- Medium blowout on a small design: a tattoo blowout cover up is often the fastest fix
- You want crispness back without changing the design much: laser the haze, then re-outline
- Severe blowout or you dislike the tattoo regardless: full laser removal plan
Is It the Artist’s Fault?
Most of the time: yes, it’s technique, with a real asterisk.
Professional resources and educators are fairly direct that blowouts are “almost exclusively” caused by the tattooer’s technique - depth, angle, pressure - with skin type and placement as contributing factors (2) (6) (7). It’s rarely something you did during aftercare.
Here’s the nuance I’d apply when figuring out what to do next:
- If the blowout is on a high-risk area like a finger, inner wrist, or ankle, it can happen even with a skilled artist. A good artist usually warns you upfront and designs accordingly.
- If it’s on a low-risk area like the outer forearm or upper arm and the halo is obvious, that’s more likely a technical error.
- If the artist promised that hairline single-needle script on the side of your finger would stay crisp forever, that’s not optimism - that’s a red flag.
You’re allowed to talk to the artist about it. Keep it factual: bring healed photos at 4-6 weeks, ask what they’d recommend, and decide whether you trust them to repair it or whether you want a second opinion.
Real-World Blowout Scenarios and What People Do Next
These are patterns I see repeatedly. Different causes, different best fixes.
Case 1: Fine-line finger script that “shadowed” by day 3
- Placement: side of finger
- Size: about 1-2 in / 2.5-5 cm
- What happened: thin skin, constant movement, a line that needed to be microscopic to fit the space.
- Best next step: wait until healed, then either accept mild blur, convert it to a bolder micro-symbol, or laser just the haze and redo the design slightly larger somewhere more stable.
Case 2: Outer forearm micro-tattoo with one blurry corner
- Placement: outer forearm
- Size: about 2-3 in / 5-7.5 cm
- What happened: usually depth or angle inconsistency on a curve, or during a stretch change mid-session.
- Best next step: a small rework - thicker outline or a touch of shading - often fixes it in one session.
Case 3: Ankle linework that looks “bruised” for 10 days
- Placement: ankle or inner ankle
- Size: about 2 in / 5 cm
- What happened: ankles bruise and swell easily; early healing can look like blowout.
- Best next step: don’t rush. If the shadow fades by week two or three, it was bruising. If it’s still a defined halo at week six, plan a tattoo blowout cover up or laser haze removal.
Frequently Asked Questions
- Do tattoo blowouts go away?
- A true blowout usually doesn't fully go away on its own because the ink has migrated into a deeper layer. Minor haloing may fade in 3-6 months but the blur typically remains.
- Are tattoo blowouts the artist's fault?
- Most of the time, yes. Blowouts are linked to needle depth, angle, and pressure, with skin type and placement as factors. Client aftercare rarely causes blowouts.
- What to do if your tattoo has a blowout?
- Don't rework immediately. Document it, follow normal aftercare, and wait 4-6 weeks before planning cover-up or rework, and 6-8 weeks before laser treatment.
- What causes a tattoo blowout to happen?
- Ink placed too deep into the subcutaneous layer due to heavy hand, inconsistent needle depth, or wrong angle causes blowouts. Thin skin and high-risk placements increase likelihood.
- Can tattoo removal creams fix blowouts?
- No, creams don't reliably fix blowouts because the ink is deep and spread out. Some may fade superficial pigment but can irritate skin and are not a true fix.
- Is laser treatment effective for tattoo blowouts?
- Laser can break up the blurry overspray without fully removing the tattoo, especially useful for edge haze. It requires multiple sessions spaced 6-8 weeks apart.
- When should I consider a cover-up for a blowout?
- Cover-ups are often fastest and most cost-effective for medium blowouts on small designs, especially when planned with thicker lines or shading to absorb the blur.