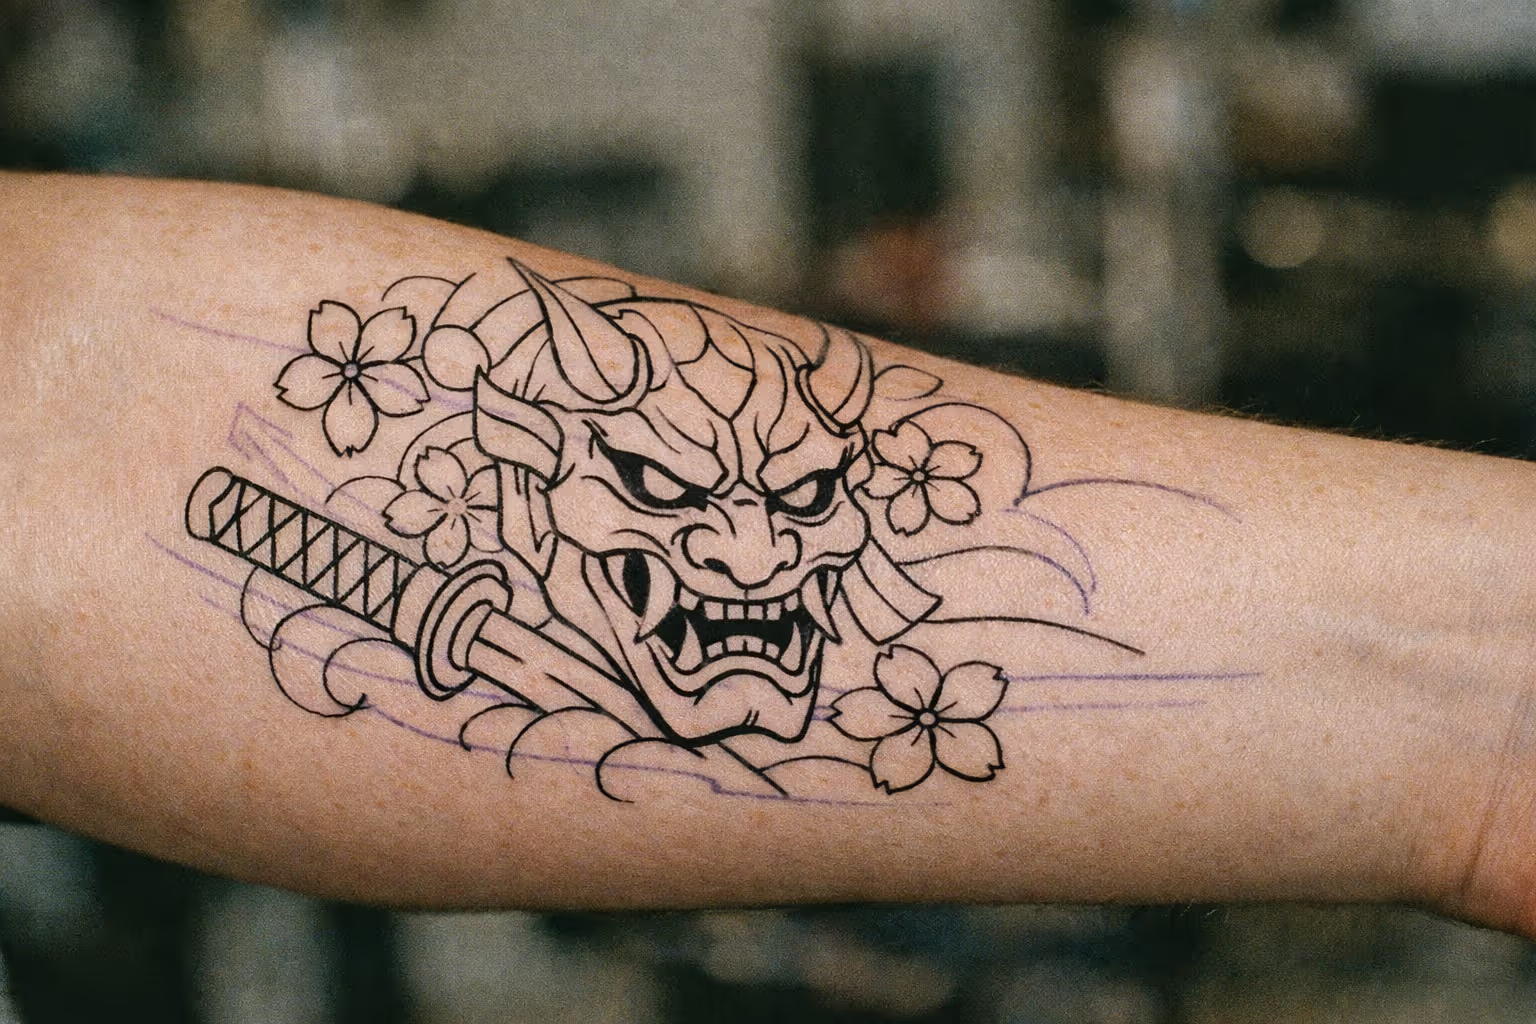
If a tattoo stencil slides, smears, or vanishes halfway through a session, the culprit is almost always the same: too much stencil gel. A thin, even film grips the skin; a thick smear turns to slip and takes your linework with it. It’s the one mistake that undoes an otherwise perfect transfer. Here’s the printer, paper, and seven-step sequence that makes a stencil actually hold for the four to eight hours you need it.
What a Tattoo Stencil Actually Does
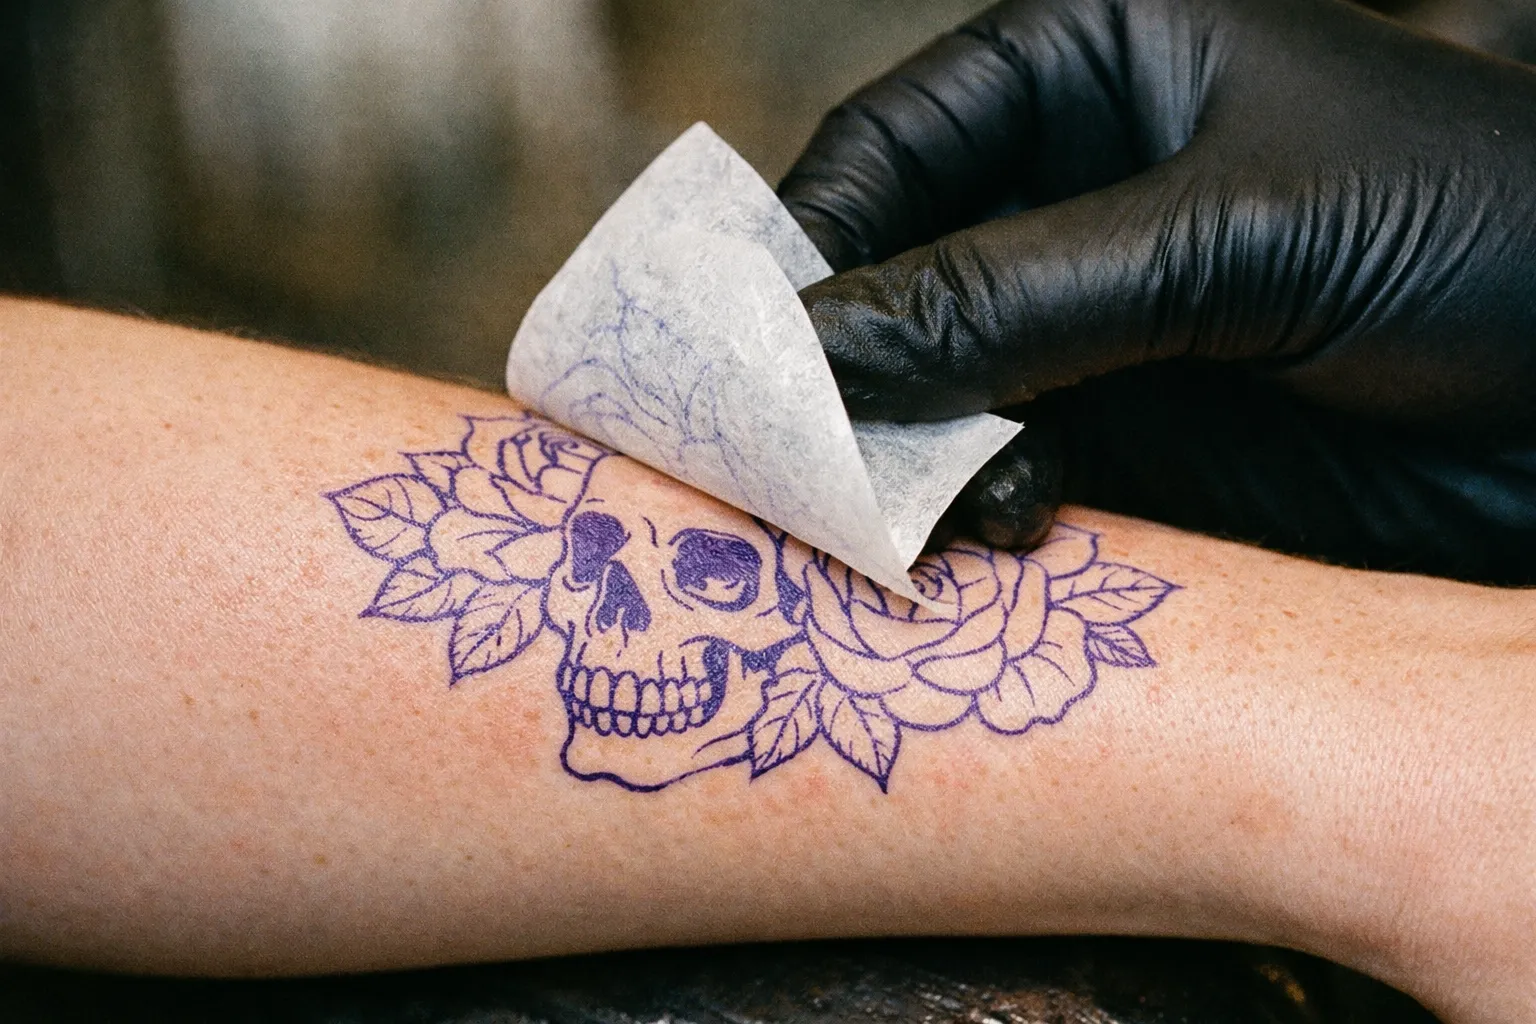
The stencil is a one-way transfer of your design from paper to skin, typically in carbon ink - most commonly purple, though some transfer papers come in blue or black. Purple reads clearly against most skin tones and doesn’t get visually confused with the black tattoo ink going down over it. That color choice isn’t aesthetic - it’s functional.
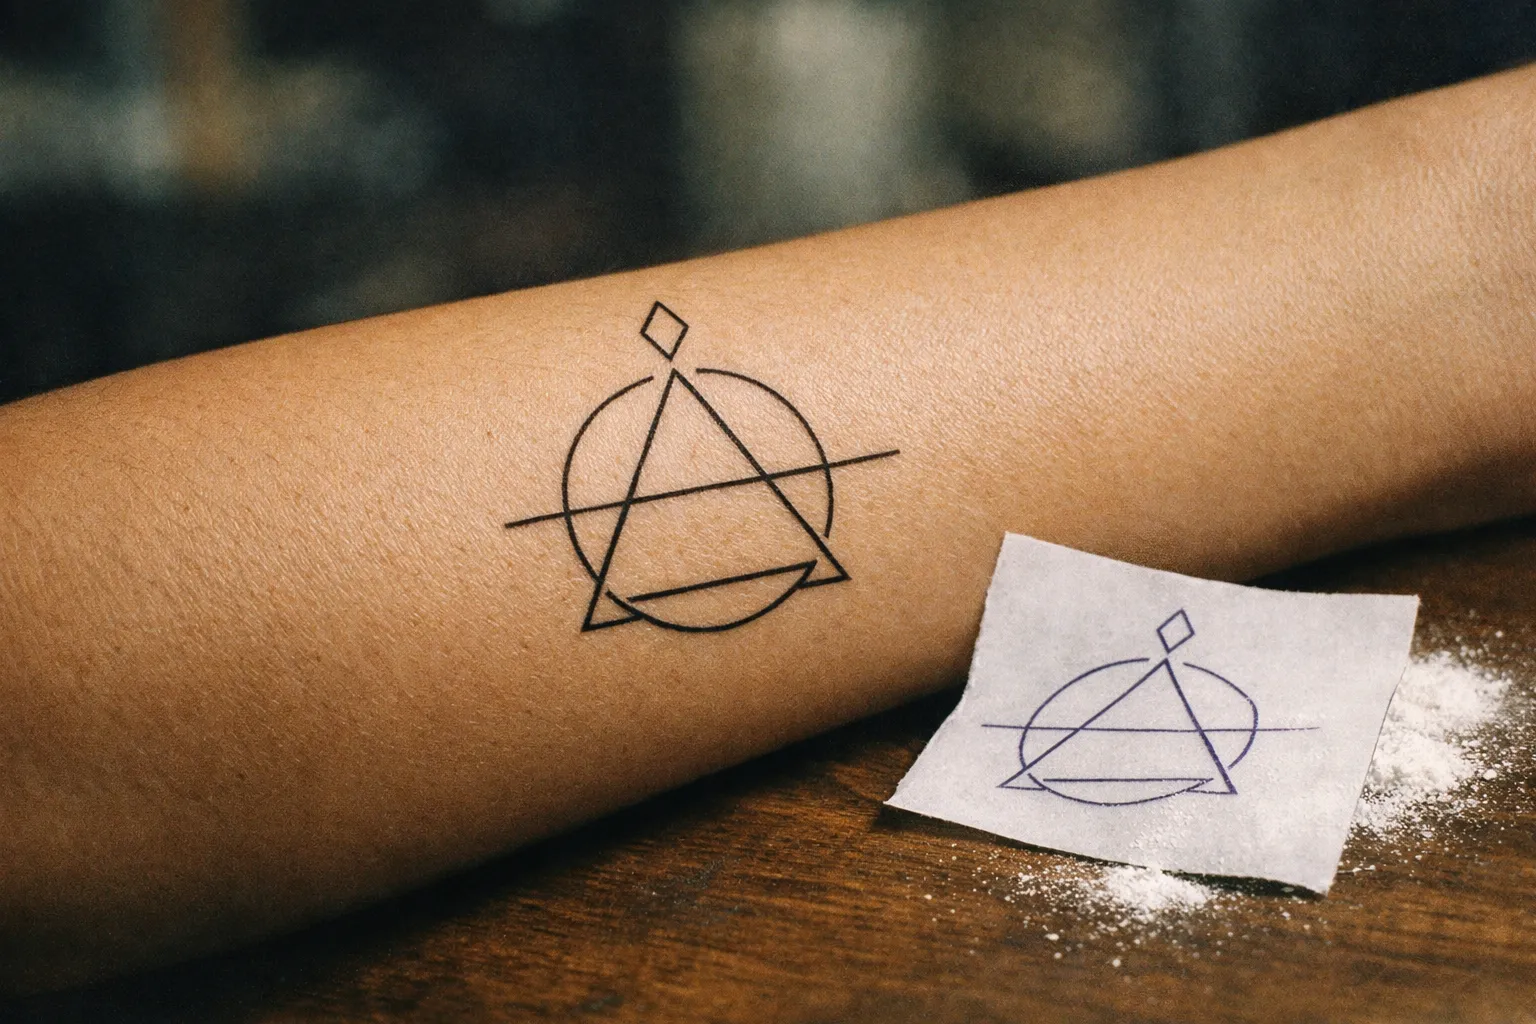
It does three jobs at once:
- Sets placement. Where the design sits relative to bone, joint, and muscle flow.
- Confirms size. What looks right on a 6-inch phone screen often looks wrong at full scale on a forearm.
- Locks proportions. Once the stencil is on, the artist can step back, the client can check it in the mirror, and both sides agree before anything becomes permanent.
Skip the stencil and you’re freehanding - which is fine for experienced artists doing organic blackwork or large-scale Japanese backgrounds, but a bad bet for script, geometric work, or anything symmetrical. I’ve seen apprentices skip the stencil on “simple” lettering and spend the next hour trying to correct a line that drifted two degrees off-axis. It’s not worth it.
Types of Tattoo Stencils
Thermal carbon stencils (the studio standard)
Made by running a printed design through a thermal stencil printer - Brother, Pirate Face Tattoo, Dragonhawk, and newer wireless units dominate the shelves. The heat transfers the carbon layer onto specialty paper, which then transfers to skin via gel. This is what you’ll see in virtually every professional shop.
Entry-level thermal printers run USD 120-300, with high-end wireless units like newer Brother thermal models landing in the USD 300-600+ range(2).
Hand-drawn carbon stencils
Old-school method: lay carbon transfer paper carbon-side-down on regular paper, draw the design on top with a hard pencil, and the carbon transfers underneath. Cost per stencil: USD 0.50-2.00. Best for one-offs and artists who design directly by hand. I still use this for custom pieces where I’m working out proportions on the fly - there’s something about drawing it yourself that catches proportion errors a printed version won’t.
Freehand marker stencils
Drawing the design straight onto the skin with a surgical skin marker. Reserved for experienced artists working on organic flow pieces - Japanese sleeves, blackwork, large-scale florals - where the design needs to follow muscle in real time. Not a beginner move.
Simple outline stencils
A stripped-back line version of the final design. The stencil shows contours only; shading and color get decided on the fly. Most flash sheets are built this way.
Glitter and temporary tattoo stencils
Stencils for non-permanent body art - adhesive vinyl cut to the design, glitter or airbrush paint applied through it. Worth flagging because a lot of search traffic for “tattoo stencil” comes from people looking for kids’ party setups, not professional tattooing. If you’re exploring temporary tattoos as an alternative, that’s a different category entirely.
Supplies: What You Actually Need
A working stencil setup, whether for a starter studio or serious at-home practice, breaks down like this:
- Thermal or wireless stencil printer - USD 120-600 depending on features(5)
- Thermal stencil paper - packs of 25-100 sheets at USD 0.30-1.00 per sheet
- Stencil transfer gel - USD 15-35 per 4-8 oz bottle, good for 100-300 small/medium stencils
- Disposable razors - to shave the area; carbon transfers poorly through hair
- Green soap or antiseptic skin prep - USD 10-20 per bottle
- Nitrile gloves and barrier film - USD 0.50-1.50 per session attributable to stencil prep
- A tablet or PC running Procreate, Photoshop, or Medibang for sizing and line cleanup, ideally outputting at 300 dpi minimum at final print size
For apprentices, add practice skins (USD 10-30 per pack) and a stencil practice workbook like Stencil Focus, which prints dozens of faux purple stencils designed to be tattooed over with a practice machine or pen. Spending 30-60 minutes a day working over those purple lines is the cheapest way to build the muscle memory of following a stencil under needle pressure. Cheaper than wasted skin, anyway.
How to Apply Stencils With Confidence
The application sequence is where most beginners blow it - usually by rushing the gel stage. Here’s the order that actually works:
How to Apply a Tattoo Stencil
15 minutesStep-by-step process to apply a stencil cleanly and accurately
- 1
Prep the skin
Clean with antiseptic, shave the entire area (including peach fuzz), then clean again. Any leftover oil, lotion, or sunscreen will repel the stencil.
- 2
Apply transfer gel
Use a thin, even layer. Beginners often use too much, causing blurry, dripping lines. Spread it like hand sanitizer, not sunscreen.
- 3
Let it tack up
Wait 30-60 seconds until the gel goes from wet-shiny to sticky-matte. Placing the stencil while wet causes sliding.
- 4
Place once
Line the stencil up with anatomical landmarks (ulna crest, deltoid curve, spine). Lay it down from one edge without lifting to adjust.
- 5
Press evenly
Smooth from the center outward for 10-30 seconds, pressing through the paper without dragging.
- 6
Peel slowly
Start from a corner, peel at a low angle. Lifting straight up lifts carbon with the paper.
- 7
Dry it out
Let the stencil sit for 5-10 minutes before touching or wiping to avoid smearing.
Once it’s set, check it with the client standing in a mirror, then have them flex and move the joint. Stencils that look perfect on a relaxed arm warp visibly across a bent elbow - better to redo it now than mid-tattoo. I’ve re-stenciled the same piece three times on an elbow before I was happy with how it tracked through flexion. That’s not wasted time.
For large multi-panel pieces (half-sleeves, back panels), use registration marks - small alignment dots that bridge between stencil sections so the design lines up across two or three sheets.
How to Make Your Own Stencils
One of the top-asked questions in the SERP, so worth splitting by use case.
For professional tattooing
You need a thermal stencil printer or carbon transfer paper, full stop. DIY hacks - deodorant transfers, inkjet-on-tracing-paper - don’t hold up under green soap and repeated wiping during a real session. You’ll lose half the stencil in the first 20 minutes. I’ve watched apprentices try the inkjet trick and spend the rest of the session guessing where lines used to be.
Workflow:
- Finalize the design in Procreate, Photoshop, or on paper.
- Convert to clean black-and-white linework at 300 dpi, sized to the actual tattoo dimensions.
- Print onto thermal stencil paper using a thermal stencil printer.
- Transfer to skin using the gel sequence above.
For temporary tattoos and practice
If you’re not actually putting a needle in, you have more options:
- Tracing paper + eyeliner pencil: Trace the design onto tracing paper with a soft pencil, press it carbon-side-down onto skin moistened with a thin layer of stick deodorant. Works for a few hours.
- Inkjet printer + freezer paper: Some hobbyists print designs onto the shiny side of freezer paper and transfer with a damp cloth. Fades within a day.
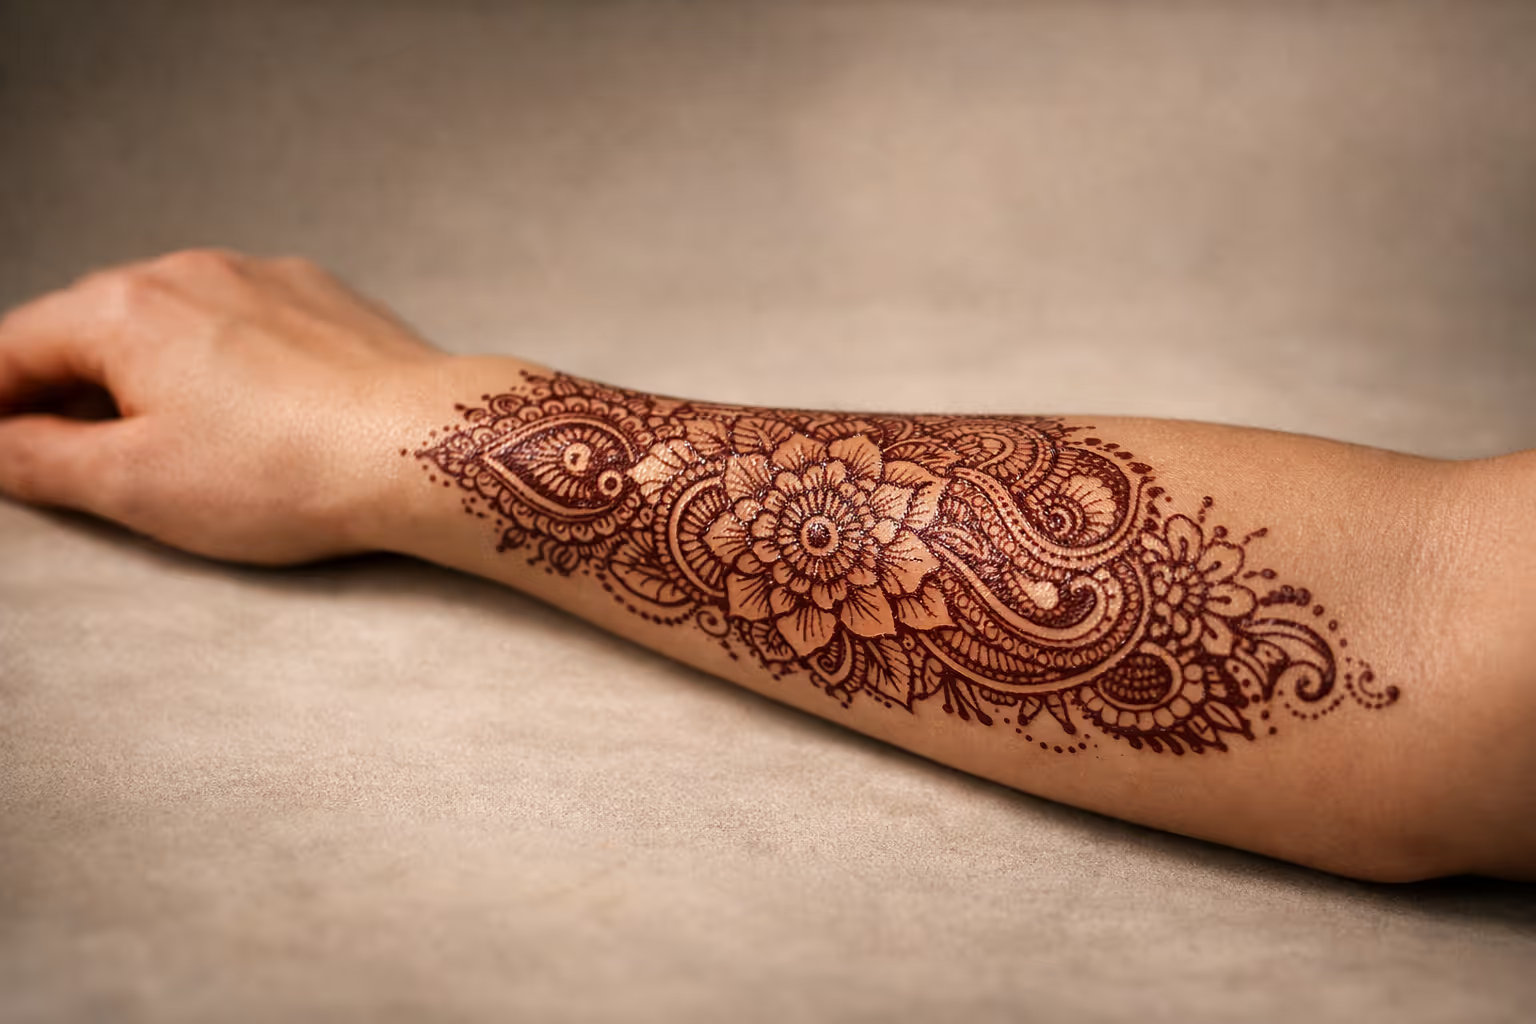
- Henna or jagua stencils: Vinyl-cut adhesive stencils used as a paint mask for henna or jagua designs.
For practice skins or apprenticeship work, treat your DIY stencil setup exactly like the professional one - same gel, same wait times, same application sequence. The point is to build habits that transfer to real skin.
Stencil Tattoo Ideas: Designs That Stencil Well
Some designs translate cleanly to stencil; others lose half their information the moment they become line-only. Here’s what holds up.
Tattoo Stencil for Men
The most-searched male-skewing motifs that work as stencils:
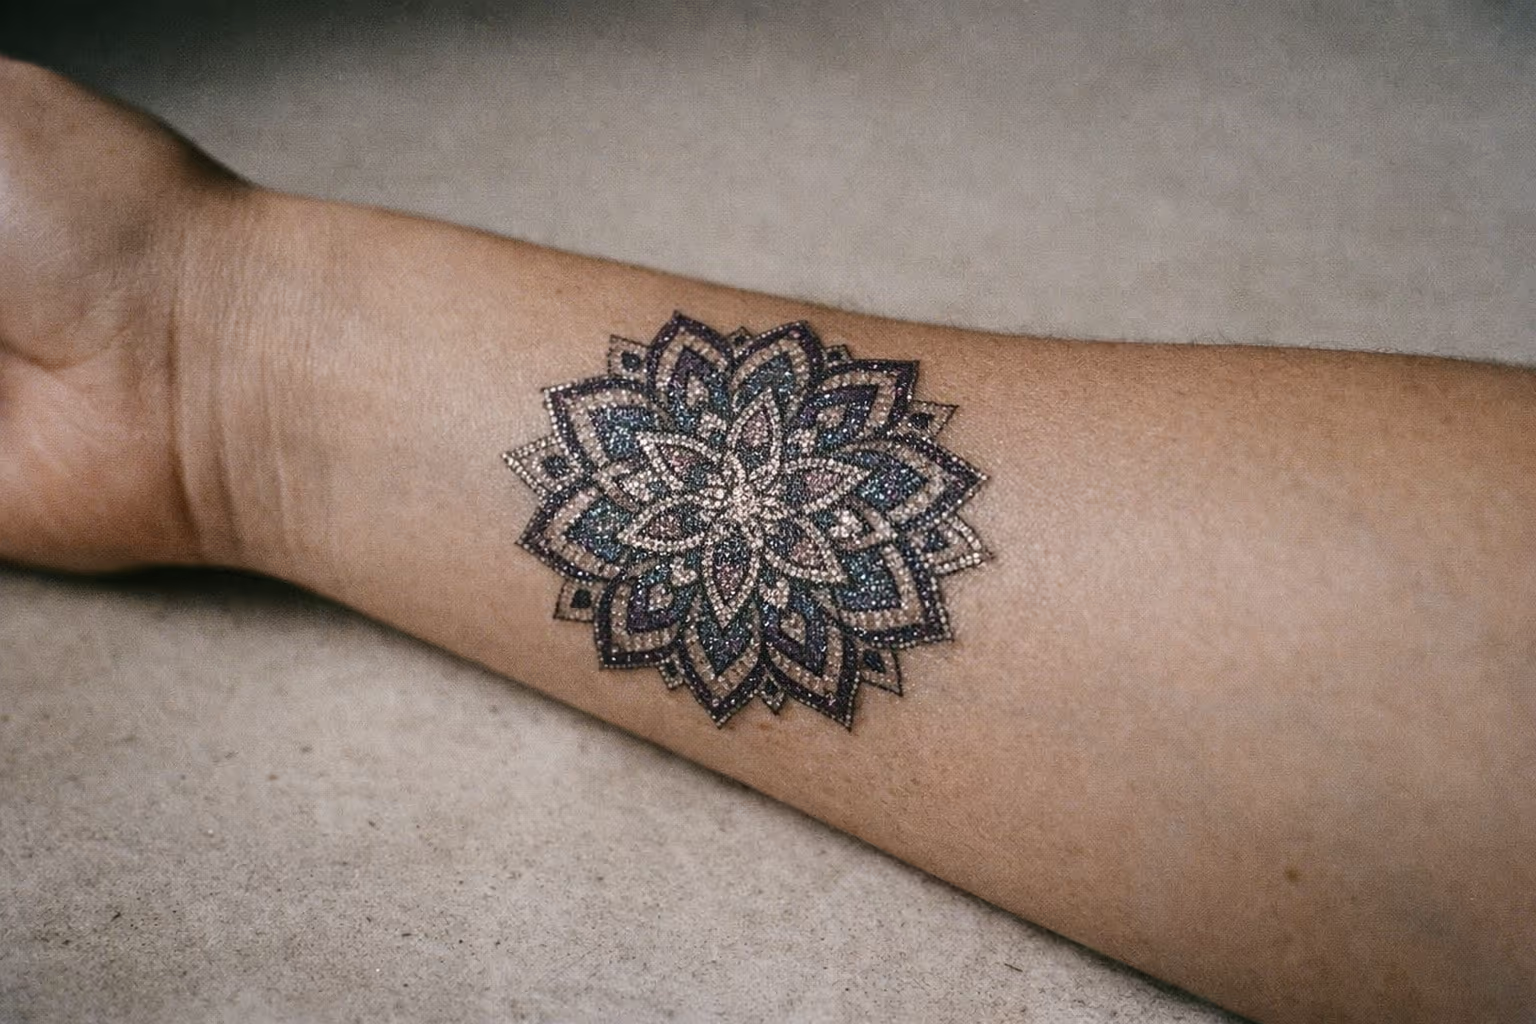
- Geometric forearm bands - sacred geometry, mandala-influenced patterns, often 10-18 cm tall along the forearm. Clean lines, repeats well.
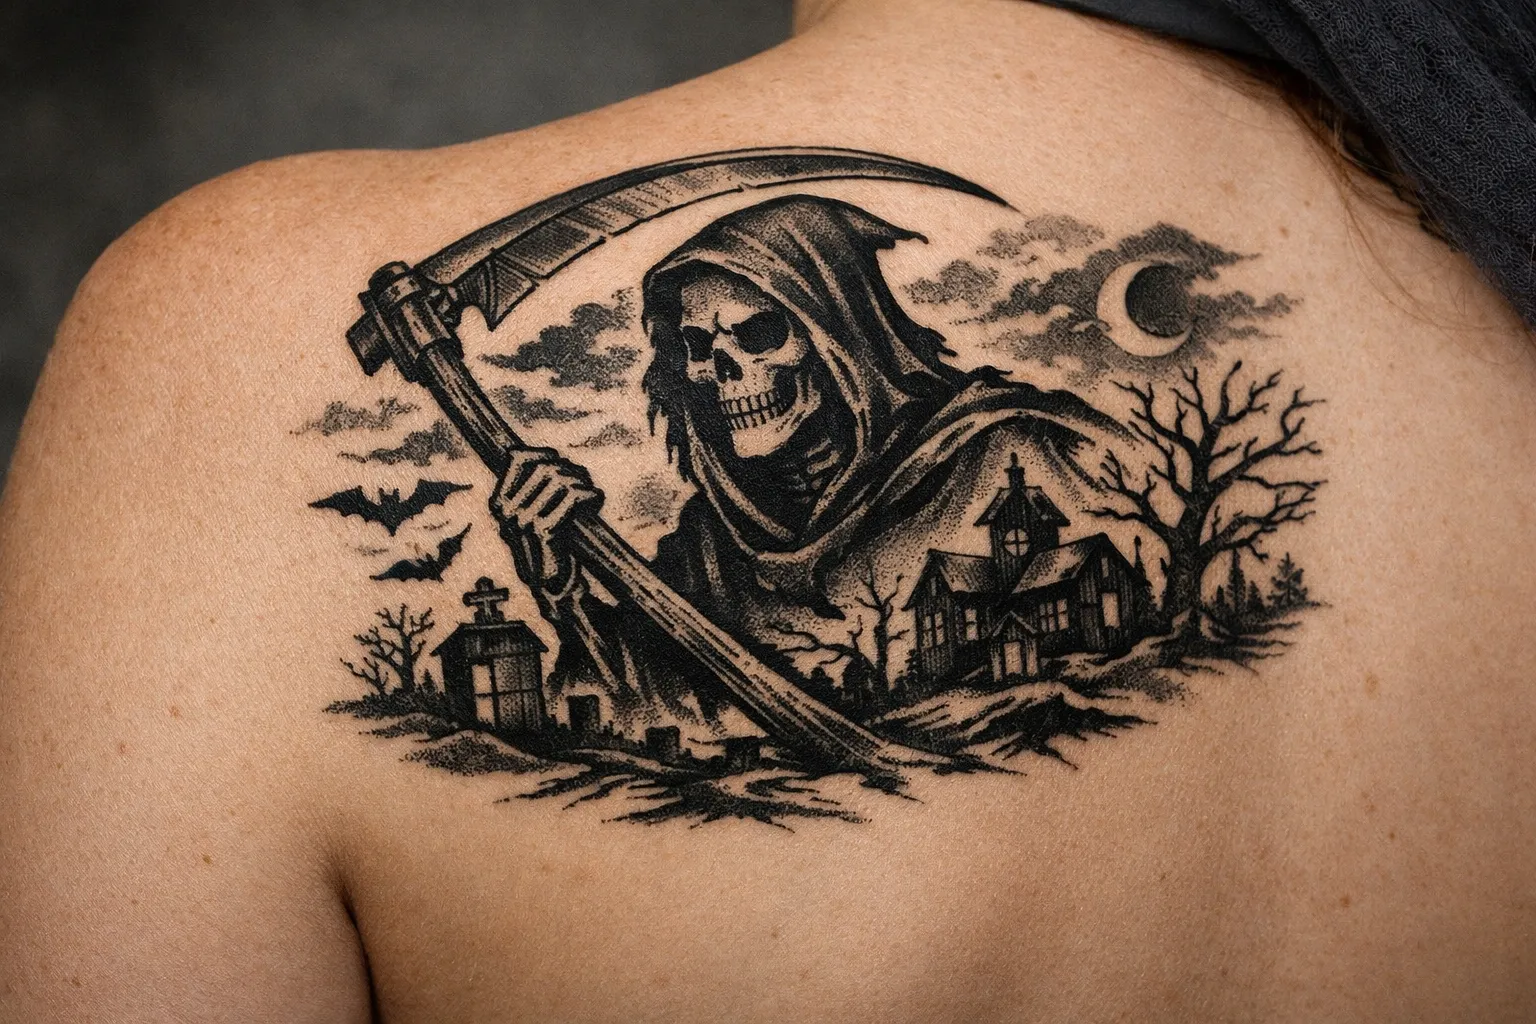
- Animal heads - wolves, lions, eagles, bears. Best as line-and-shade stencils at 12-20 cm on the outer upper arm or chest.
- Script along the ulna - quotes, names, dates running vertically. Keep stencils to 15-22 cm of running length and pick a font with thick enough strokes that it won’t blow out over time.
- Biomech and neo-traditional sleeves - these need multi-panel stencils, often 2-5 separate sections registered together across the upper arm and shoulder.
- Sternum and ribcage pieces - symmetrical floral, daggers, snakes. Stencil placement here is brutal because the ribcage moves with every breath; expect to re-stencil at least once.
One placement note worth repeating: hands, fingers, feet, and the inner wrist look great in stencil photos but age the worst. Lines spread and blur because the skin regenerates faster there. If a client is set on a finger tattoo, plan on a touch-up at 12-18 months. That’s not a scare tactic - it’s just how that skin behaves. Understanding tattoo blowout risks is especially important for these high-movement areas.
Stencil Tattoo Designs for Smaller Pieces
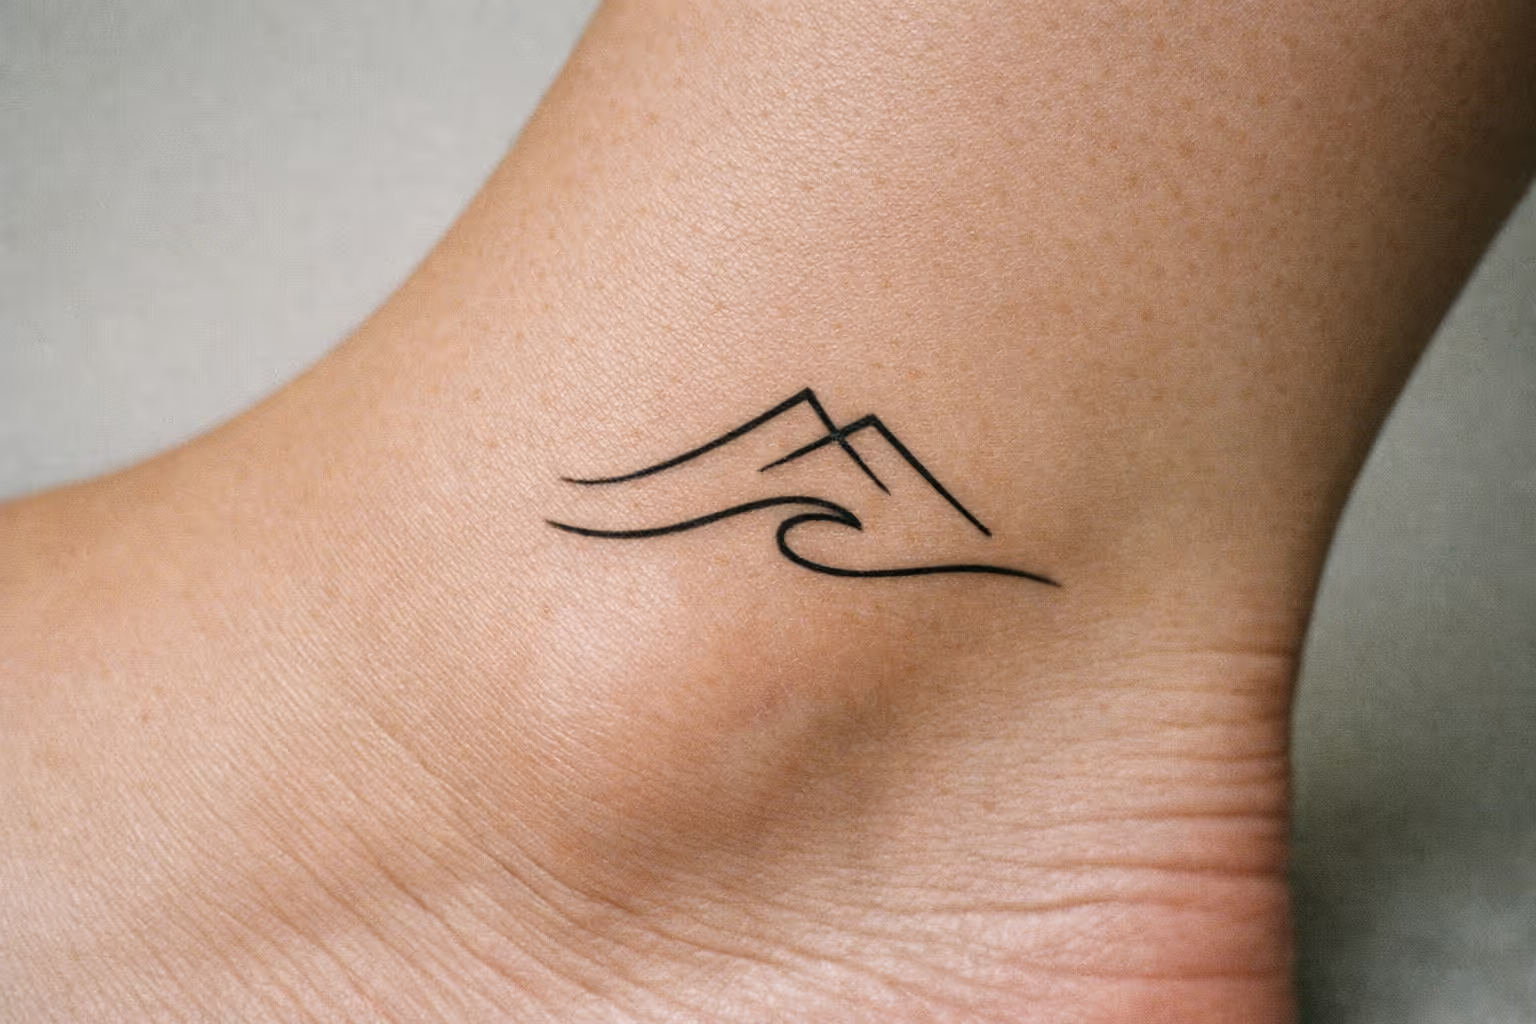
- Minimalist symbols at 3-5 cm - single-line botanicals, small geometric shapes, zodiac glyphs. Stencil work has to be precise because there’s nowhere for line variation to hide.
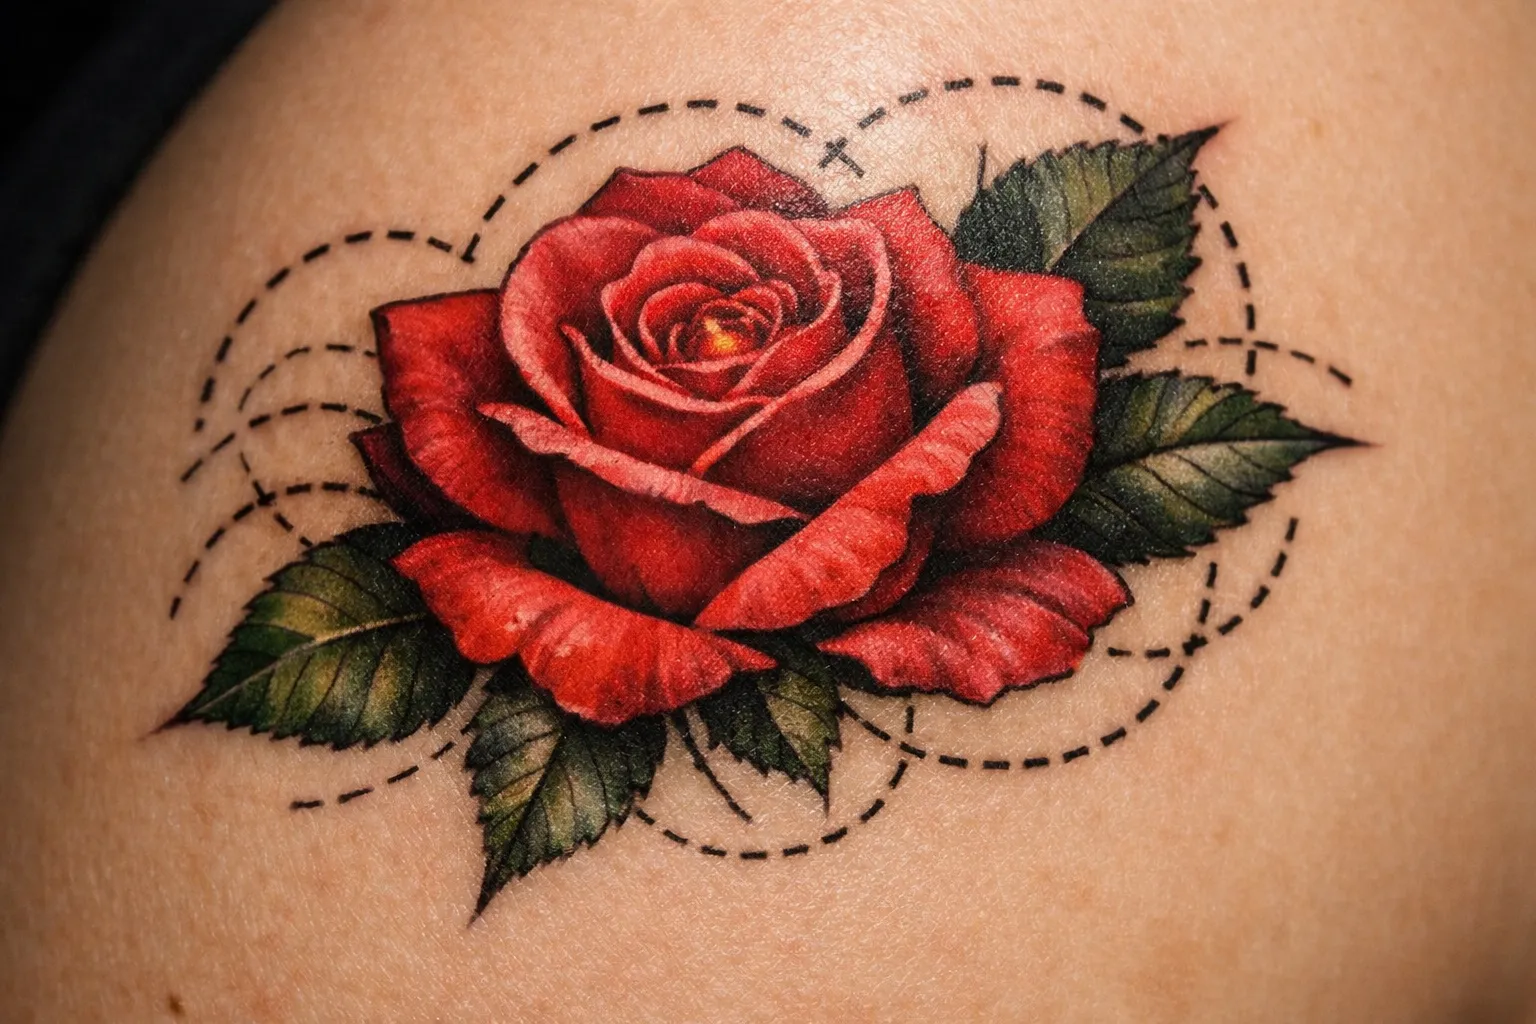
- Floral linework - peonies, roses, wildflowers at 6-12 cm on forearm or shoulder blade.
- Mandalas at 8-15 cm on the back of the upper arm or outer thigh. Symmetry is everything; print a centerline guide on the stencil.
- Fine-line script and dates at 2-4 cm behind the ear or along the collarbone.
Transfer Gels in 2026: What’s Changed
The gel is what makes the stencil stick, and it’s where a lot of session failures happen. Specialist reviews in 2026 rate gels on smudge resistance, open time (how long you have between application and placement), and compatibility with both carbon and inkjet stencils.
What’s changed in the last 12-24 months:
- Newer “wipe-proof” formulas designed to stay legible through 3-6+ hour sessions with minimal breakdown when wiped with stencil-safe soap.
- More vegan, fragrance-free, and low-allergen options responding to client sensitivity.
- Premium gels typically sell in 4-8 oz bottles at USD 15-35, with per-application cost around USD 0.10-0.40 for medium designs.
One application tip that nobody tells beginners: blot the tattooed area during the session with a press-and-lift motion instead of wiping side-to-side. Combined with a stencil-safe soap, this preserves over 80% of the stencil linework through repeated cleanings. Side-to-side wiping is the single fastest way to erase your reference lines mid-session.
Thermal vs Hand-Drawn Stencils
Thermal vs Hand-Drawn Tattoo Stencils
| Thermal printer | Hand-drawn carbon | |
|---|---|---|
| Upfront Cost | USD 120-600+ | USD 5-20 (paper + pencils) |
| Per-Stencil Cost | USD 0.30-1.00 | USD 0.50-2.00 |
| Speed for Repeat Designs | Fast - print copies on demand | Slow - redraw each time |
| Best For | Flash, fine detail, line work, busy shops | One-off custom, artists who design by hand |
| Learning Curve | Low - feed paper, hit print | Higher - needs drawing skill |
| Common Pitfall | Streaks from dirty rollers, ghost images | Inconsistent line weights, smeared carbon |
The 2025 generation of wireless printers - including updated Brother wireless units - are pulling more solo artists and convention workers off tethered setups. The main practical gain is eliminating the cable between laptop and printer at a convention booth, not a dramatic speed difference. For a mobile or guest-spot artist, the wireless leap is worth the upgrade cost. For a fixed studio, a reliable wired thermal unit is still hard to beat.
Complete Your Stencil Setup: Starter Kit
If you’re building a stencil station from zero, this is the working kit:
- Thermal or wireless stencil printer (Brother, Pirate Face Tattoo, or Dragonhawk depending on budget)
- 100-sheet pack of thermal stencil paper
- 8 oz bottle of professional stencil transfer gel - pick one rated for long sessions
- Pack of practice skins for testing stencil placement before client work
- Stencil practice workbook (Stencil Focus or equivalent) for apprentices
- Skin marker for touch-up adjustments and freehand additions
- Label maker or pen for dating saved stencils - file them as “Forearm_18cm_WolfHead_v3” so you can re-print modified versions later
- Disposable razors, antiseptic, nitrile gloves, barrier film
For at-home hobby use on practice skins only, the same kit works - you just don’t need the studio license, autoclave, or bloodborne pathogen certification that professional skin work requires (typically USD 100-500/year for the studio license and USD 50-150 for the 4-8 hour BBP course in most US jurisdictions).
Common Stencil Mistakes That Ruin the Session
The errors that show up most often, in roughly the order they cause problems:
- Too much gel. Causes blurry lines and drips that smear the stencil during placement.
- Placing before the gel tacks up. The stencil slides, and you end up with a doubled or stretched outline.
- Scaling from a phone screen. Designs end up 20-50% off the intended size. Always size against a ruler on the body.
- Ignoring flexion. Script across an elbow or knee distorts the moment the joint moves. Test range of motion before committing.
- Wiping the stencil during application. Press-and-lift only; side-to-side wiping pulls carbon off.
- Cheap off-brand thermal paper. Uneven carbon layers cause patchy transfers and missing line sections.
- Dirty printer rollers. Streaks and ghost images. Clean monthly with isopropyl alcohol.
- Stenciling over irritated skin. Sunburn, fresh shaving rash, eczema - all of it makes for poor adhesion and worse healing.
- Skipping medical disclosure. Blood thinners and other medications - the client needs to bring these up before the stencil goes on, not after.
If you’re new to the process, reviewing a tattoo for beginners guide before your first session can help you avoid the most common setup errors.
Niche Use: Medical and Cosmetic Stencils
Stencil systems have moved beyond traditional tattooing into medical cosmetic work. The most-cited example is Nipple by Number, a stencil device that lets plastic surgeons perform realistic 3D nipple-areola tattoos in-office for post-mastectomy reconstruction patients. The stencil provides structured geometry for light/shadow placement and areola shape - essentially turning what used to be a freehand artistic decision into a standardized clinical procedure.
This isn’t something you’ll encounter at the shop. But the same core stencil-and-transfer principle is now used in medical settings, and the equipment overlap means some stencil products cross over between the two industries.
Frequently Asked Questions
- How long does a tattoo stencil last on the skin?
- A well-applied stencil with quality gel can last 4-8 hours of active tattooing, but older or lower-quality gels break down within 1-2 hours.
- Can I make a tattoo stencil at home without a printer?
- Yes, using carbon transfer paper, a hard pencil, and stencil gel or deodorant for transfer. The quality is lower than thermal prints but works for simple designs and practice.
- Why does my stencil keep smearing?
- Common causes are applying too much gel, not waiting for the gel to tack up before placing the stencil, or wiping the area side-to-side instead of using a press-and-lift cleaning motion.
- Do tattoo stencils hurt?
- No, the stencil itself is painless. Any discomfort comes from the shave and gel application, which are minimal. Pain starts when the needle touches skin, varying by placement.
- How much does a tattoo stencil printer cost?
- Entry-level thermal printers cost USD 120-300. Wireless models range from USD 300-600+.
- What's the difference between thermal and hand-drawn stencils?
- Thermal stencils are printed and consistent, best for flash and detail work. Hand-drawn stencils use carbon transfer paper and manual drawing, suited for one-off custom pieces.
The stencil is the cheapest part of the tattoo to fix and the most expensive part to ignore. Get the placement right, give the gel time to tack up, place it once, and let it dry before you start. If you’re an apprentice, spend the USD 20-40 on a practice workbook and put in the hours over purple carbon before going anywhere near skin. If you’re a client, the time your artist spends on stencil placement isn’t them stalling - it’s them solving the problems that would otherwise be there every time you look at your arm.