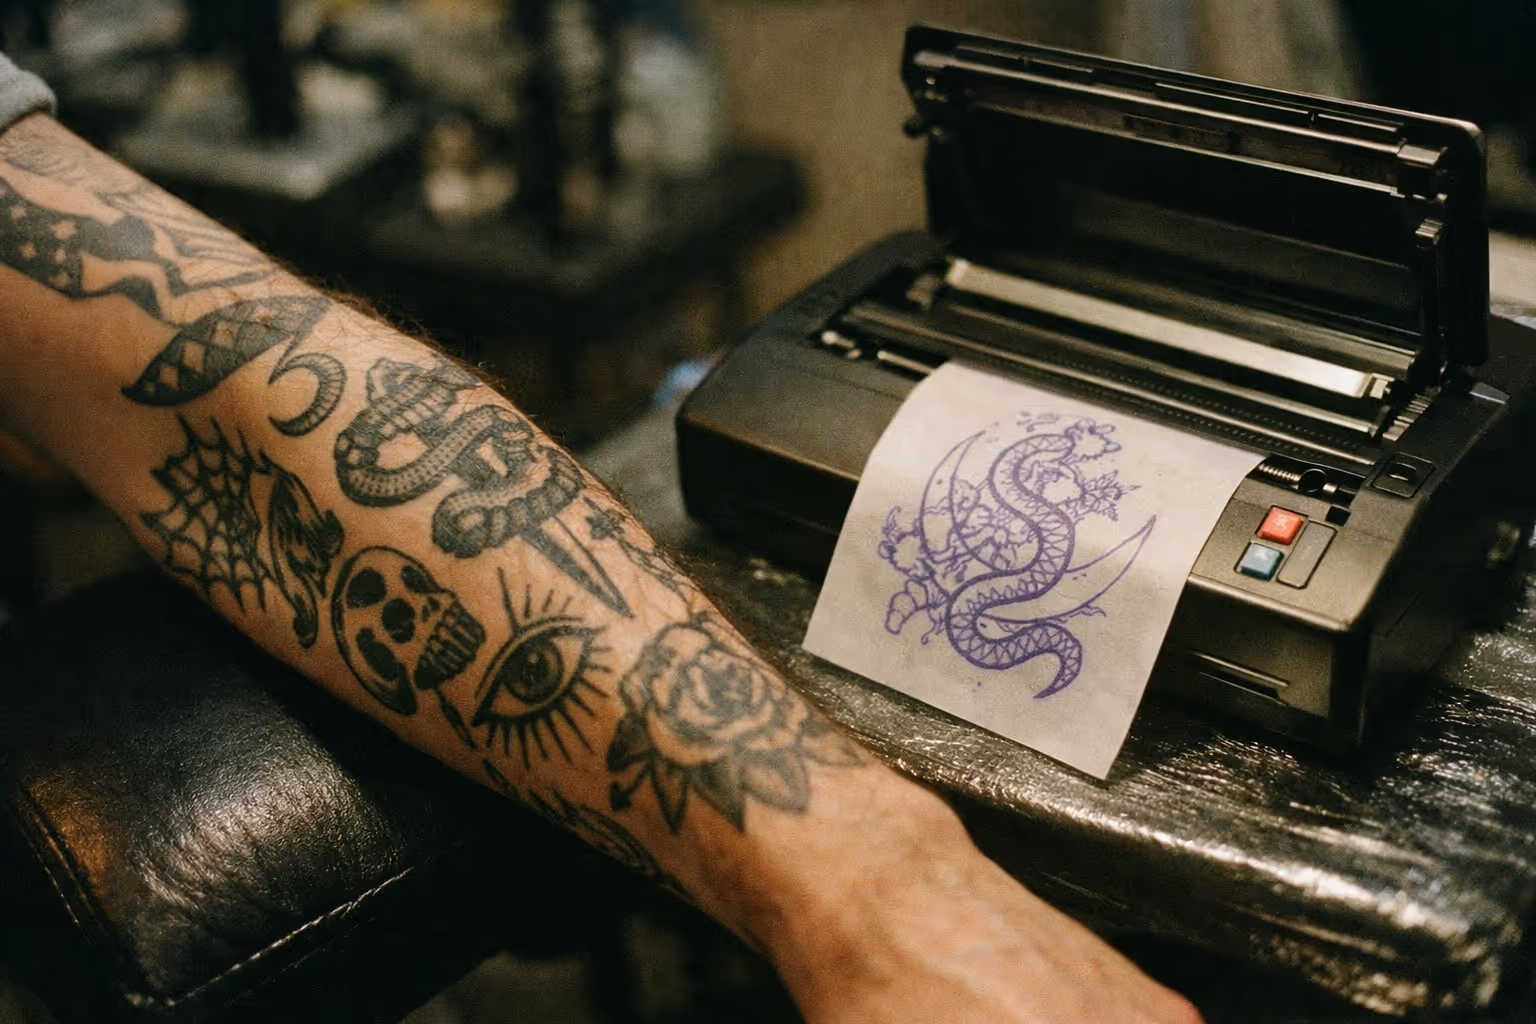
Almost every bad stencil that comes off a tattoo stencil printer traces back to two dull mistakes, not the machine: the file was wrong, or the paper went in backwards. Feed it a crisp 300 dpi black-and-white image, load the transfer paper with the carbon side toward the print head, and most problems disappear before they start. Here’s how to prep the file, load the paper right, and why letting a stencil dry five-plus minutes decides whether it holds.
From Hand-Drawn to Thermal: What a Tattoo Stencil Printer Actually Is
A tattoo stencil printer is the small thermal or inkjet box that lives on your station and turns a digital line drawing into a transfer-ready sheet in under a minute. If you’re still hand-tracing onto Spirit paper or fighting with a 15-year-old copier, you’re losing real time per client - and it adds up fast. This guide covers what the current machines actually do, what they cost in 2025, how the wireless and app-driven models fit into a Procreate workflow, and where the cheap ones quietly fail. We’ll also get into Tattoo Stencil Printer paper, the real difference between a cheap Tattoo Stencil Printer and a studio-grade unit, and how to Use a Tattoo Stencil Printer without burning through a stack of paper figuring it out.
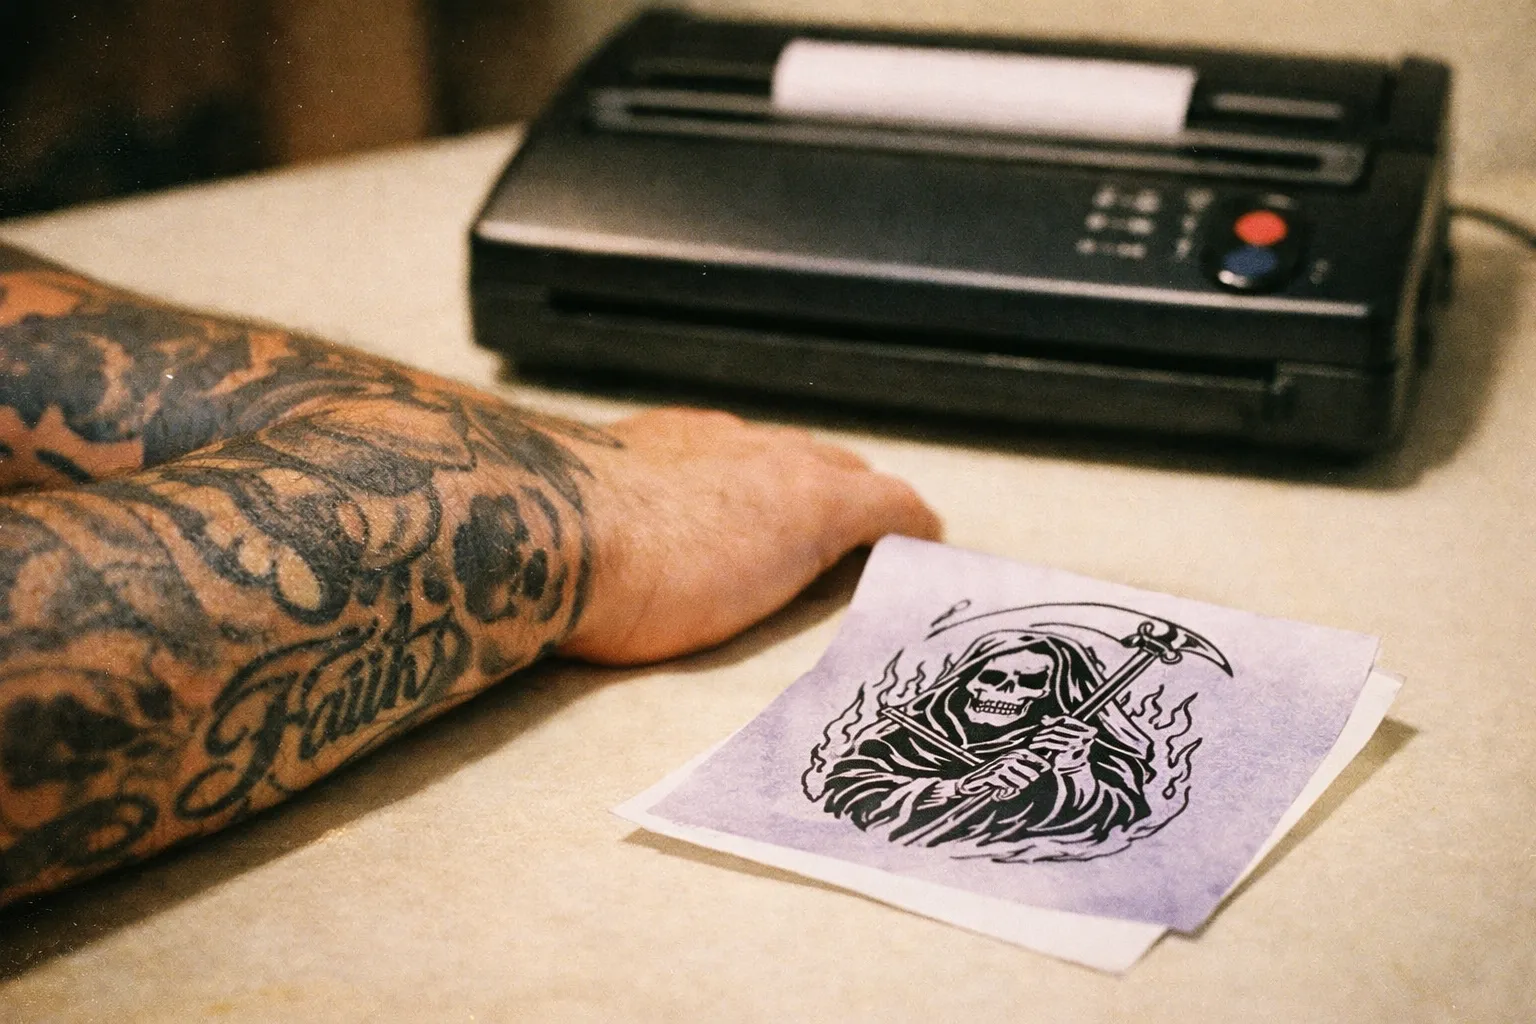
The earliest stencil printers in shops were repurposed thermal fax and copier units - Spirit-style machines that burned a design through carbon onto multi-layer paper. They worked, but they were slow, fussy about paper alignment, and tethered to a desktop. I remember the first one I used as an apprentice: it jammed constantly and the paper orientation was never labeled clearly on the unit itself.
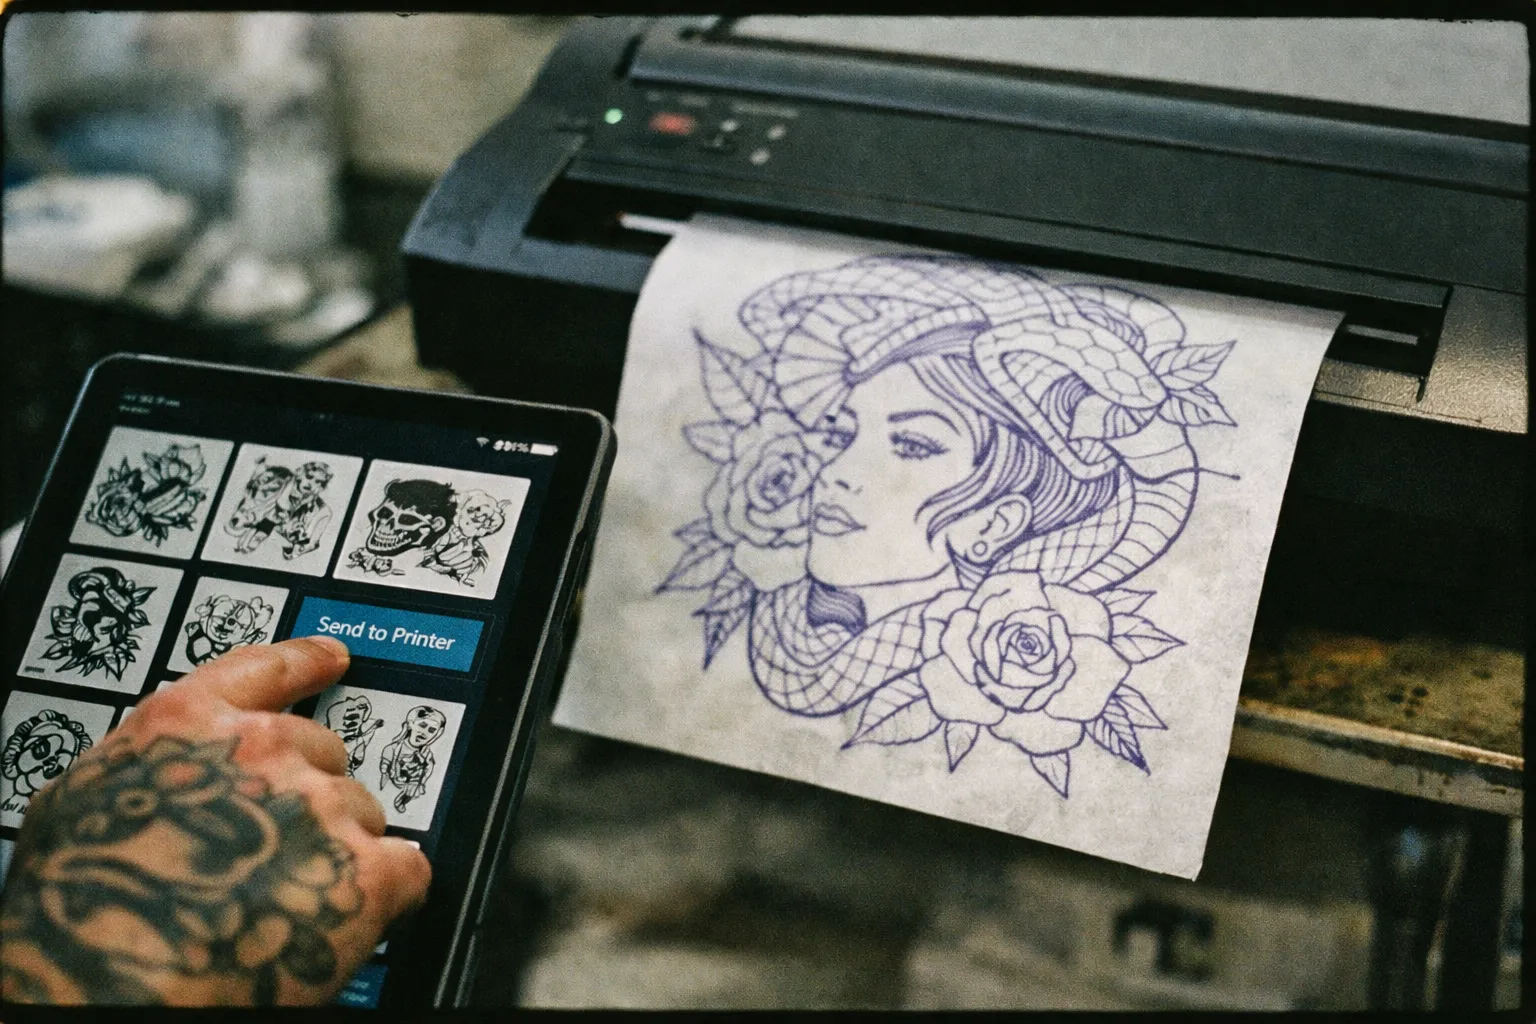
Modern thermal stencil printers do the same job faster, cleaner, and at a fraction of the size. A Phomemo TP81 or similar unit will spit a stencil in under 60 seconds once the file is queued. The bigger shift over the last few years is connectivity: Bluetooth and Wi-Fi units now let you send a design straight from an iPad in Procreate, resize it on a phone, and print without ever opening a USB cable (2). Brother’s recent wireless updates reportedly cut connection lag by around 18%, which sounds minor until you’re doing it 12 times a day (3).
The other shift is inkjet. Thermal printers are line-only - they can’t truly print grayscale shading. Inkjet stencil systems using dedicated stencil ink can transfer gradients, halftones, and photo-realistic detail directly onto transfer media. Realism and portrait artists are the main adopters. Line-and-color artists generally stick with thermal.
✓ Pros
- Speeds up stencil transfer compared to hand-tracing or old copiers
- Wireless models integrate smoothly with iPad and Procreate workflows
- Inkjet printers enable photo-realistic stencil details for realism artists
✗ Cons
- Cheap thermal units can have reliability issues and poor carbon transfer
- Inkjet stencil printers require more maintenance and expensive consumables
- Wireless connectivity can still lag or fail without proper app support
How Tattoo Stencil Printer Technology Actually Works
Two technologies, and they don’t compete on the same axis.
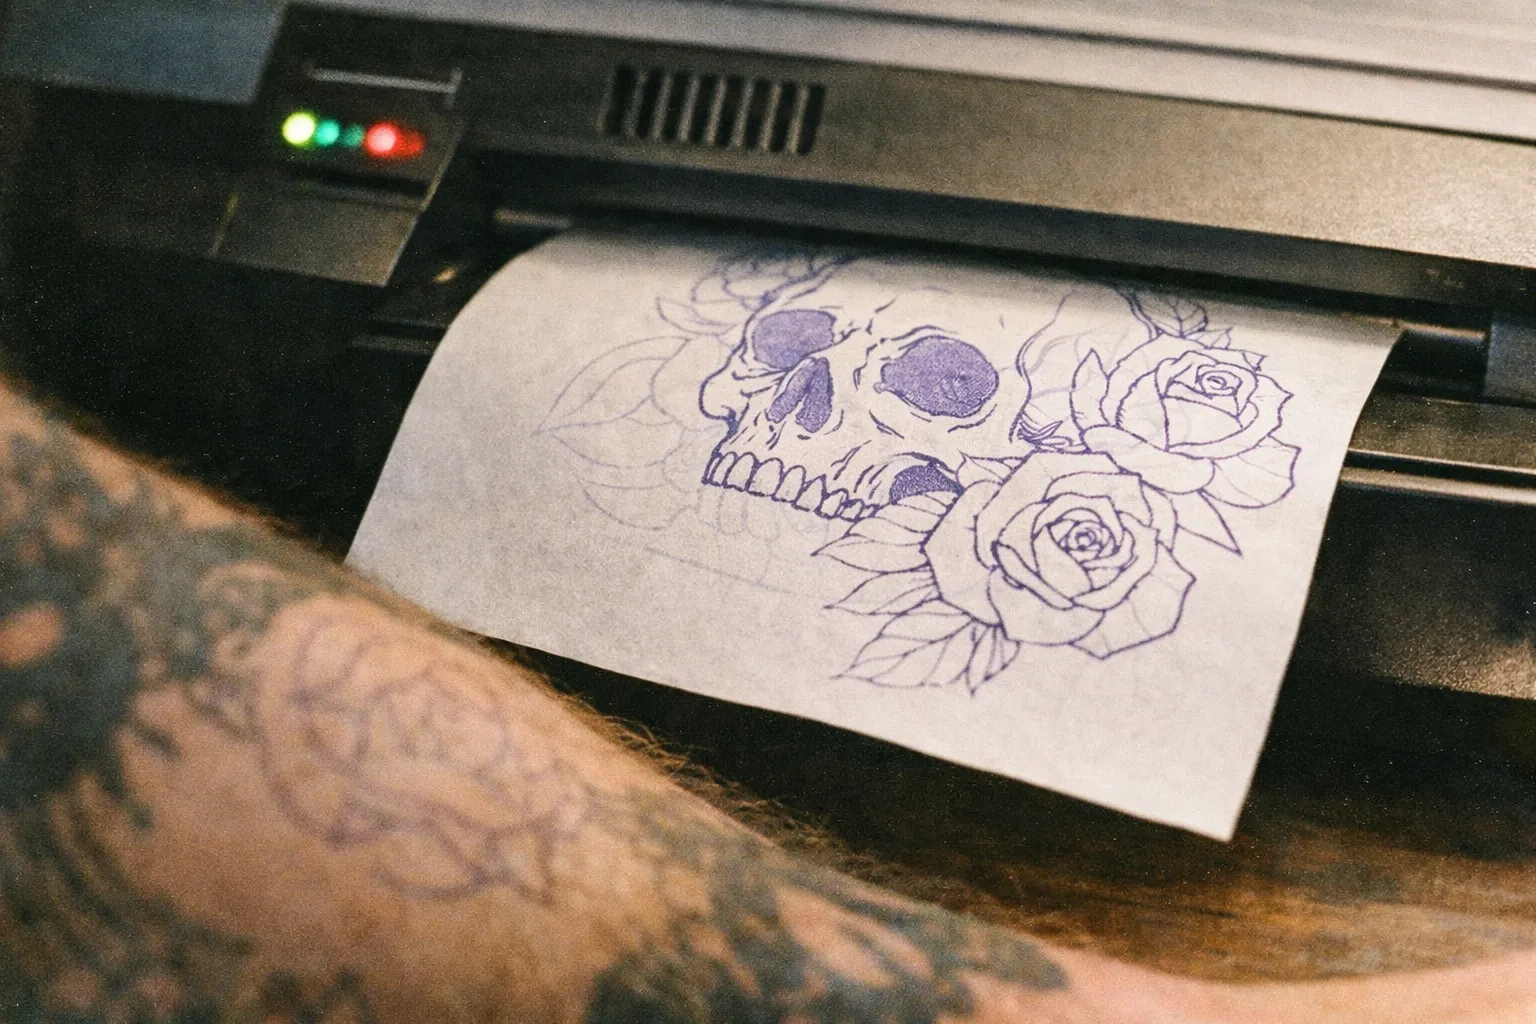
Thermal stencil printers use a heated print head to burn your design through a 4-layer thermal sheet. No ink, no toner. The carbon layer transfers under heat, and what comes out the other side is a purple stencil ready to apply with stencil solution. Most current units print at 300 dpi or higher. They handle linework, bold black-and-grey, and traditional flash well. Where they struggle is fine gradients, soft shading, and dense photo detail - cheaper units will smear or distort those areas, sometimes badly.
Inkjet stencil printers use specialized stencil ink loaded into a modified inkjet body (often an Epson chassis) and print onto inkjet-compatible transfer paper. They reproduce gradients, halftones, and photographic source material directly. The trade-off is consumables - ink bottles, more expensive paper, and print heads that clog if the printer sits unused for a week. I’ve seen artists lose a full print head to a two-week vacation without running a maintenance cycle first.
A few practical specs worth checking before you buy:
- Print width: Most stencil printers handle 8.5 in (A4/letter) wide paper. A few studio thermal units go wider for back pieces and sleeves.
- Connectivity: USB is universal. Bluetooth and Wi-Fi are increasingly standard on units released in the last two years.
- App support: A companion Tattoo Stencil Printer app lets you import an image from your camera roll, scale it on screen, and print without a computer (2).
- Paper compatibility: Stick with the paper the manufacturer recommends. Off-brand thermal paper varies wildly in carbon density.
What Printers Can Be Used for Tattoo Stencils?
Three categories work, and one definitely doesn’t.
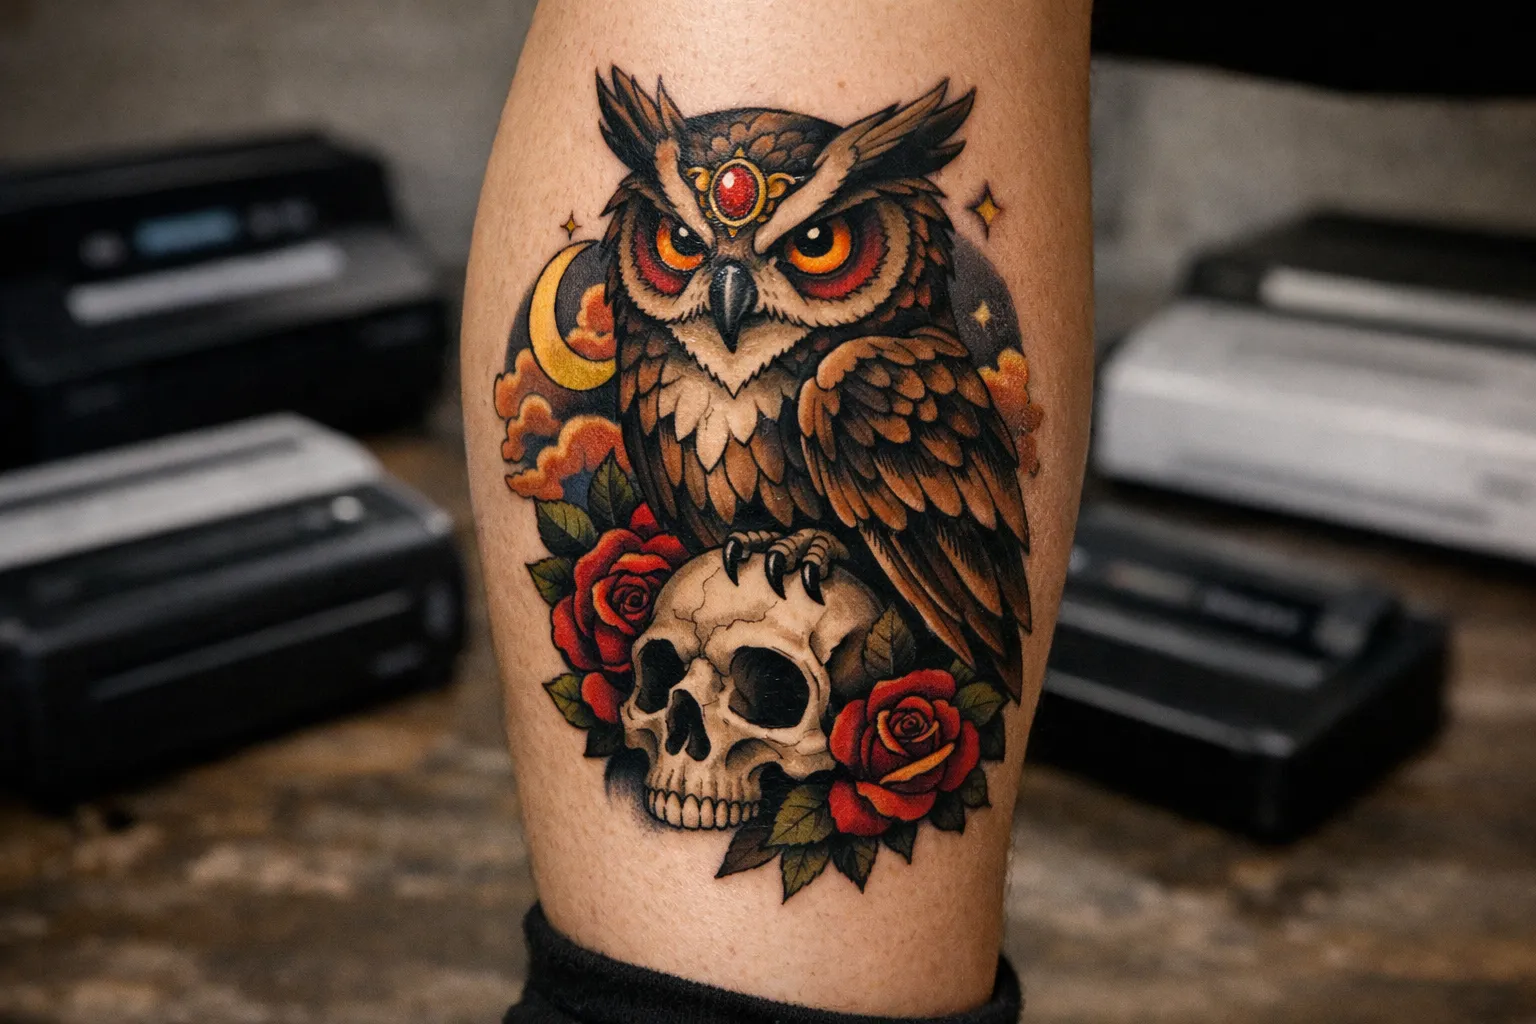
- Dedicated thermal tattoo stencil printers - Spirit, Phomemo TP81, Rongta, and similar units built specifically for the job. These are the default for most shops.
- Inkjet printers loaded with stencil ink - typically a modified Epson with a CISS (continuous ink supply) running stencil-grade ink onto transfer media. Used by realism artists who need gradient transfer (1).
- Industrial thermal label printers - some artists have hacked label printers (Brother PocketJet, Zebra-style units) into stencil duty. Possible, but paper width and carbon transfer quality are inconsistent.
A standard office laser or inkjet printer loaded with normal paper and normal ink will not produce a usable, skin-safe stencil. The toner and pigments aren’t formulated for skin contact, and standard paper has no carbon layer to release the design. Full stop.
Can You Use a Normal Printer for Tattoo Stencils?
Short answer: not the way you’re imagining.
Regular office inkjet or laser with regular paper and regular ink can’t make a working stencil. Toner doesn’t transfer under stencil solution. Standard inkjet ink isn’t formulated for skin and won’t hold a sharp line through application. The paper has no carbon layer to release the design.
There is one workaround people try: loading a regular inkjet with stencil-specific ink (sold by stencil-ink suppliers) and printing onto inkjet stencil transfer paper. That’s not really “using a normal printer” though - it’s converting one into a dedicated stencil machine, and once you do it, you can’t easily go back to regular printing without flushing the heads. It’s a commitment.
If you’re an apprentice trying to save money, you’re better off buying a cheap dedicated thermal unit in the $80-$150 range than trying to retrofit a home printer (2)(5).
How Much Does a Stencil Printer Cost?
Prices in 2025 break into three tiers:
- Cheap tattoo stencil printer - $80 to $150. Off-brand Bluetooth thermal units (Rongta, Phomemo entry models, no-name Amazon listings). Good for apprentices, traveling artists, or anyone printing a handful of stencils a day. Expect occasional misfeeds and a shorter lifespan (2)(5).
- Mid-range studio thermal - $250 to $500. Branded units and Spirit-style professional thermal printers. Better reliability, parts availability, consistent line quality. This is the realistic starting point for a primary shop printer (5).
- Inkjet stencil systems - $300 to $900+. Printer plus stencil ink plus specialty transfer paper. The price climbs with print width and ink capacity. Worth it for realism and portrait specialists (1).
Consumables sit on top of those numbers. Tattoo Stencil Printer paper in 100-500 sheet packs runs $15-$40 for thermal; inkjet transfer sheets cost more per sheet. Stencil solution adds another $10-$25 per bottle.
A working budget for a new shop setup: roughly $350-$600 for a mid-range thermal printer, 500 sheets of paper, and a few bottles of solution. A realism-focused inkjet setup runs closer to $700-$1,200 all in.
How to Use
The workflow is the same across most thermal units. Inkjet stencil printers add a print-driver step but otherwise follow the same logic.
How to Use a Tattoo Stencil Printer
About 15 minutesStep-by-step process for preparing and printing tattoo stencils
- 1
Prep the design
Export your line art as a high-contrast black-and-white image at 300 dpi or higher. Thermal printers read pure black against pure white best; soft greys won't burn cleanly. Inkjet printers can keep gradients.
- 2
Size it to the placement
Set your canvas in Procreate or Photoshop to the actual print dimensions before sending - don't rely on the printer to scale. Common placements: forearm panels (6-10 in), calf pieces (8-12 in), rib designs (7-11 in).
- 3
Connect
Use USB for desktop workflow; Bluetooth or Wi-Fi if sending from iPad or phone via a tattoo stencil printer app.
- 4
Load the paper
Insert thermal stencil paper with the carbon layer facing the print head. Check the manufacturer's diagram and tape it to the printer if needed.
- 5
Print a test
Run a small test image to confirm contrast and alignment. Adjust darkness in the printer settings if lines look faint.
- 6
Apply with stencil solution
Clean and shave the skin, apply a thin even coat of stencil solution, press the stencil firmly without sliding, hold for 15-30 seconds, then peel slowly.
- 7
Let it dry
Allow the stencil to set undisturbed for several minutes before tattooing. This is the biggest factor in stencil longevity during long sessions.
A well-applied thermal stencil holds for several days on prepped skin, which matters for multi-session pieces.
Once the tattoo is done, aftercare follows a straightforward timeline. Days 1-3: the area will be tender and weeping plasma - wash gently with unscented soap, pat dry, and apply a thin layer of fragrance-free moisturizer two to three times a day. Keep it out of direct sun and don’t submerge it. Week 1: peeling starts; don’t pick it. Keep moisturizing with a fragrance-free moisturizer and cover with sun-protective clothing if you’re going outside. Weeks 2-4: the surface heals but the deeper layers are still settling - continue fragrance-free moisturizer daily and avoid prolonged sun exposure. A forearm piece (6-10 in) in full sun during week two is how you lose saturation before the ink even locks in.
Paper: What You’re Actually Buying
Stencil paper is not the same thing as receipt paper, and that difference matters every single time you print.
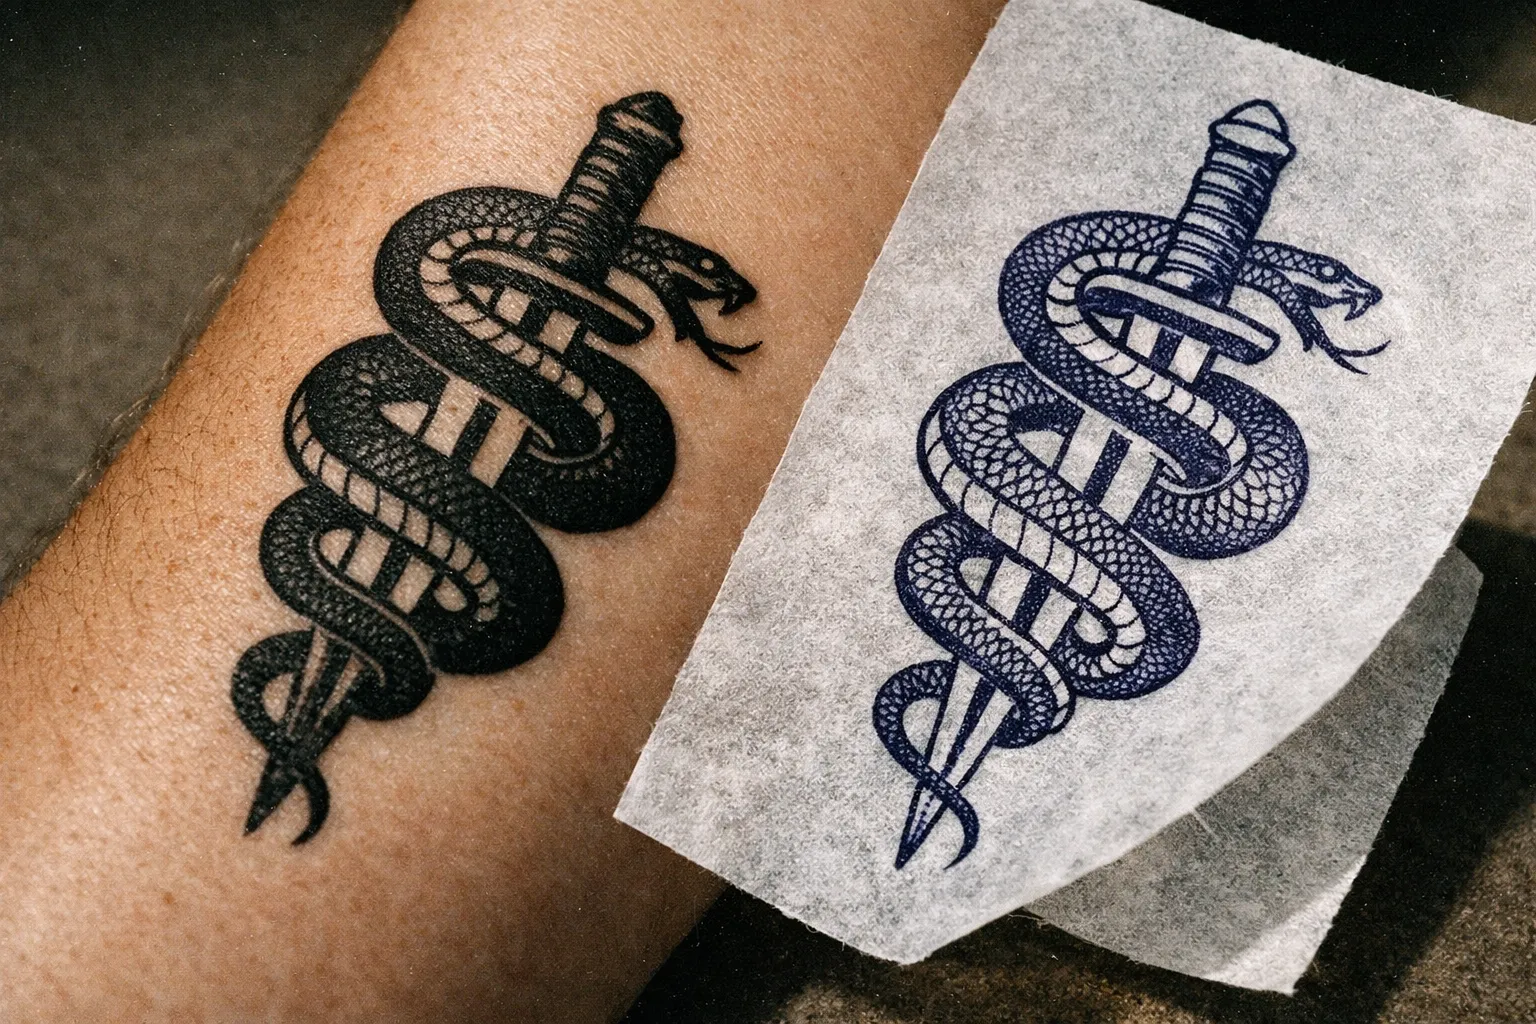
A proper sheet of Tattoo Stencil Printer paper has four layers: a top sheet you print on, a carbon transfer layer (this is what ends up on skin), a protective tissue, and a backing sheet. The print head burns the design through the top sheet and pulls carbon onto it. When you peel away the layers, you’re left with a printed sheet ready for transfer.
For thermal units, stick with 4-layer thermal stencil paper from reputable brands - Spirit, Phomemo, and a handful of established suppliers. Cheap off-brand paper often has weaker carbon density, which means stencils that start fading halfway through a session. I’ve had that happen mid-sleeve and it’s not a conversation you want to have with a client. For inkjet systems, you need inkjet-specific transfer media designed for the stencil ink chemistry - generic transfer paper won’t release properly.
Stock at least 200-500 sheets if you’re running a busy shop. Running out mid-day is worse than overspending by $20.
Wireless Options and the App Workflow
A wireless Tattoo Stencil Printer removes the cable step from your workflow entirely. You draw on an iPad in Procreate, export the flattened line art, open the manufacturer’s app on your phone or tablet, and send to print.
What this actually changes day-to-day:
- Resize at the printer, not at the desk. Most apps let you scale, crop, and rotate before printing. Useful when a client asks for the design “a bit smaller” while sitting in the chair.
- Multiple stations, one printer. A Wi-Fi unit lets three or four artists send jobs from their own devices to a shared station printer.
- Convention and guest-spot friendly. Bluetooth printers with phone control mean you can travel light - printer, paper, phone, done (2).
The main Tattoo Stencil Printer app features worth checking before buying: image import from camera roll, on-screen resize with real measurements (not just percentages), contrast adjustment, and the ability to save templates for common placements. Some apps from off-brand printers are genuinely rough to use - read recent reviews before committing, not just the star rating.
Wireless connection speed has improved noticeably. Brother’s 2025 wireless updates cut pairing and transfer lag by around 18%, which closes the gap with USB for practical purposes (3).
How to Pick a Cheap Thermal Unit Without Regretting It
A $90 Bluetooth thermal printer can absolutely work. It can also frustrate you out of the trade if you pick the wrong one.
The honest checklist:
- Look for a print width that matches A4/letter. Some sub-$100 units only handle narrow receipt-style paper and won’t fit standard stencil sheets.
- Check for a real app, not just “Bluetooth compatible.” A printer that pairs but has no resizing app forces you back to a computer anyway.
- Read 6-month-old reviews, not week-old ones. Cheap printers fail at the head, the roller, or the battery. Those failures show up after a few hundred prints, not in the unboxing video.
- Confirm paper compatibility. A printer that only accepts proprietary paper packs locks you into one supplier at their price.
- Skip anything under $60. That’s receipt-printer pricing, and the carbon transfer quality on those units is unreliable.
For apprentices, traveling artists, or low-volume guest spots, a $100-$150 Bluetooth thermal is genuinely fine. For a full-time shop printer running 10-20 stencils a day, spend the $300 (5).
Find the Right Printer for Your Studio
Match the printer to how you actually work, not to what the highest-rated review told you. When choosing the right tattoo artist for a complex piece, clients often don’t realize how much of the process depends on clean stencil prep behind the scenes.
- Apprentice or first kit: $80-$150 Bluetooth thermal. Phone app workflow. Replace it in two years when you outgrow it.
- Convention and guest-spot artist: Battery-capable Bluetooth thermal. Small footprint matters more than width here.
- Mid-volume shop (5-10 stencils/day): $250-$400 mid-range thermal. Reliability and parts availability matter more than features.
- High-volume shop (10+ stencils/day, multiple artists): Wi-Fi-enabled studio thermal stencil printer that all stations can share, plus a backup unit. Downtime costs more than the second printer.
- Realism / portrait / photo-reference specialist: Inkjet stencil system with proper stencil ink and gradient-capable transfer paper (1). Keep a thermal unit on hand for the line-only jobs.
- Black-and-grey portrait artist who also does traditional walk-ins: Hybrid setup - inkjet for the detail work, thermal for everything else.
Reliable, Artist-Tested Performance
Spec sheets sell printers. Daily use breaks them. The failure modes worth knowing before you buy:
- Cheap thermal head burnout. Budget printers running 20+ stencils a day can lose head sharpness within 6-9 months. Mid-range and pro units last years.
- Roller wear. Feed rollers harden and lose grip over time, causing misfeeds. Replaceable on professional units; usually not on cheap ones.
- Inkjet head clogs. Stencil-ink inkjet systems must be used regularly or the heads dry and clog. If you tattoo three days a week, run a maintenance print on off days.
- App abandonment. Off-brand printers sometimes stop receiving app updates after a year. The hardware still works over USB, but the wireless workflow dies.
- Paper jams. Almost always a paper-quality or loading-orientation issue, not a printer defect. Clean the print head monthly with isopropyl and a lint-free cloth.
Before committing to a model, check forums where working artists report on how units hold up at 6-12 months and beyond (5). New-unboxing reviews tell you nothing about longevity.
Streamline Your Workflow
Small changes that compound across a week:
- Build placement templates. Pre-sized Procreate canvases for forearm panels (roughly 6-10 in), calf pieces (8-12 in), upper arm (5-8 in), and ribcage (7-11 in). Stop resizing from scratch every time.
- One station, one printer. Keep the printer, stencil paper, and solution at a dedicated spot. Mixing the stencil station with the tattoo station wastes minutes and risks cross-contamination.
- Print from the tablet you drew on. If you design on iPad, use a Bluetooth printer and the manufacturer’s app. The export-to-laptop-to-USB chain is the slowest part of most shops’ workflow (2).
- Stage the next stencil during the current tattoo. While a client is in the chair, print and prep the next stencil. Five minutes saved per appointment is an extra appointment by Friday.
- Keep paper stocked in two locations. One pack at the station, one in a drawer. Running out is a 20-minute supply-run interruption.
Get Better Stencil Results
The printer is half the equation. The other half is the file and the skin.
- Export at 300 dpi minimum in pure black and white for thermal. Grayscale lines burn weakly and fade fast on skin.
- Thicken lines that need to survive. Hairline 0.5 px strokes that look great on screen often disappear in the transfer. Bump structural lines to 1.5-2 px equivalent before printing.
- Adjust darkness in the driver, not the file. Most thermal printers have a contrast/darkness setting. Dial it in once and leave it.
- Shave and clean the skin properly. Stencil solution on stubble blurs the transfer. So does any residue of green soap or moisturizer.
- Use stencil solution, not deodorant. The old deodorant trick works in a pinch, but dedicated solutions transfer crisper lines and hold longer through a session.
- Let the stencil dry fully. Several minutes, undisturbed. This is the single biggest factor in whether your stencil survives a four-hour session.
You May Also Need
Around the printer itself, the supporting kit:
- Tattoo Stencil Printer paper - 4-layer thermal sheets, 200-500 sheets in stock minimum. Match the brand the printer manufacturer recommends.
- Stencil transfer solution - a bottle lasts roughly a month at moderate volume.
- Disposable razors and skin prep - clean, dry, smooth skin transfers cleaner lines.
- Print head cleaning supplies - isopropyl alcohol and lint-free swabs for monthly maintenance.
- Replacement feed rollers (for professional thermal units) - order before you need them; some parts have long lead times.
- A backup printer - even a $100 unit on a shelf saves a workday when the main printer dies.
Troubleshooting Common Issues
Paper jams. Almost always paper-related. Check that you’re loading the right orientation (carbon layer toward the print head), that the paper isn’t curled from humidity, and that the feed rollers aren’t dusty. Open the unit, gently remove the stuck sheet without pulling against the feed direction, and run a cleaning sheet.
Faded or faint stencils. Three causes, in order of likelihood: darkness setting is too low (raise it in the driver), the paper has the wrong orientation (flip it), or the print head is dirty (clean with isopropyl). If none of those fix it on a unit over a year old, the head may be wearing out. A tattoo blowout can sometimes be mistaken for a stencil transfer issue, but blowout happens after the needle goes in - not during the stencil stage.
Bluetooth or Wi-Fi won’t connect. Reset the printer’s wireless settings, forget the device in your phone’s Bluetooth menu, re-pair from scratch. Check that the printer firmware and the app are both current - mismatched versions silently fail to pair. If the app sees the printer but jobs never arrive, try a USB print first to confirm the printer itself is healthy.
Lines come out distorted or wavy. Usually uneven paper feed - clean the rollers, check that the paper sits flat in the tray, and make sure nothing is pressing against the output slot. On cheap units, distortion can also come from inconsistent head heat. Not much you can do about that beyond replacing the unit.
Inkjet stencil prints look streaky. Run a head cleaning cycle from the printer driver. If it persists, the ink is settling or the head needs a deeper clean. Inkjet stencil systems hate sitting unused - even a single weekly maintenance print prevents most clog issues.
Frequently Asked Questions
- What printers can be used for tattoo stencils?
- Dedicated thermal printers, inkjet printers loaded with stencil ink and transfer paper, and some industrial thermal label printers adapted for stencil use. Regular office printers do not produce skin-safe stencils.
- Can I use a normal printer for tattoo stencils?
- Only if you convert it by using stencil-specific ink and transfer paper, effectively turning it into a dedicated stencil printer. Otherwise, normal printers won't work.
- Are wireless tattoo stencil printers as reliable as USB?
- Most current wireless units are production-ready with minimal lag, but USB remains slightly more stable for fixed setups.
- How long does a thermal stencil last on skin?
- Several days on properly prepped skin, with drying time and stencil solution quality being crucial factors.
- Do I need a different printer for realism vs traditional work?
- Yes. Inkjet stencil systems are necessary for photo-realistic shading, while thermal printers suffice for traditional and black-and-grey styles.
- How do I maintain an inkjet stencil printer to avoid clogs?
- Run regular maintenance prints, especially if the printer sits unused for days, and perform cleaning cycles as recommended.
- What should I look for in a cheap tattoo stencil printer app?
- Look for real resizing tools with actual measurements, contrast adjustment, and template saving features. Avoid printers with Bluetooth but no functional app.
Bottom Line
Pick the printer that matches your real volume and your real style. An apprentice doing two stencils a week doesn’t need a $500 studio printer. A realism artist doing portraits all day shouldn’t be fighting a thermal unit that can’t shade - I’ve watched artists spend twice as long sketching reference lines by hand because their printer couldn’t transfer the gradient, and it’s a fixable problem.
Stock enough paper, clean the head monthly, keep a backup on the shelf. That’s most of what separates a printer that lasts five years from one that dies in eight months.