The hardest thing to learn as a tattoo beginner isn’t the design - it’s depth. Ink has to land in a 1-2 mm window in the dermis: too shallow and it falls out as the skin heals, too deep and it blows out into a blur, and there’s no undo. That single margin is what separates a clean line from a scarred one. Here’s what actually works for a tattoo for beginners, from safe starter sizes to the fundamentals no practice skin teaches.
How to Tattoo for Beginners: What You Really Need to Know
First, let me clear something up about tattoo for beginners: videos and practice skins teach you a lot, but human skin isn’t a notebook you can scribble on and erase.
If you’re learning to tattoo, your first goals should be boring on purpose:
- Draw straight lines that keep consistent thickness
- Nail clean circles (harder than they look)
- Pack ink evenly without wrecking the “skin”
- Always keep your setup sanitary - no exceptions
If you’re getting your first tattoo, your early goals need to be boring for similar reasons:
- Pick a design that stays clear after it settles and softens
- Choose a placement that heals without you trashing it at work, the gym, or in the sun
- Find an artist whose healed tattoos look good, not just fresh photos
Most beginner problems boil down to rushed choices. More on that below.
✓ Pros
- Clear guidance on tattoo design and placement for beginners
- Covers both getting tattooed and learning to tattoo safely
- Emphasizes hygiene and aftercare to protect your investment
✗ Cons
- Some technical terms may require additional research for absolute beginners
- Focuses on practical advice over artistic inspiration
Practice Isn’t Just a Buzzword - It’s Your Shortcut to Mastery
Practice doesn’t mean “wing it more.” It means structured reps you can measure.
If you’re learning to tattoo, build your practice around drills you can repeat and track:
- Lines sheet: 50 straight lines, same length, consistent speed
- Curves sheet: smooth S-curves and C-curves with no wobble
- Shapes: circles, squares, triangles - clean corners are a skill
- Fill: pack a small square evenly with no gaps
- Simple flash: 2-3 small designs on fake skin each week
A routine that works for most beginners looks like this:
- 30-60 minutes drawing daily
- 20-30 minutes machine drills on fake skin 3-5 times a week
Here’s where most beginners get humbled: being good at drawing doesn’t mean you’re good at tattooing. Skin moves, stretches, swells, and hates being overworked.
Don’t Rush - Whether It’s Your First Tattoo or Your First Client
This is the advice missing from most beginner guides - and it’s what saves you from the “I hate it now” moment.
If you’re getting tattooed
A solid rule is to sit with the design for 3-6 months. Print it actual size, tape it to your forearm or upper outer arm, and live with it for a week. Your brain will tell you fast if it feels right.
Avoid “starter tattoos” in problem areas for beginners:
- Hands/fingers: heal rough, fade fast, and jobs still care
- Feet/ankles: shoe rub plus slow, tricky healing
- Inner lip: a gimmick that often disappears
- Ribs/sternum: ribcage hurts more than forearm, and healing is finicky
Better beginner placements that usually heal smoother:
- Upper outer arm
- Forearm
- Outer thigh
- Calf
If you’re learning to tattoo others
Don’t take paid clients while you’re still wrestling the machine. It’s not noble - it’s avoidable damage. You should be able to do consistent lines on fake skin, over and over, before touching real skin.
Tattoo education sites agree: fake skin first, then real skin once you have control (2).
You Don’t Have to Go to School, But You Should Get Trained
Most places don’t legally require “tattoo school,” but structured training is what separates “I can scratch something in” from “I can tattoo safely and consistently.”
Your options usually look like this:
- Apprenticeship (best if you can get one): Usually 1-3 years, mostly cleaning, watching, drawing, and getting corrected
- Vetted online theory + practice plan: Good prep before an apprenticeship or as a supplement. Alison’s “Tattoo Basics for Beginners” is free to take (certificate optional) and covers machines, needles, and cross-contamination basics (8)
- Local requirements: Many places require blood-borne pathogens (BBP) training, a 2-4 hour course costing about $25-$75 before you can work (check your region)
If you’re serious, BBP training isn’t a checkbox - it’s non-negotiable.
How to Ask Experienced Tattoo Artists Without Being a Pest
Most pros don’t mind new folks. They get annoyed when you treat tattooing like just buying gear.
Good questions to ask:
- “Can I pay you for a portfolio critique?”
- “What’s one thing you wish you’d learned before your first real tattoo?”
- “Which 2-3 fundamentals should I drill for the next month?”
Be specific:
- Show 10 drawings, not just one
- Show healed references you like, and say why (line weight, contrast, spacing)
- If you ask about machines, share a shortlist and budget
If they say “that design is too small and will blur,” don’t argue. That’s your wallet and regret being saved. When choosing the right tattoo artist, look for someone who gives honest feedback like this rather than just telling you what you want to hear.
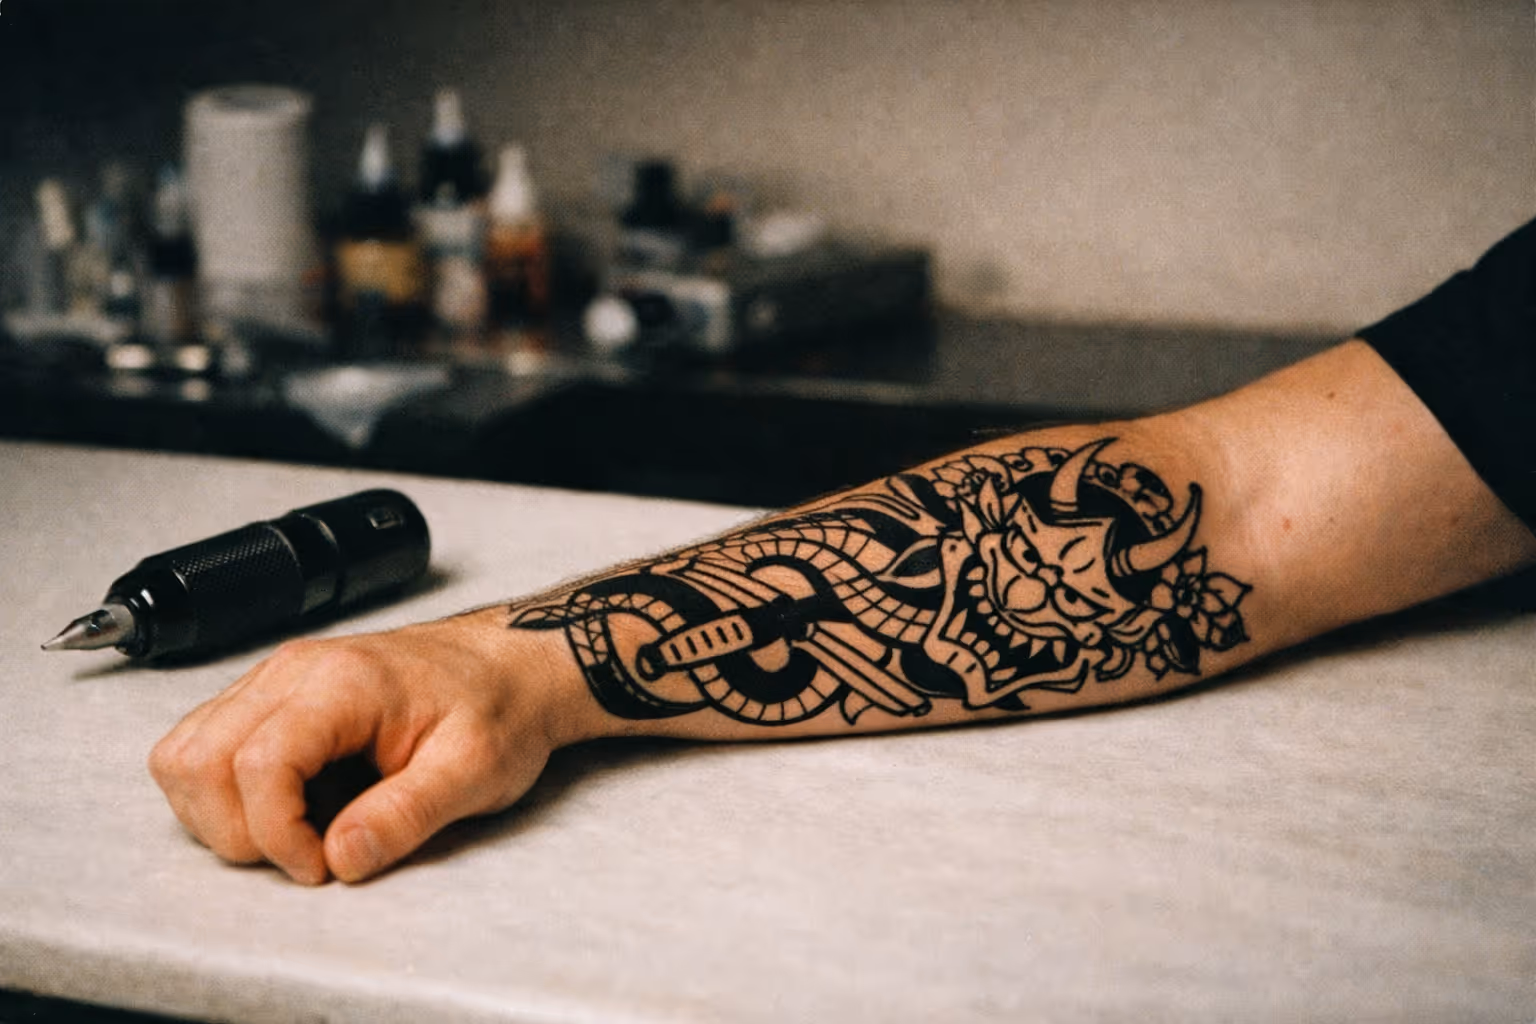
Picking Tattoo Equipment: What Matters Most (Updated Costs)
Choosing your first tattoo gear is like picking a chef’s knife - bad tools make your learning curve steeper and your mistakes uglier.
The Basics: Machine and Setup
Most beginners start on a pen-style rotary. They’re easier to set up than coils, and most modern tutorials assume this setup.
Budget ranges:
- Entry-level rotary pen kit: $100-$300 (machine, basic power supply, starter disposables)
- Professional setup: $800-$1,500+ (reliable machine, solid power supply, enough sterile disposables)
Needles: Depth and Technique Matter
Needle types depend on what you’re doing:
- Round liners (RL) for lines and details
- Magnums (M1/curved mags) for shading and color packing
- Round shaders (RS) for soft shading
Depth is where beginners wreck skin. Aim for about 1-2 mm into the dermis to avoid blowouts and scarring (1)(3)(5). Different body parts and skin thickness change how it feels, so don’t just “set it and forget it.”
Ink: Start Simple
If you’re learning, don’t hoard every color. Master how black heals and how saturation works first.
Cheap inks and mystery cartridges are a false economy - unpredictable results slow your progress.
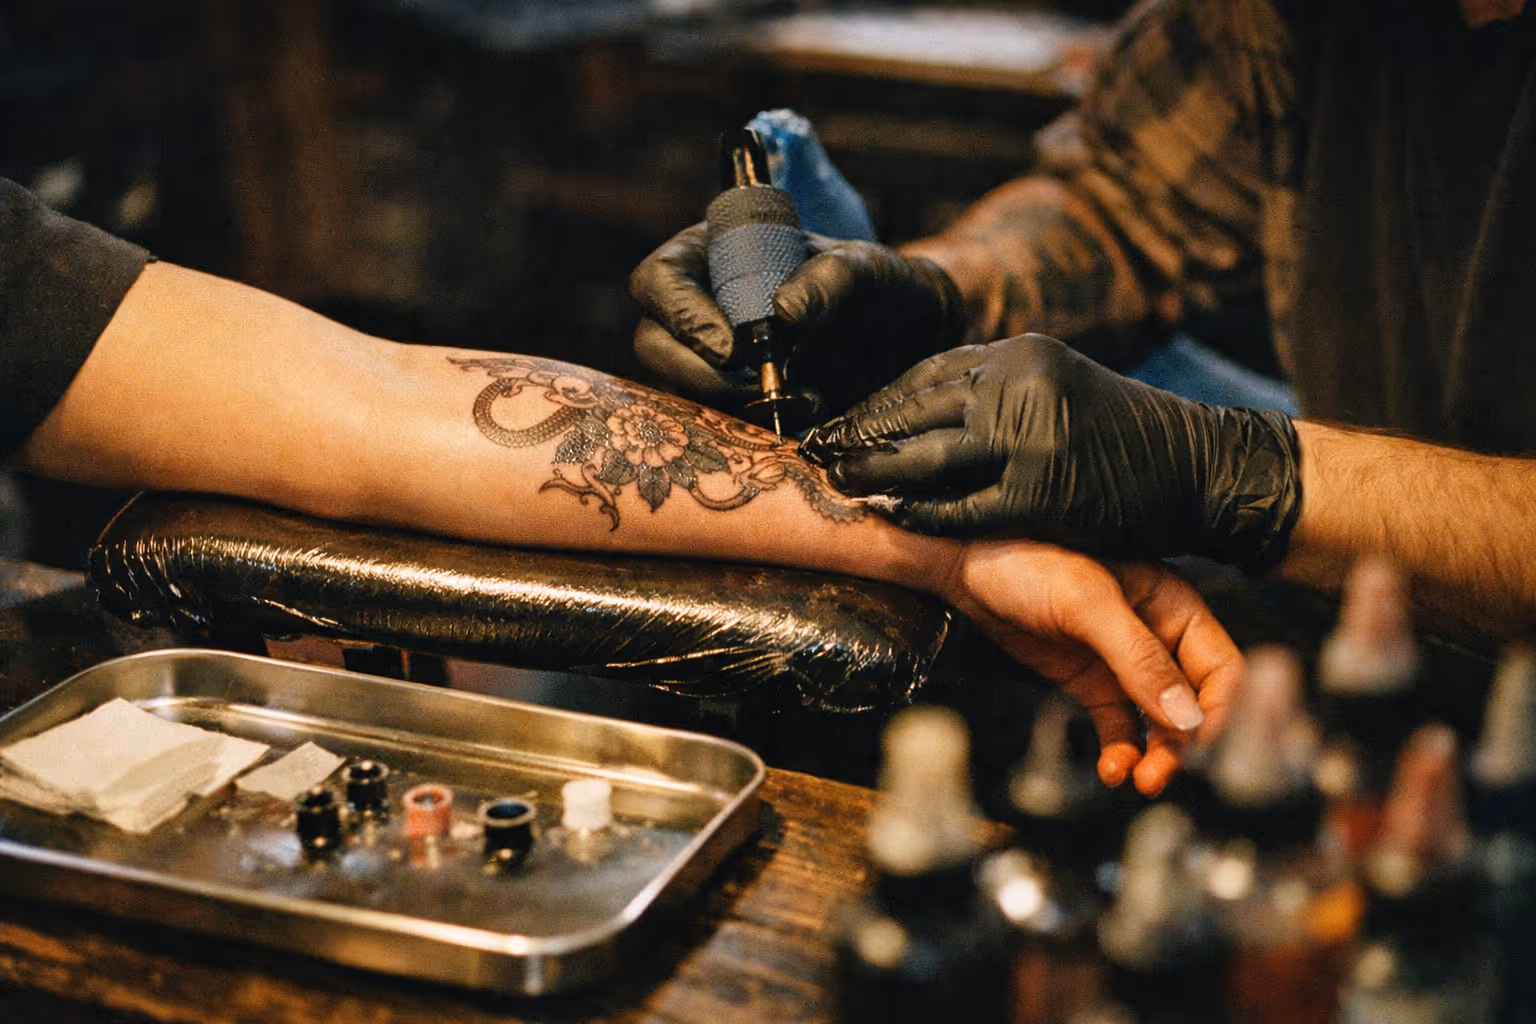
Cleaning Supplies: The Real MVP
This matters more than your machine.
Minimum setup for safety:
- Nitrile gloves (less allergy risk than latex)
- Barrier film, machine bags, clip-cord covers
- Green soap (diluted for wiping)
- Medical-grade surface disinfectant
- Sharps container
- Single-use ink caps, tongue depressors, paper towels
And keep disposable razors handy. Use a new razor per client and area to avoid cuts, ingrown hairs, and contamination (1). No reusing or wiping off.
What Supplies Cost Per Tattoo
Disposables add up faster than beginners expect:
- Needles/cartridges: $1-$4 each
- Razors: about $0.20 each in bulk
- Gloves: boxes range $8-$20
- Ink caps, barriers, bibs, green soap
If you’re undercharging, this is probably why.
Drawing Skills That Work for Tattoos
Here’s what you need to add as a beginner:
Design for Aging, Not Just for the Stencil
Beginner tattoos often fail because:
- Lines too thin for placement
- Details packed too tightly
Ink spreads and settles over time. If your design relies on micro-detail at 1 in (2.5 cm), it’s not fine line - it’s a blur waiting to happen. Give your lines and shapes breathing room. Understanding the full process of designing tattoos for men with aging in mind is one of the most overlooked skills a beginner can develop.
Weighted Pencil Technique: Build Hand Strength, Not Pain
Weighted pencils help build stamina and control but don’t push through pain. If your hand or wrist hurts, stop and adjust.
Practice for Body Flow
A tattoo isn’t a sticker. A design that looks perfect flat can look awkward wrapped around a forearm or across a shoulder.
Quick test: print your design and wrap it around a bottle or rolling pin. If it looks off there, it’ll look off on skin.
Tattoo Designs for Beginners: What to Pick for Your First Tattoo
Most “how to tattoo” guides skip this, but it’s crucial if you want to avoid a botched first appointment.
When choosing tattoo designs for beginners, readability is your friend.
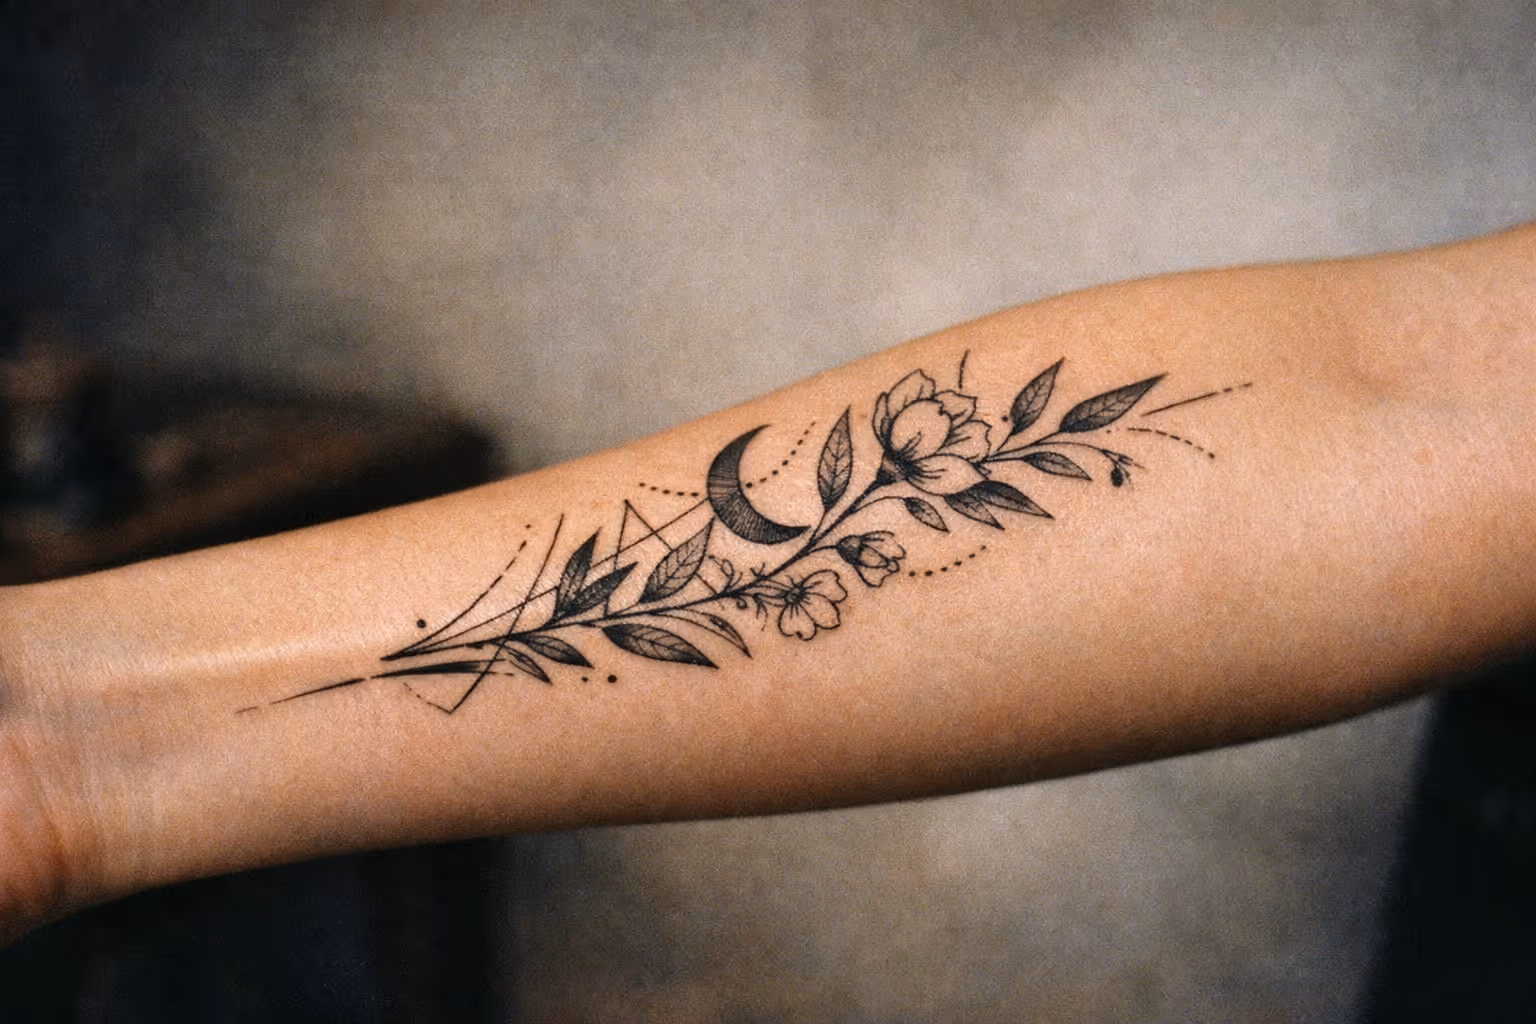
Easy Tattoos for Beginners That Age Well
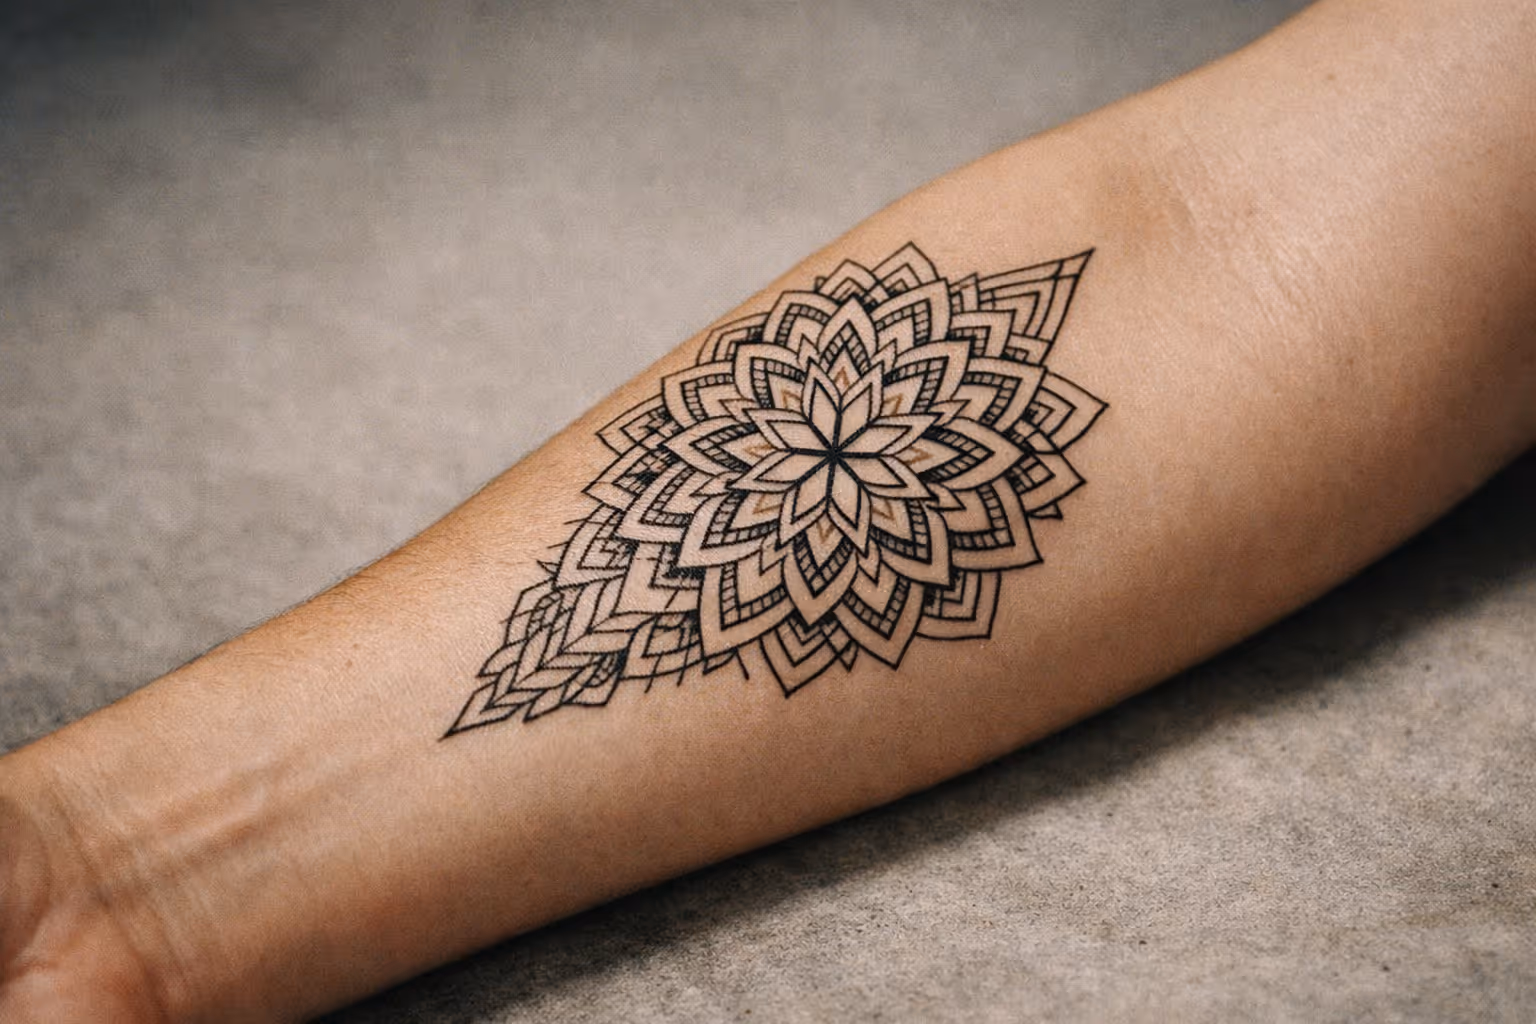
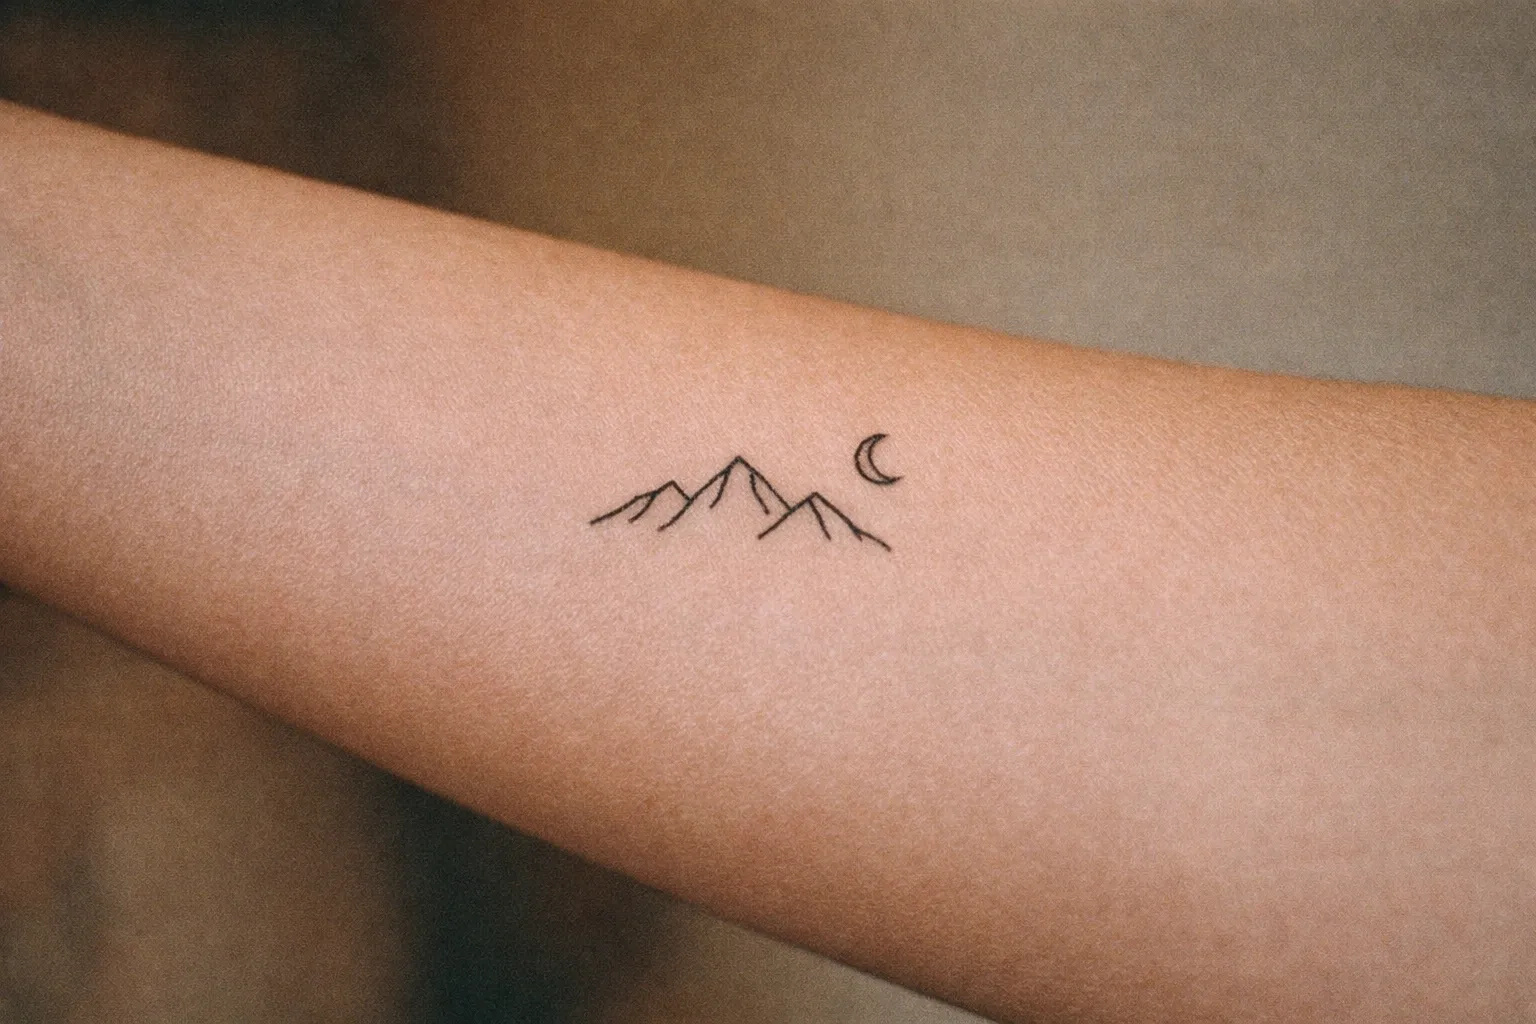
Designs that usually heal clean and stay readable, especially in 1-2.5 in (2.5-6.5 cm) sizes:
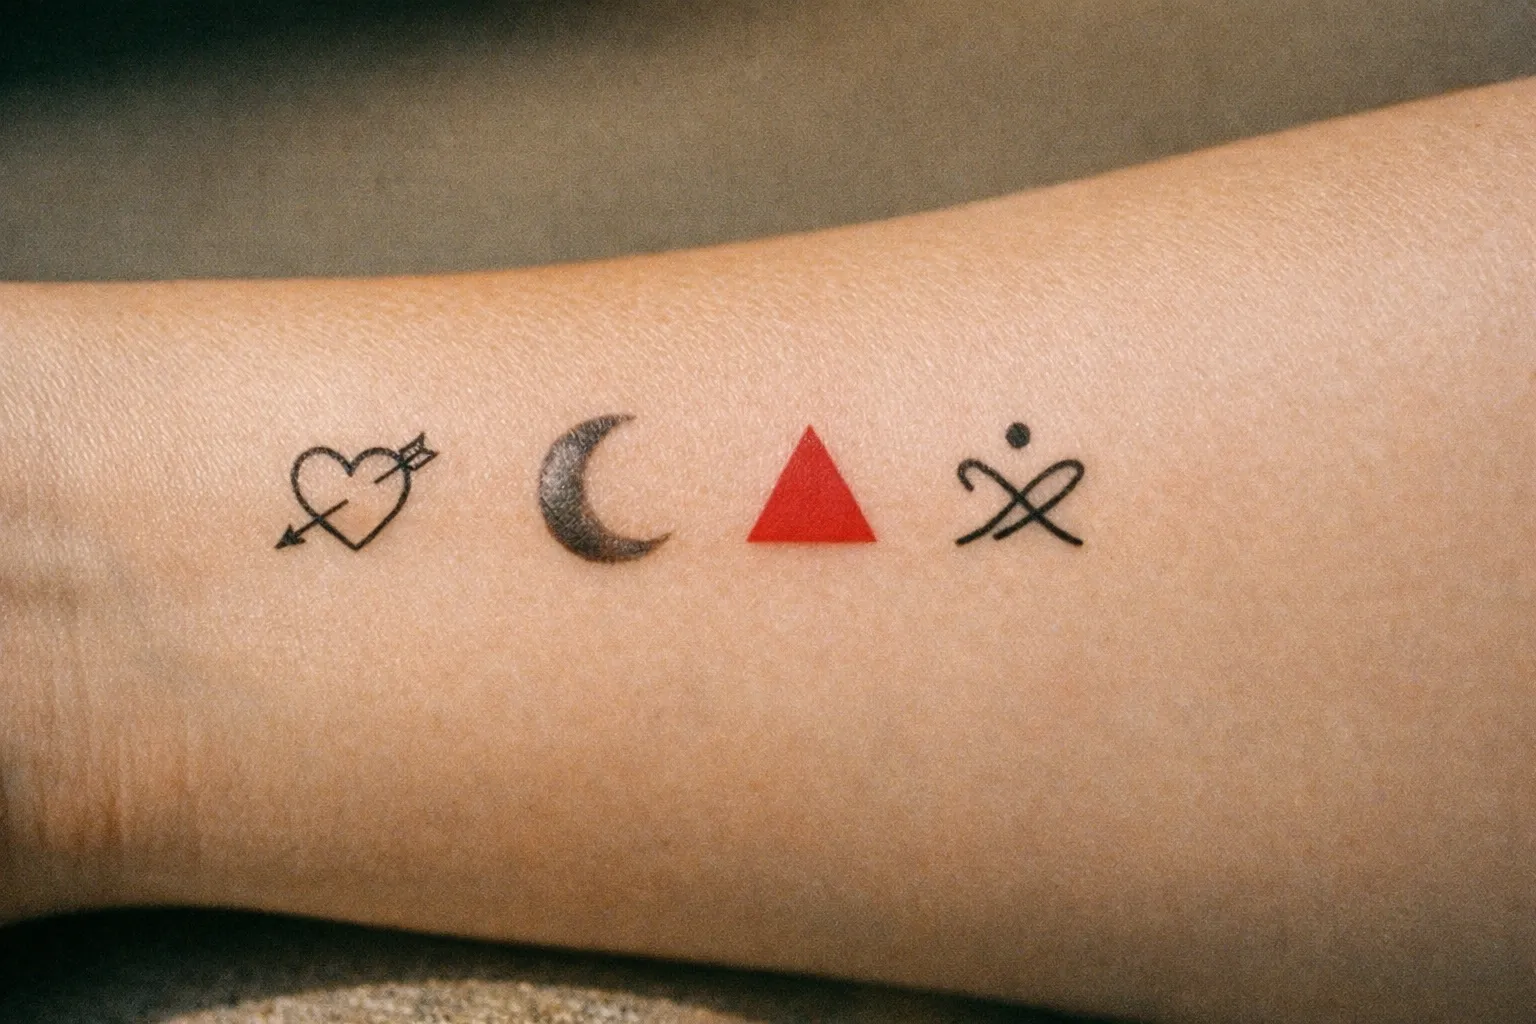
- Single-outline hearts, stars, moons (clean linework)
- Simple flowers with bold petals (daisy, tulip)
- Small animal silhouettes (cat, bird, butterfly with simplified wings)
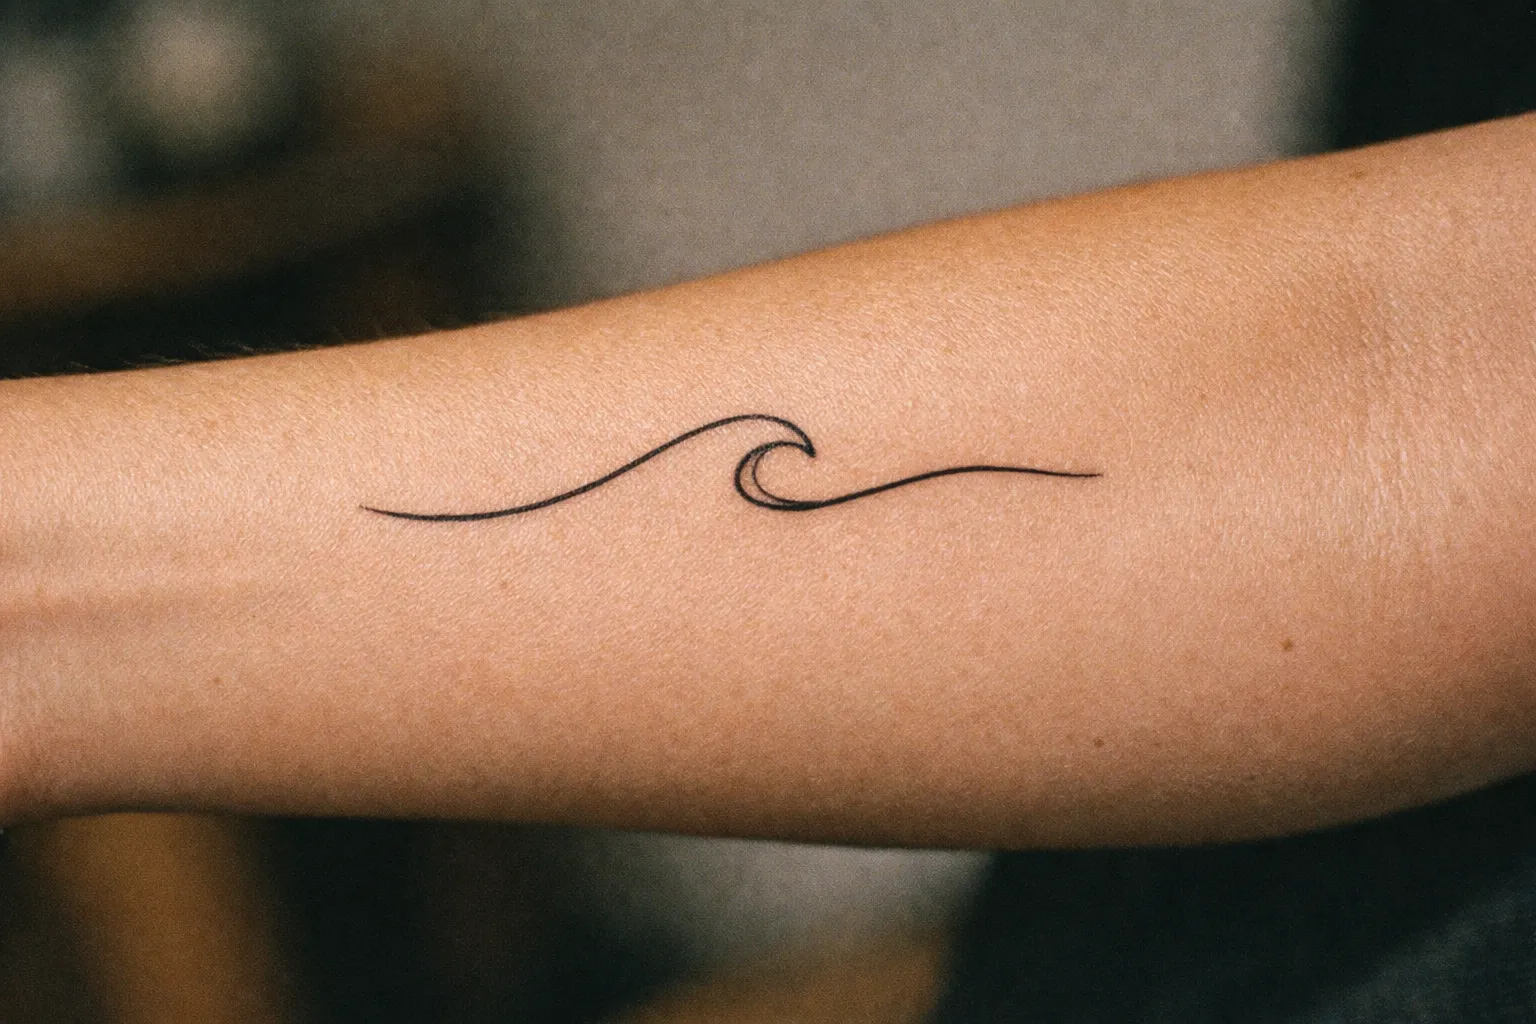
- Minimalist symbols (Venus symbol, Taurus glyph, wave)
- One-word text in simple fonts (more on lettering later)
Good placements:
- Forearm (inner or outer)
- Upper outer arm
- Calf
- Outer thigh
Avoid tiny linework on high-friction spots (fingers, inside ankle, edge of hand). It fades and blurs too fast.
Small Tattoos for Beginners: Size That Won’t Smudge
Many “small” tattoos are actually too small.
Good starter sizes:
- 1.5-3 in (4-8 cm) for symbols, small animals, small flowers
- 2-4 in (5-10 cm) for designs with multiple elements (flower + stem, animal + shading)
If you insist on micro tattoos (under 1 in / 2.5 cm), keep it ultra simple: one shape, one line weight, no interior detail.
Simple Tattoos for Beginners: The Line-Weight Rule That Saves You
If your tattoo is on a high-movement area (wrist, ankle), go bolder with lines than you think you need. Fine lines look sharp fresh but heal less forgivingly, especially with sun exposure.
Tattoo Ideas for Beginners: 25 Specific Concepts with Placement and Size
Here are tattoo ideas for beginners you can bring to your artist. I’m listing placements and sizes because “anywhere works” is how you get a design that ages badly.
Tattoo Ideas for Beginners: Placement and Size
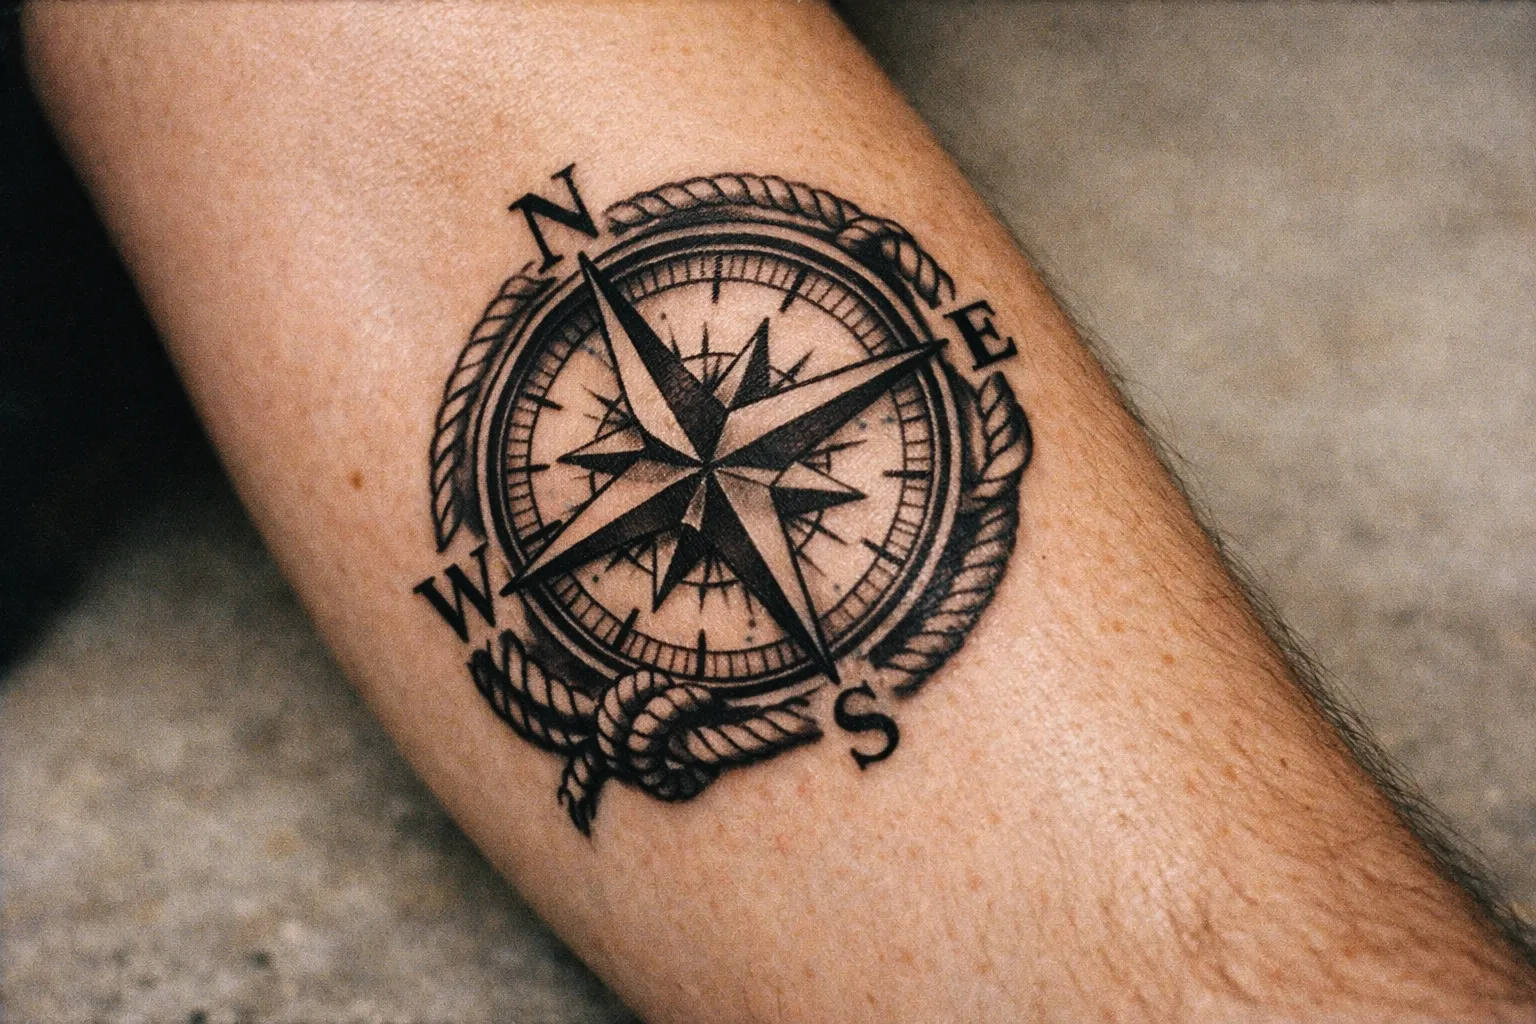
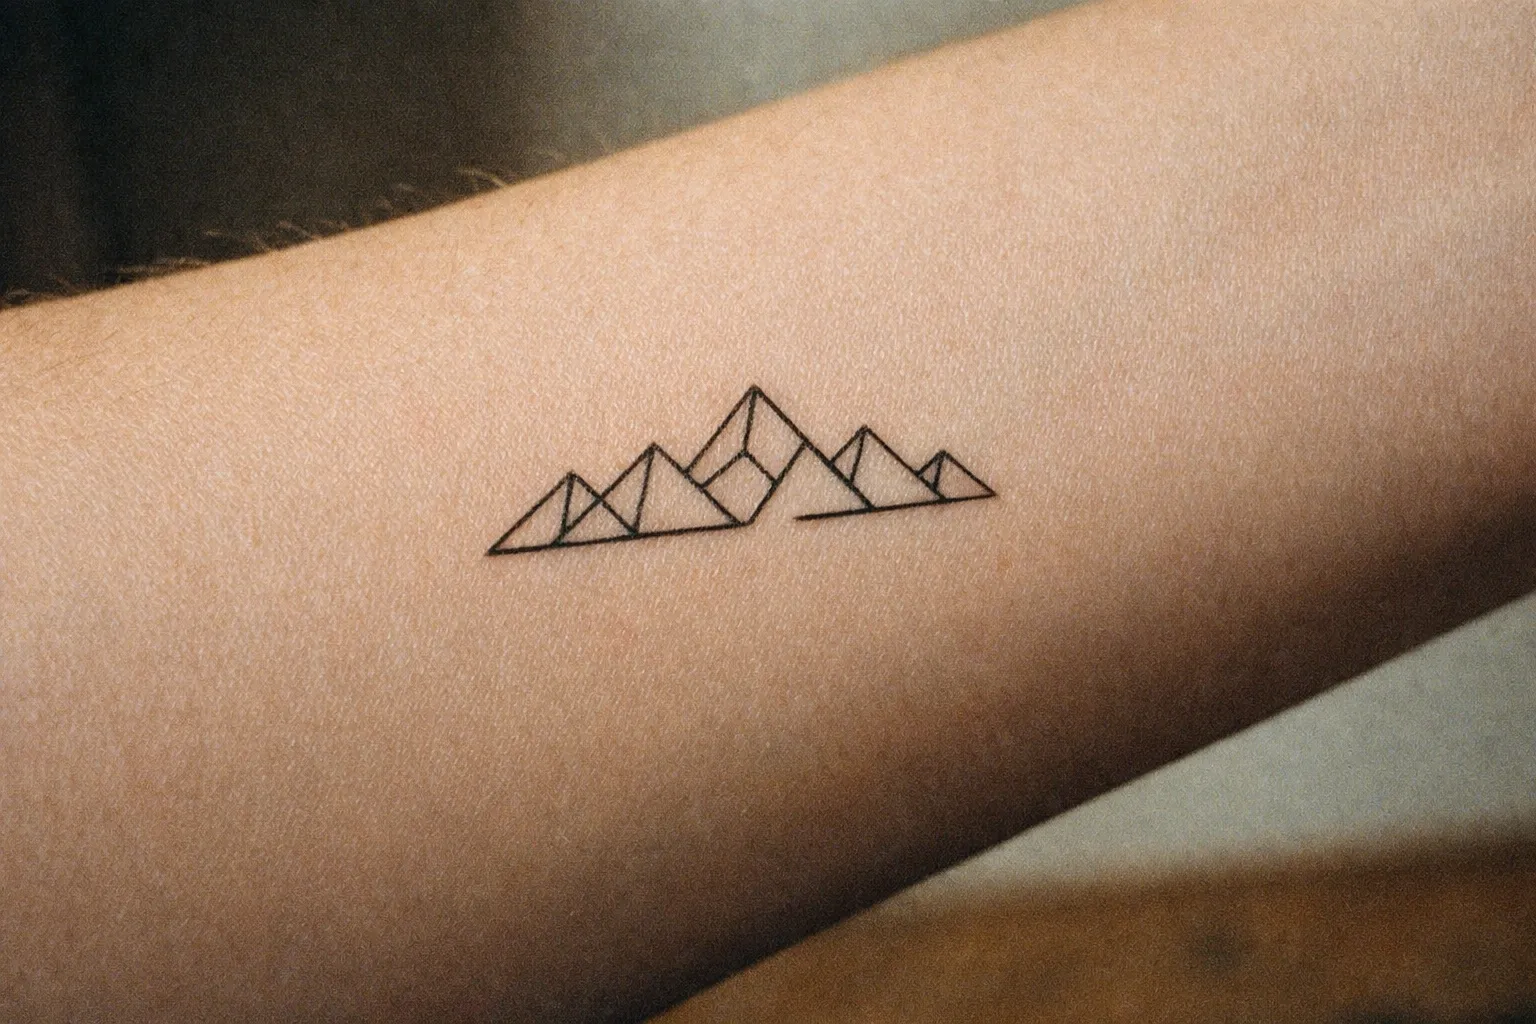
| Tiny crescent moon | Single tulip outline | Simple wave | Blackwork heart | Matching star pair | Olive branch | Cat silhouette | Butterfly (simplified) | Minimal mountain line | Tiny lightning bolt | Sun outline | Simple snake curve (no micro scales) | Tiny dagger (American traditional simplified) | One initial (block font) | Roman numerals (minimal spacing) | Small koi silhouette (irezumi-inspired, simplified) | Lotus (bold petals, minimal interior) | Simple compass rose | Tiny paw print | Minimalist planet ring | Tiny rose (traditional shape, not hyper-detailed) | Kanji/character text | Simple mandala (not micro-dotwork) | Venus symbol (♀) | Taurus glyph (♉) | |
|---|---|---|---|---|---|---|---|---|---|---|---|---|---|---|---|---|---|---|---|---|---|---|---|---|---|
| Placement | outer forearm | inner bicep | outer ankle (fades faster) | upper arm | forearm | outer forearm | calf | upper outer arm | forearm | upper arm | outer forearm | forearm | upper arm | inner forearm | forearm | calf | upper arm | forearm | outer arm | forearm | upper arm | forearm | outer forearm | behind the ear | inner forearm |
| Size | 1.5 in / 4 cm | 2.5-3 in / 6-8 cm | 2 in / 5 cm | 1.5-2 in / 4-5 cm | 1 in each / 2.5 cm | 3-4 in / 8-10 cm | 2.5 in / 6 cm | 3 in / 8 cm | 2.5-3 in / 6-8 cm | 1.5 in / 4 cm | 2-3 in / 5-8 cm | 4 in / 10 cm | 3 in / 8 cm | 1-1.5 in / 2.5-4 cm | 2-3 in / 5-8 cm | 3-4 in / 8-10 cm | 3 in / 8 cm | 2.5-3.5 in / 6-9 cm | 1.5 in / 4 cm | 2 in / 5 cm | 2.5-3 in / 6-8 cm | 2-3 in / 5-8 cm | 3-4 in / 8-10 cm | 0.5-1 in / 1-2.5 cm (fades faster) | 1-1.5 in / 2.5-4 cm |
A quick cultural note: if you’re borrowing from Japanese/irezumi or Polynesian motifs, don’t strip symbols out of context just because they look cool. Meanings get mixed in Western tattoo culture, but the origin still matters. Ask your artist and do basic research before you commit.
Building and Maintaining a Versatile Portfolio
Keep it current and honest.
Keep Your Portfolio Current
Your portfolio is only as credible as your healed work.
Rule of thumb:
- Post fresh photos and follow up with healed shots at 4-8 weeks when you can.
Organize so clients can self-select:
- Blackwork / linework
- Lettering
- Color
- Flash vs custom
- Small tattoos vs larger pieces
Be Honest
Don’t:
- Post only one angle
- Use heavy filters to hide wobbly lines
- Pass off mentor work as your own
- Crop out blowouts and pretend they’re not there
If you’re a beginner, honesty helps: “These are my first 20 tattoos, here’s what I’m working on.” You’ll attract clients with the right expectations.
The Art of Practicing Tattooing: What Works and What Doesn’t
Here’s what actually matters when you put in the practice.
Fake Skin: Use It Like a Workbook
Don’t tattoo one rose and call it practice. Fill sheets with drills and date them. You want proof of improvement, not vibes.
Pig Skin and Fruit: Know Their Limits
Pig skin mimics some resistance but doesn’t behave like living skin (no swelling, different elasticity). Fruit helps needle control but not depth.
Use them, but don’t mistake them for readiness.
First Real Tattoo
Many training resources recommend doing your first real tattoo on yourself, then small, free tattoos for friends/family - keeping designs small and controlled (2). If you do this, hygiene standards still have to be professional. “It’s just my buddy” is not a sterilization method.
Mastering the Fundamentals: Lining, Shading, Coloring, Lettering
If you want skills that map to real tattoos, focus here. Tattoogenesis calls these four basics required (7).
Lining
Clean lines depend more on skin stretch and speed than confidence.
Common beginner notes:
- Rotary/pen machines usually run around 6-8 volts for lining, some tutorials show lines at 8 V and suggest less for beginners (6)
- Let stencil products dry about 10 minutes before starting (3)(6)
Technique priorities:
- Proper skin stretch (3-point/4-point hold)
- Commit to your line - no sketching in skin
- Exit skin smoothly for tapered ends
Shading
Start with whip shading before chasing smooth realism.
Focus on:
- Light whip shading
- Small gradients
- Controlled mag movement
Beginner approach: slight angle (~45°) with small oval motions for smooth transitions (3)(5).
Coloring
Pack clean, don’t overwork.
Rule:
- Pack dark colors first, then midtones, then light to avoid contaminating light ink with darker pigment (3)(5).
Lettering
Text tattoos look simple until they ruin your day.
Beginner rules:
- Pick simple fonts (clean sans serif, basic script)
- Size letters at least 2 in (5 cm) so they don’t blur together
- Avoid ultra-thin script on wrists or fingers
And always triple-check spelling.
Learning Skin So You Stop Fighting It
If you don’t get skin, you don’t get results.
The Layers That Matter
- Epidermis: constantly sheds; ink here falls out
- Dermis: ink needs to land here - around 1-2 mm depth depending on the area (1)(3)(5)
Too shallow = patchy, fades fast.
Too deep = blowouts, scarring, texture changes.
Skin Varies Across the Body
Beginner traps:
- Thin skin (inner bicep, inner arm): easier to blow out
- High-friction areas (hands/feet): fade faster
- Sun-damaged skin: holds detail poorly
Not everyone heals the same. Some have higher keloid risk or skin conditions like eczema/psoriasis. If you’re tattooing or getting tattooed, disclose relevant info and plan accordingly.
Keep Disposable Razors Handy and Prep Skin Properly
This deserves its own section because it’s a common beginner hygiene fail.
Best practice:
- Use a new disposable razor per client and area (1)
- Wash and clean skin first, shave gently with lubrication, then disinfect per shop protocol
- Don’t dry-shave or leave micro-cuts everywhere
- Don’t reuse razors on different people or areas
It’s cheap, it prevents problems, and it’s not optional.
Keep Practicing Without Spinning Your Wheels
“Practice more” is true but useless advice unless you know what to practice.
A 4-Week Plan That Moves the Needle
4-Week Practice Plan for Beginner Tattoo Artists
4 weeksStructured drills to build fundamental tattoo skills progressively.
- 1
Week 1: Lines and Circles
Practice drawing straight lines and clean circles daily, both on paper and fake skin.
- 2
Week 2: Shapes and Fills
Add basic shapes like squares and triangles and practice packing small fills evenly.
- 3
Week 3: Shading and Simple Flash
Introduce whip shading gradients and tattoo 2-3 simple flash designs on fake skin.
- 4
Week 4: Combine Skills and Review
Combine line work, shading, and small text on fake skin. Film your hand speed and review wobble points for improvement.
For theory, Alison’s “Tattoo Basics for Beginners” is a decent free start (8). Pair it with hands-on drills.
Invest in Your Equipment Wisely
If money’s tight, prioritize safety and consistency over flashy gear.
Spend first on:
- Sterile cartridges/needles
- Nitrile gloves
- Barriers and disinfectants
- A machine/power setup that runs consistently (even if not flashy)
Don’t spend first on:
- A rainbow ink wall
- Wireless batteries you can’t afford to replace
- Cheap bulk needles from unknown sources
A reliable setup smooths your learning curve. A janky one teaches bad habits. Before investing in any equipment, it helps to understand how tattoo guns work so you can make informed decisions about what you actually need.
Keep Up with Trends Without Getting Trapped
Trends help you understand demand but can trap beginners chasing work they can’t execute.
TikTok and Instagram cycles move fast. You’ll see:
- Fine-line florals
- Patchwork arms
- Micro-realism
- Hand-poked minimalism
The trap: beginners chase ultra-fine work before mastering contrast and line control. These tattoos often heal lighter and fuzzier, especially on high-use spots.
Use trends to:
- Save references
- Study what makes them readable (spacing, contrast)
- Practice fundamentals underneath (line control, shading control)
Use Social Media Without Becoming a Content Creator First
You don’t need to go viral. You need to look professional and bookable.
What to Post as a Beginner
- Clean photos (no heavy filters)
- Short clips of lining practice (process builds trust)
- Healed updates when possible
- Clear booking info, location, and what you’re offering (flash days, small pieces, blackwork only)
What Not to Do
- Post other artists’ designs without permission
- Hide mistakes or pretend they don’t exist
- Overpromise (“I do realism” with only two fake skin roses)
Word-of-mouth still matters. Social media starts the conversation; healed results close the deal.
What’s the Easiest Tattoo for Beginners?
This question pops up a lot, and it depends who you mean by “beginner.”
For Getting Your First Tattoo
Easiest to wear long-term:
- Bold, simple linework with breathing room
Think: small heart, star, moon, simple flower, basic symbol.
Best size: 1.5-3 in (4-8 cm)
Best placements: upper outer arm, forearm, calf, outer thigh
For Learning to Tattoo
Easiest first tattoos to execute:
- Simple shapes (stars, hearts)
- Minimal one-pass outlines
- Basic block letters (not thin script)
- Tiny traditional flash with thick outlines (simplified)
Avoid portraits, cover-ups, and micro-detail until your lines are consistently clean.
First Tattoo Aftercare: What You Actually Need to Do
Even if your shop gives you a routine, the timeline is usually the same.
Day 1-3
- Keep it clean. Wash gently with lukewarm water and mild, fragrance-free cleanser.
- Pat dry. Don’t scrub.
- Apply a thin layer of fragrance-free moisturizer if your artist says so (no thick gooping).
Week 1
- Expect peeling and itch. Don’t pick.
- Keep it out of dirty environments. Avoid tight clothing rubbing the area.
- No soaking: avoid swimming, hot tubs, and sunbathing for about 2 weeks (1).
Week 2-4
- It looks calmer but deeper layers are still settling.
- Protect it from sun with sun-protective clothing; once healed, use sunscreen consistently.
If you see spreading redness, heat, pus, or fever, get medical help immediately. Don’t “wait it out.”
FAQs
Frequently Asked Questions
- Can you get a tattoo while on GLP-1 medications?
- No major clinical trials link GLP-1 meds to tattoo healing issues, but side effects like dehydration and nausea can make sessions harder. Hydrate well, avoid big sessions during dose changes, and always disclose GLP-1 use to your artist.
- What is the 1/3 rule in tattooing?
- It refers to planning placement using roughly one-third of a limb segment for cohesive pieces and balancing darks, midtones, and open skin in larger tattoos to maintain readability and avoid clutter.
- What tattoo should a Taurus get?
- Beginner-friendly Taurus tattoos include the Taurus glyph (♉) at 1-1.5 in on the inner forearm or behind the ear, bull head silhouettes at 3-5 in on upper arm or calf, and Venus symbols or earth-element plants for softer looks.
- How important is line weight for beginner tattoos?
- Line weight is critical. Fine lines on high-movement or sun-exposed areas like wrists and ankles heal poorly and blur fast. Beginners should opt for bolder lines to ensure longevity.
- Why should beginners avoid certain placements like hands and ribs?
- Hands and ribs heal poorly due to constant movement, friction, and thin skin, leading to faster fading, rough healing, and more pain compared to forearms or upper arms.
- Is it necessary to do an apprenticeship to become a tattoo artist?
- While not legally required everywhere, apprenticeships provide essential hands-on training over 1-3 years, which is invaluable for mastering technique and hygiene beyond online courses.
- What's the best way to practice tattooing before working on real skin?
- Use fake skin for repeated drills focusing on lines, curves, shapes, fills, and simple flash designs. Avoid rushing to real skin until you can produce consistent, clean lines.
What Actually Matters for Beginners
If you’re getting your first tattoo, pick something readable, give it space (think 1.5-3 in / 4-8 cm), and put it somewhere that heals predictably like the upper outer arm or forearm. If you’re learning to tattoo, slow down even more: drill lines, learn skin depth (that ~1-2 mm dermis target really matters) (1)(3)(5), keep disposable razors and barriers stocked, and don’t touch real skin until your fundamentals are boringly consistent.
Beginner wins aren’t flashy. They’re clean linework, smart placement, honest expectations, and aftercare that actually protects your investment.