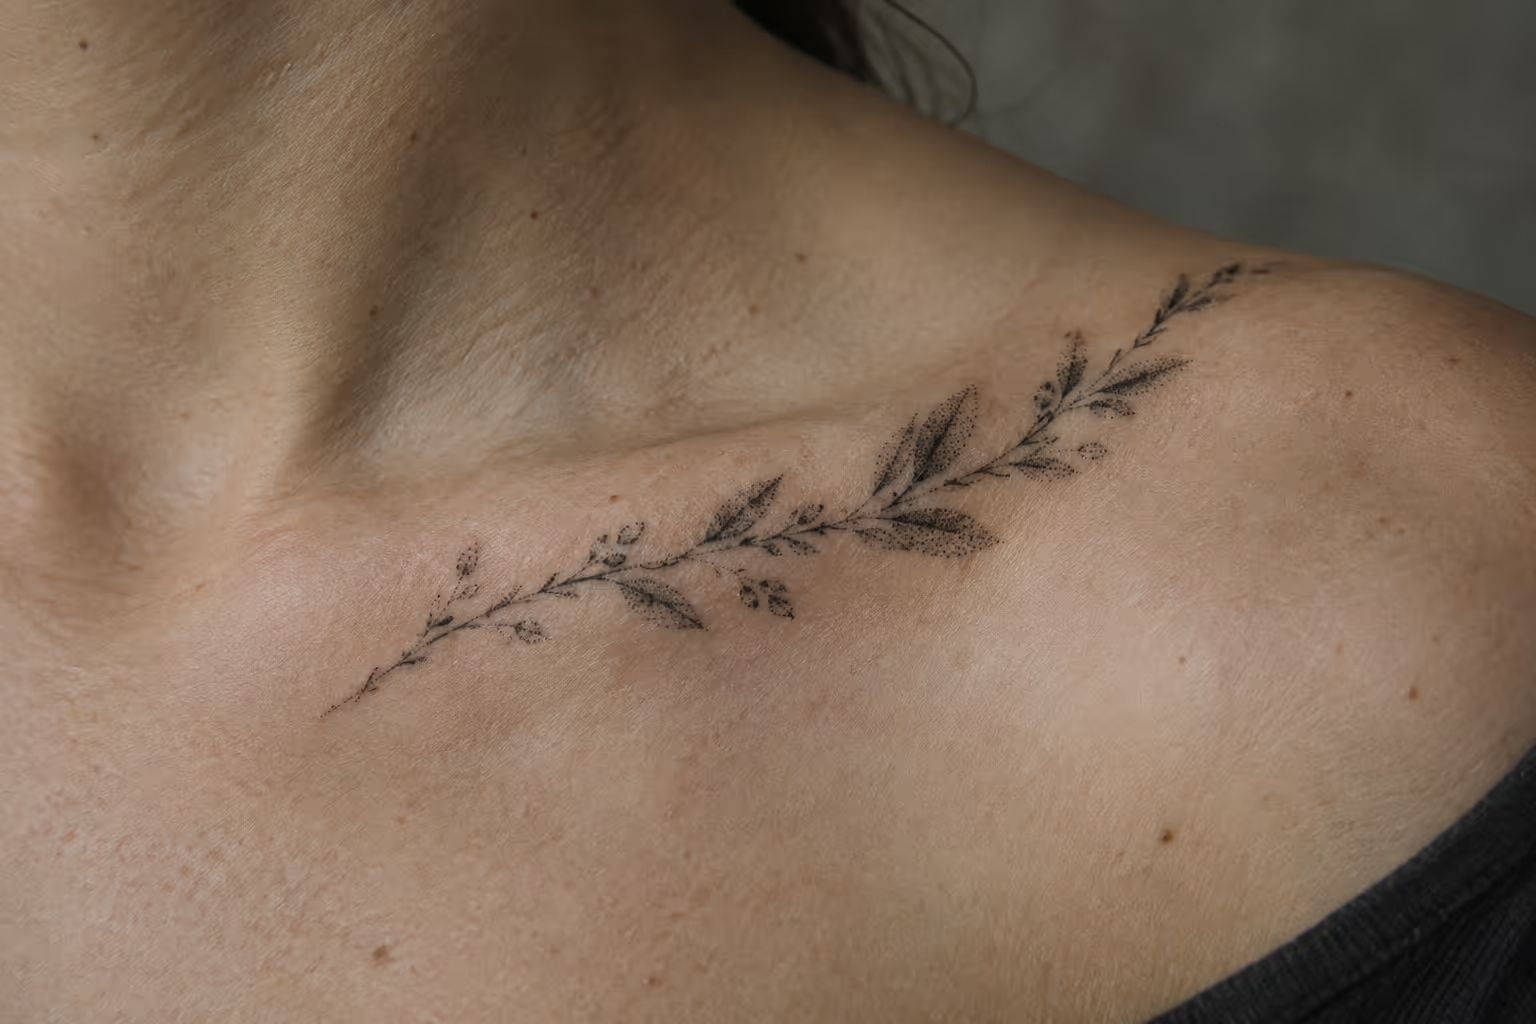
A collarbone tattoo sits on a bone that isn’t straight. The clavicle runs in a shallow S-curve from the base of your throat out to the shoulder, and studio guides treat that curve as the design’s built-in guide, not something to work around (4)(5). The decisions that shape how the piece looks, how much it hurts and how it ages are where it sits relative to the ridge, how tall it is, and how well you protect it from friction and sun.
The placement suits flowing script and botanical work, it shows with a tank top or open collar, and it works for anything from a single word to a piece that spills onto the shoulder. The downsides are practical. The area sits close to the surface, it catches sun, and bra straps, bag straps and collars cross it constantly while it heals (3)(6). Some people also find that working over bone sharpens the sensation (5)(8).
✓ Pros
- The clavicle's S-curve gives elongated designs a clear path to follow.
- A small motif or spaced cluster can fit without filling the whole area.
- The placement can connect naturally to a shoulder or chest composition.
✗ Cons
- The exposed location needs routine sun protection to limit fading.
- Clothing and bag straps can make friction harder to avoid while it heals.
- A tall design can cross the ridge and hollow, changing shape with shoulder movement.
What makes a collarbone tattoo follow the clavicle’s curve
A collarbone tattoo follows the clavicle’s curve when its long axis runs along the bone’s S-shape and its height stays low enough that it doesn’t straddle ridge and hollow (4)(5). “Clavicle tattoo” is the anatomical name for the same placement. Searches use both terms, and studios use them interchangeably.
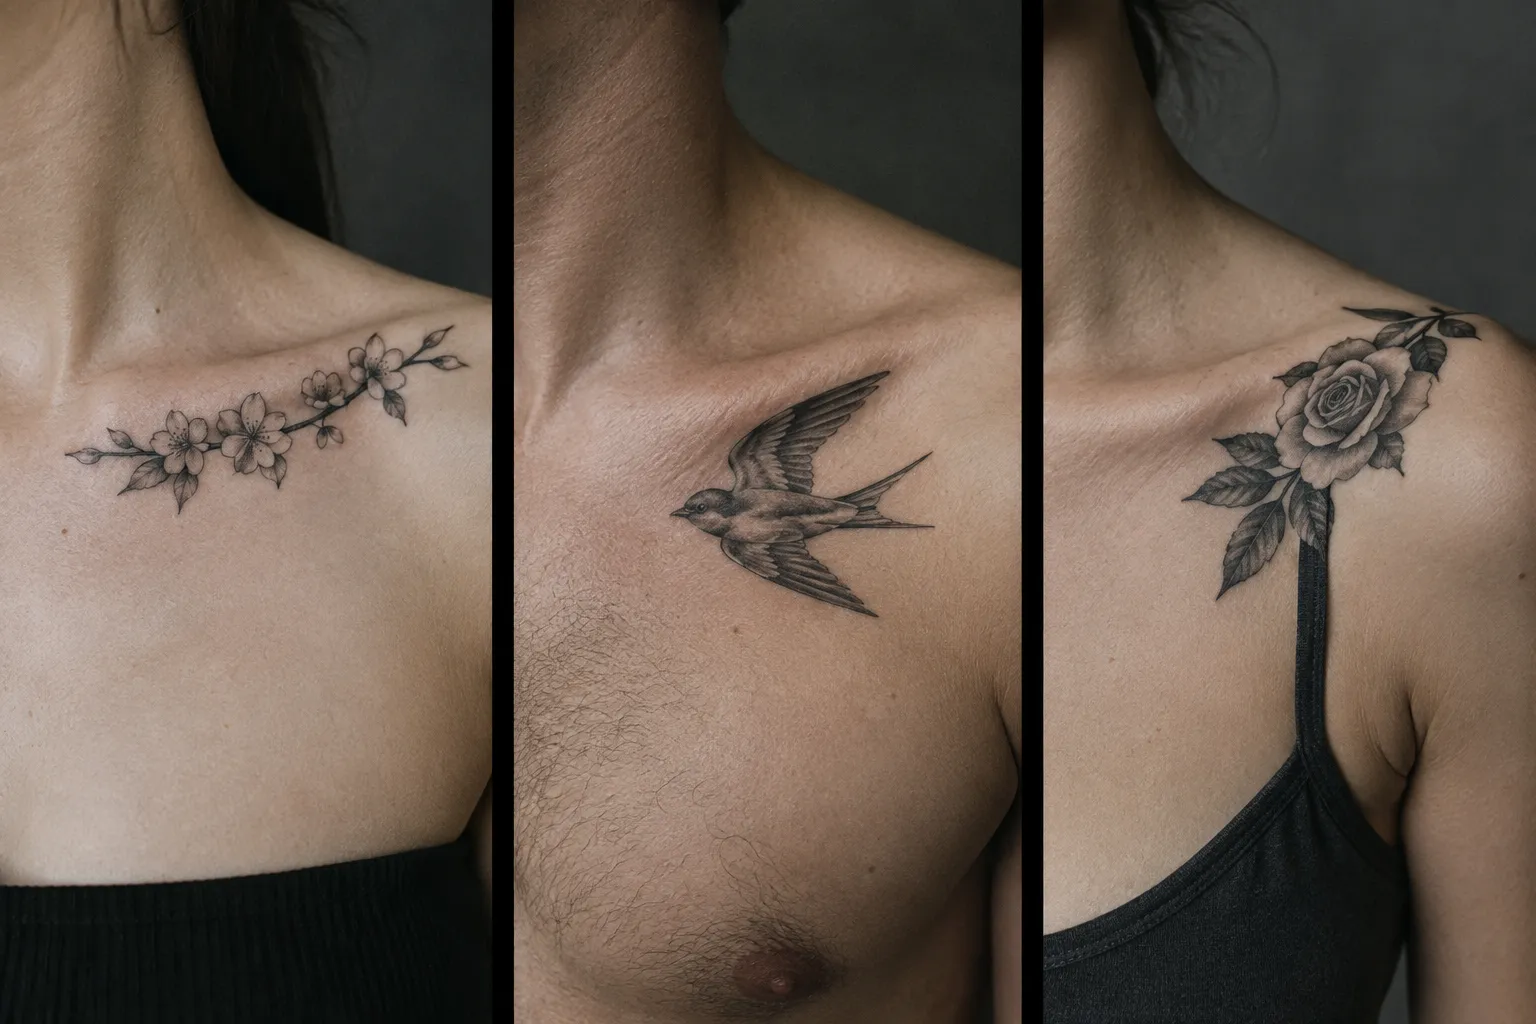
The Grenoble studio behind one guide puts it bluntly: the area “doesn’t forgive approximate placement,” and shifting a design by about two centimetres (roughly 3/4 in) up or down changes how it reads against your neck, shoulder and chest (5). Draw the stencil from the bone, not from the motif.
On the ridge, above it, or angled toward the shoulder
Studio guides describe the options by where the design sits against the bone (5)(8). That gives four zones:
- Directly on the ridge. The line of the design rides the bone. It gives the cleanest “follows the clavicle” look, and it is also one of the more intense spots to sit for.
- Just above the bone, in the hollow toward the neck. This works for short script or a small motif, but the skin in the hollow is thinner still, and one guide calls it the least comfortable part (4). Read the next section before going tall here.
- Just below the bone. A phrase can sit just under it (5), and this zone reads well with an open neckline.
- Angled toward the shoulder or down toward the sternum. A branch or vine can run off the outer end of the clavicle onto the shoulder cap, or a central piece can drop toward the chest. This is how a clavicle tattoo grows into a larger composition later.
Why taller designs can cross two textures of skin
Design height matters more than motif choice here. One placement guide notes that a design more than a few centimetres tall has to cross both the ridge and the hollow above it, two quite different surfaces, and usually reads awkwardly (4). Artists solve this by keeping collarbone pieces shallow and letting them run long instead (4).
Keep a collarbone design either long and low or small and compact. Avoid tall.
You may also run into the “1/3 rule.” This is studio shorthand rather than a fixed standard, and our tattoo placement guide explains how artists use it to size a standalone piece. On the collarbone it points to the same practical result: leave space around the piece and don’t let height take over the curve.
Design ideas that track the bone: script, florals and fine line
The collarbone tattoo ideas that suit this placement best are long, narrow compositions that trace the bone, plus small motifs or spaced clusters that sit beside it. Studio guides list script, flowers, branches, butterflies, stars, moons, small symbols and fine-line ornaments as the recurring designs (3)(5)(6).
Elongated pieces that trace the whole curve
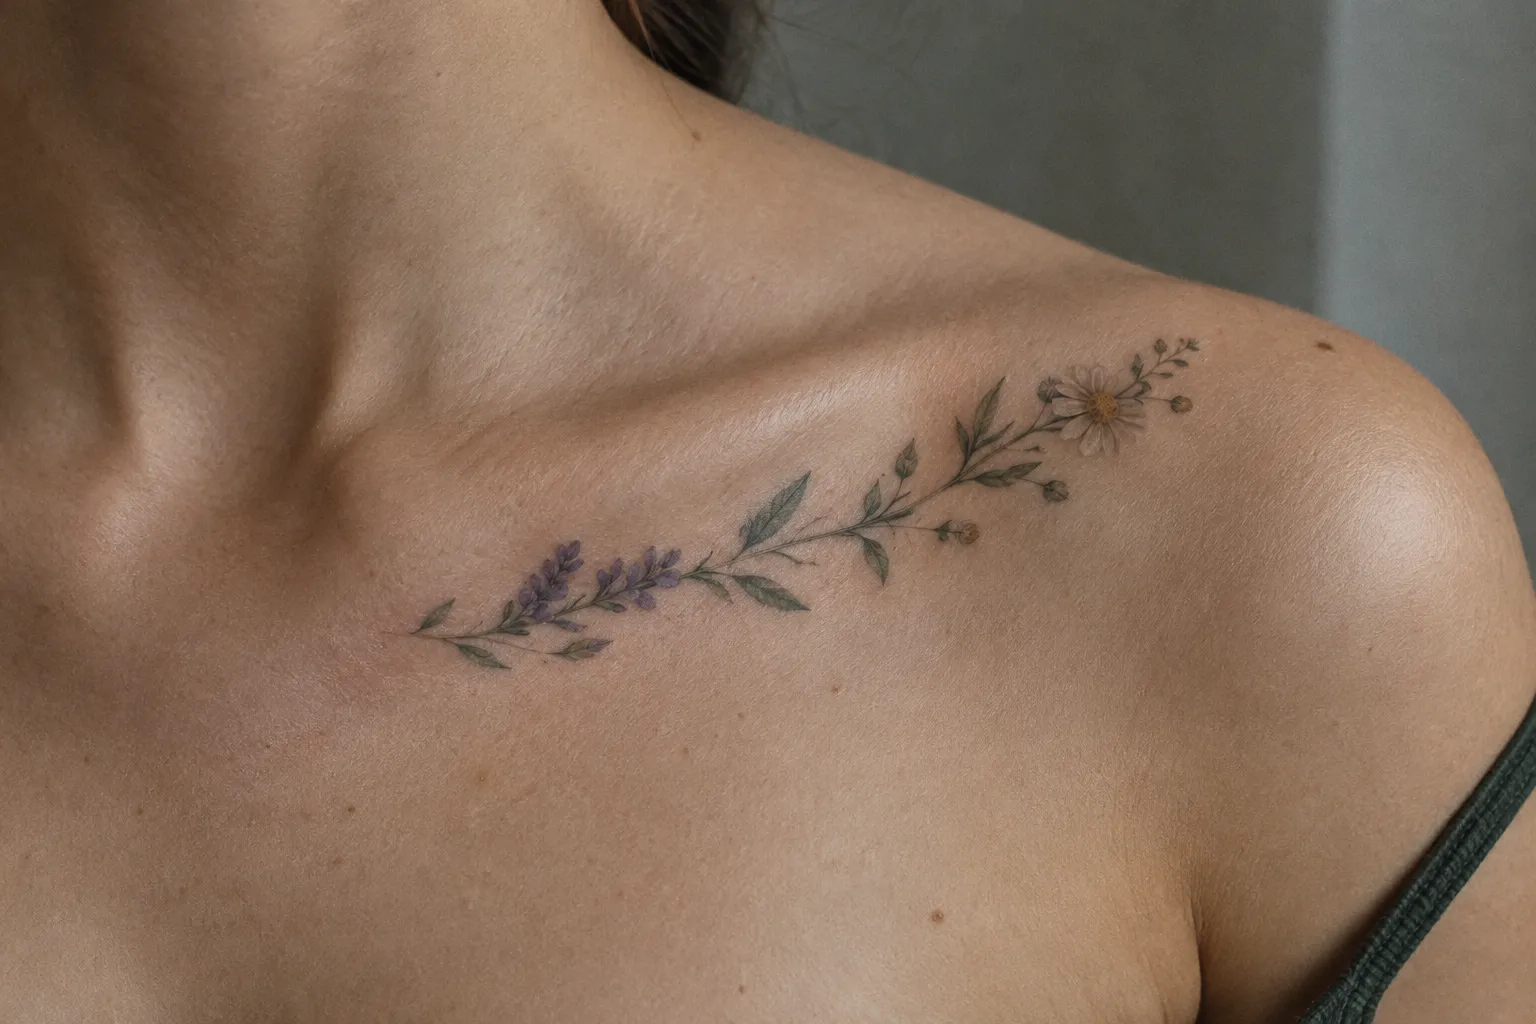
A branch, vine or fine ornament can follow the clavicle from near the sternum out toward the shoulder, and a short line of script can sit just under the bone (5)(6). One guide describes the clavicle as a naturally horizontal line that suits script, a single word, coordinates or a thin linear motif, because the design follows the bone rather than fighting it (6). The Grenoble studio also sees snakes and symmetrical patterns, including pairs of branches or birds across both collarbones (5).
Size script by letter height, meaning the height of the whole letter. For standard script, plan on at least 12 mm (1/2 in). Fine or ornate script needs about 25 mm (1 in) so the loops don’t close up as the ink settles. Block, serif and typewriter lettering can go down to 6 mm (1/4 in). Very thin script over bone blurs faster than the same lettering on a padded area (6), and this placement moves every time you breathe.
Fine line is a common choice for this spot. It uses single-needle or tight-grouping linework, with little or no packed black and soft, light shading. The common pitfall is lines placed too close together. Skin over a bony, mobile area shows line softening and spreading sooner than skin over muscle, so elements need a little breathing room or they merge as the ink settles (6). Slightly thicker lines and clear negative space help details age well here (8). Ask your artist to open up the spacing.
Compact symbols and spaced clusters
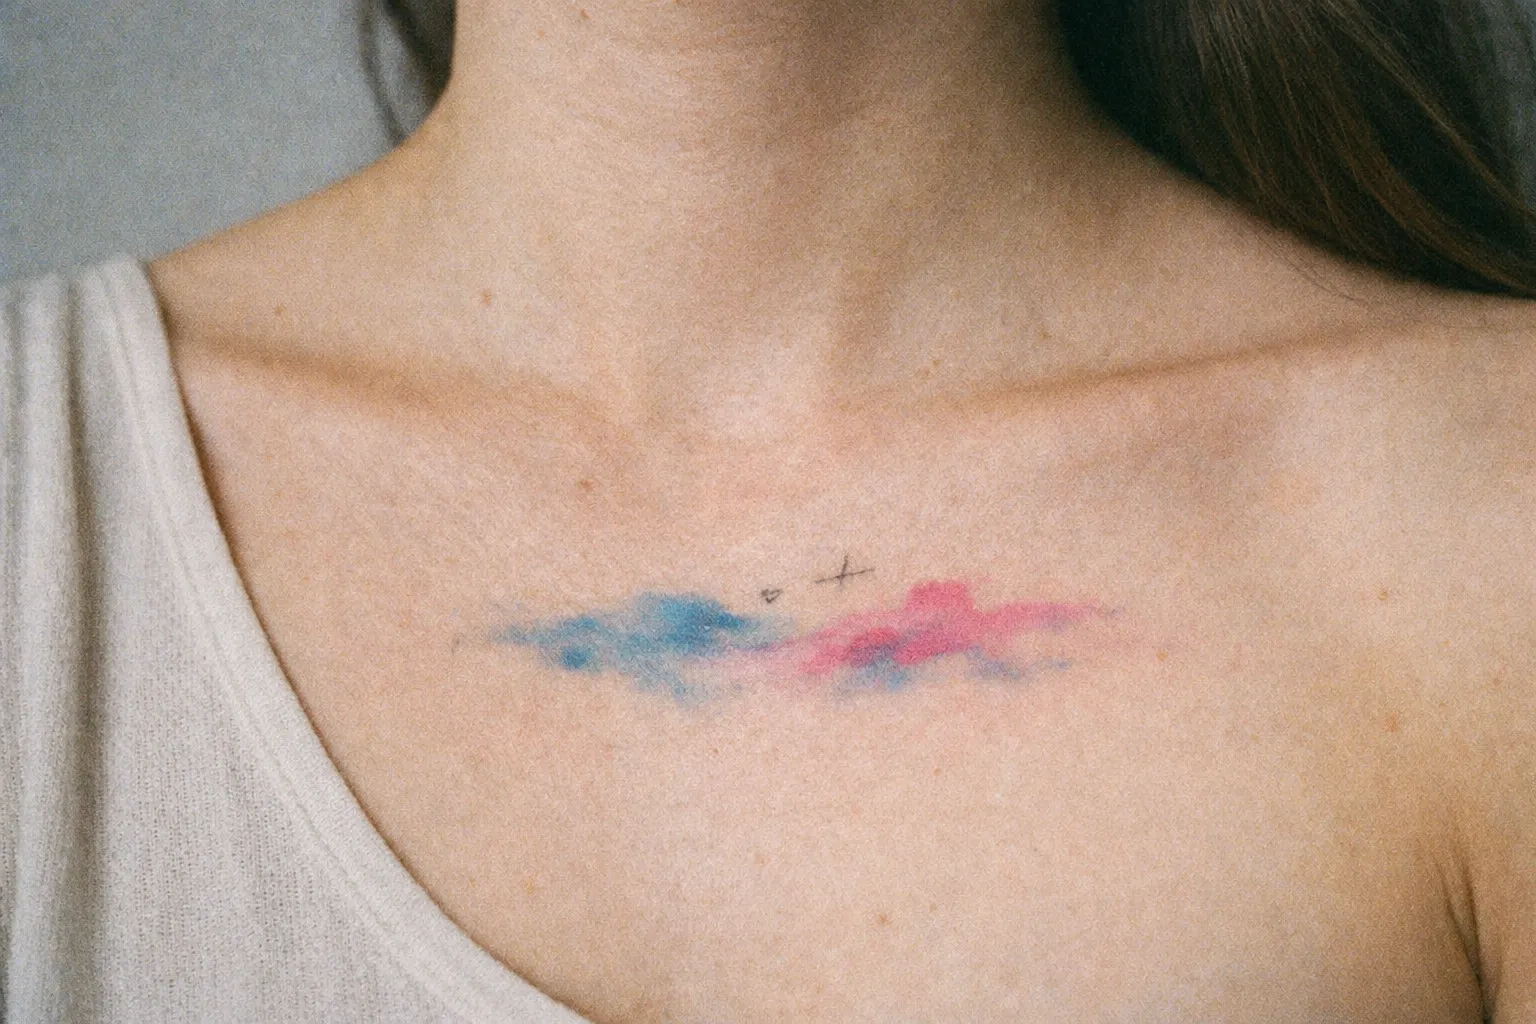
For something smaller, studios suggest a single motif or a spaced cluster of symbols, such as a crescent moon, a few stars or a small butterfly resting just below the bone (5)(6). Spacing the elements lets the cluster follow the curve without needing a continuous line.
None of these motifs is gendered. One placement gallery splits its collarbone designs evenly between masculine and feminine presentation, with raven-and-moon, angel and wave pieces among the men’s (4). The placement reads as delicate because of the bone’s line, not because of who wears it.
Pain on this placement: conflicting reports and what shapes it
Collarbone tattoo pain has no reliable single rating, and the guides disagree. One places the ridge at the high to very high end of the scale (8). Another calls it sharp but brief and manageable, because collarbone pieces are usually small and short (4). The Grenoble studio settles on not unbearable, but not neutral either (5). Treat any one claim, positive or negative, as a single view and not a prediction.
Why one person feels vibration and another calls it brutal
The bone is the reason. With very little fat or muscle between needle and clavicle, the work over the ridge transmits vibration, which one guide describes as a buzzy, piercing sensation (6)(8). Breathing, talking and shoulder movement can add to the sensitivity over a long session (8).
Technique changes it too. Fine-line work and light shading generally hurt less than heavy colour packing, blackout or dense stippling (8). A piece that needs repeated passes to saturate over bone will feel different from a single clean line.
In relative terms, one guide rates the collarbone as more sensitive than a forearm and less intense than the ribs or sternum, with the two ends of the bone, at the sternum notch and the shoulder joint, noticeably worse than the middle stretch (3). The skin just above or below the bone rates moderate to high in another guide, slightly easier than the ridge itself (8).
Picking a spot near, not on, the ridge to ease it
Because the ridge reportedly feels more intense than the skin just below it, a first-timer or pain-conscious client can place the design next to the bone rather than on it and still have it track the curve (5)(8). Both guides also suggest keeping a first piece small (5)(8). That is studio guidance, not clinical advice, but the logic holds: less bone contact and a shorter session.
Aftercare in two phases: friction now, sun protection later
Aftercare for this placement runs in two phases with different risks. In the first weeks the threat is friction from straps and collars. Once healed, it is UV fading, which calls for broad-spectrum SPF 30 or higher (6)(10).
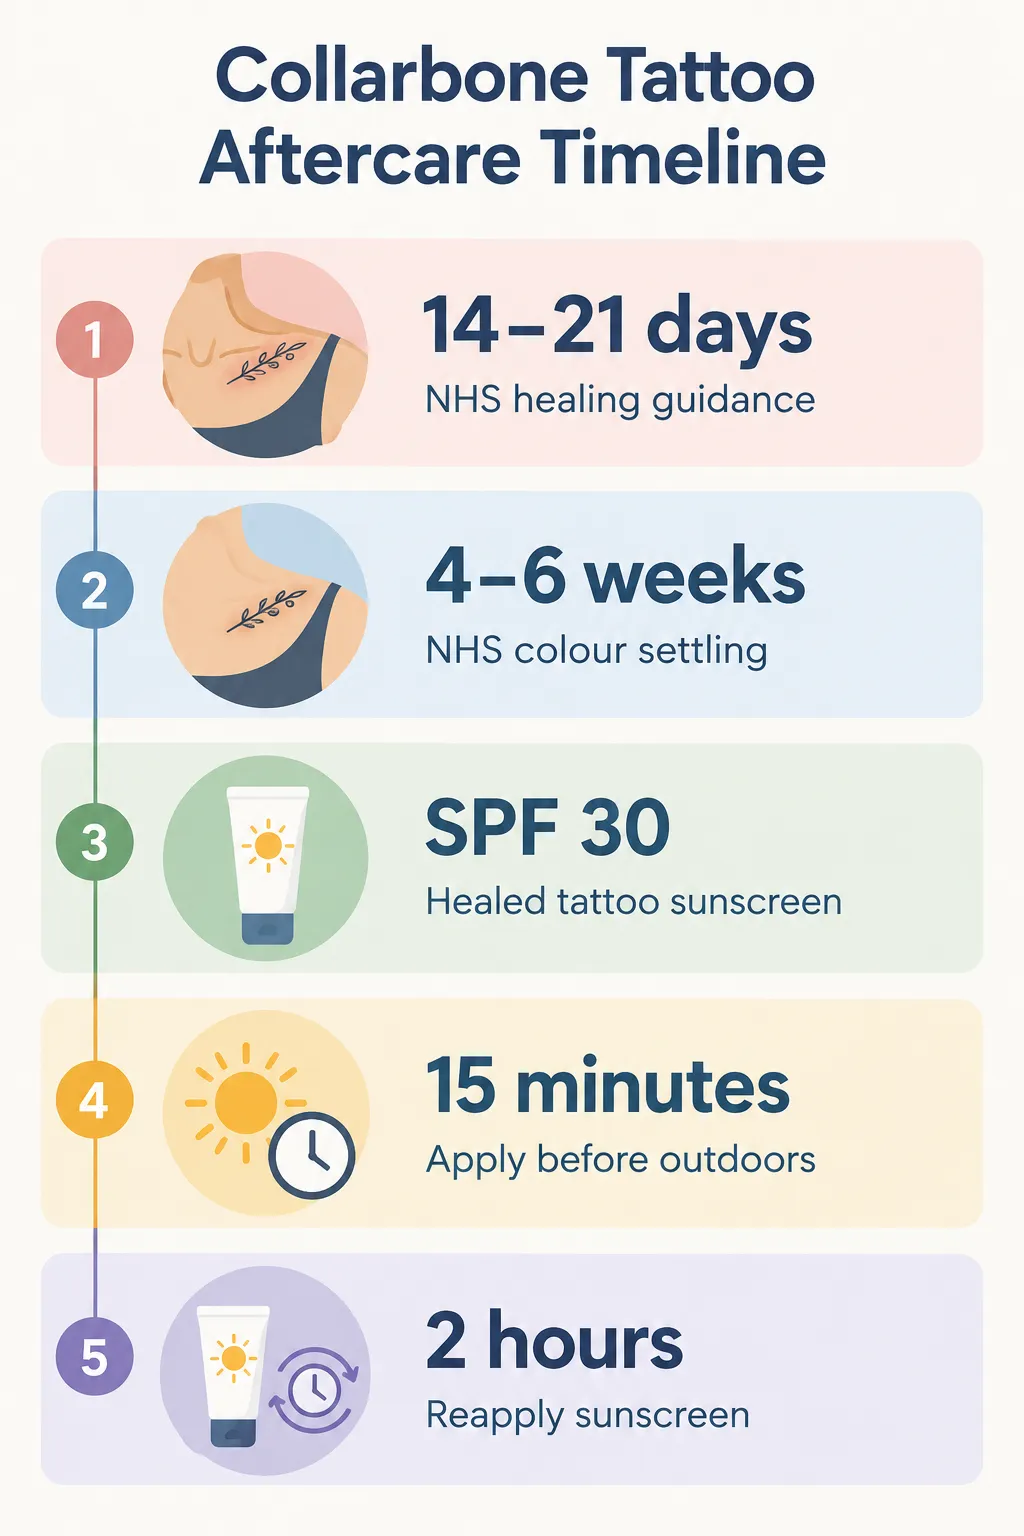 NHS medical-tattooing guidance describes 14-21 days of healing and 4-6 weeks for colour to settle; the AAD recommends SPF 30 applied 15 minutes before sun exposure and reapplied every 2 hours.
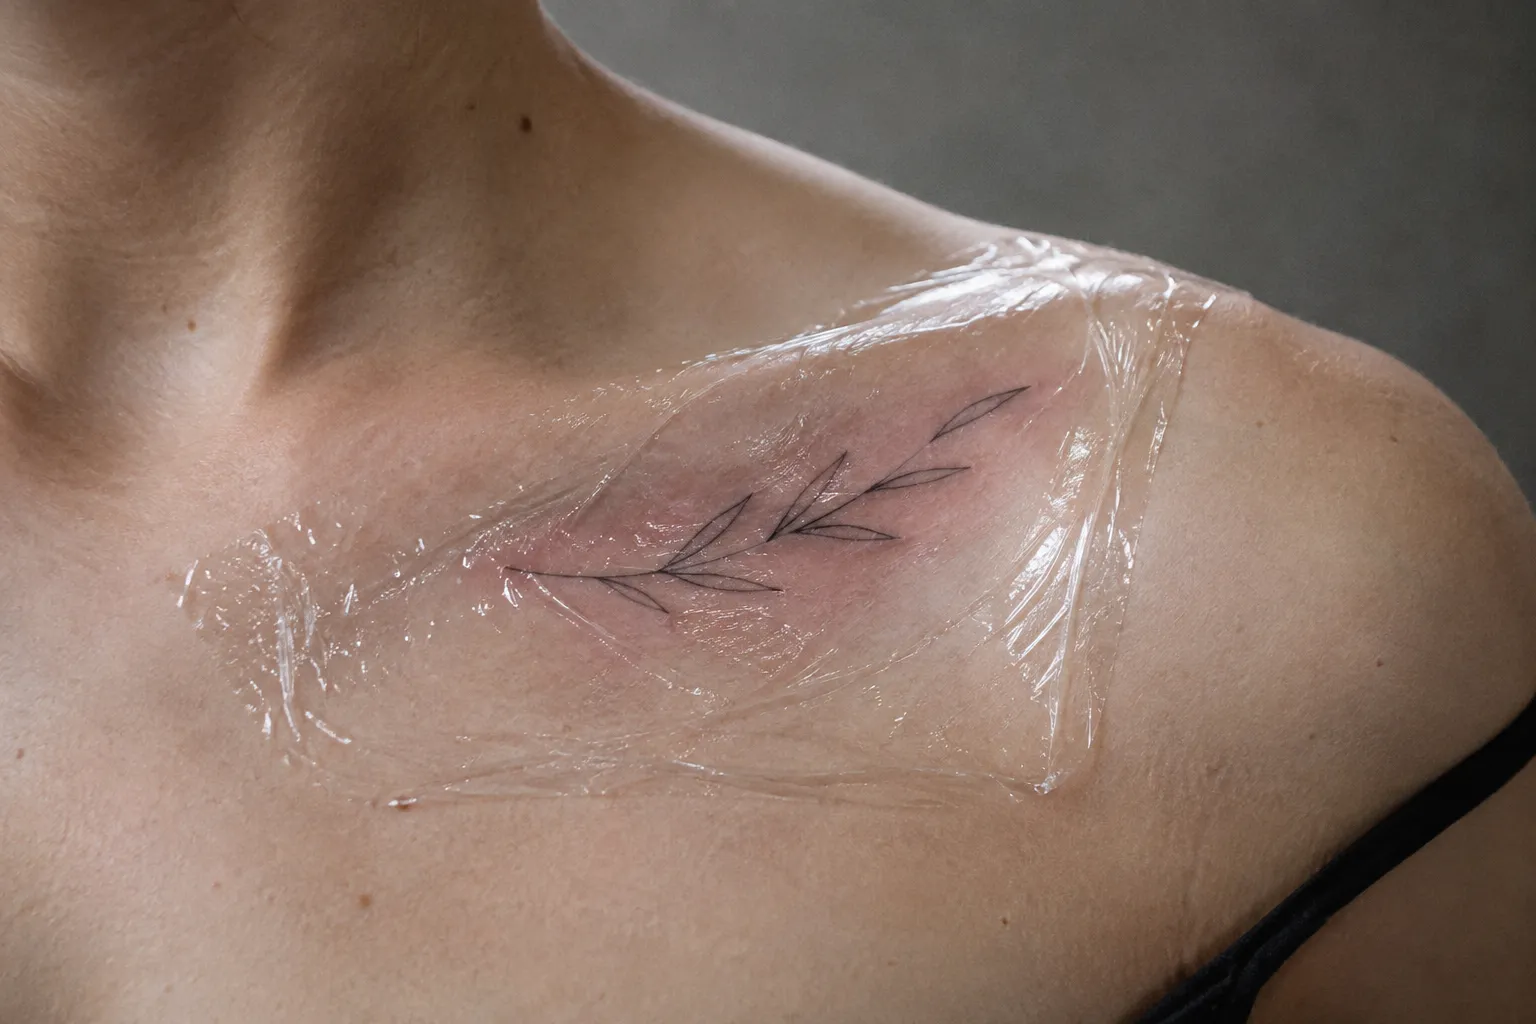
The first weeks: keeping straps and collars off the ink
Collarbone skin follows the usual healing timeline laid out in our week-by-week tattoo aftercare guide. For a medical reference point, an NHS leaflet written for medical tattooing after breast surgery describes 14-21 days of healing in three stages, with colour settling after 4-6 weeks (1). Follow your artist’s instructions where they differ.
- Days 1-3: Keep the wrap on as long as your artist tells you, then wash gently and pat dry rather than rubbing. Expect redness and some swelling. Wear a loose, wide-neck or button-down top (8), and move bag straps to the other shoulder.
- Days 4-7: The surface tightens and starts to flake. Apply a thin layer of fragrance-free moisturizer. Watch bra straps and seatbelts, which run right across this area (6). Don’t pick at flakes or scabs, because the NHS leaflet links that to colour loss (1). Stay out of chemically treated pools until the scabs have fallen off (1).
- Week 2: Peeling and itching peak. This is when picking does the most damage, so keep your hands and straps off it.
- Weeks 3-4: The surface looks healed, but the skin underneath is still settling, with full integration around week 6. Keep the area out of direct sun for the first 4-6 weeks with sun-protective clothing rather than sunscreen, until your artist confirms it has healed.
Once healed: sunscreen and fade prevention
According to the American Academy of Dermatology, UV light can fade some tattoo inks. The AAD recommends a broad-spectrum, water-resistant sunscreen of SPF 30 or more, applied 15 minutes before going outside and reapplied at least every 2 hours (10). The collarbone gets more sun than you’d expect: necklines, summer tops and car windows all let UV reach it year round (3). Make sunscreen on this spot a routine for summer and holidays.
Mistakes that make this placement age badly
Most collarbone pieces that age badly do so because of sun exposure, picked scabs or a design that was too tall for the curve. All three can be avoided (1)(4)(10).
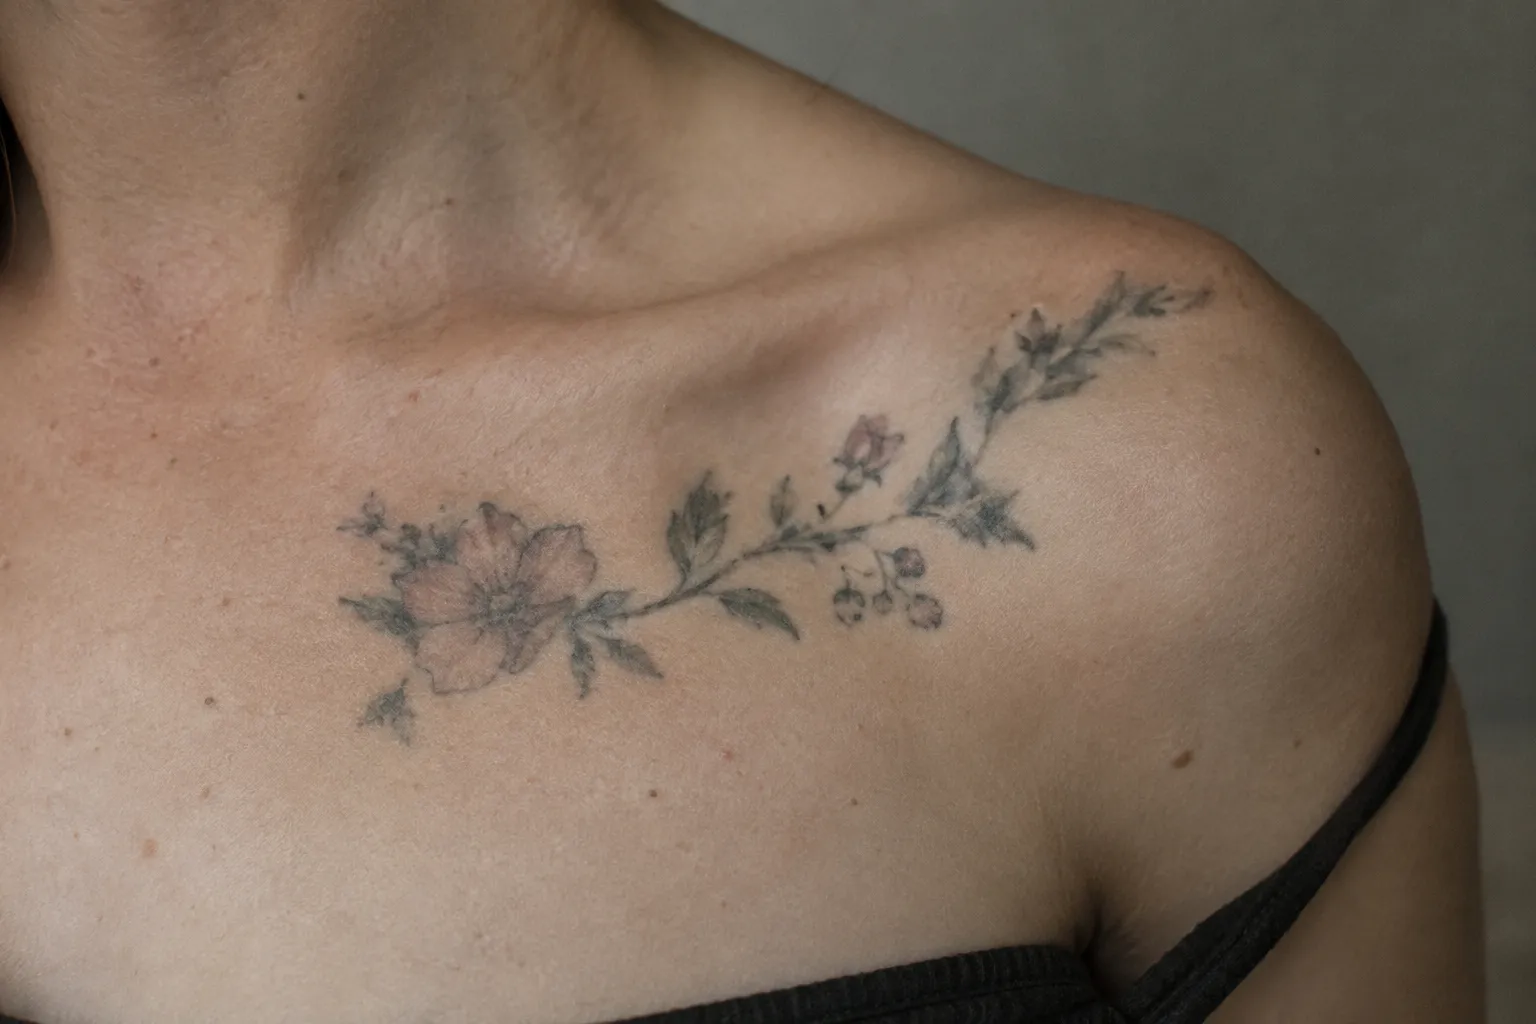
Skipping SPF and using tanning beds. The AAD advises staying out of tanning beds and away from sunlamps. They can fade tattoo ink, and in some people the UV light can trigger a painful skin reaction (10). Fine-line work fades fastest on this sun-exposed spot. One collarbone guide suggests planning a touch-up around the five-year mark, while bolder designs hold up considerably longer (3).
Picking at scabs. It’s tempting when a strap has been rubbing the area all day. Pulling flakes early can lift pigment and leave patchy spots that need a touch-up (1).
Oversizing across the hollow. A design that crosses both the ridge and the hollow above it sits over two different surfaces and usually reads awkwardly (4). One that looks right standing still can also pull oddly in motion, which is why the stencil check happens while you move (6).
Tattooing over moles. Tattoos can make it harder to spot early skin-cancer changes underneath them, and the AAD advises choosing skin free of moles for a new tattoo (10). If a mole sits where you want the design, ask the artist to plan around it rather than through it. Get any change in a tattooed area checked by a dermatologist (10).
Choosing an artist and studio for a curved placement
Choosing an artist for a collarbone piece involves two separate checks. The first is healed work on curved placements, because a wobble in a long, thin line has nowhere to hide here (4). The second is the studio’s sterilization practices, because unsterile equipment and needles can transmit infectious disease (11).
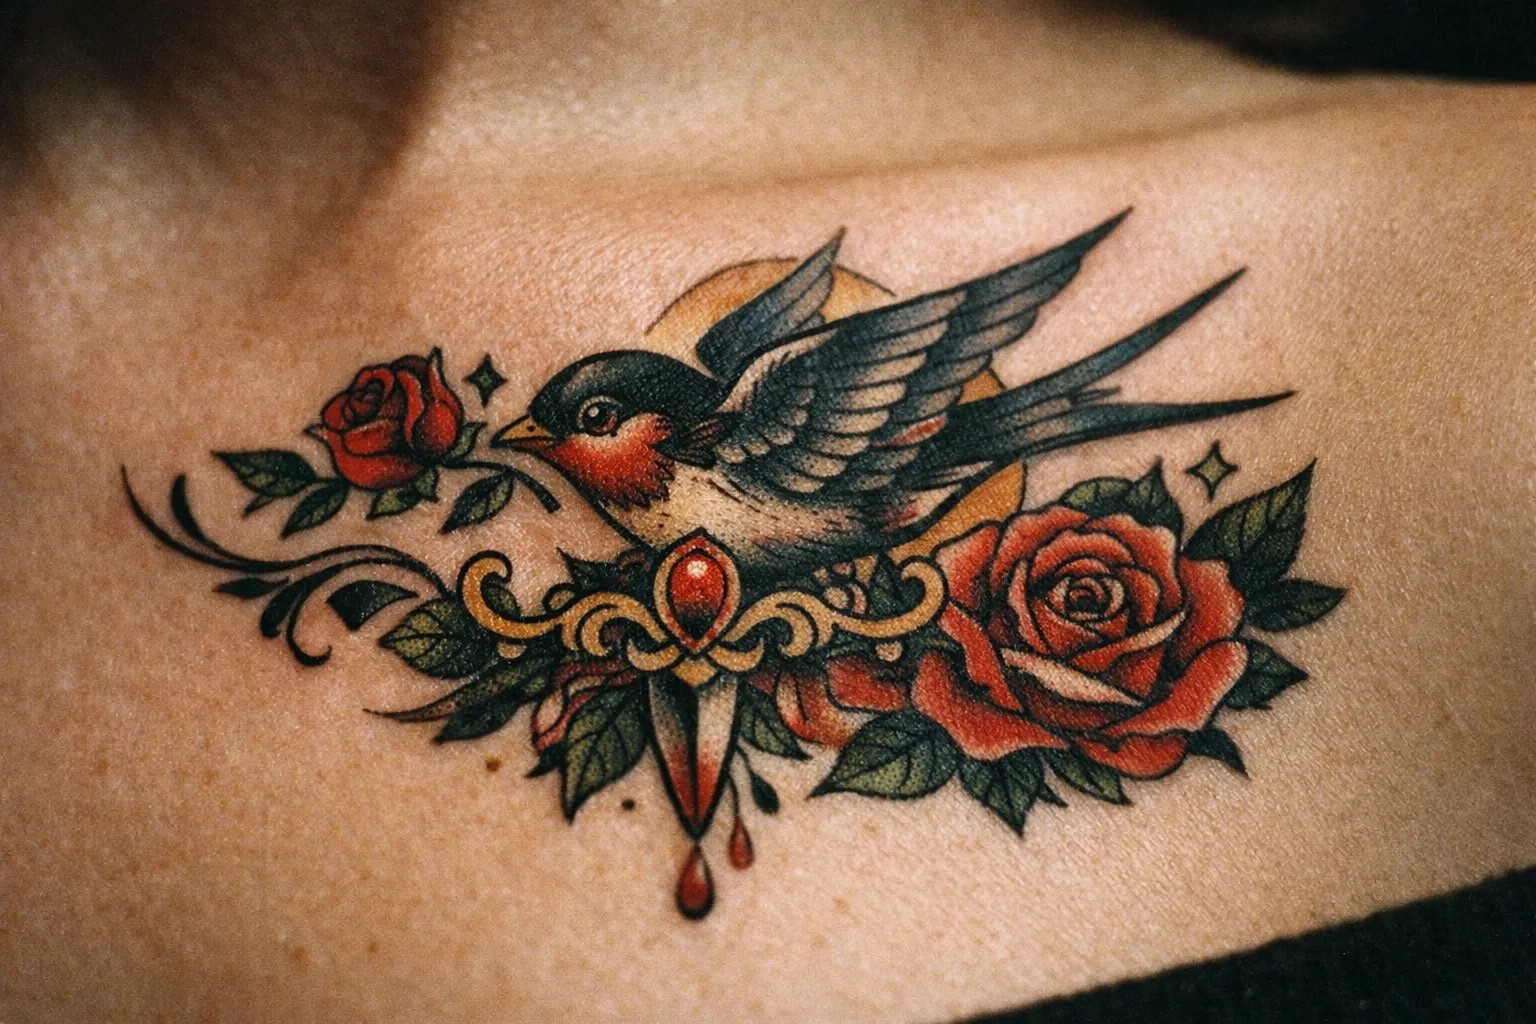
Checking healed work on curves, not just flash sheets
Ask for healed photos, not just fresh ones, of work on collarbones, shoulders or other curved, moving placements. The collarbone guides stress that direction and placement should suit the body’s geometry (4)(6), and fresh photos hide line spread. Then test the stencil while standing naturally and moving your shoulders. One placement guide recommends testing the position with a stencil to account for asymmetry when you move or breathe (8). A stencil that looks level lying down can tilt once you’re upright.
How to prepare for a collarbone tattoo appointment
Use these checks to settle the placement and confirm the studio is prepared before the session.
- 1
Choose the placement zone
Decide whether the design will sit on the ridge, just above or below it, or angle toward the shoulder or chest.
- 2
Review healed curved-placement work
Ask to see healed examples on collarbones, shoulders, or other curved, moving placements; fresh work alone will not show how lines settle.
- 3
Confirm sterilization practices
Ask how needles are sourced and disposed of, whether ink is poured into single-use caps, and where the ink comes from.
- 4
Wear clothing that leaves the area clear
Choose a loose, collarless top so the artist can reach the placement without fabric rubbing across it.
- 5
Check the stencil while moving
Stand naturally, move your shoulders, and check that the design still follows the clavicle's curve.
Why clean ink matters as much as a clean shop
According to the FDA, unsterile tattooing equipment and needles can transmit infectious disease, and contaminated inks have caused infections even when the artist followed hygienic procedures (11). Ask how needles are sourced and disposed of, whether ink is poured into single-use caps, and where the ink comes from. A spotless counter answers none of those questions.
Frequently Asked Questions
- Is a collarbone tattoo painful?
- The ridge can feel more intense than the skin beside it because the needle's vibration travels through the clavicle; a first-timer can ask about placing the design just below the bone rather than on it.
- What does the 1/3 rule mean for a collarbone tattoo?
- The 1/3 rule is studio shorthand, not a universal measurement; ask your artist to show how much skin they plan to leave around the design before approving the stencil.
- What tattoo is for anxiety?
- There is no tattoo motif that treats anxiety; if you want a reminder, choose a symbol or word whose meaning makes sense to you rather than relying on a universal meaning.
- Are collarbone tattoos feminine?
- No; the placement is not gender-specific, and line weight, scale, and motif shape how a design reads more than the location does.
- Can a collarbone tattoo extend onto the chest or shoulder?
- Yes; plan the full composition with the artist before the first session so the initial piece leaves a clean path for a later extension.
- How long does a collarbone tattoo take to heal?
- Expect flaking around days 4-7 and peeling and itching in week 2; the surface looks healed by weeks 3-4 and the ink settles fully around week 6. Friction from straps and collars is the main thing to manage on this spot (6), so wait for your artist to confirm the skin has healed before treating the area as fully recovered.
- Should I shave or moisturize before the session?
- Ask the artist about their preparation preference; arriving with clean skin and avoiding heavy lotion helps keep the stencil from slipping.
What decides how this placement looks in ten years
Let the clavicle’s curve drive the decision before the motif does. Pick your zone first (on the ridge, just above or below it, or angled toward the shoulder), then keep the design long and low or small and compact, not tall. Expect pain and healing to differ from anyone else’s account, especially on the ridge itself. Keep straps and collars off the fresh ink (6), don’t pick the flakes (1), and once healed, apply SPF 30 or higher every time the collarbone is in the sun (10). One studio puts it plainly: consistent sunscreen on healed ink does more for longevity than any other single habit (6).