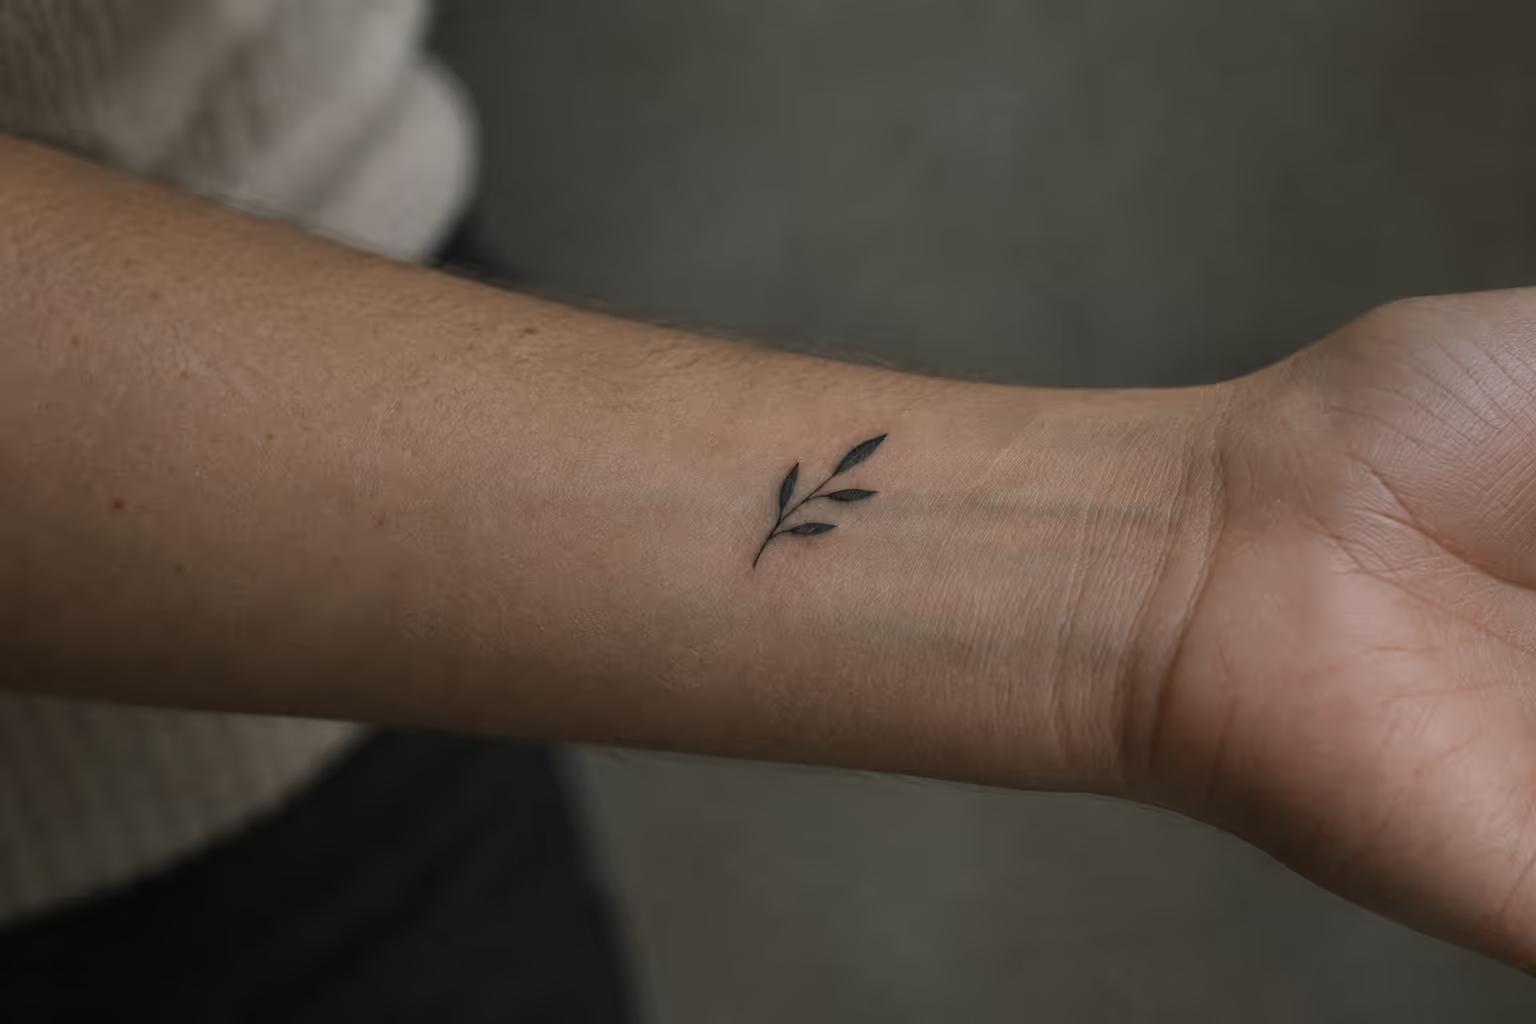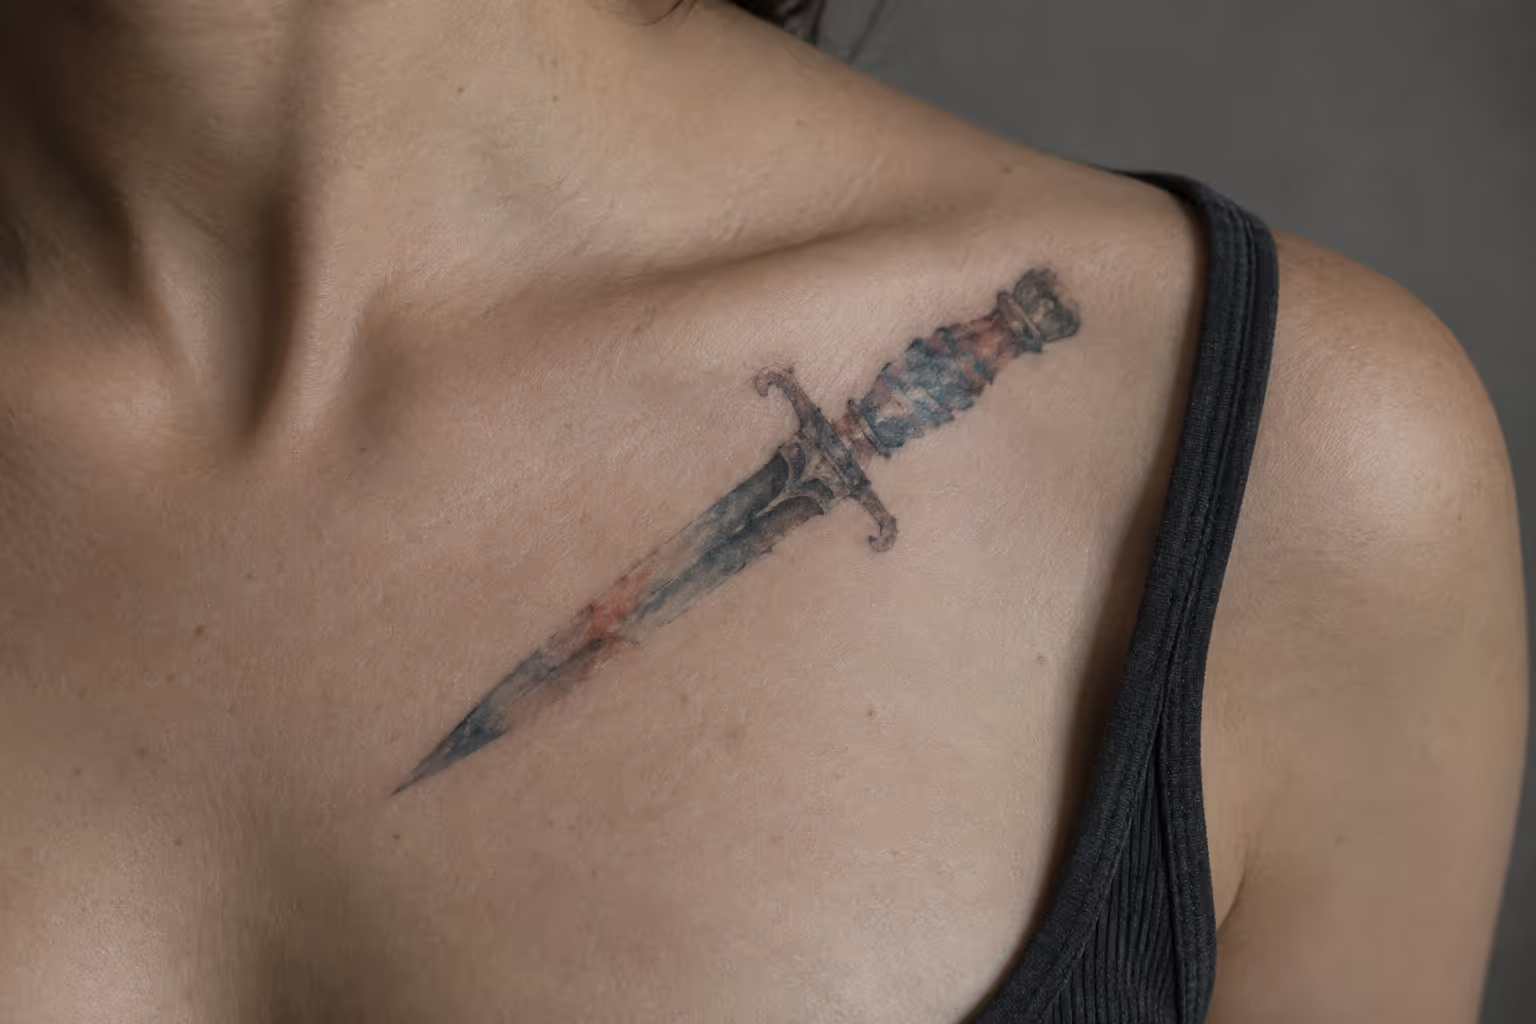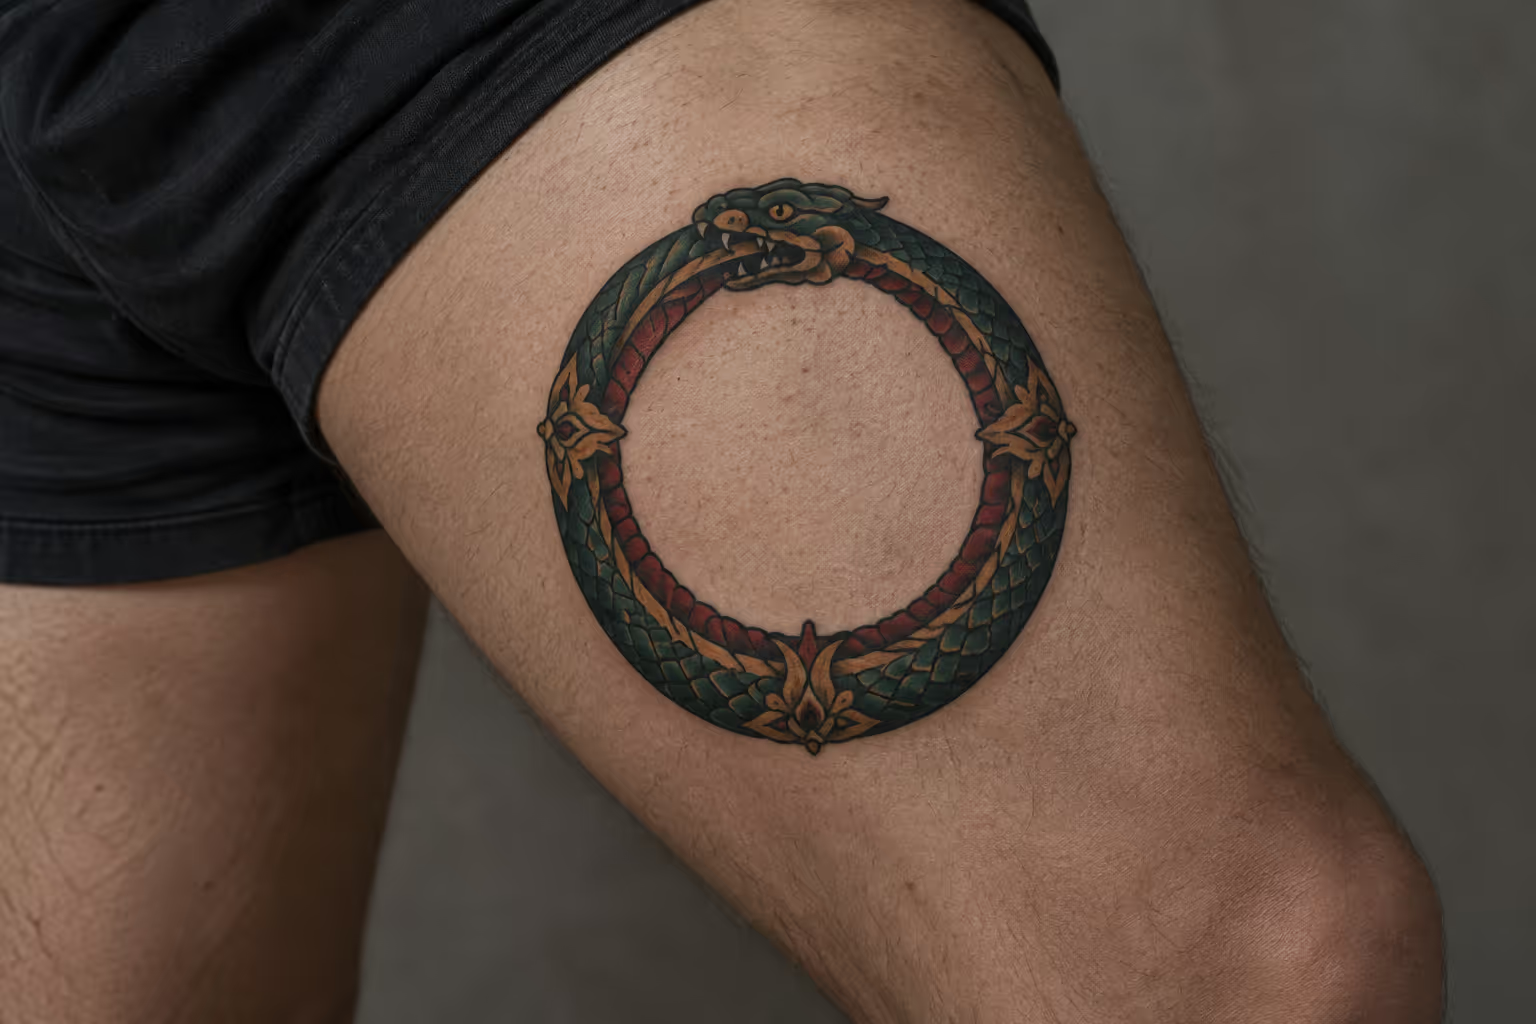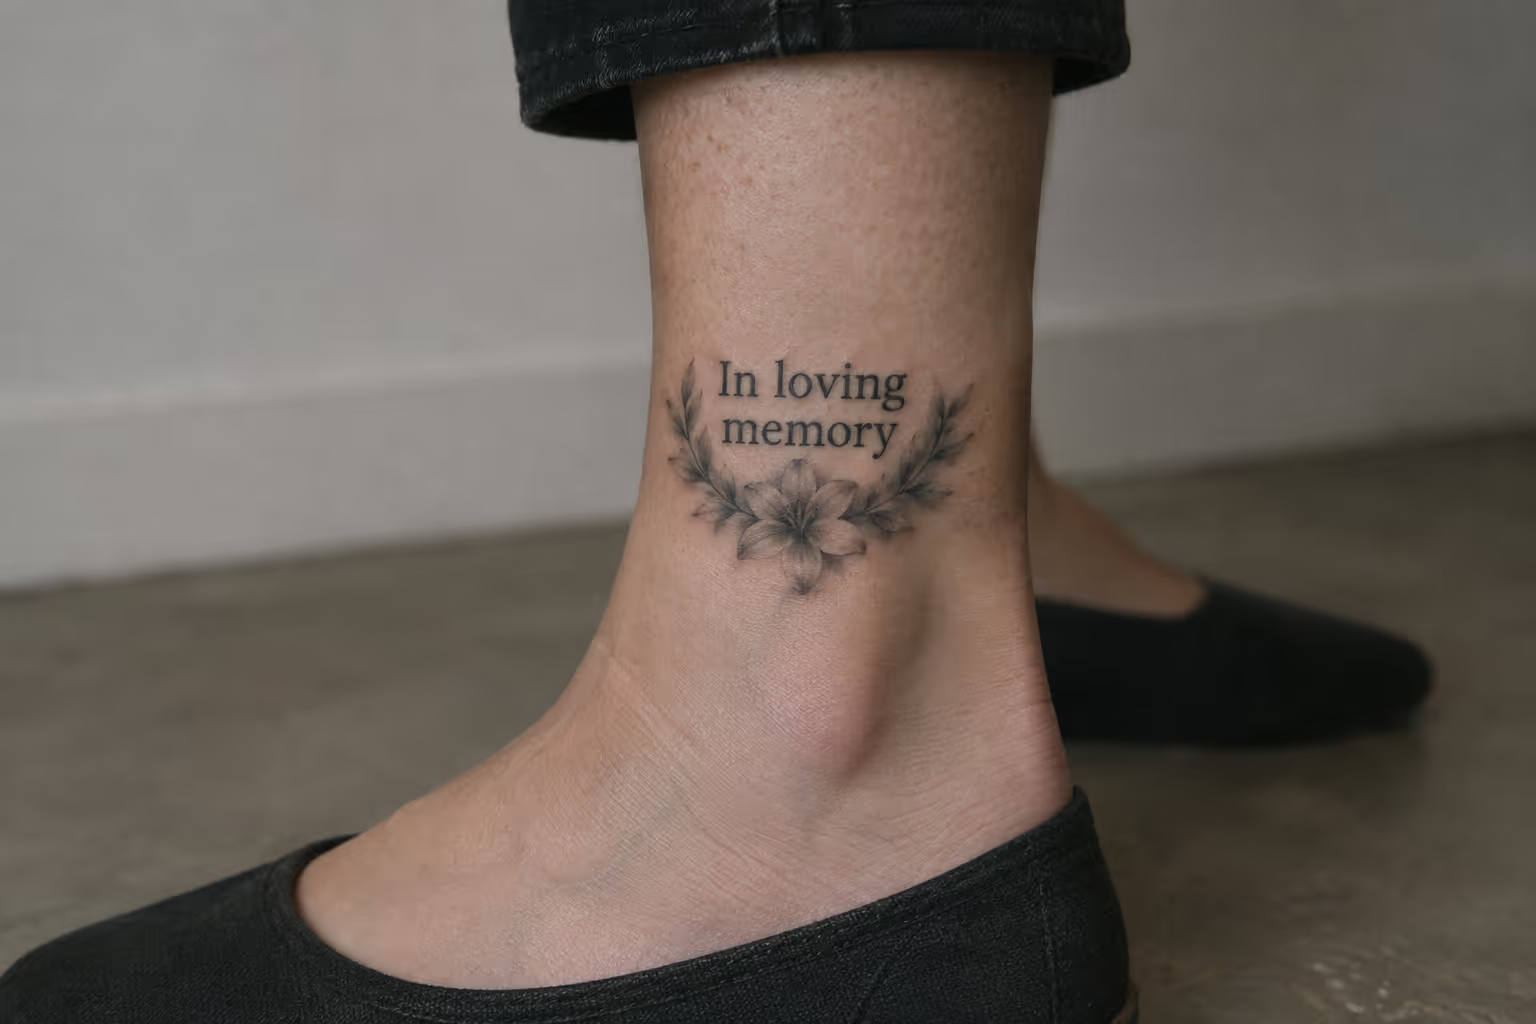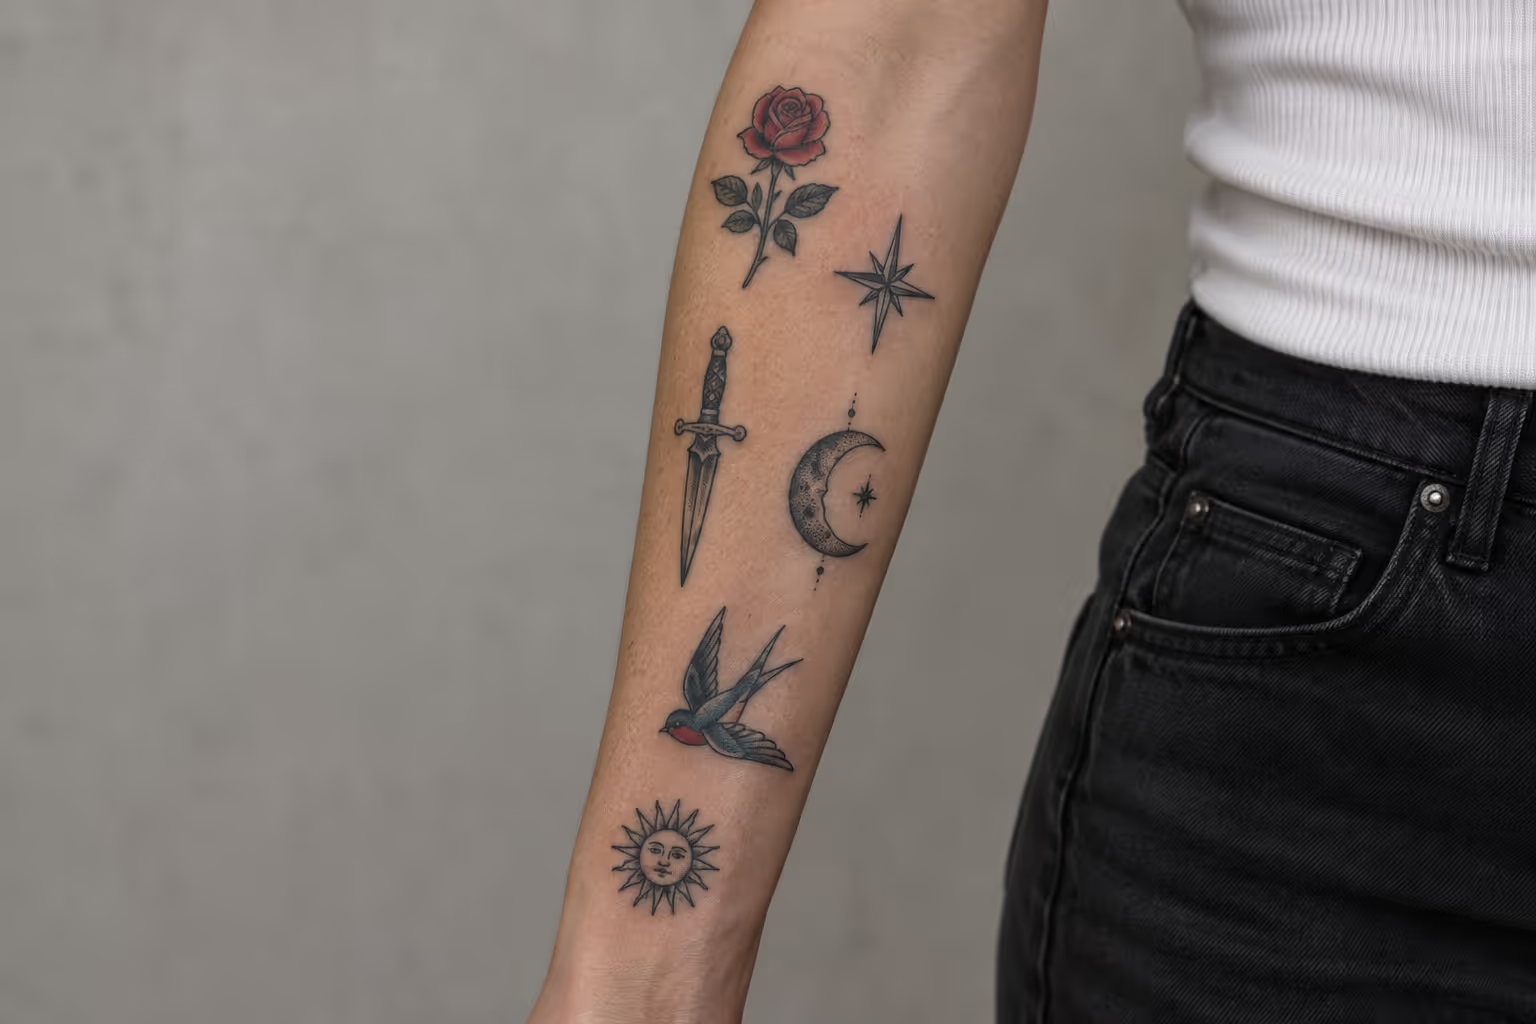
Picture an arm up close: a bold traditional panther on the outer bicep, a fine-line moth on the forearm below it, a small geometric symbol tucked near the wrist, and a clean strip of bare skin running between all of them. That bare skin is pulling as much weight as the ink. A patchwork tattoo is exactly that layout - a collection of separate designs spread across a body area with deliberate gaps, no background shading connecting everything into one big mural. You might hear it called a sticker sleeve or an eclectic sleeve, and it’s one of the most popular ways to wear ink right now (8) because it matches how tattoos really build up - one piece at a time, session by session, as life rolls on.
The appeal is obvious, but “anything goes” is a trap. Cohesion takes planning, spacing takes discipline, and those gaps aren’t leftover space - they’re structural. This guide covers the whole setup: what patchwork tattoo means, sleeve options, how to keep it cohesive, concrete design combos, the anchor-satellite-filler framework, choosing your artist, common costly mistakes, and the aftercare grind across multiple sessions.
✓ Pros
- Build over time; spread cost across sessions
- Switch artists or styles between pieces
- Stop at any stage without looking unfinished
- Flexible - retrofit existing tattoos into a collection
- Lower per-session commitment than a full sleeve project
✗ Cons
- Requires repeated healing cycles
- Cohesion demands upfront rules
- Overcrowding mistakes are hard to fix
- Converting to a traditional sleeve later limits options
- Underestimating timeline (6-18 months) is common
What a Patchwork Tattoo Actually Is
A patchwork tattoo is a collection of individual designs placed across a body area with deliberate gaps of bare skin between them - no continuous mural (8). Each piece stands alone, with its own style, subject, and line weight. The grouping reads as one composition, but nothing is welded together with background shading.
That’s the hard line between patchwork and a traditional sleeve. A traditional sleeve fills the negative space - backgrounds and shading tie every element together so the arm reads as a single illustration (8). Patchwork does the opposite: it keeps the gaps, and those slices of bare skin tell your eye that each tattoo is its own moment. The negative space isn’t empty. It’s structural.
You’ll see two other names for the same thing. “Sticker sleeve” describes how the pieces sit close together like stickers scattered across a notebook. “Eclectic sleeve” points to the mixed nature inside - mixed subjects, mixed styles, often mixed artists all valid within one collection. That eclecticism is the point, not a compromise.
This approach isn’t new. Its roots lie in American traditional tattooing, where individual flash pieces were collected over time without any expectation of a shared theme (1). Sailors and soldiers picked up one piece in one port and added another somewhere else a year later (5). What’s changed is that patchwork has moved from a happy accident to a planned format: studio guides now treat it as a distinct style with its own rules on spacing, sizing, and healing intervals, rather than something that happens when you get enough tattoos in one spot.
The Patchwork Sleeve - The Most Common Format
Most patchwork collections live on the arm, and for good reason: it offers flat zones for large anchor pieces, high visibility, and a natural top-to-bottom flow from shoulder to wrist. A full patchwork sleeve runs shoulder to wrist; a half sleeve covers elbow to wrist or shoulder to elbow. The outer bicep and forearm center are the flattest, most visible and least painful zones, which is why anchors usually start there before smaller pieces fill in around them (6).
Leg sleeves (thigh to ankle) are the practical alternative if you need your arms uncovered for work. The planning logic is the same - anchors on the flat outer thigh, satellites in the mid-zones, fillers last. Torso and side patchwork (ribs, sternum, hip) arranged as separate but related panels is trickier because the surface curves more and the pieces don’t share a single clean flow line.
On a sleeve, size hierarchy keeps the composition legible (6):
- Large anchor pieces, 4-6 inches (10-15 cm) on the flattest zones - outer bicep, forearm center
- Medium satellite pieces, 2-3 inches (5-8 cm) filling mid-zones between anchors
- Small gap fillers, around 1 inch (2.5 cm) in the remaining spaces
This format suits patchwork because you can stop at a half sleeve and it still reads complete. A traditional sleeve stopped at the elbow looks unfinished - the background just ends abruptly. A patchwork half sleeve doesn’t have that problem since each piece was meant to stand alone.
Arm vs Leg Sleeve - Which Placement Makes Sense for You
Pick a leg sleeve if your job requires arms to stay visible or you want easy concealment - long pants hide a thigh-to-ankle collection completely. The outer thigh is also less painful than the inner arm, which rates higher on pain charts (6). On the arm, the outer bicep and outer forearm are the comfortable zones; the inner arm and elbow ditch hurt more and distort more, so save those for later sessions once you’re committed. The trade-off is visibility: an arm sleeve shows up in short sleeves, a leg sleeve stays private unless you choose otherwise.
The Three Cohesion Strategies (and How to Pick One)
Cohesion is what separates a curated patchwork collection from a random cluster. There are three tiers. Pick one before your second session - switching mid-build creates visible inconsistencies that are tough to fix.
Highly cohesive means strict rules: same color palette, same line weight family, repeated motifs (all flora, all occult symbols). It reads like a deliberately curated collection and is easiest with a single artist controlling every variable.
Moderately eclectic keeps one or two unifying threads while letting subjects vary. The most common version is all black linework regardless of subject - skulls, botanicals, geometry - all sharing one visual register. This approach is easiest to maintain across multiple artists because the thread travels with you.
Intentionally chaotic puts American traditional next to Japanese irezumi next to fine-line botanicals. This only works if spacing and sizing are disciplined - the gaps do the cohesion work a shared palette would otherwise handle. Skip that spacing discipline and it collapses into clutter fast.
On color, commit early to either black and grey or color, or keep a black base with one accent color running through every piece (8). Mixing heavy color realism, blackwork, and pastel fine-line without a plan is the fastest route to visual chaos. Bold traditional pieces age exceptionally well, while fine-line work needs more long-term care and can fade faster (6). A black-heavy base ages more predictably.
Line Weight as the Hidden Unifier
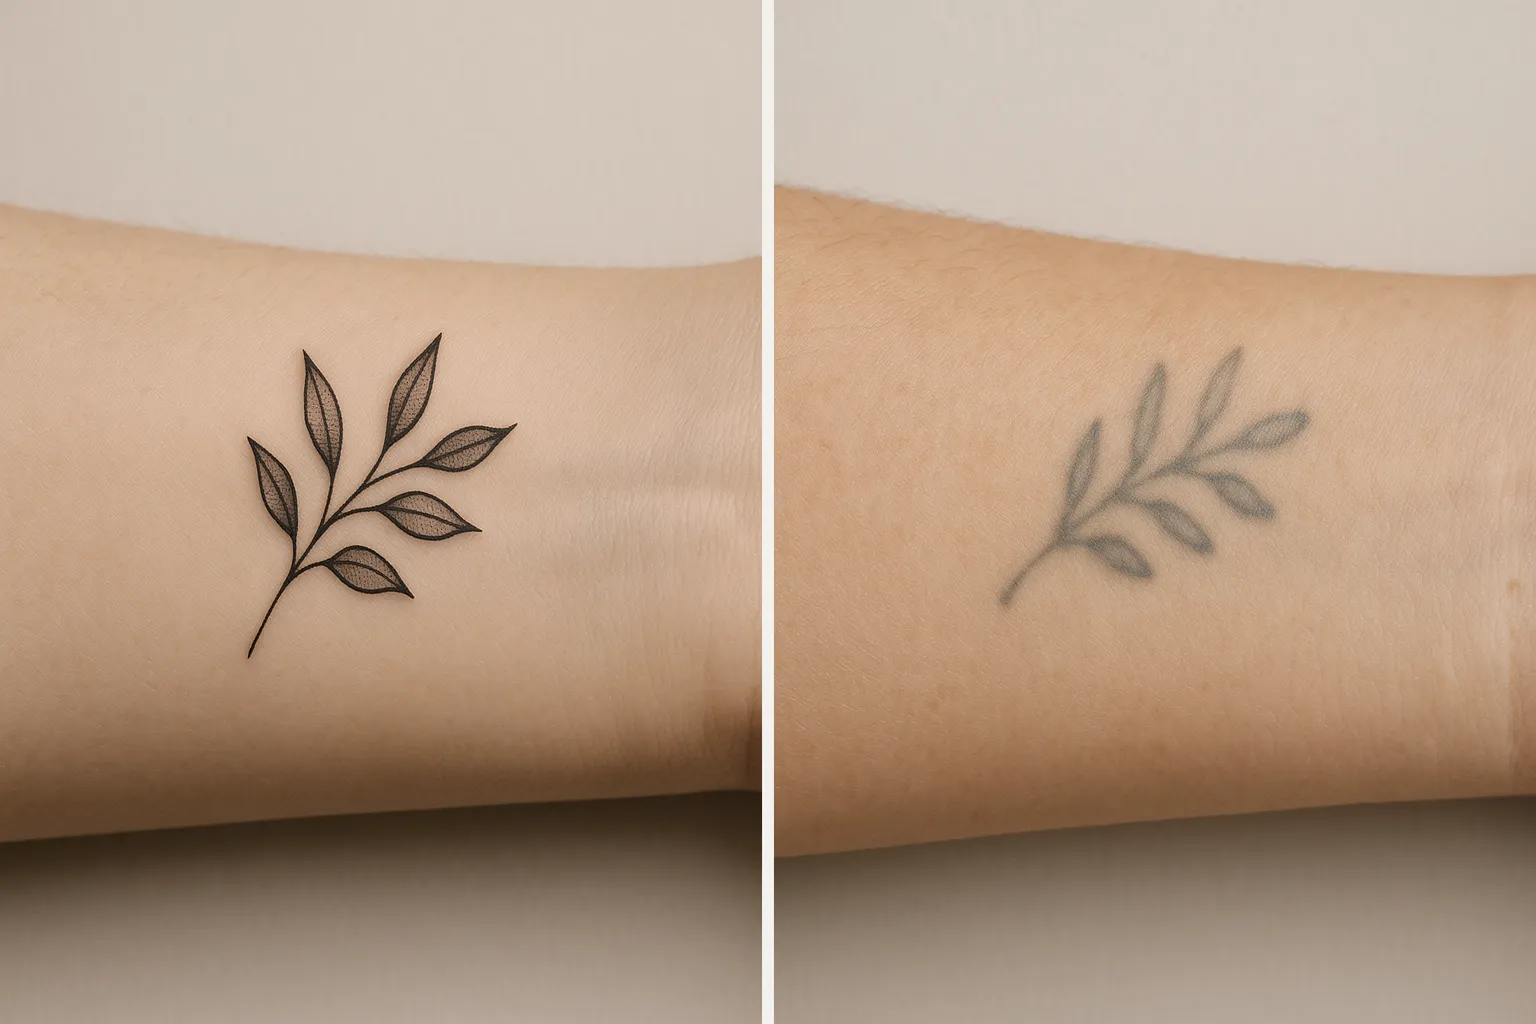
Line weight is the thread that ties different subjects together, even when they share nothing else. Stay within one needle and line weight family - either all bold traditional outlines or all fine-line (8) - and a panther, a moth, and a mandala start reading as relatives, not strangers. Bold outlines carry an extra advantage: they stay readable from a distance (13) and hold up better over time, while fine-line pieces may need touch-ups after 5 to 10 years (6). If you’re building across multiple artists, agreeing on line weight is the single most effective rule you can impose.
Patchwork Ideas - Design Combinations That Work
Good patchwork tattoo ideas start from a defined relationship between pieces, not a random grab from a saved folder. Here are concrete combos with size and placement notes you can bring to your consultation.
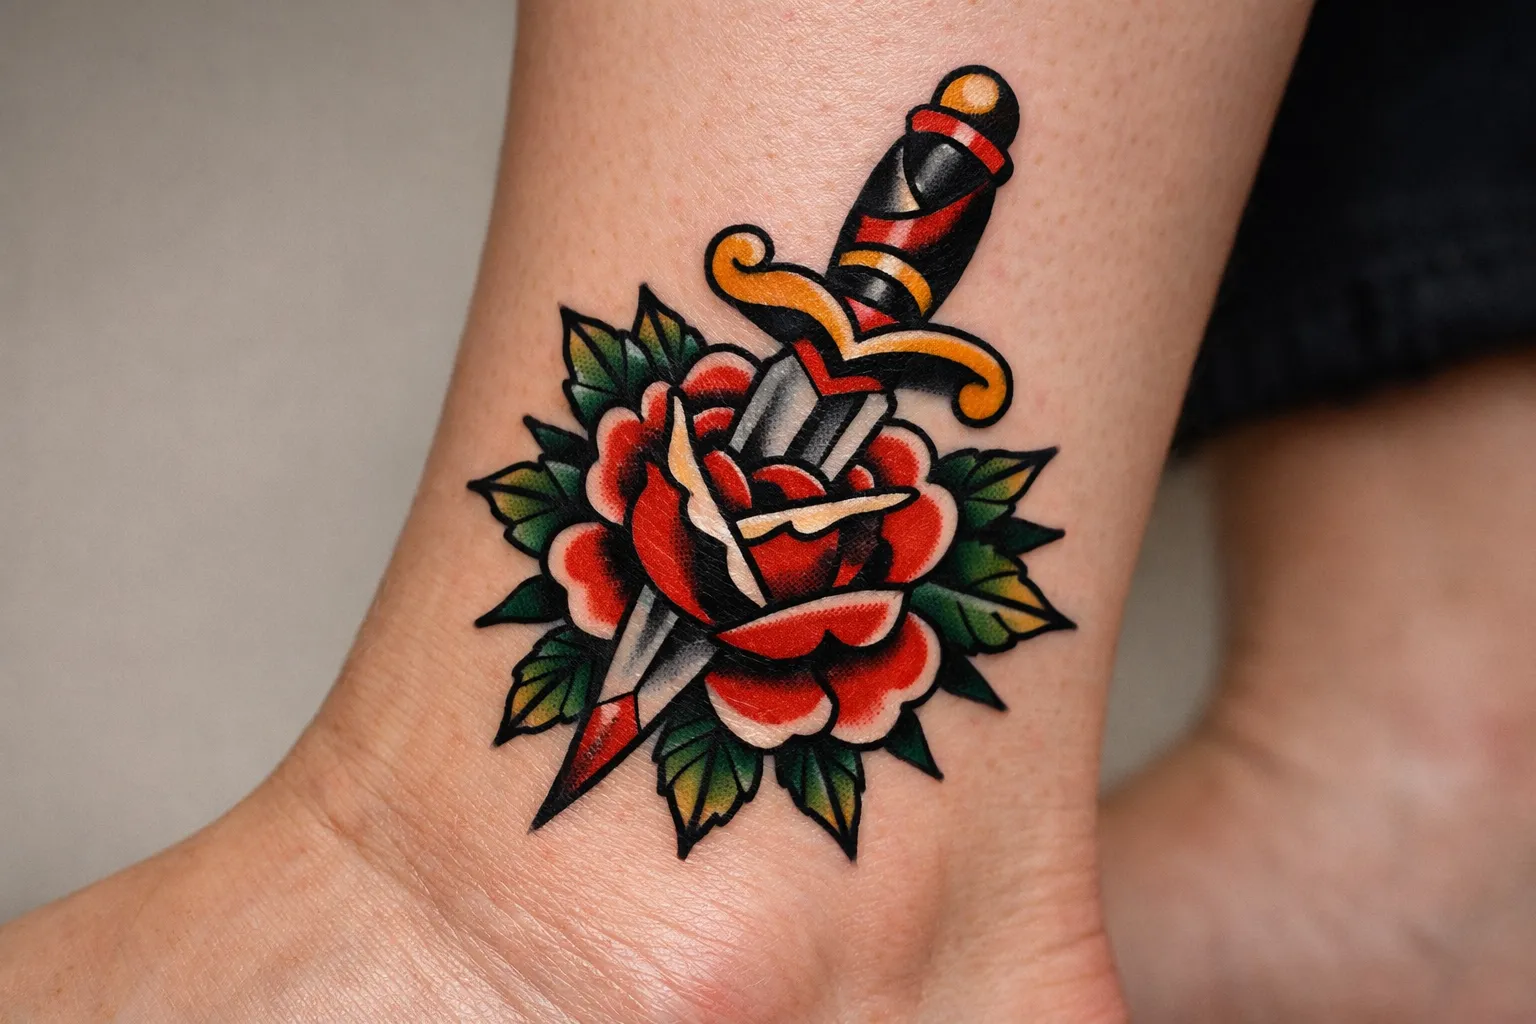
American traditional plus Japanese irezumi. American traditional is built on thick black outlines and a limited palette - typically red, yellow, green, and black - with flat color fills and no photorealistic shading; done badly, artists thin the outlines to chase detail and the whole piece loses its punch at distance. Japanese irezumi relies on bold contour lines with smooth graduated shading (bokashi) and flowing background elements like waves or wind bars; the common pitfall is skipping those background elements entirely, which leaves the subject floating without context. Because both styles anchor on strong black outlines, they sit well together in patchwork. Try a panther on the outer bicep and a koi on the forearm, both at anchor size (roughly 4 to 6 inches), with 1 to 2 inches of bare skin between them (6). The cohesion comes entirely from shared line weight, not subject.
Fine-line symbols around one or two illustrative anchors. Set a detailed moth or skull as an anchor-size piece on the upper arm, then surround it with small fine-line botanicals and geometric symbols at 1 to 2 inches (6). The scale contrast creates a clear hierarchy - the eye lands on the anchor and travels out to the fillers.
Blackwork geometric fillers around colorful neo-traditional pieces. Make a neo-traditional rose or snake your color anchor, then place blackwork mandalas or dotwork triangles as satellites. The heavy black ink ties the palette together and keeps the color piece from floating alone.
All-black patchwork. Every piece in blackwork or black and grey regardless of subject - skulls, florals, portraits, geometry - unified entirely by the absence of color. This is the most forgiving multi-artist format because the one shared rule is easy for any competent artist to honor.
Retrofit existing tattoos. If you already have scattered pieces, audit them for dominant line weight and palette, then choose new anchors that match those threads and re-center the composition.
A word on overused motifs: small stars, generic roses, and basic geometric shapes are default fillers, appearing in so many patchwork sleeves they read as reflexes rather than choices. They’re not inherently bad - a well-drawn traditional rose earns its place - but ask whether a filler adds to the composition or just occupies space. That single question prevents a lot of regret.
Retrofitting Random Tattoos Into a Patchwork Collection
If you have a few unrelated tattoos already, you can re-center them into something intentional:
- Photograph the limb straight-on in even light so you can see everything at once.
- Identify the dominant line weight and palette across your existing pieces - what do most share?
- Define one or two unifying threads based on that audit (for example, “all black linework” or “bold outlines only”).
- Choose one or two new anchor pieces that match those threads to re-center the composition.
- Plan satellites around the new anchors before adding fillers.
Integration doesn’t require every existing piece to match stylistically - just a strong enough thread so new work pulls the old into orbit.
How to Plan a Patchwork Sleeve - Anchors, Satellites, and Fillers
Plan patchwork in three layers - anchors, then satellites, then fillers - treating each stage as its own design problem rather than improvising each tattoo in isolation. This framework separates curated arms from crowded ones.
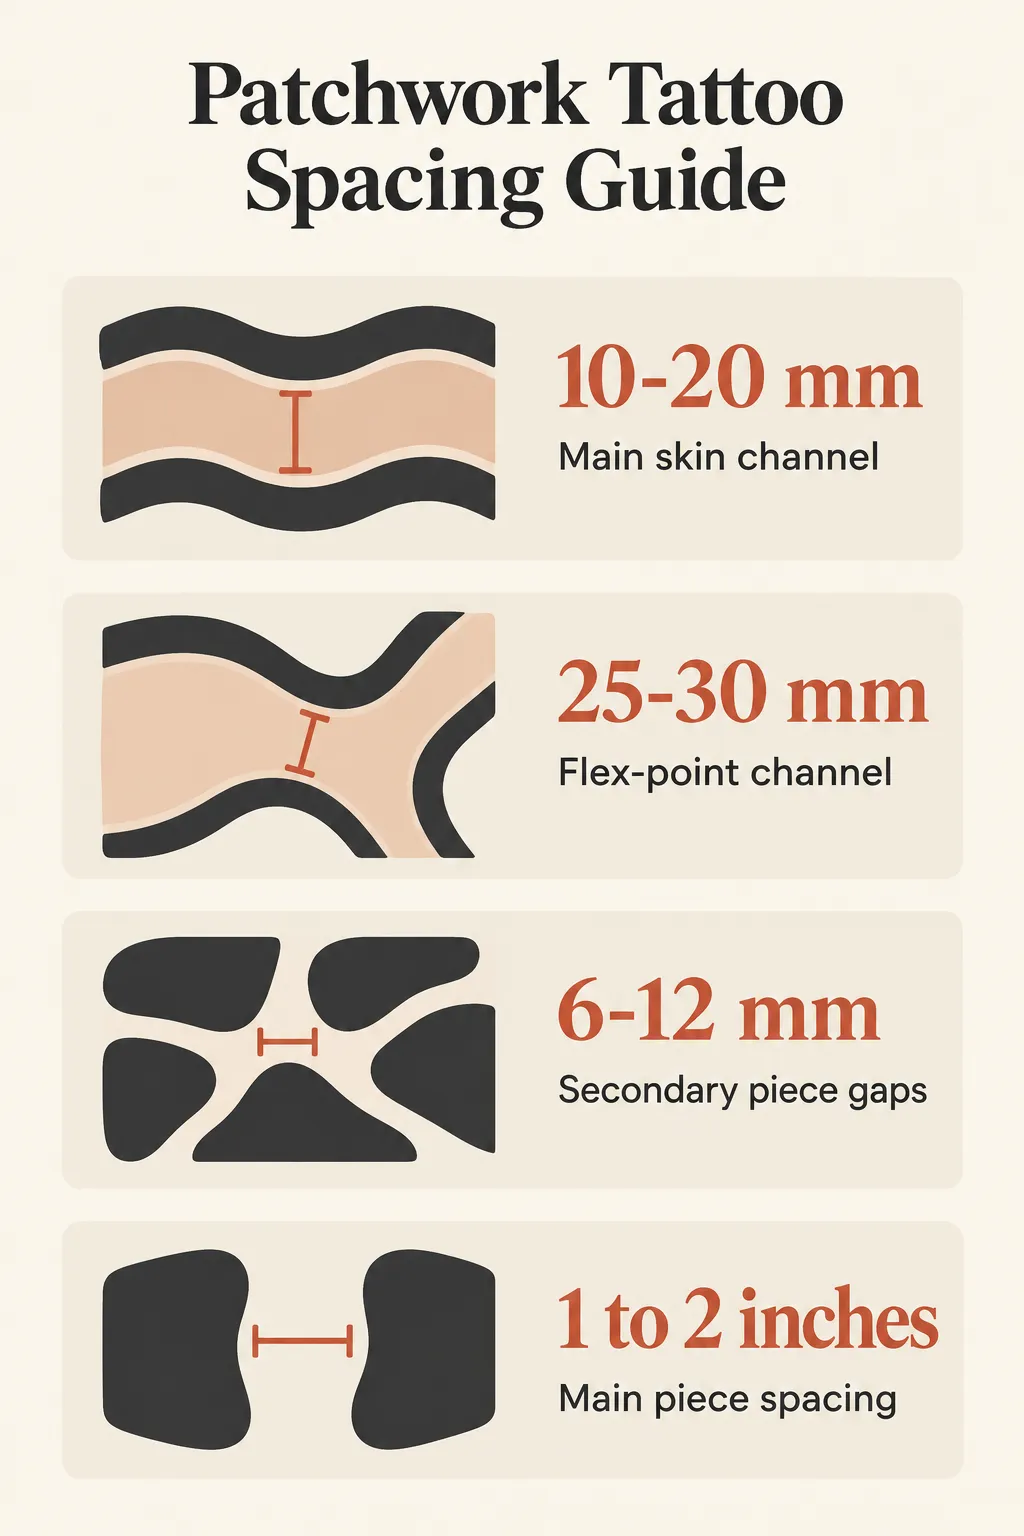 The guide recommends a 10-20 mm main skin channel, 25-30 mm around flex points, 6-12 mm between smaller pieces, and 1 to 2 inches between main pieces.
Anchors come first. Start with two or three larger pieces on flat areas such as the upper arm, forearm and outer thigh (8). Size the first one around 4-6 inches (10-15 cm) and put it on the flattest, most visible surface, such as the outer bicep or the center of the forearm (6). These set the visual language for everything that follows. Starting with only small scattered pieces forces awkward compromises later because there’s no structure for smaller work to relate to.
Spacing is a design element, not leftover room. Maintain a main skin channel of roughly 10-20 mm (about ½-¾ inch) running from shoulder to wrist, widening to 25-30 mm around flex points like the elbow and inner arm (12). Keep secondary gaps between smaller pieces around 6-12 mm (12). Collector guides leave more room between the main pieces themselves: 1 to 2 inches (6).
A typical session plan runs in four steps. Session 1: the primary anchor, which sets the visual direction. Session 2: the second anchor, once the first area has recovered. Session 3: selected fillers or smaller motifs, keeping the skin channels intact. Session 4: connections, contrast rebalancing, or pieces that need more time (12). Treat it as one possible progression, not a fixed count. Most collectors spend 6 to 18 months building a full arm (6), and the healing wait between neighboring pieces is a large part of that.
Planning tools help avoid crowding before you’re in the chair. Photograph the arm from the front, side and back, then mark rough shapes for each existing and planned piece (12). A loose sketch on tracing paper or a mockup over a photo shows proportions before you book (8), and some design apps let you preview sticker and patchwork layouts on a photo of your own arm (6).
Future-proof if you might convert later. If you think you’ll connect the pieces into a more unified sleeve someday, leave extra room now - future background shading or connectors need space to go (10).
Spacing Rules That Keep Patchwork Readable
Crowd the pieces tighter than those gaps and patchwork stops reading as patchwork: tattoos placed too close together lose their individuality and may blur over time (10), and the arm starts to look like an unfinished traditional sleeve or a muddy cluster. The skin channel running down the limb is an active part of the design - the same way background waves create flow in a traditional sleeve, bare skin creates flow in patchwork, just cleaner. Guard those channels. Once they close, the whole format’s logic disappears.
Body Anatomy and Where Not to Start
Joints distort designs and break visual rhythm when the limb moves, so don’t start there. The elbow, wrist, and knee flex constantly, warping anything placed across them. The inner arm and elbow ditch carry both higher pain and higher distortion risk. Start on flat zones - outer bicep, forearm center, outer thigh - and work toward joints in later sessions once you’re committed and confident.
How to Build a Patchwork Sleeve - Session by Session
6-18 monthsStep-by-step planning and execution guide for patchwork sleeves
- 1
Photograph your limb straight-on
Take clear, even-lit photos of the area you want to tattoo and sketch a rough map of placements.
- 2
Define your cohesion strategy
Choose highly unified, moderately eclectic, or intentionally chaotic, and set line weight and palette rules before booking.
- 3
Choose 2-3 anchor placements
Pick flattest zones like outer bicep or forearm center for your largest pieces (4-6 inches / 10-15 cm).
- 4
Book Session 1
Tattoo the first anchor piece; photograph the healed result after 4-6 weeks.
- 5
Book Session 2
Tattoo the second anchor after healing; reassess spacing and overall direction.
- 6
Add satellites in Sessions 3+
Fill mid-zones with medium pieces (2-3 inches / 5-8 cm), keeping the 10-20 mm main skin channel open.
- 7
Add fillers in later sessions
Place small fillers (about 1 inch / 2.5 cm) to balance composition; avoid crowding flex points like elbows early on.
- 8
Reassess after each session
Use straight-on photos to plan next placements before each appointment.
Choosing a Patchwork Tattoo Artist - One vs Many
Two valid ways to staff a patchwork build, and both work when planned. A single patchwork tattoo artist curating the entire collection gives you maximum cohesion - one hand keeps line weight and palette consistent across pieces. The multi-artist route means intentionally gathering pieces from different artists, often while traveling, relying on spacing and anchor planning to keep balance.
If you go single-artist, book a consultation to discuss the full collection plan before the first session. Bring a reference board of images sharing the line weight and palette you want. Ask to see healed patchwork in the artist’s portfolio, not only fresh photographs (12) - fresh photos hide how lines settle and colors soften as the skin heals.
If you go multi-artist, build a style board of approved line weights and palettes before approaching anyone, and share it at every consultation so each new piece fits the existing framework. Prioritize budget for anchor pieces with top-tier artists; fillers are easier to cover or adjust later, so they can go to more affordable hands.
In any portfolio, look for consistent line weight across healed work, not just fresh shots, and evidence the artist can work at the size you need without losing detail. Ask if they’ve built patchwork collections before. Red flags: an artist who doesn’t ask about your existing pieces or future plans before designing something new, or anyone who waves off spacing concerns as overthinking. Spacing is the whole game here.
What to Bring to the Consultation
Show up with straight-on photos of your current tattoos, a reference board organized by style, line weight, and palette, and a rough sketch or body template marking where you plan to place the next piece. State your cohesion strategy plainly - highly unified, moderately eclectic, or intentionally chaotic - so the artist designs to the right target from the first sketch. The more structure you bring, the less you leave to improvisation in the chair.
Common Patchwork Mistakes and How to Avoid Them
The main things to avoid in patchwork tattoos: placing pieces too close together (crowded pieces lose their individuality and read as an unfinished traditional sleeve), starting without 2-3 anchor pieces to set the composition, mixing incompatible palettes without a plan, and ignoring how designs distort across joints like the elbow or wrist. Underestimating the timeline is common too - most collectors spend 6 to 18 months on a full arm.
Breaking those down:
- Overcrowding is the most common and hardest-to-fix mistake. Pieces crammed together lose the patchwork feeling (8), and adding new work beside a piece that hasn’t healed can increase friction, picking and product-related mistakes on that skin (12).
- No anchor strategy leaves you with small tattoos scattered at random and awkward negative spaces that are painful to fill later. Always establish 2-3 anchors first.
- Incompatible palettes - randomly combining heavy color realism, blackwork, and pastel fine-line in one zone - clash badly. Decide “mostly black” versus “mostly color” before the second session.
- Ignoring body flow by placing isolated pieces across joints without considering flex lines distorts designs and breaks the sleeve’s rhythm when the limb moves.
- Underestimating the timeline. Wait a minimum of 4-6 weeks before adding a piece next to a healed one (6), so a full collection stretches over many months whether you like it or not.
- Treating it as “anything goes.” Patchwork is flexible, not consequence-free. Skip the planning and you invite style regret and costly cover-ups.
Healing and Aftercare Across Multiple Sessions
Because a patchwork sleeve is built over multiple sessions, you repeat the full healing routine for every new piece - a real time and logistics commitment, not a one-and-done. Each piece follows the same arc:
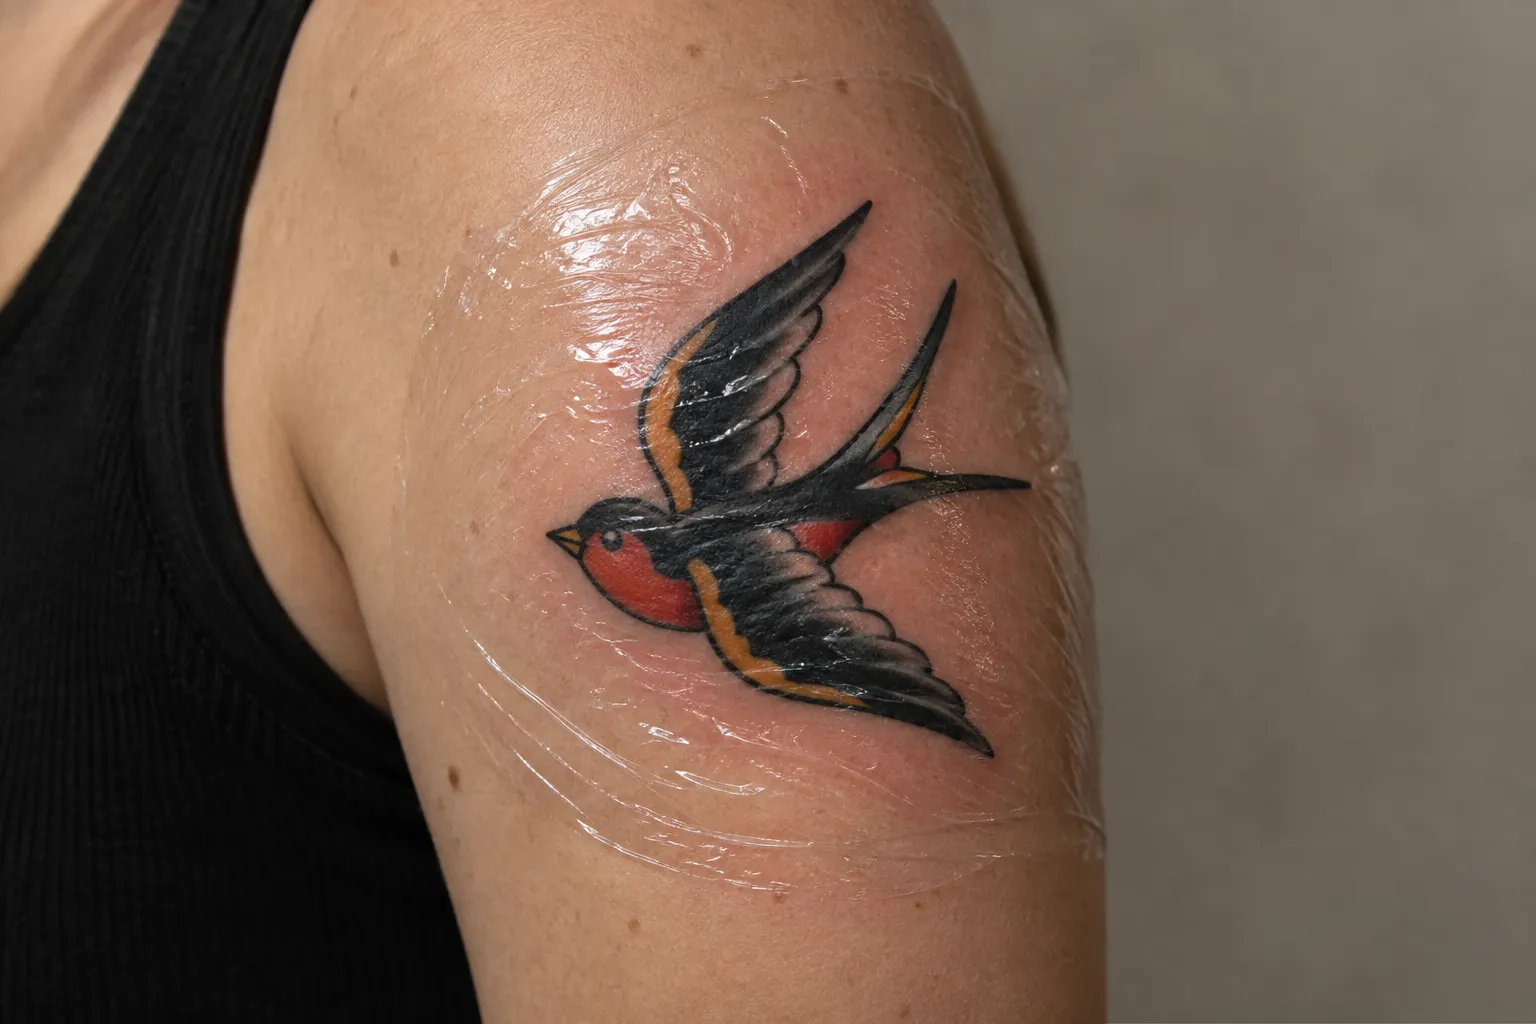
- Days 1-3: Open, weeping wound. Wash 2-4 times a day with lukewarm water and a fragrance-free soap, pat dry, and apply a thin film of ointment. No gym, swimming, or soaking.
- Days 4-7: The surface tightens and starts to flake, sometimes with thin soft scabs. Switch to a fragrance-free lotion from about day 3. Do not pick.
- Week 2: Peeling and itching. This is the highest-risk window for picking.
- Weeks 3-4: The surface looks healed while the deeper skin is still remodeling. Keep avoiding pools, soaking and direct sun. Color may look dull under the new skin - that’s normal.
- Around week 6: Full integration. Keep the piece out of direct sun for the first 4-6 weeks, then use SPF 30+ whenever it’s exposed.
That timeline follows our tattoo aftercare guide. Wait a minimum of 4-6 weeks before tattooing adjacent skin (6) - that interval is the practical reason a patchwork arm takes months to build. Sun protection matters more for patchwork than for traditional sleeves because the bare skin channels are part of the design: the contrast between preserved ink and sun-exposed skin affects how crisp the whole sleeve appears (12). Fine-line pieces can fade faster than bold traditional work (6), so plan touch-ups into your schedule from the start.
Patchwork vs Traditional Sleeve - Which Format Fits Your Situation
Both formats work - it’s a fit question, not a ranking. Choose patchwork if you want to build gradually, spread cost over time, mix artists or styles, or incorporate existing tattoos - and especially if you want the option to stop at any stage without the arm looking incomplete. Choose a traditional sleeve if you have a clear unified vision from the start, prefer one artist to design the whole composition, and want a continuous mural-style result. Japanese irezumi, black and grey realism, and neo-traditional all work well as unified sleeves.
Here’s how they compare on the decisions that matter:
Patchwork vs Traditional Sleeve Comparison
| Patchwork / Sticker Sleeve | Traditional Sleeve | |
|---|---|---|
| Planning Required Upfront | Low to moderate | High |
| Ability to Mix Artists | ✓ | ✗ |
| Cost Structure | Spread over time | Large upfront or project-based |
| Can Stop Mid-Build | Yes - looks intentional | Often looks unfinished |
| Negative Space | Intentional, structural | Filled with background |
| Style Flexibility | High | Low to moderate |
| Conversion to Other Format | Possible with wider gaps | N/A |
| Best For | Gradual collectors, mixed styles | Unified vision, single theme |
Frequently Asked Questions
Frequently Asked Questions
- What is patchwork in tattoos?
- A patchwork tattoo is a collection of individual designs placed across a body area - typically an arm or leg - with deliberate gaps of bare skin between each piece. Unlike a traditional sleeve, there's no connecting background or unified composition designed upfront.
- What should you avoid in patchwork tattoos?
- Avoid crowding pieces together, starting without 2-3 anchors, mixing incompatible palettes, ignoring joint distortion, and underestimating a timeline that usually runs 6 to 18 months.
- How long do patchwork tattoos last?
- Patchwork pieces last as long as any tattoo in the same style. Bold traditional pieces age exceptionally well; fine-line pieces need more long-term care and may need touch-ups after 5 to 10 years.
- What is the most overused patchwork tattoo motif?
- Small stars, generic roses, and basic geometric shapes are common gap fillers. They're not bad but often appear as default choices rather than deliberate composition elements.
- Can you mix styles in a patchwork sleeve?
- Yes. Mixing styles is a defining feature. The key is controlling line weight and palette. Bold outlines in American traditional and Japanese irezumi pair well; heavy color realism with pastel fine-line is harder to pull off.
- How many sessions does a patchwork sleeve take?
- A planned patchwork sleeve often starts with four sessions: two anchors, then fillers, then connections and rebalancing. Most collectors spend 6 to 18 months on a full arm, since each new piece waits for its neighbor to heal.
- Do you need one artist for a patchwork sleeve?
- No. Multi-artist patchwork is common. Use a style board of approved line weights and palettes, shared at every consultation. Single-artist builds are simpler but not required.
- What's the difference between a patchwork sleeve and a sticker sleeve?
- They're the same. 'Sticker sleeve' is an informal name for individual designs placed close with visible skin between, like stickers on the arm. 'Eclectic sleeve' highlights the mixed-style approach.
What to Do Before You Book
Three things decide whether a patchwork sleeve works: spacing discipline, a defined cohesion strategy - even a loose one - and anchor placement before fillers. Get those right and the format is forgiving. Get them wrong and you’re dealing with expensive fixes - overcrowding, clashing palettes, and pieces stranded across joints.
So before you book, do the groundwork. Photograph your arm or leg straight-on, decide on your line weight and palette rules, and pick 2-3 anchor spots on the flattest zones. Bring that info to your consultation. The planning session is where the sleeve actually gets built - everything after is just execution.