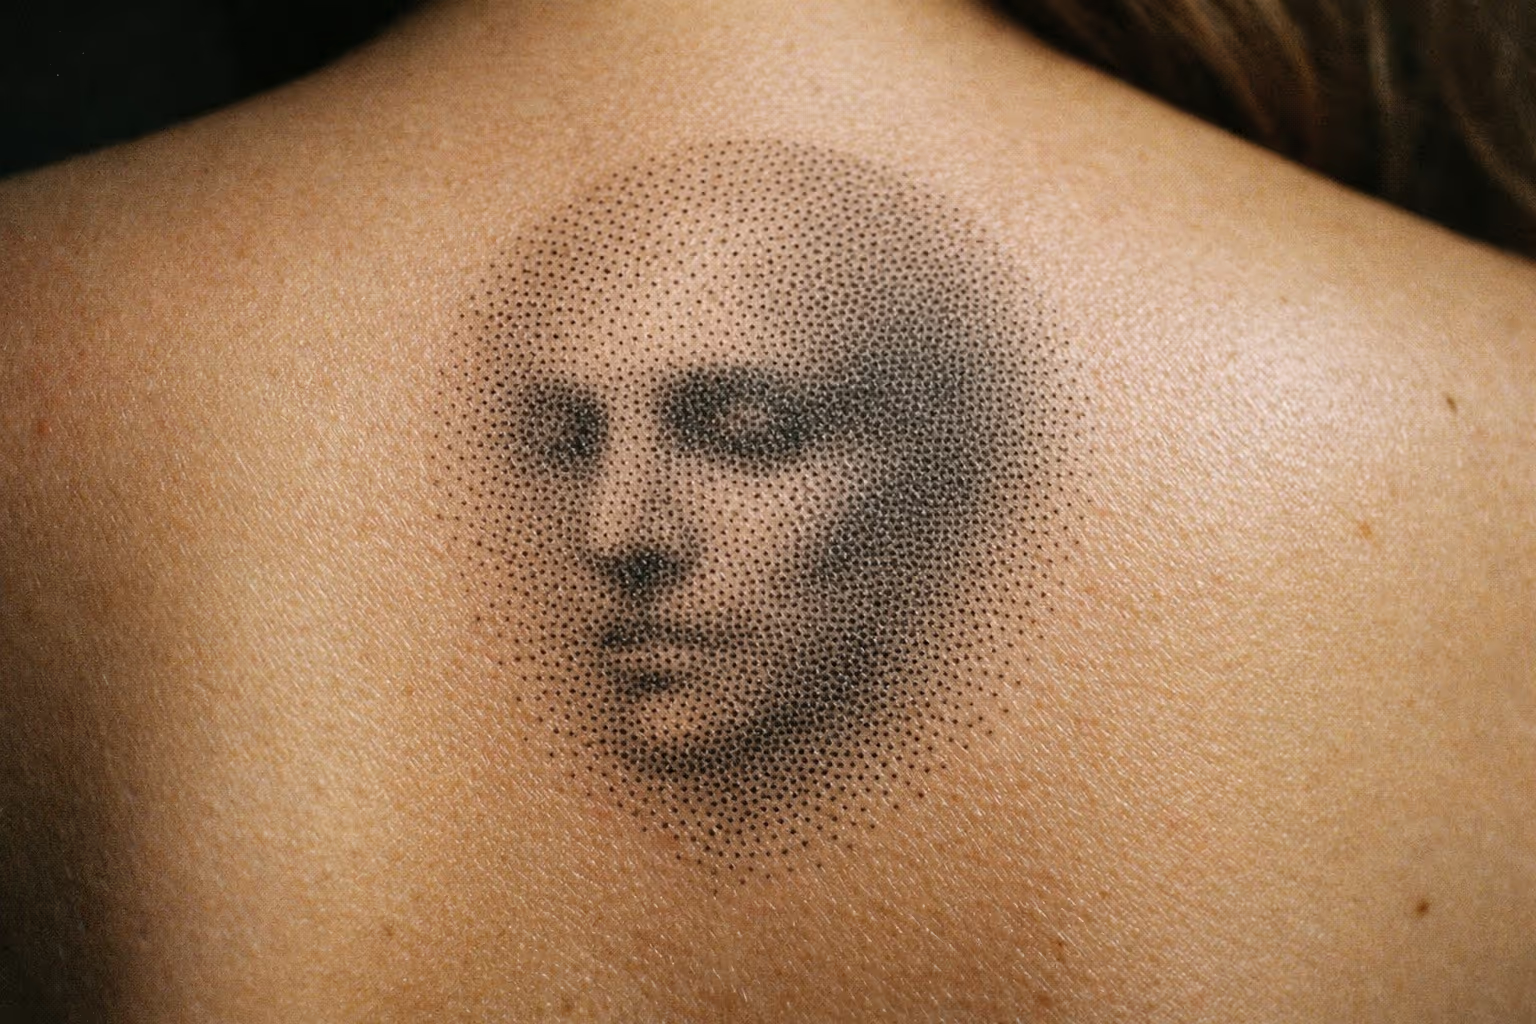
Move an eye or a nose 2 to 3 mm off where the reference puts it, and the finished portrait tattoo stops looking like the person it’s meant to be. No other mainstream style has that small a margin of failure. Portrait tattoo work sits at the top of the difficulty and cost ladder, and that changes everything about how you choose a style, size the piece, vet an artist, and plan your healing.
This guide covers both sides of the chair: the technique and lighting an artist needs to pull it off, and the reference photos, placement, and budget you need to bring to make it possible.
That difficulty margin is the whole reason this article exists. A portrait done right holds a recognisable face for decades. A portrait done cheap or too small blurs into a stranger within a few years. Below is what actually separates the two.
✓ Pros
- Highest likeness potential of any tattoo style when done well
- Black-and-grey versions age more predictably than most color styles
- Works across multiple subjects: people, pets, characters
- Large placement options (upper arm, thigh, back) give the design room to breathe
✗ Cons
- Smallest margin for error of any mainstream style - proportion mistakes are immediately visible
- Most expensive per square centimeter; budget $500-$3,000+ for a single face
- Requires an advanced specialist, not a generalist
- Healing is longer and more demanding than simpler styles (4-6 weeks surface, 3-6 months deep)
- Undersized designs blur after healing; realistic faces under about 5 cm rarely hold detail long-term
What Portrait Tattoos Actually Are - and Where Realism Fits In
A portrait tattoo is a realism-based design built around the recognisable likeness of a specific person, pet, or character, where likeness itself is the performance metric - not decorative style, not composition. If it doesn’t look like the subject, it has failed, no matter how smooth the shading is.
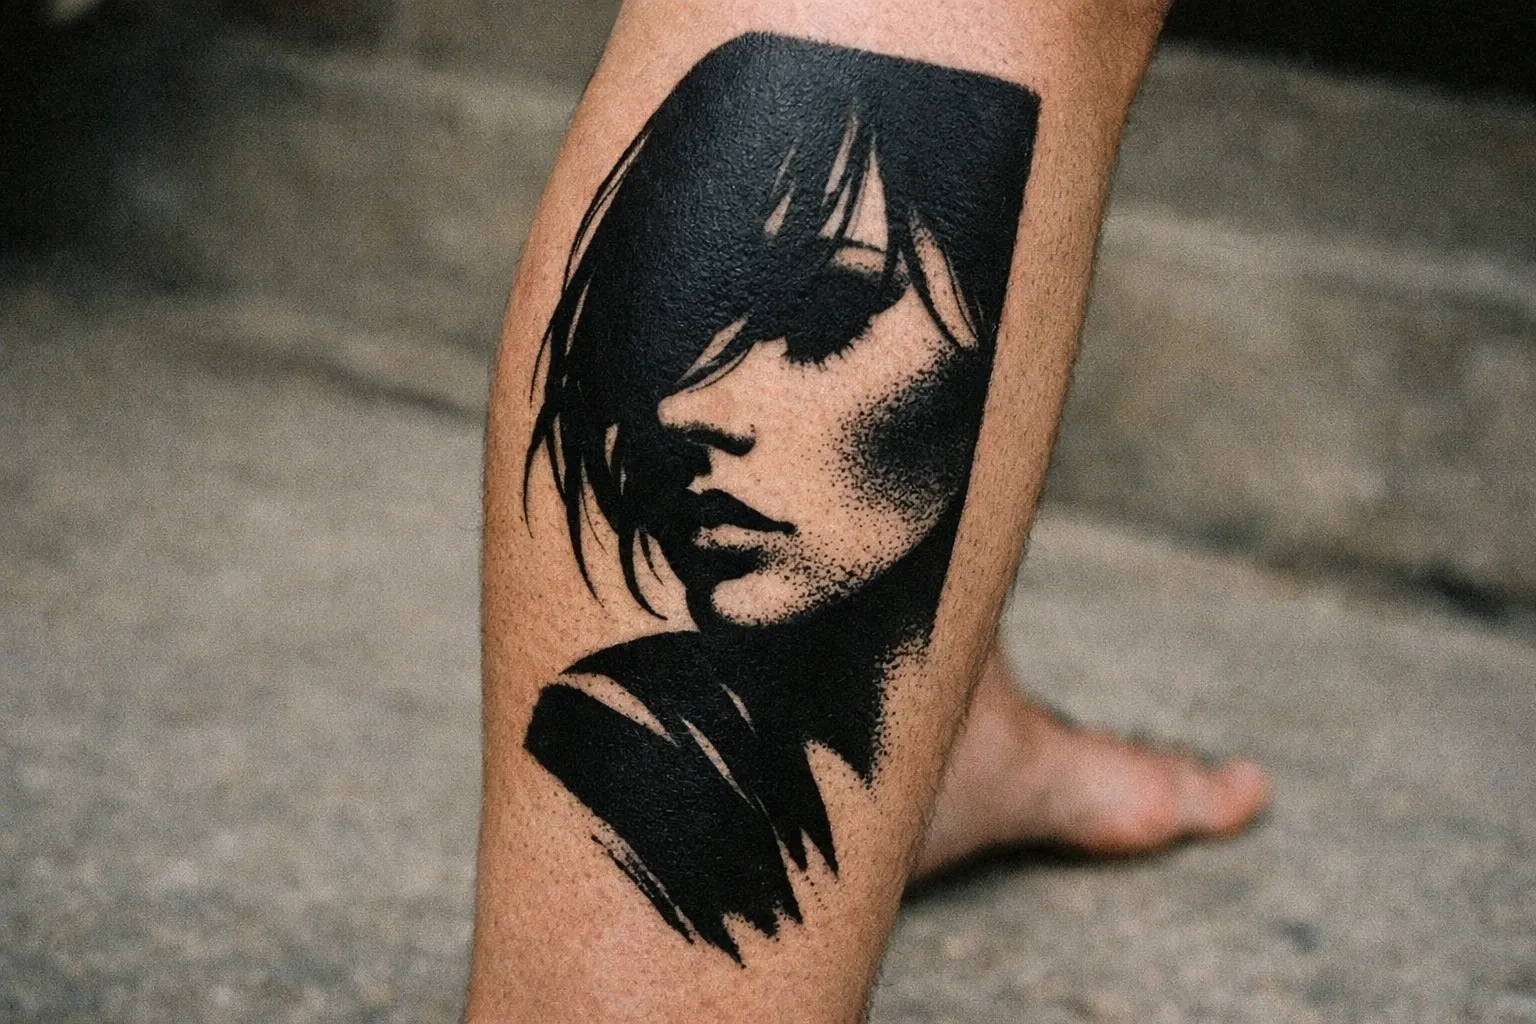
Here’s the relationship people get confused about: portrait tattoos are almost always a subset of realism, but not all realism is portraiture. Realism also covers statues, animals, objects, and full scenes. The distinction is subject matter, not technique - a photorealistic tiger and a photorealistic grandmother use the same shading approach, but only one is a portrait.
Likeness is technically brutal because facial anatomy has fixed reference points. Your brain is wired to recognise faces, so it catches a 2 to 3 mm error in eye spacing or nose placement instantly, even if you can’t name what’s wrong. That’s why “uncanny” portraits feel off in the eyes or mouth - the shading can be flawless while the structure reads as a different person entirely.
Four sub-styles cover most portrait work: black-and-grey realism, color realism, Chicano-inspired realism, and neo-traditional portraits. The next section breaks each down.
One thing worth flagging now: pet portrait tattoos and character portraits follow the exact same rules as human faces. Same size minimums, same artist vetting, same reference-photo demands. A portrait meant to retain realistic likeness should be at least 10 cm high, and that minimum applies equally to human and animal faces when realism is the goal. A blurry photo of your dog produces a blurry tattoo of your dog.
The Four Main Portrait Tattoo Styles
Portrait work splits into four sub-styles, and choosing between them is largely a trade-off between photographic accuracy and how the piece ages.
Black-and-Grey Realism - the most forgiving option for aging
Black-and-grey realism uses layered grey washes and smooth transitions between tones, with no color complexity to manage. It’s the default recommendation for a first portrait for one reason: it ages more predictably than color. The hallmarks are fine gradients and soft shading built from a limited set of grey values - usually three or more washes of increasing darkness. Because there’s less pigment variety, there’s less to shift and fade unevenly over ten to twenty years.
I’ve seen black-and-grey portraits from the early 2010s that still read clearly on the upper arm, while color pieces from the same era on forearms without sun protection have gone patchy and flat. If you’re not sure which style to pick, this is the safe answer.
Color Realism - when you want the full photograph
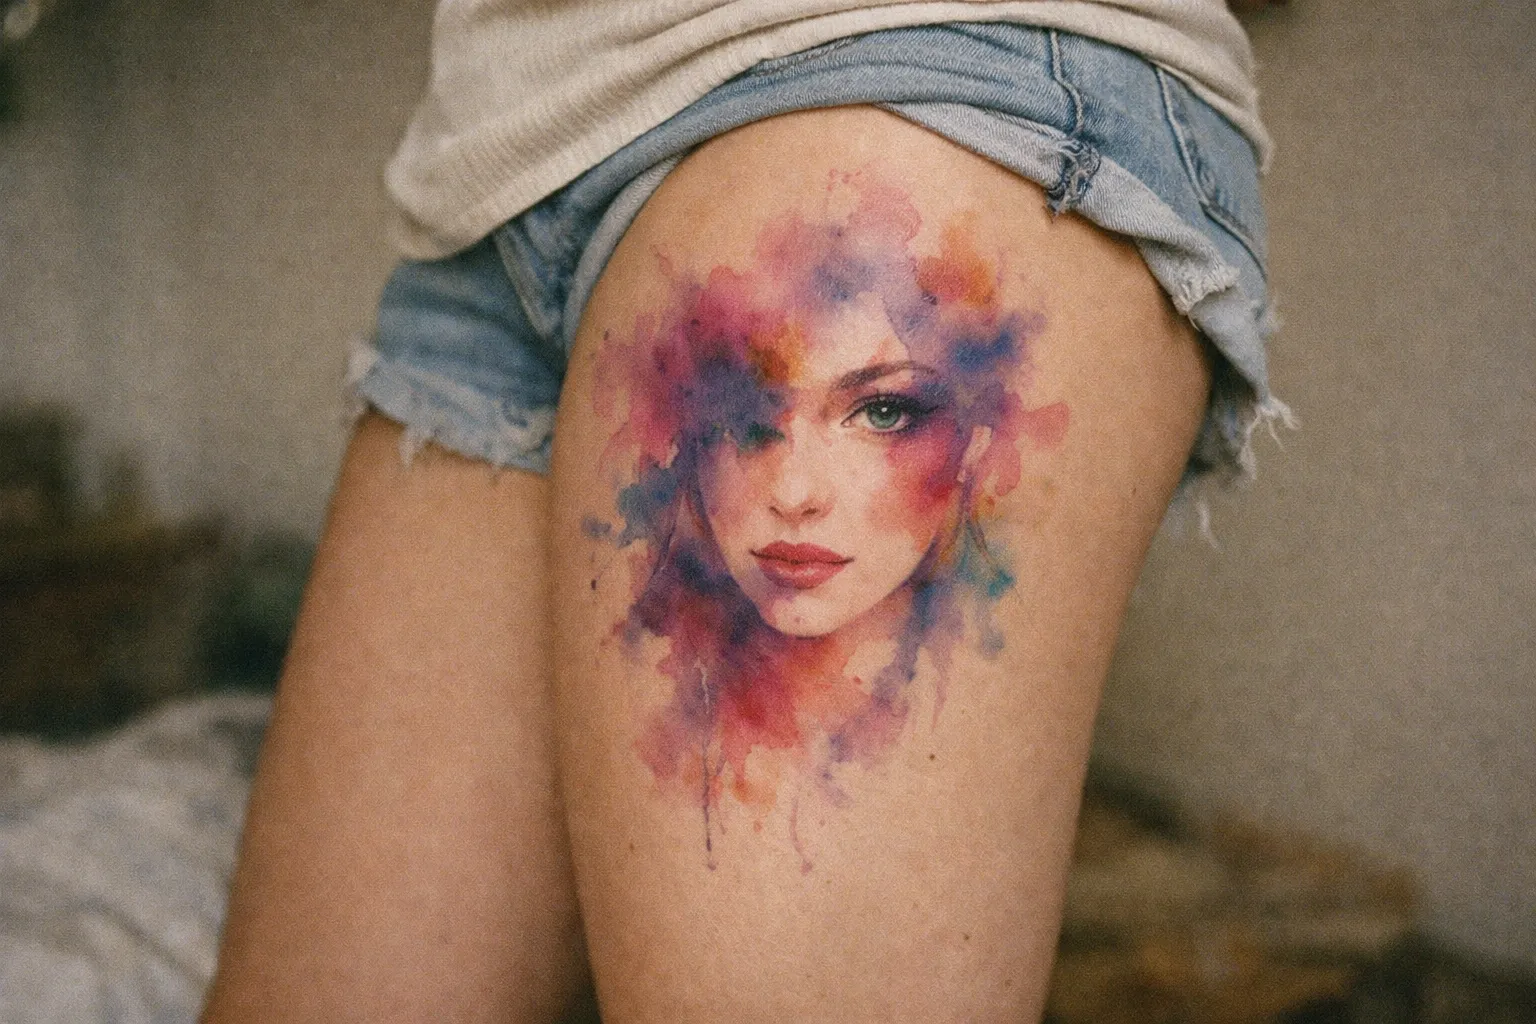
Color realism uses a full palette to capture skin tones, hair, and clothing the way a photograph would. It’s more complex to execute, prices higher, and runs longer sessions than a comparable black-and-grey piece. It also carries a higher risk of patchy healing if your aftercare slips, because color needs even saturation across more tonal zones to read correctly.
This is the most demanding option for both artist and client. Worth it when the color genuinely matters to the subject - harder to justify for a black-and-white source photo.
Chicano-Inspired Portraits - high contrast, symbolic context
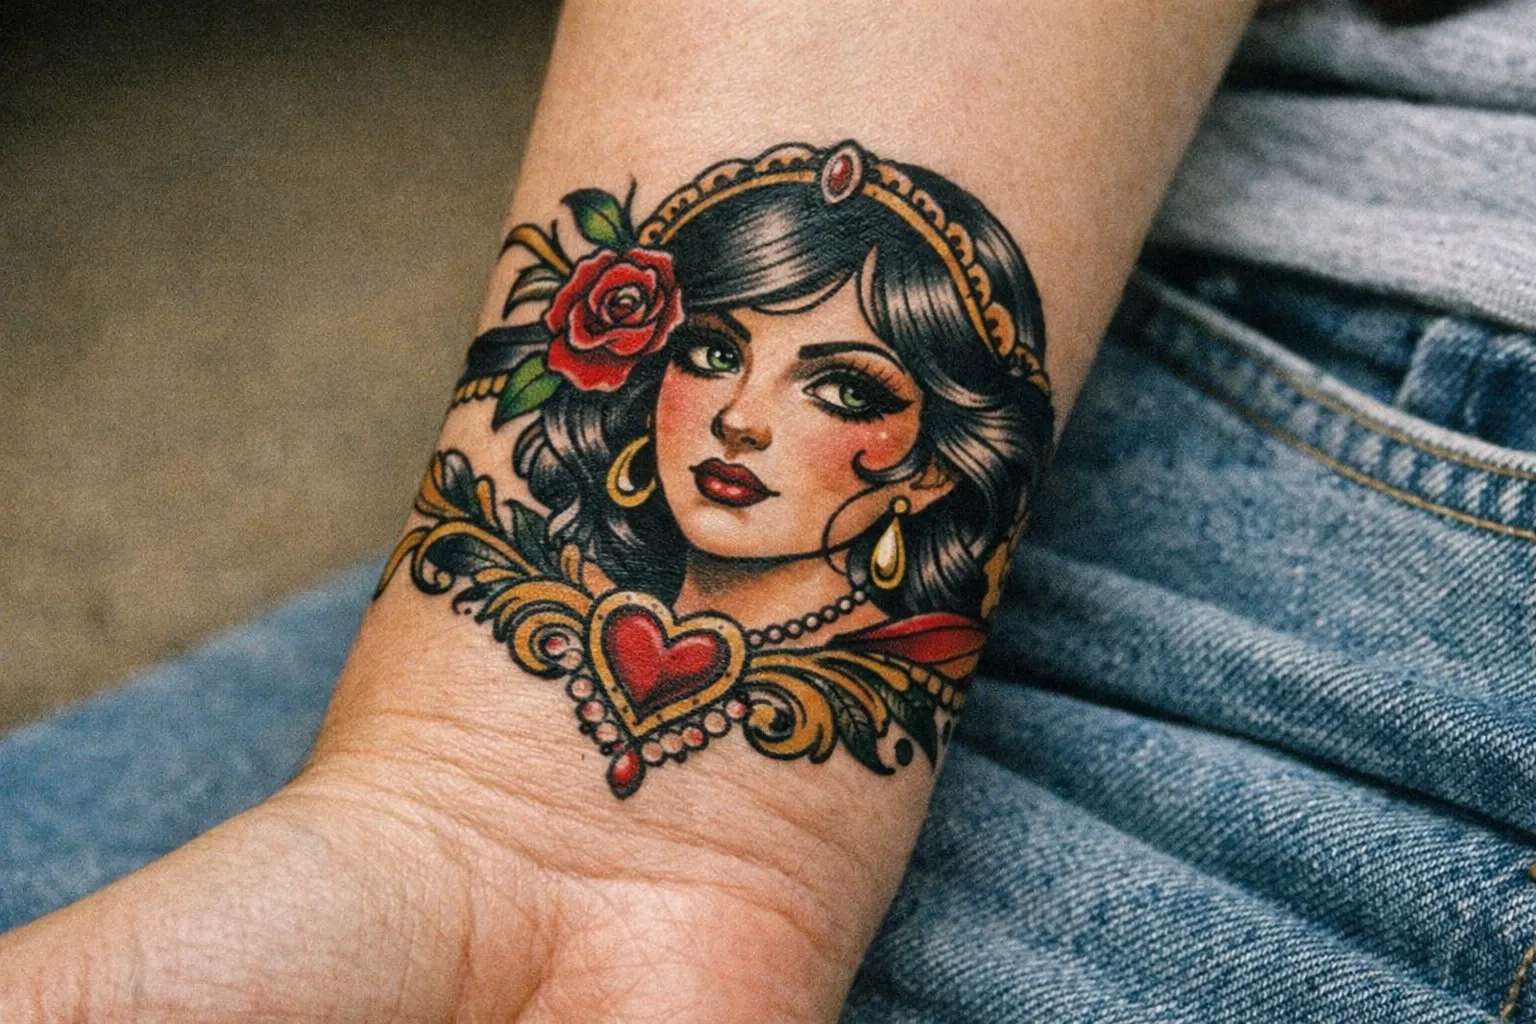
Chicano-inspired realism combines high-contrast black-and-grey faces with script, roses, and religious motifs rooted in Mexican-American tattooing that developed in California from the 1940s onward. The face itself is rendered realistically, but the surrounding composition is symbolic rather than photographic - roses carry mourning or devotion, religious iconography draws from Catholic tradition, and script often names the subject directly. This style is built for larger layouts and reads well as forearm and sleeve work, where there’s room for the face plus its supporting elements. If you want a portrait embedded in a broader piece rather than an isolated face, this is the tradition to look at.
Neo-Traditional Portraits - structure over strict likeness
Neo-traditional portraits use bold outlines and simplified shapes while keeping the subject recognisable. This is illustration rather than documentary accuracy - you’ll recognise the person, but it won’t read as a photograph. The upside is aging: stronger linework holds up better over decades than pure gradient work. It’s a good fit for clients who prefer a stylised interpretation, and it works especially well for pets and characters, where strict photorealism matters less than personality.
As a rough guide: pets and characters often work best in black-and-grey or neo-traditional; human faces in color realism demand the most from everyone involved. If you’re drawn to bold outlines and a more illustrative approach, it’s worth exploring American Traditional Tattoo Styles: Rules, Cost, Sleeves as a point of comparison - the emphasis on strong linework and simplified shapes overlaps with what makes neo-traditional portraits age so well.
Size, Placement, and Why Both Decisions Are Linked
The single most common client mistake in portrait work is going too small. Size and placement have to be decided together - your placement dictates how large the piece can be, and the size dictates whether the face survives healing.
The Minimum Size Rule - what “too small” actually means after healing
Realistic facial features need at least 10 cm (4 inches) to hold detail after healing; anything under 5 cm risks blurred features within a few years. A realistic portrait needs a minimum of 10 to 15 cm in height to capture expressions, shadows, and key facial details - and many tattooists refuse highly detailed portraits below 3 cm outright, because likeness is impossible at that scale. InkStudioAI’s size calculator lists 4x4 inch (10x10 cm) designs as “great for portraits,” which lines up with the same conclusion: realistic facial detail generally starts around 10 cm, not in true “small” territory.
The reason is simple. Skin isn’t paper. Ink spreads slightly over time, and the fine micro-shading that creates a nose bridge or an eyelid crease is the first thing to blur when it’s packed into too little space. Compressing realism into 2 inches usually leads to loss of clarity.
Best Placements for a Single Portrait vs. Multiple Faces
For a single portrait, these placements give the face enough flat space to hold structure:
- Upper arm (10 to 15 cm): the most practical spot for long sessions; ages well; pain is manageable.
- Forearm (10 to 20 cm): highly visible, but sun exposure means SPF is non-negotiable long-term.
- Thigh (15 to 25 cm): plenty of flat surface, comfortable for multi-hour sittings.
- Back or chest (20+ cm): the choice for multi-subject or full-detail pieces.
Portrait tattoos on chest work well for single-subject pieces centered on the sternum or offset to one pec. Skin movement during healing is manageable there, and the pain sits moderate - less than the ribcage, more than the outer arm. On pain: ribcage and spine limit how long you can sit and push up your total number of sessions, while upper arm and thigh are the most practical for the long 2 to 4+ hour sittings portrait work requires.
Cramming two or three faces into a small area distorts all of them. Fitting a family group means either a larger single area or a sleeve concept planned as one composition. Don’t try to squeeze three faces onto a forearm panel - you’ll get three bad portraits instead of one good one.
For portrait tattoos for women, placement preferences skew toward thigh, forearm, and upper arm for the mix of visibility and size flexibility. Chest and ribcage are popular too, but the pain runs higher and can cap session length.
What a Portrait Tattoo Costs - and Why the Range Is So Wide
A realistic portrait typically costs $500 to $3,000 across various sizes at US studios, with a 4-inch black-and-grey portrait from a skilled artist running $800 to $1,500. The range is wide because portrait pricing scales with size, color, artist experience, and how many sessions the face demands.
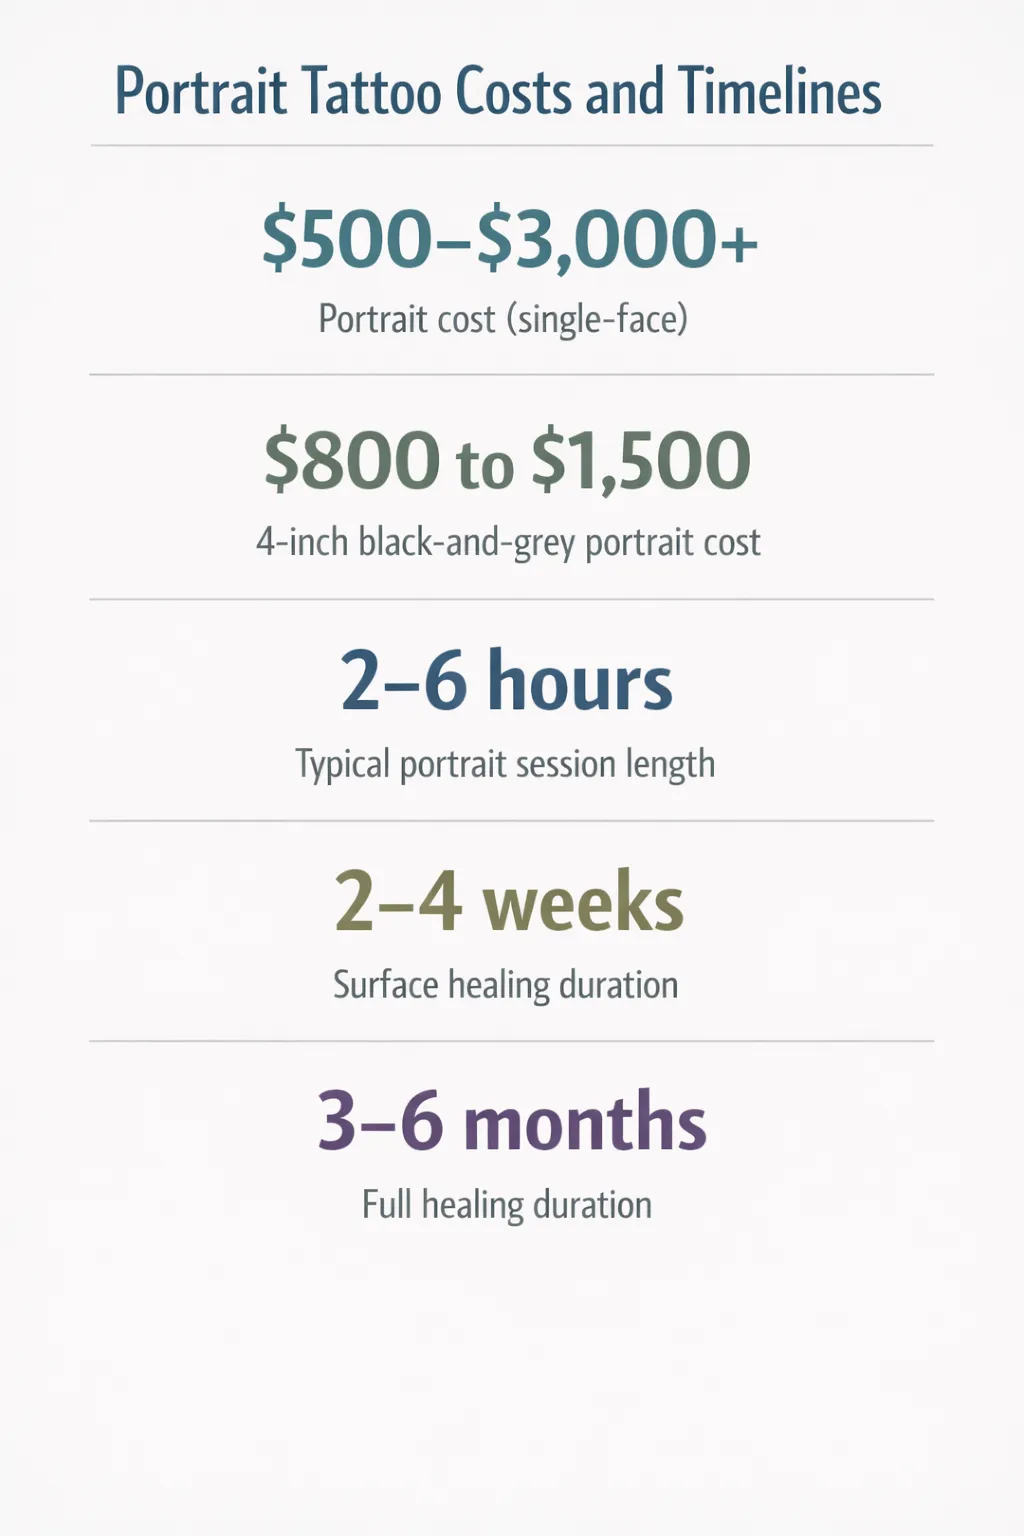 US portrait tattoos range from $500-$3,000+ for a single face; a 4-inch black-and-grey portrait runs $800-$1,500, with typical sessions 2-6 hours, surface healing 2-4 weeks, and full healing 3-6 months.
US Pricing Benchmarks by Size (2025-2026)
According to AI for Tattoo’s 2026 pricing guide, realism and portrait tattoos are priced as the most technically demanding mainstream style, with that 4-inch black-and-grey portrait at $800 to $1,500 and larger realism sleeves running over $5,000, per AI for Tattoo’s 2026 pricing guide. Freshly Inked Mag puts a realistic portrait of a person’s face at $500 to $2,000+ across US studios, with hourly rates for realism specialists at $150 to $300, according to their tattoo pricing by style breakdown. Experience level moves the number further: a medium portrait (3x4 inches / 7x10 cm) runs $300 to $400 with a junior artist, $500 to $700 with an experienced one, and $800 to $1,100 with a pro.
European Pricing Benchmarks by Size (2025-2026)
European pricing follows the same shape at different numbers. Try Tattoo lists small realism portraits (5 to 10 cm) at €200 to €400, medium portraits (10 to 20 cm) at €450 to €900, and large multi-session pieces at €1,500 to €4,000. Le Studio Pixel in France quotes an hourly rate of €150 to €250 for realism and portrait work, a small about 5x5 cm portrait at €300 to €500, and a large realistic color portrait around 15x20 cm at €800 to €1,500.
Is $200 an Hour Reasonable for a Portrait Specialist?
Yes - $200/hour sits comfortably in the mid-range for realism work and is reasonable for an experienced portrait artist in a mid-to-large market. The current US range for realism specialists is $150 to $300/hour, so $200 is neither a bargain nor a red flag.
Be far more suspicious of quotes well below $150/hour for portrait work than of one at $200.
Realism costs more per square centimeter for concrete reasons: longer sessions, more shading passes, and a specialist skill premium. AI for Tattoo puts the “cheap realism” warning bluntly - if a supposed realism piece is quoted at $300, the result “will not be realism - it will be a blurry approximation that often needs to be redone”. A very low portrait quote is a reliable signal of under-qualified execution. The smarter move is to commission a smaller piece from a specialist than a larger one from a generalist.
On time: single-session portraits run 2 to 6 hours, and full-day portraits at larger studios can reach 6 to 8+ hours. Most detailed portraits need at least two sessions spaced weeks apart.
Portrait Tattoo Styles Compared
| Black-and-Grey Realism | Color Realism | Chicano-Inspired | Neo-Traditional | |
|---|---|---|---|---|
| Typical Session Length | 2-6 hours | Longer sessions | Long sessions (sleeve builds) | Moderate |
| Relative Cost Tier | Moderate to High | Highest | High | Moderate |
| Aging Predictability | Most predictable | Less predictable (pigment shift) | Ages well (strong contrast) | Best (bold linework) |
| Best Placement | Upper arm, forearm | Thigh, upper arm, back | Forearm, sleeve | Upper arm, forearm, thigh |
How to Find and Vet the Right Portrait Tattoo Artist
Portrait realism is an advanced specialisation, and a generalist without a strong realism portfolio is the single most common cause of distorted, caricature-like results. Vetting the artist matters more here than in any other style.
Reading a Realism Portfolio - Fresh vs. Healed
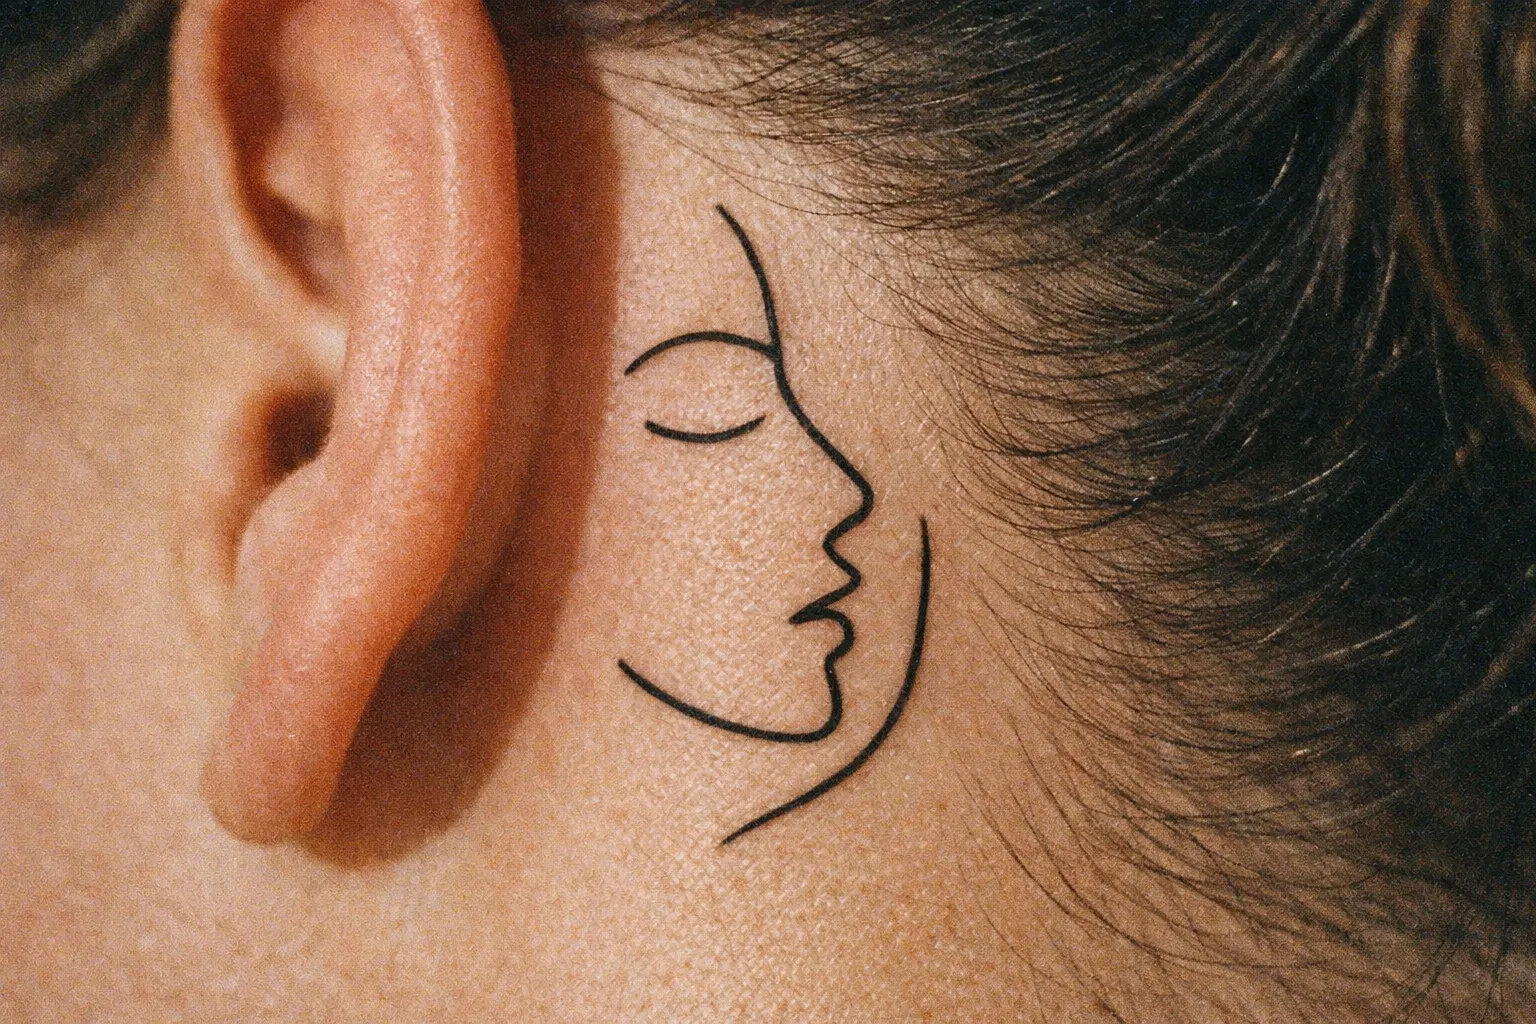
Look for at least 10 to 20 healed portrait examples, not fresh photos. This is the whole game. Fresh work looks crisp on everyone; healed work reveals how gradients and micro-shading actually settle into skin. You want to see consistent likeness across multiple subjects, not one impressive piece that might have been a lucky match.
When I’m reviewing a realism portfolio for a client, I check three things on every healed shot: that mid-tones haven’t blown out to flat grey, that eyes and lips retain their structure, and that there’s no blowout around fine-detail areas. These are the failure points that only show up weeks after the session.
Red flags to walk away from:
- A portfolio showing only fresh work, with no healed photos at all.
- Portraits that all look slightly “off” in the eyes or mouth - a sign the artist struggles with structural placement.
- An artist who doesn’t ask for your reference photo before quoting.
That last one matters more than it sounds. Firmecopias notes that professional realism artists actively adjust client expectations around size and complexity after reviewing reference images during a consultation - an artist who quotes blind isn’t doing that work.
Questions to Ask Before You Book
Ask these three before you commit:
- Can I see healed portraits specifically - not just fresh photos?
- What resolution do you need for the reference photo?
- How many sessions do you estimate for this size?
How to Vet a Portrait Tattoo Artist
30 minutesA 5-step process to ensure you choose the right specialist
- 1
Search by style specialisation, not proximity
Use style tags plus your city; don't just book the nearest shop.
- 2
Request healed portfolio examples
Insist on healed work, aim for 10 to 20 portraits.
- 3
Evaluate likeness across multiple subjects
Consistency beats a single standout.
- 4
Ask about reference photo requirements
A specialist will have specific standards for resolution and lighting.
- 5
Confirm session estimate and waitlist timeline
Busy specialists book several weeks to months out.
On timing: combined with healing, budget 3 to 6 months from first consult to a fully healed portrait. The waitlist is real, and it’s a feature, not a bug - it usually means the artist is worth waiting for.
Reference Photos - the Input That Determines the Output
Your artist can only work with what you hand them. A high-resolution, well-lit photo is non-negotiable; a blurry, filtered, or shadow-heavy image produces muddy shading and inaccurate structure no matter how good the artist is.
Blurry or low-resolution images cannot be rendered with realism accuracy, and a sharp, high-resolution photo from a modern phone camera is usually sufficient. The bar isn’t a professional studio shoot - it’s a clear one.
What makes a good reference:
- Sharp focus on the face, still crisp when you zoom in.
- Even natural or studio lighting, with no harsh shadow thrown across one side.
- A neutral expression, or the specific expression you want captured.
- No heavy Instagram filters flattening skin texture.
Multiple angles help. A front-facing photo plus a three-quarter view gives the artist more structural data to work from. The eyes, nose bridge, and lip contour are the most critical elements for recognition, so pick photos where those are clearly visible and not lost to motion blur or deep shadow. Harsh side-lighting and heavy filters also make it harder to maintain hyper-detailed realism in skin texture.
For pet portrait tattoos, the rules are identical: a sharp, well-lit photo with the animal’s eyes in focus is the baseline. Blurry pet photos are one of the most common causes of disappointing pet portrait results - your dog moved, the light was dim, and the tattoo inherits every one of those problems.
What to avoid entirely: screenshots of screenshots, photos taken in dim indoor light, group photos where the subject is small, and heavily edited social-media images.
What the Technique Actually Involves - an Honest Look at the Process
You don’t need to tattoo to understand why portraits cost more and take longer. A quick look at the technique explains both.
Why Layered Shading Takes Longer Than It Looks
Layered shading is the core of realism: multiple very light passes build depth gradually. A single heavy pass flattens skin and kills the three-dimensional quality that makes a portrait read as real. Underneath that sits a three-value structure - light, medium, and dark tones, with a strong mid-tone connecting the highlights and shadows. That mid-tone is what separates a natural face from a flat one.
None of this is improvised. Realism workflows map the deepest dark areas, the primary midtone areas, and the highlight areas in the reference before any needle touches skin, then use those mapped zones as an execution plan. The stencil stage carries its own geometry check - a face too large or too small for its placement “will look immediately wrong regardless of technical quality.” Structural edges like the hairline, eye sockets, nose outline, and jaw get traced as position guides, separate from the tonal information, which is exactly why a 2 to 3 mm misplacement in those zones reads as a different person.
The Mistakes That Make Portraits Look Wrong
The common failures are consistent across professional teardowns:
- Overusing solid black. Over-saturated blacks make face planes disappear and age harshly.
- Harsh lines around eyes and lips. Strong outlines here create the “sticker” effect that instantly breaks realism; pros build these with soft shading instead.
- Rushing the shading. Heavy shading applied all at once flattens skin and removes depth.
- Working under yellow or dim light. Poor light leads to misjudged contrast and muddy values.
That last one matters to you as a client, not just the artist. A studio with bad lighting isn’t only uncomfortable - it actively degrades the artist’s ability to judge tone correctly. White, even lighting is a professional baseline, not a luxury.
The reason portraits take so long comes down to discipline: the artist checks the reference every 10 to 15 seconds, steps back every few minutes to judge the whole piece rather than one feature, and works in short, controlled strokes. Speed is the enemy of likeness. If an artist is racing through a face, that’s a problem you can see from the chair.
Healing a Portrait Tattoo - Surface Recovery and Long-Term Care
Portrait tattoos heal more slowly than simpler styles because of the density of micro-shading and gradients - surface healing takes 2 to 4 weeks, and full deep healing takes 3 to 6 months. Protecting that micro-shading during the healing window is what determines whether the face still looks like the person in five years.
The Healing Timeline Week by Week
- Days 1 to 3: Keep it covered as directed. Wash with fragrance-free soap 2 to 3 times daily, then a thin layer of fragrance-free ointment. No gym, no soaking.
- Week 1: Peeling and tightness begin. Do not pick - lifting a scab on a portrait pulls out the micro-shading that carries the likeness. Moisturise 2 to 3 times daily with a fragrance-free moisturizer.
- Weeks 2 to 4: The surface closes. Color may look dull or cloudy, which is normal. Avoid direct sun, pools, and exfoliants.
- Weeks 4 to 8: Deeper layers are still healing. Avoid exfoliants until at least 6 to 8 weeks to protect the gradients, and introduce SPF 30 to 50 once the surface is fully closed.
- Weeks 8 to 12+: Full internal healing. Consistent SPF is now the single most important long-term habit you have. Sun-protective clothing works just as well as sunscreen for placements you can cover.
What damages portrait detail specifically: early sun exposure fades the mid-tones first - the exact tones that create depth - so a face can go flat before it goes light. Exfoliants before 6 to 8 weeks strip micro-shading. Picking scabs leaves patchy, uneven gradients. Saniderm’s aftercare guidance stresses that picking at peeling skin can remove ink and damage detail, which matters more for portraits than for any bolder style.
How Long Do Portrait Tattoos Last - and What Affects It
A well-executed portrait on a protected placement (upper arm, thigh) with consistent sun protection can hold recognisable likeness for 10 to 20+ years. Black-and-grey ages more predictably than color, and placement in high-friction or high-UV areas - hands, or forearms without SPF - accelerates fading. Multiple aftercare guides, Saniderm included, single out daily SPF 30 to 50 once healed as the key long-term habit, because UV exposure hits the midtones that give a portrait its depth and facial structure. The first 3 to 6 months of healing set most of the long-term outcome; get that window right and the piece has every chance of lasting.
Frequently Asked Questions
- Are portrait tattoos the same as realism tattoos?
- Portrait tattoos are almost always a form of realism - likeness is the primary goal, but realism also covers animals, objects, and scenes.
- Is $200 an hour a good price for a portrait tattoo artist?
- $200/hour is mid-range for US realism specialists and reasonable for experienced artists; beware quotes significantly below $150/hour.
- What is the average cost of a portrait tattoo?
- US prices range $500-$2,000+ for realistic faces; Europe €200-€900 for small to medium portraits; large pieces can reach $3,000-$4,000+.
- How long do portrait tattoos last?
- With good placement and SPF use, portraits hold likeness 10-20+ years; black-and-grey ages more predictably than color.
- What size does a portrait tattoo need to be to hold detail?
- Facial features need at least 10 cm to stay readable; 10-20 cm is recommended for long-term detail retention.
- How many sessions does a portrait tattoo take?
- Most detailed portraits require at least two sessions spaced weeks apart; single sessions run 2-6 hours, full-day sessions 6-8+ hours.
- Can I get a pet portrait tattoo using the same process as a human portrait?
- Yes, pet portraits follow the same technical rules and size minimums; black-and-grey realism is most common and forgiving for pets.
What Actually Determines Whether Yours Works
Three decisions carry the whole result, and none of them is the design itself.
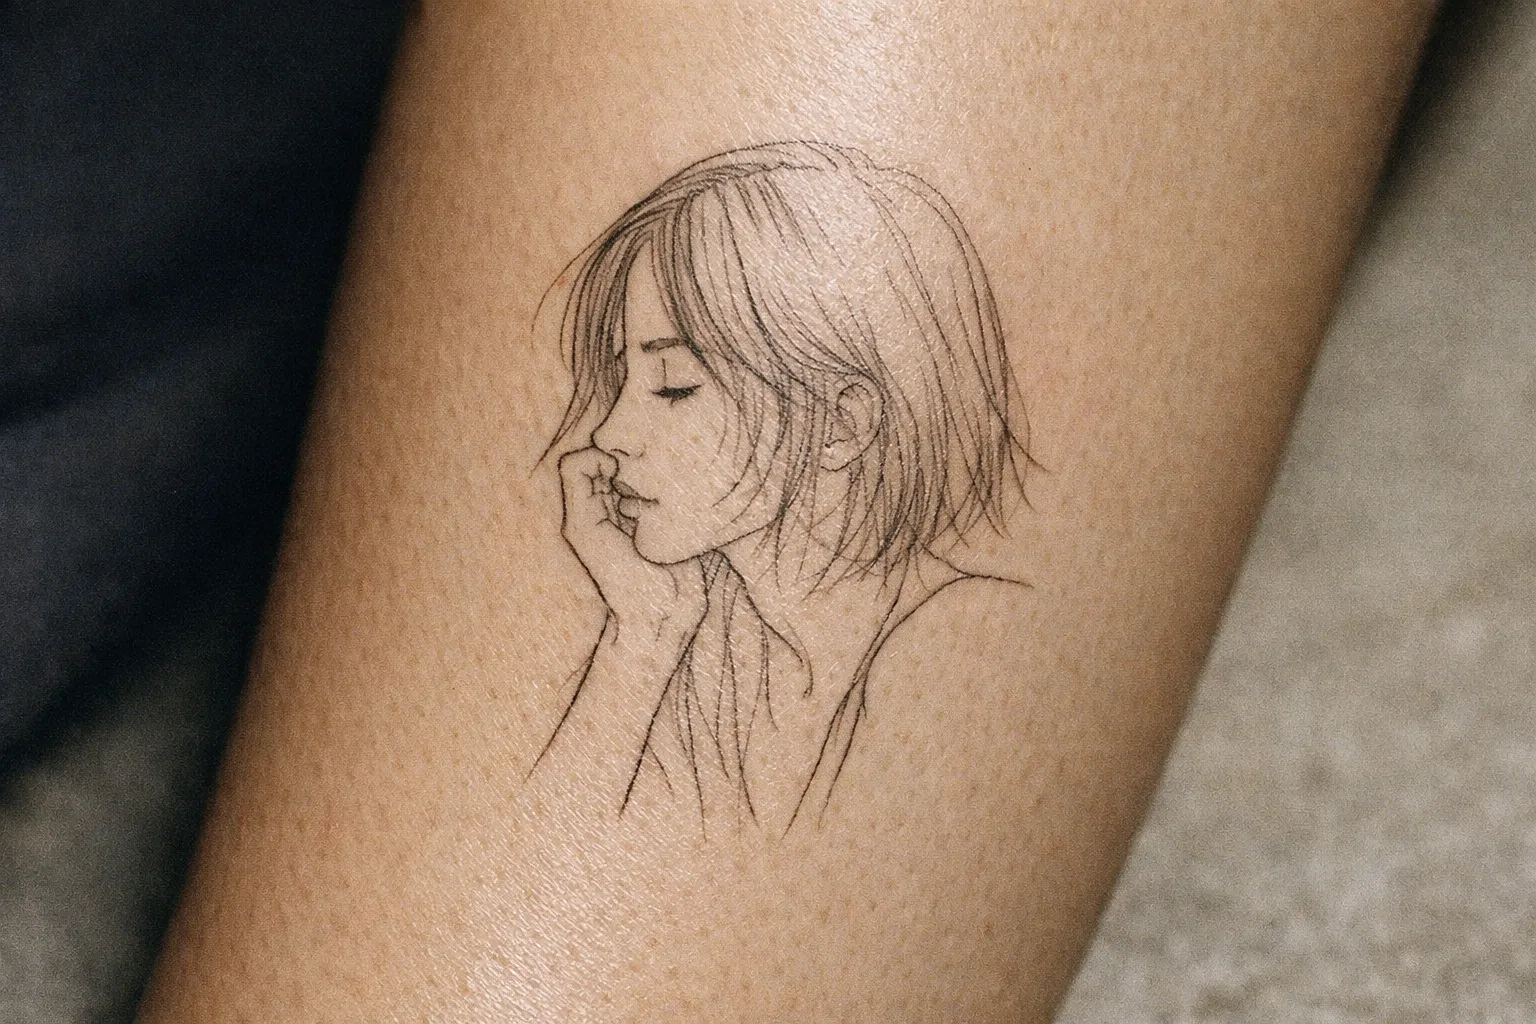
Size: commit to at least 10 cm (4 inches) for a face that holds detail. Undersized is the mistake that ruins more portraits than any other.
Artist: find a specialist with 10 to 20 healed portraits in their portfolio, not just fresh photos. Consistent likeness across multiple subjects is what you’re looking for.
Aftercare: the first 6 to 8 weeks protect the micro-shading that makes the face read as real, and consistent SPF afterward keeps the mid-tones from fading first. Skip either and the depth goes before the ink does.
The waitlist for a good realism specialist is real - often several weeks to months - and that’s fine. Use the wait to gather sharp, well-lit reference photos and confirm your placement. The preparation isn’t downtime. It’s part of getting a face that still looks like the person a decade from now.