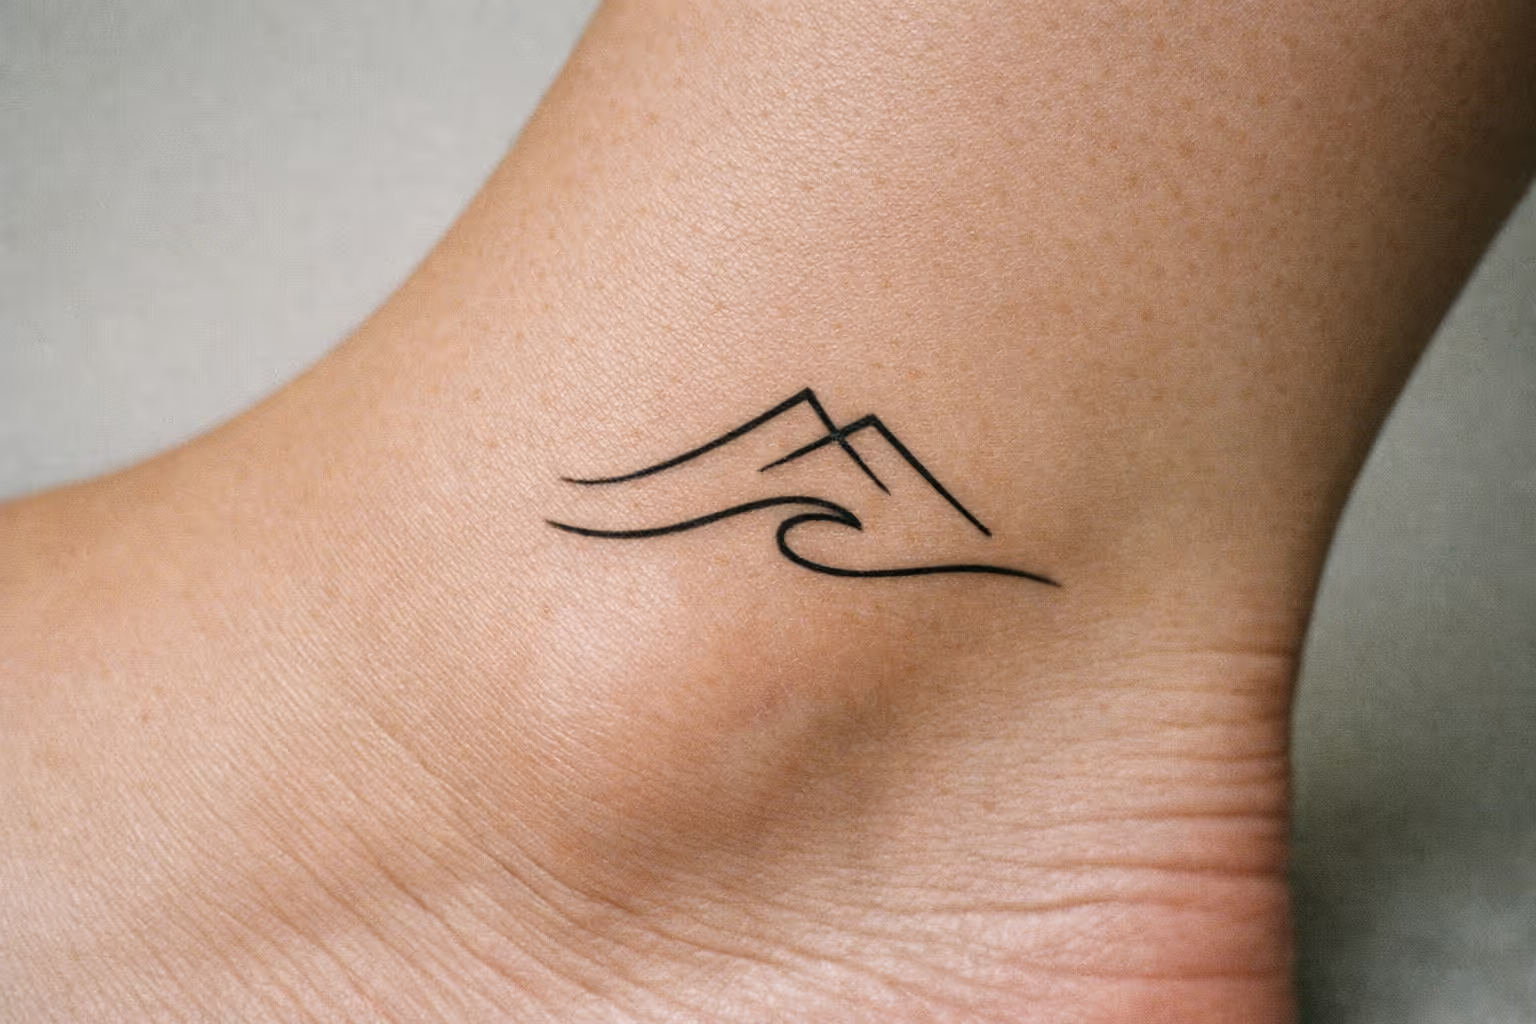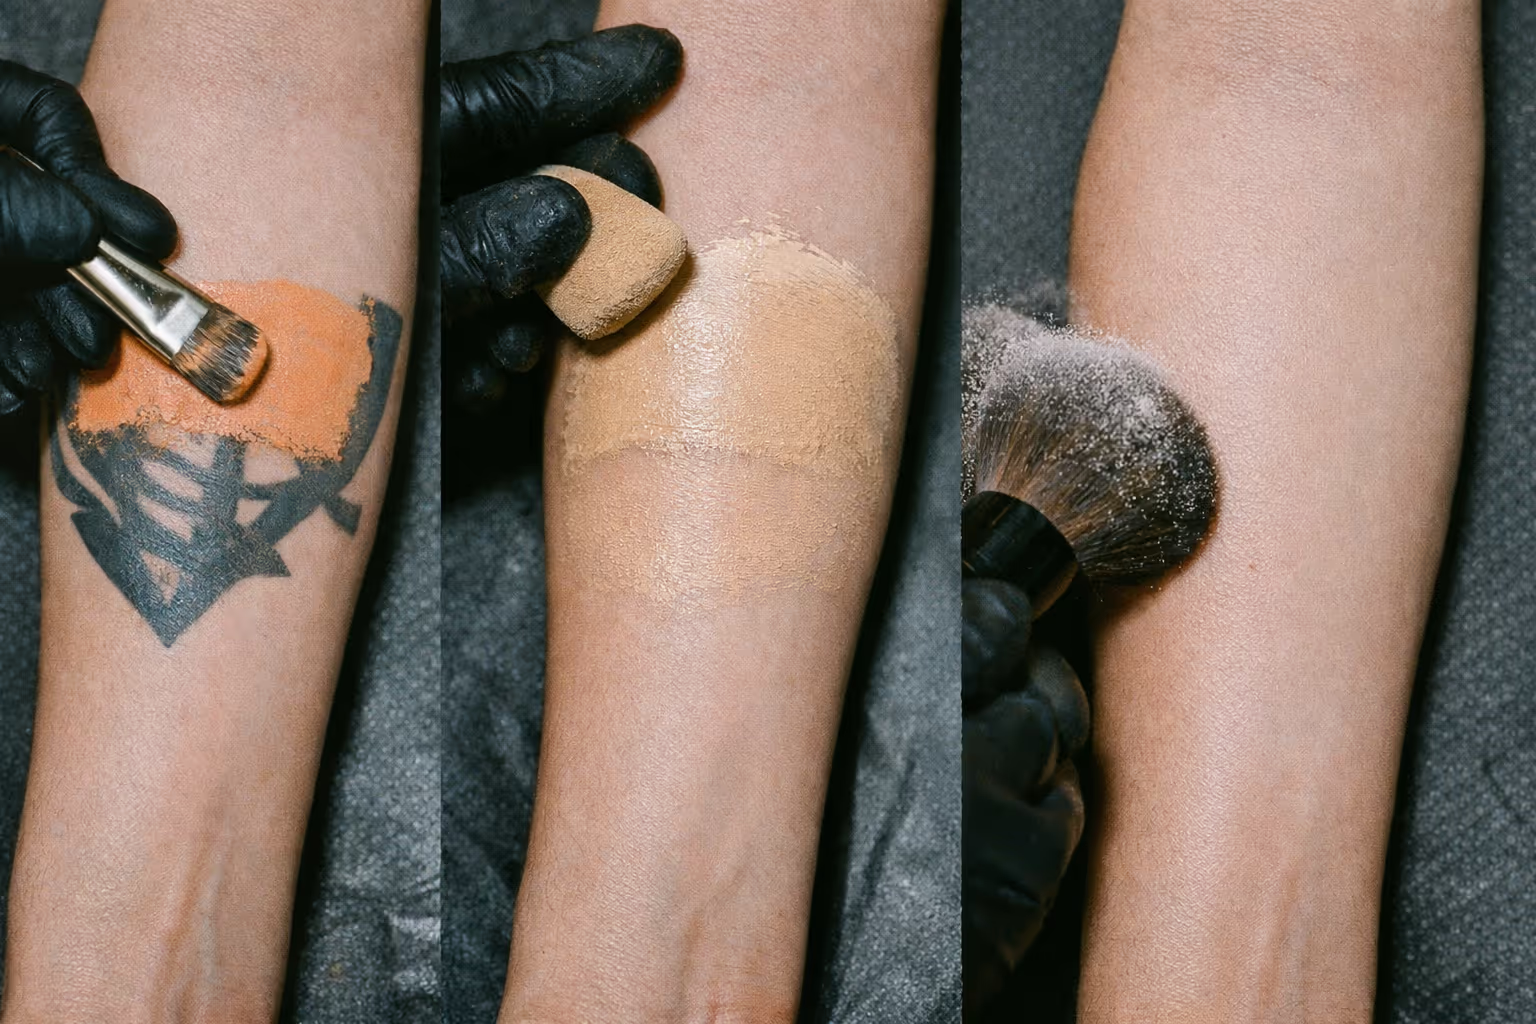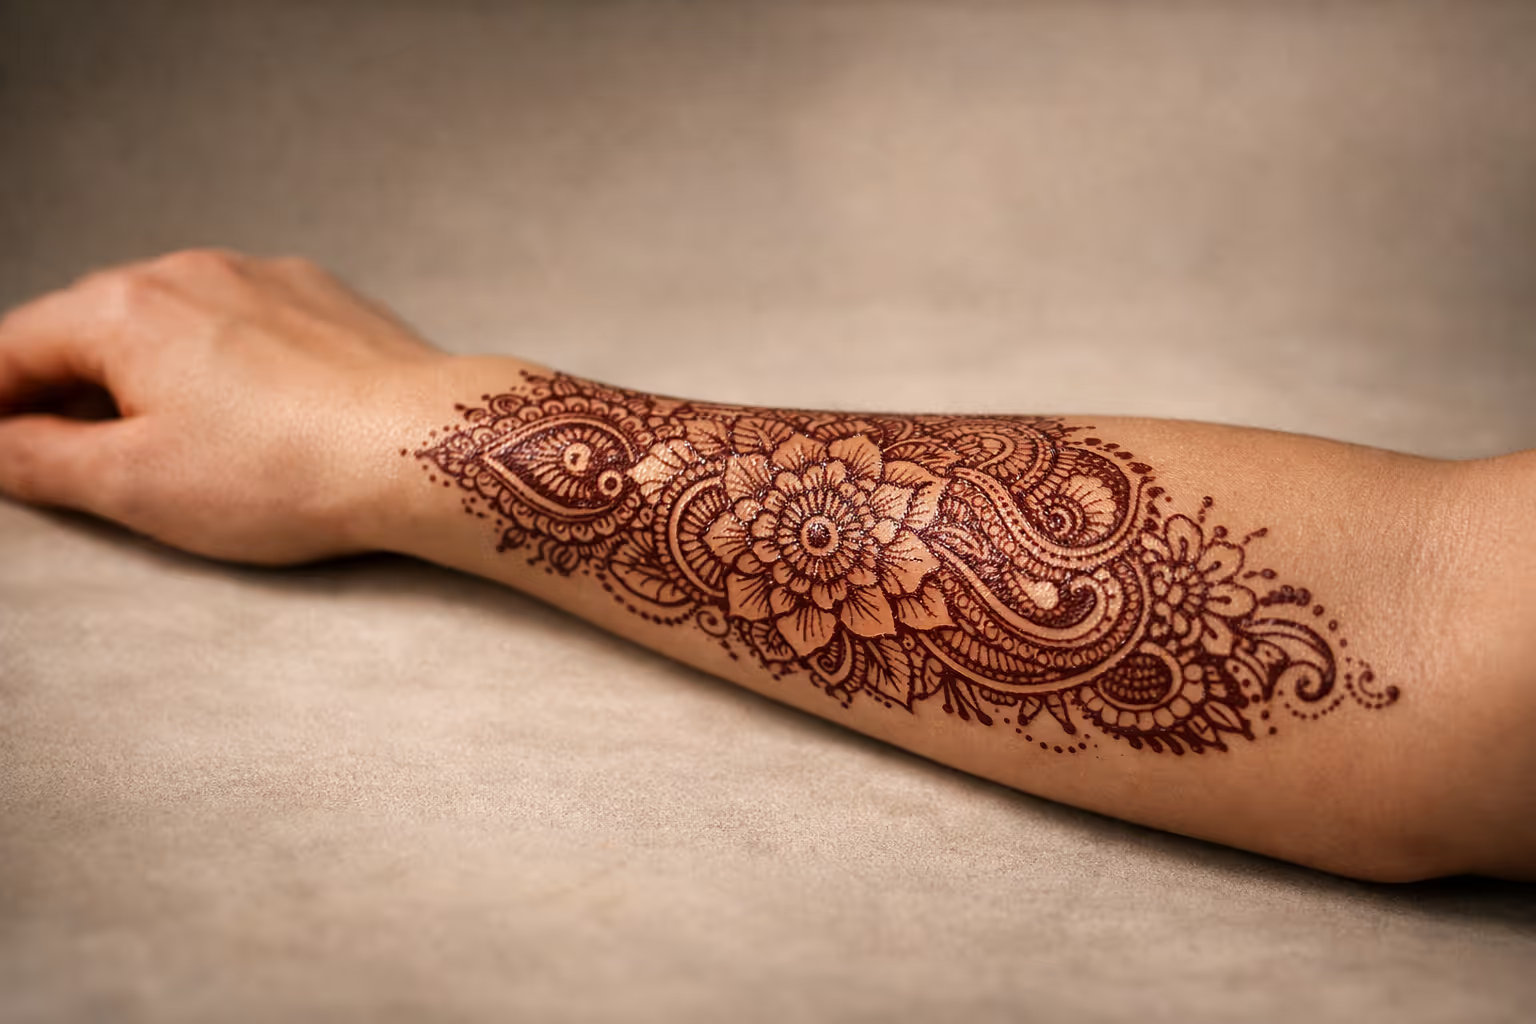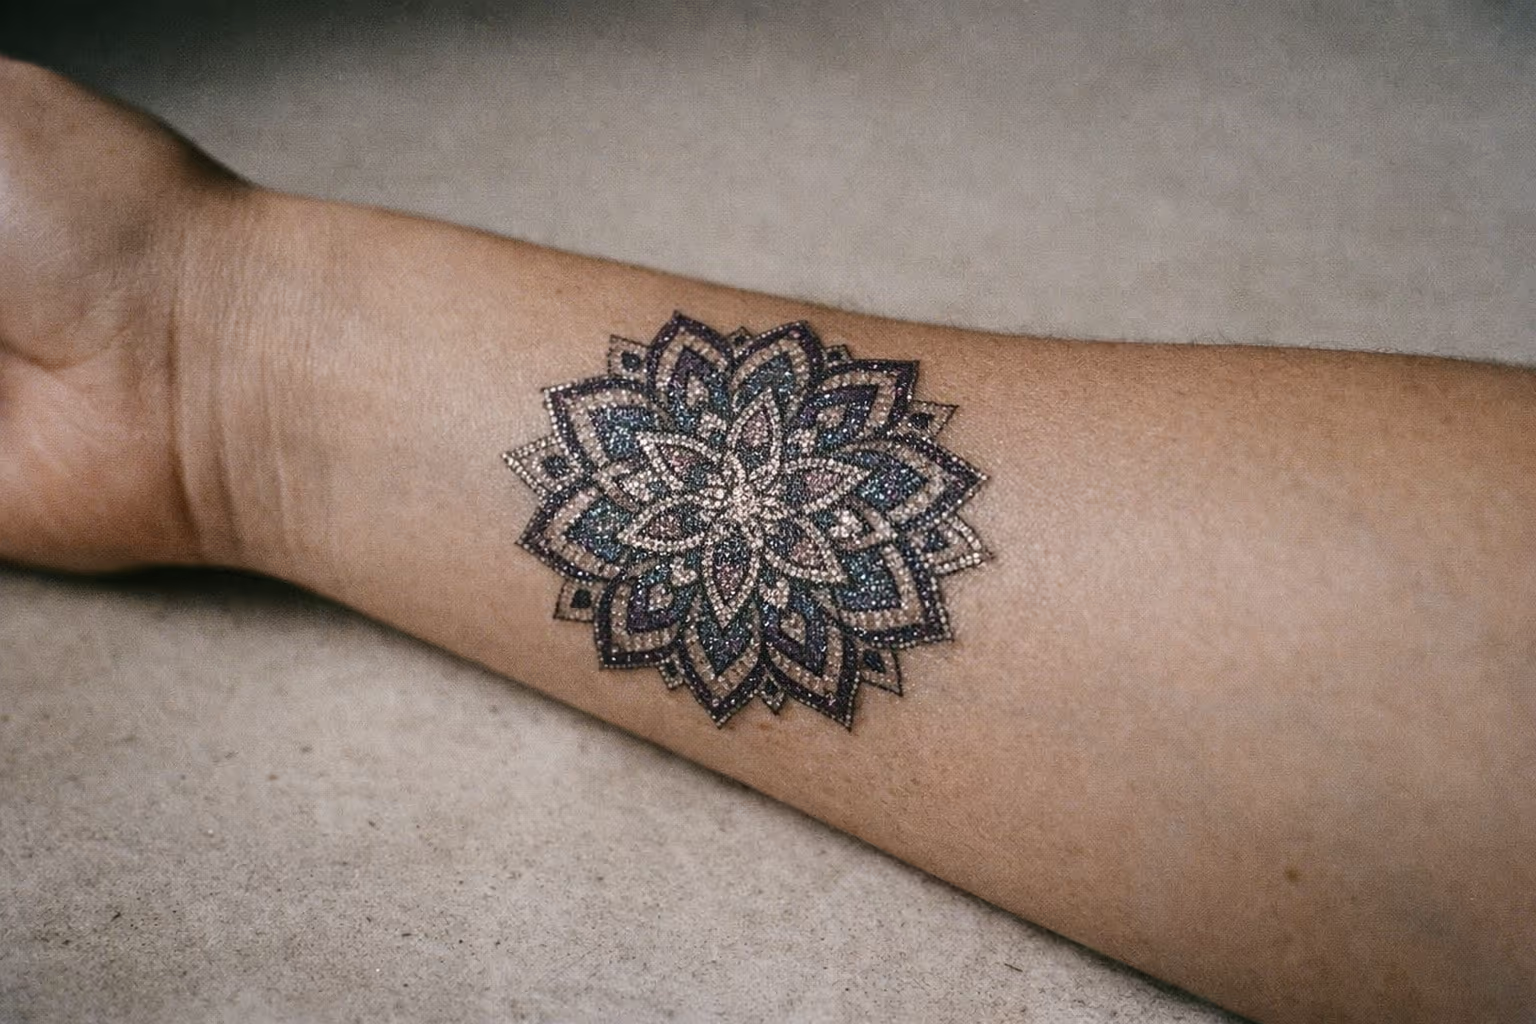
Glitter tattoos aren’t tattoos at all - nothing goes into the skin, and that’s the whole appeal. They’re cosmetic designs that sit on top and wash off, lasting one to three days on the face and five to seven on the shoulder, then lifting away with a couple of oil passes when you’re done. The real hazard isn’t permanence, it’s the glitter: craft glitter near the eyes can scratch and irritate. Here’s how long they last by spot, what’s safe to use, and how to lift one off clean.
What Glitter Tattoos Actually Are
A glitter tattoo is a popular festival temporary tattoo, a surface design built from two materials: a skin-safe cosmetic adhesive (sometimes called body glue or glitter tattoo ink) and cosmetic-grade polyester glitter. A stencil holds the shape; adhesive gets brushed inside, left to go tacky for 20-40 seconds, and then glitter is pressed into the glue. Excess gets brushed away and the design sets in a couple of minutes.
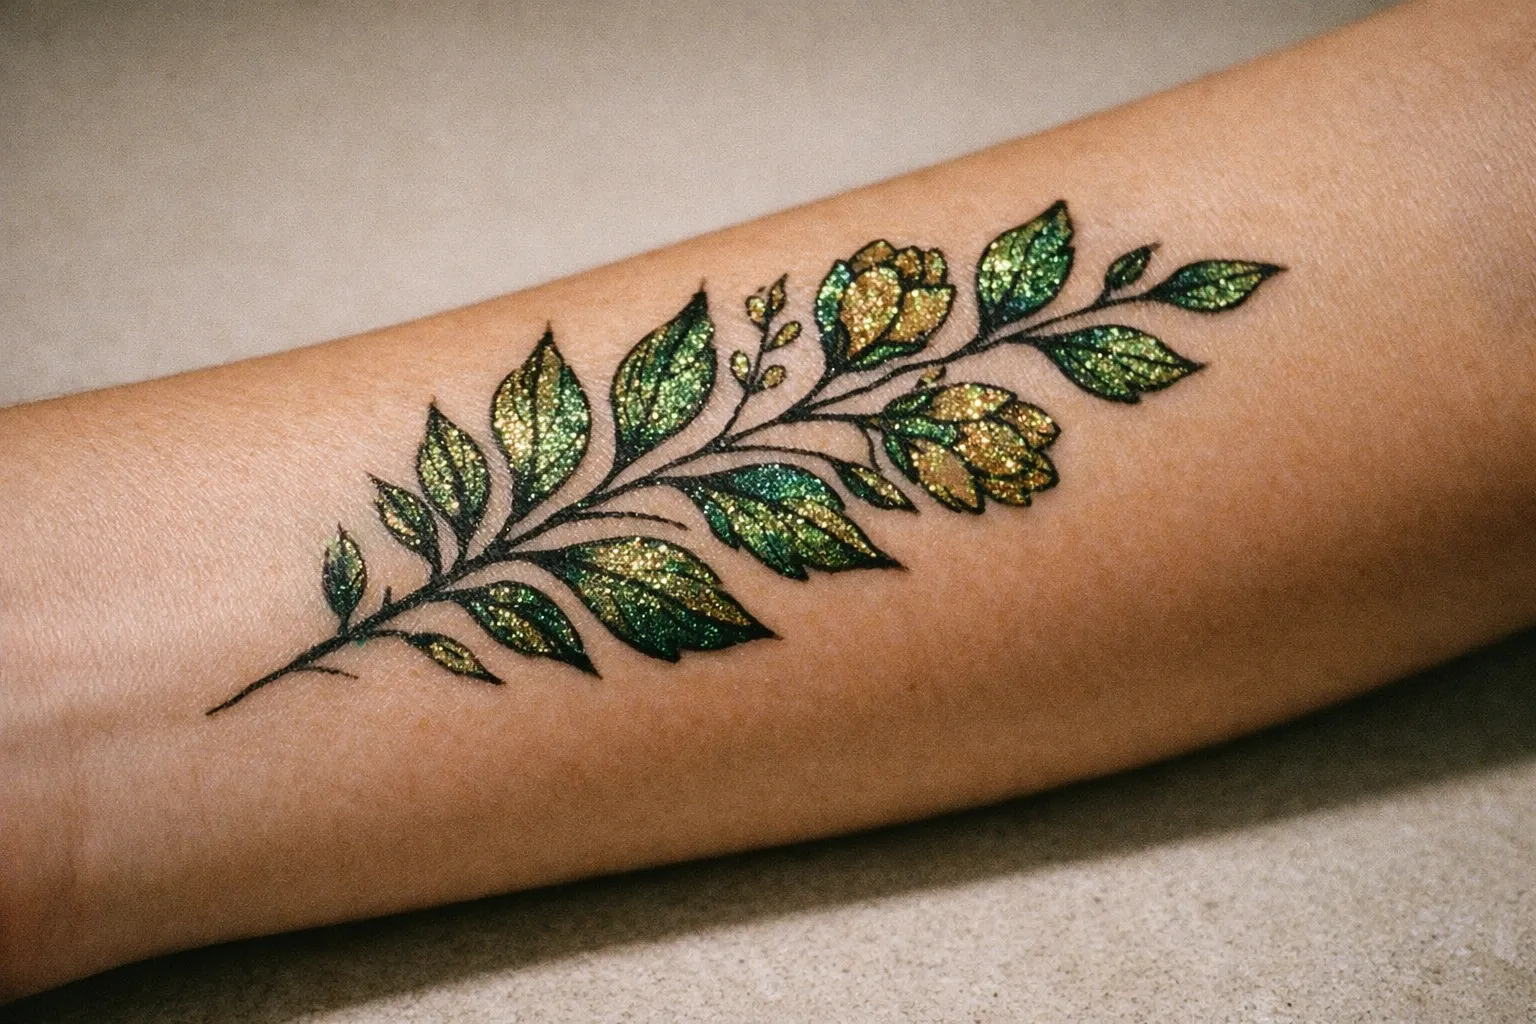
It lasts because the adhesive bonds to the outermost layer of skin - the stratum corneum. As those skin cells shed naturally, the design goes with them. That’s why 3-7 days on the arms or shoulders is realistic, and 1-3 days on the face or hands is what you should actually plan for.
A few quick distinctions worth knowing:
- Body glitter tattoos - applied to arms, legs, shoulders, back, sternum. Longer wear, stronger adhesive is fine.
- Glitter face tattoos - cheek, temple, under-eye, collarbone. Needs eye-safe glitter and a gentler adhesive.
- Airbrush glitter tattoos - sprayed through a stencil using an airbrush gun. Faster at events but requires a compressor.
Do Permanent Versions Exist?
This is the search question that deserves a direct answer. In mainstream professional tattooing, cosmetic glitter is not implanted under the skin - polyester (PET) flakes are designed to sit on the surface, not formulated for dermal injection, and no professional tattoo hygiene standard sanctions pushing them into the dermis with a machine. That said, some practitioners do describe and offer “glitter-infused ink” tattoos, where fine glitter-like particles are mixed into tattoo ink before implantation. It’s not mainstream, the long-term safety and efficacy are genuinely debated, and I’d treat any artist offering it as a reason to ask hard questions about their materials and sterilization. I’ve had clients come in asking about this after seeing something online, and every time, what they’d actually seen was one of two things.
First: a conventional tattoo that mimics a glitter effect using white, pastel, and metallic-looking ink with tight dotwork highlights. The “sparkle” is an optical trick from ink placement and contrast. It’s a real tattoo with the same safety profile as any other - risk depends on the ink and the artist’s hygiene, not on glitter. Second: a long-wear cosmetic glitter application marketed as “semi-permanent” because the adhesive can last up to a week. Still surface-only, still washes off.
Are permanent glitter tattoos safe? If you mean the ink-based glitter-effect tattoo, it’s as safe as any traditional tattoo from a licensed studio - clean needles, tested pigments, proper aftercare. If someone is offering glitter-infused ink, ask specifically what particles are in the mix, whether they’re sterile, and whether the artist can point to any published safety data - because right now, that data is thin. If someone is offering to inject raw craft or cosmetic glitter into your skin with no ink carrier, walk out. Forcing non-sterile particles into the dermis is an infection and granuloma risk, and no credentialed professional tattooer does it.
How to Apply Them (Step by Step)
The process is simple once your timing is right. The most common beginner mistake - and I see it constantly at events - is rushing the adhesive. It needs to go from milky to clear-tacky before glitter touches it. Skip that window and the whole design falls apart within hours.
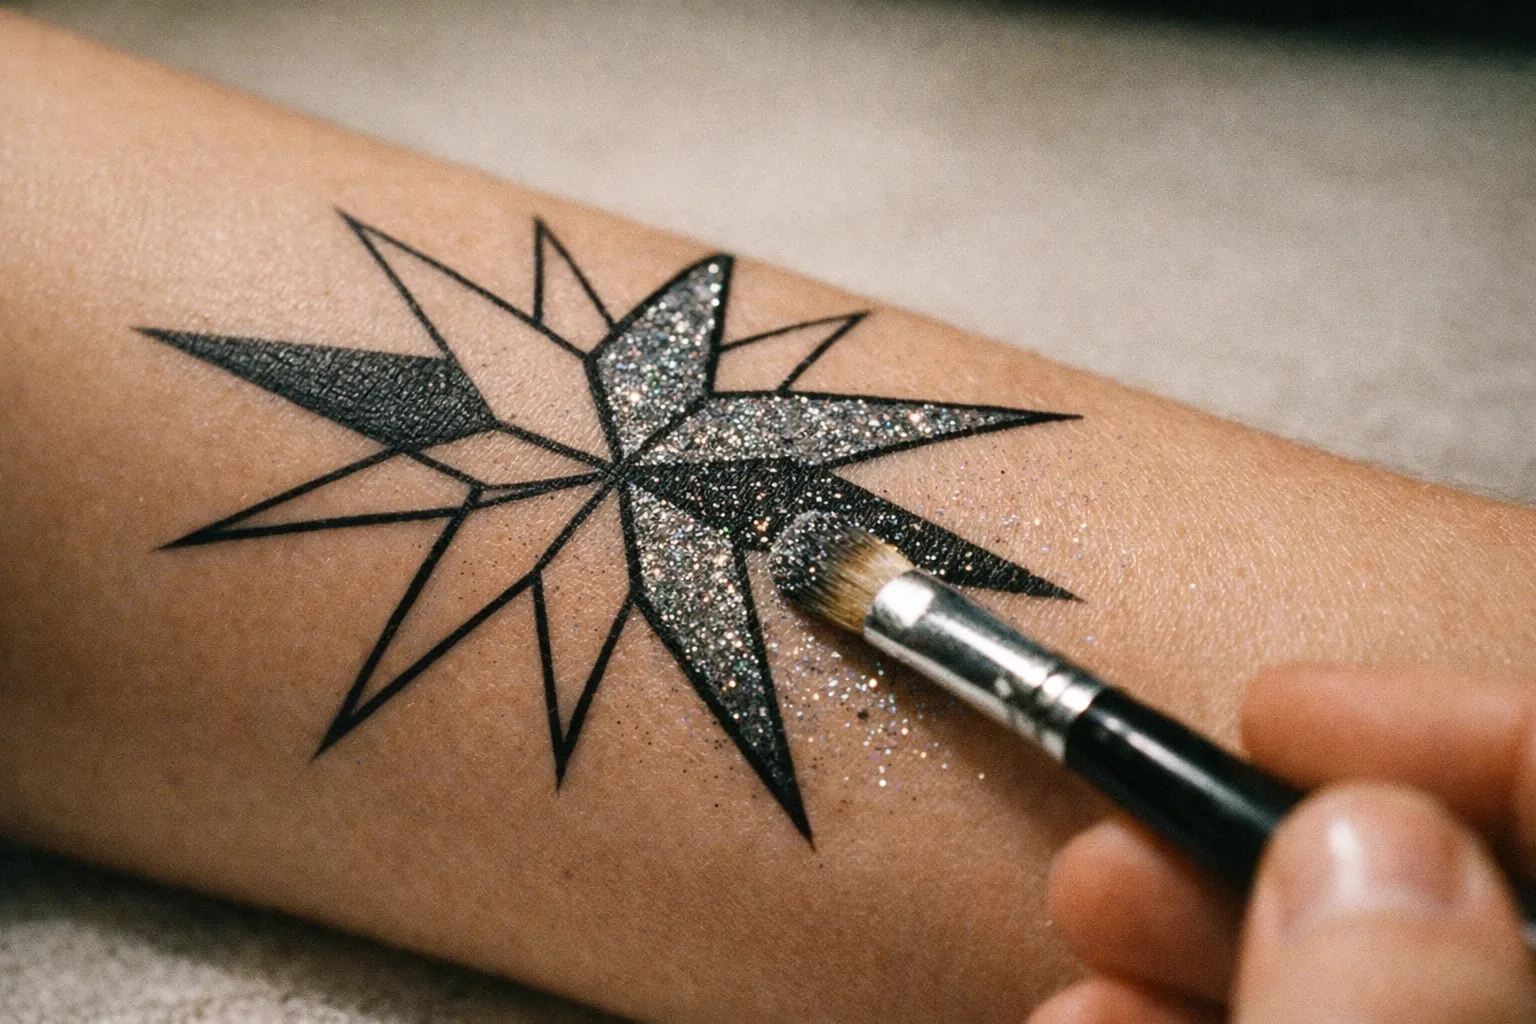
How to Apply a Glitter Tattoo
15 minutesFollow these steps carefully to get a clean, long-lasting glitter tattoo.
- 1
Prep the skin
Wipe the area with 70% isopropyl alcohol on a cotton pad. Let it air-dry for 1-2 minutes. Avoid lotion or sunscreen for at least 30 minutes before application.
- 2
Place the stencil
Press the stencil firmly onto dry skin, smoothing edges. Ensure no edges lift to prevent glitter bleeding.
- 3
Brush adhesive inside the stencil
Use a small flat or round brush to apply a thin, even coat of adhesive. Avoid puddles to prevent cracking.
- 4
Wait 20-40 seconds
Let the adhesive turn from white/cloudy to clear and tacky to the touch before applying glitter.
- 5
Pack the glitter
Press cosmetic-grade glitter firmly onto the adhesive using a dry brush or cotton swab. Avoid sweeping motions.
- 6
Brush off excess
After about 2 minutes, peel the stencil straight up and use a clean fluffy brush to remove loose glitter.
- 7
Set the design
Let the tattoo sit untouched for 5 minutes before contact with clothing or water.
For depth, use a darker glitter as a base coat and dust a lighter or holographic shade on top before brushing away excess. That two-tone effect is what makes the design look intentional instead of flat.
How Long Do Glitter Tattoos Last in Real Conditions
The honest range, placement by placement:
- Upper arm, shoulder blade, upper back: 5-7 days, sometimes longer with careful aftercare.
- Forearm, calf, thigh: 3-5 days.
- Sternum, collarbone: 4-6 days (low friction, but sunscreen and sweat shorten it).
- Cheek, temple, under-eye: 1-3 days. Face oil and washing kill them faster.
- Hands, wrists, fingers: 1-2 days. Constant washing and friction.
- Inner elbow, behind the knee: 1-2 days. Skip these - flex creases destroy the design.
To get the maximum life out of it:
- Pat dry after showers, never rub with a towel.
- Skip oil-based lotions, sunscreens, and makeup remover near the design.
- Avoid hot tubs, chlorinated pools, and saunas if you can.
- Don’t pick at flaking edges. Once you start, the whole thing peels off in a strip.
Aftercare by day and week - because “be careful” isn’t a plan:
- Days 1-3: The adhesive bond is at its strongest but also most vulnerable to moisture and friction. Pat the area completely dry after any contact with water. No oil-based products anywhere near the design. Sleep on the opposite side if it’s on your shoulder or back.
- Week 1 (days 4-7): The design starts to thin at the edges as skin cells shed. This is normal. Keep patting dry, keep oils away, and resist the urge to pick at lifting edges - you’ll pull the whole thing off. A light mist of cosmetic setting spray around (not on) the design can buy another day or two on upper-arm and shoulder placements.
- Weeks 2-4: Surface glitter tattoos don’t survive into week two under normal conditions. If you’re still seeing remnants, a single oil-soak pass (see the removal section) will clear them cleanly. Don’t let adhesive residue sit on skin for weeks - it can trap bacteria and cause minor irritation.
For body placements, a 2 x 3 inch (5 x 7.5 cm) design on the upper arm or shoulder blade is a practical working size - large enough to read clearly in photos, small enough to apply cleanly with a single stencil in under five minutes. Sternum designs typically run 1.5 x 3 inches (4 x 7.5 cm) to stay proportional to the chest. Go smaller on the forearm if you want the edges to stay crisp past day three.
Glitter Face Tattoos: What Changes
Glitter face tattoos are popular for festivals, photoshoots, and TikTok-style “freckle” looks. The application process is the same, but the materials matter more here than anywhere else.
Use eye-safe glitter only. Look for “cosmetic grade” and “eye-safe” on the label. Particles should be rounded polyester (PET), generally 0.008-0.015 inch. Craft glitter - the cheap stuff from a craft store - is often metal- or glass-cut with sharp edges and has no business near anyone’s eyes. I’ve seen people try to substitute it at events. Don’t.
Keep designs at least 5-10 mm from the lash line. Adhesive in the lash line stings and can migrate into the eye. Use a gentler adhesive too - many kits sell a “face glue” or washable adhesive that’s milder than body glue, and it’s worth the swap. Patch-test 24 hours ahead on the inside of your wrist, especially if you have sensitive skin or react to cosmetics.
Popular face designs: cheekbone stars or hearts (about 1-2 cm), under-eye glitter dots that mimic freckles, small temple constellations, and brow-arch accents. Keep face designs small - a 3 cm star reads well in photos without looking costume-y.
Choosing a Kit
A glitter tattoos kit needs four things to be worth buying: enough adhesive for the number of designs you want, cosmetic-grade glitter (not craft), a stencil set that matches your audience, and brushes that don’t shed.
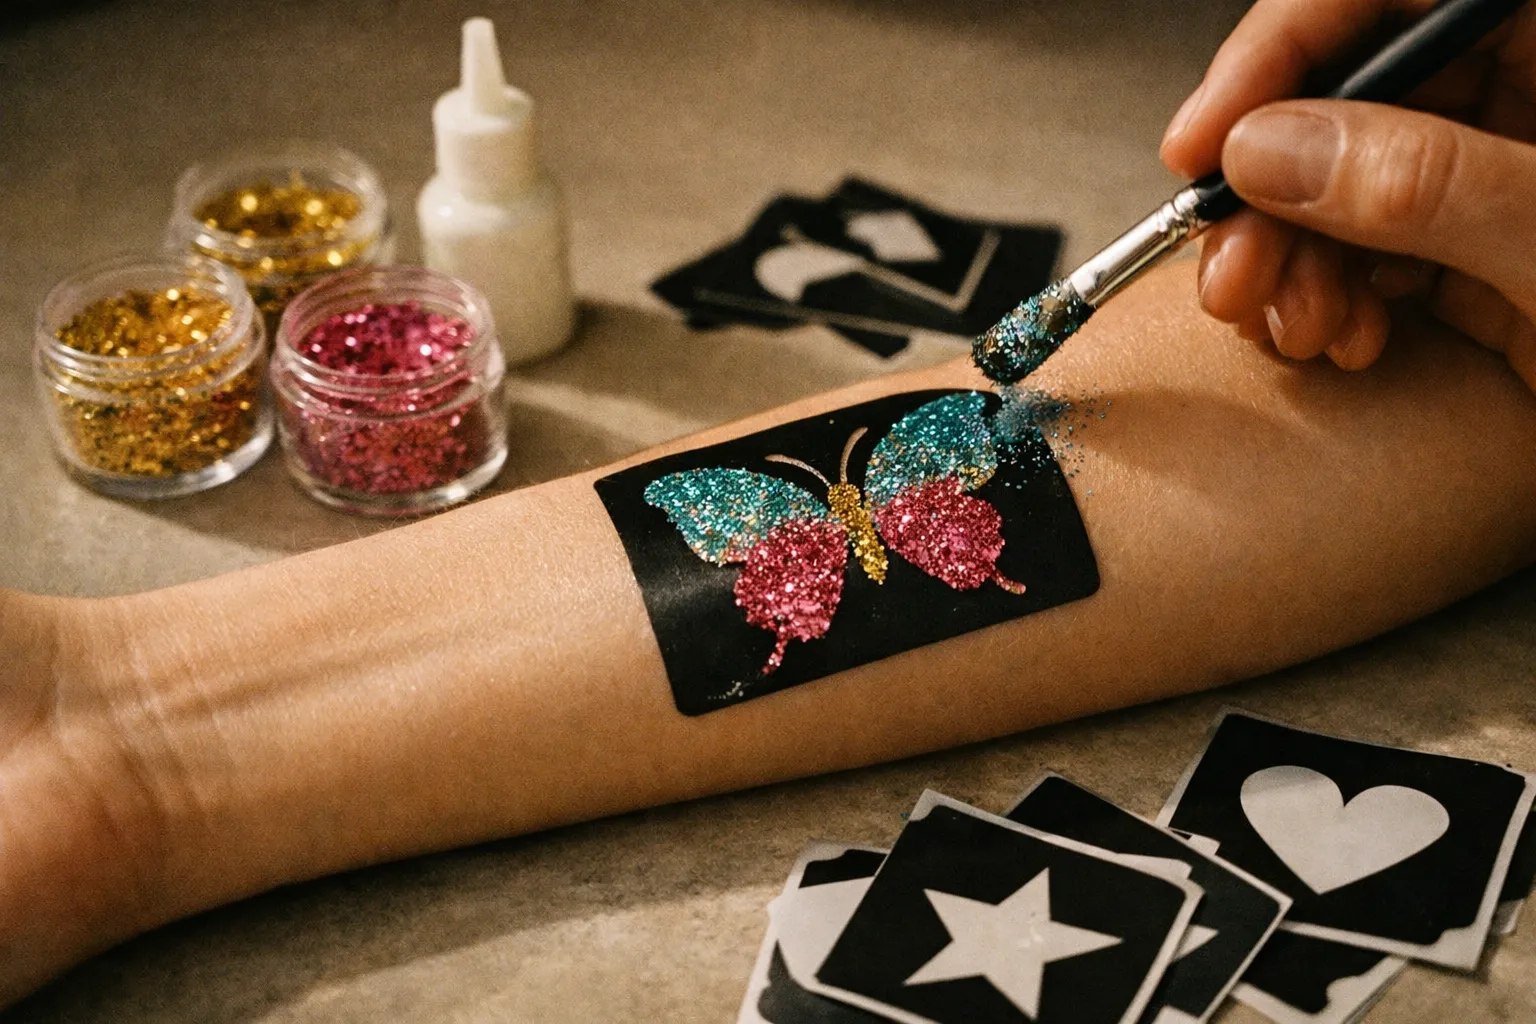
Current price ranges (US, 2024-2025):
- Budget kids’ kit, $10-$20: 20-40 designs, 3-6 glitter colors, 15-30 stencils, one small adhesive bottle. Fine for a single birthday party. Don’t expect the adhesive to last past one event.
- Mid-range kit, $35-$70: 50+ stencils, 8-20 cosmetic glitters, 1-2 adhesive bottles, decent brushes. Good for hobbyists and small-scale event work.
- Pro kit, $100-$250: 100-300 stencils, 20-40 glitter colors, larger adhesive bottles rated for 100-300 applications, often a case. Built for entertainers charging $75-$150/hour at events.
What to actually check before adding to your cart:
- Adhesive volume. A 5 ml bottle covers roughly 80-100 small tattoos. A 15 ml bottle covers 200+. Match the bottle to your event size.
- Glitter labeling. “Cosmetic grade,” “polyester,” “eye-safe.” If the label only says “glitter,” skip it.
- Latex-free adhesive. Listed on the bottle. Important for any kit you’ll use on strangers or kids.
- Stencil material. Reusable vinyl stencils outlast paper. Pro kits use vinyl.
- Cost per tattoo. Divide total kit price by the application count. A $50 kit rated for 100 tattoos is $0.50 per design - competitive with most party-supply math.
Picking Designs by Difficulty
Worth filtering before you buy, especially if you’re running a party:
- Easy (under 3 minutes): single-color silhouettes - stars, hearts, simple animals. Good for kids and high throughput.
- Medium (3-5 minutes): two-color designs with a base shade and accent - butterflies, dragons, flowers, sports logos.
- Advanced (5-10 minutes): freehand script, multi-color gradients, layered holographic effects. For festival looks and adult clients.
If you’re running a 2-hour kids’ party for 15 children, plan on easy and medium designs only. You’ll comfortably hit 8-10 minutes per child including stencil choice and keep the queue calm.
Body Glitter Tattoos for Events and Festivals
Body glitter tattoos hold up better than face ones because the skin is less oily and less mobile. For festivals, pool parties, and weddings, placement makes a real difference.
Sternum and collarbone look great in photos and last 4-6 days if you avoid direct sunscreen contact. Shoulder blades are the longest-wearing area - 5-7 days easily, and easy to layer designs. Forearm and outer upper arm are reliable and easy to apply solo. Avoid anywhere a bra strap, waistband, or watch sits. Friction destroys them in hours.
For pool parties: water alone doesn’t kill a glitter tattoo, but chlorine and rubbing with a towel do. Pat dry, reapply a thin layer of setting spray around (not on) the design, and you’ll get through a weekend.
How to Remove Them
If you want it gone before it flakes off on its own, oil does the work. This is where people usually overcomplicate it.
What you need: baby oil, coconut oil, mineral oil, or any oil-based makeup remover. Cotton pads. A soft cloth. Skip the rubbing alcohol as a first step - oil dissolves the adhesive more gently and without the abrasion.
Steps:
- Soak a cotton pad in oil and press it onto the design. Let it sit for 30-60 seconds.
- Gently rub in small circles. The glitter and adhesive should start lifting onto the pad.
- Repeat with a fresh pad if any glitter is left. Most designs come off in 2-3 passes.
- Wipe the area with a clean damp cloth to remove the oil film.
- Apply a fragrance-free moisturizer to rehydrate the skin.
A few removal tips that save mess: do it over a damp paper towel or in the shower so loose glitter lands somewhere catchable. For sensitive skin, use plain coconut oil or petroleum jelly and skip aggressive scrubbing. If you’ve layered setting spray on top, you may need two oil passes - that’s normal.
Don’t peel a flaking glitter tattoo off in strips. You’ll take a layer of skin with it and can leave a red patch for a day or two, especially if you have eczema or recently sunburned skin.
Safety and Sensitivities
Glitter tattoos are surface cosmetics, so they sit at roughly the same risk level as face paint or body lotion - generally low, but not zero.
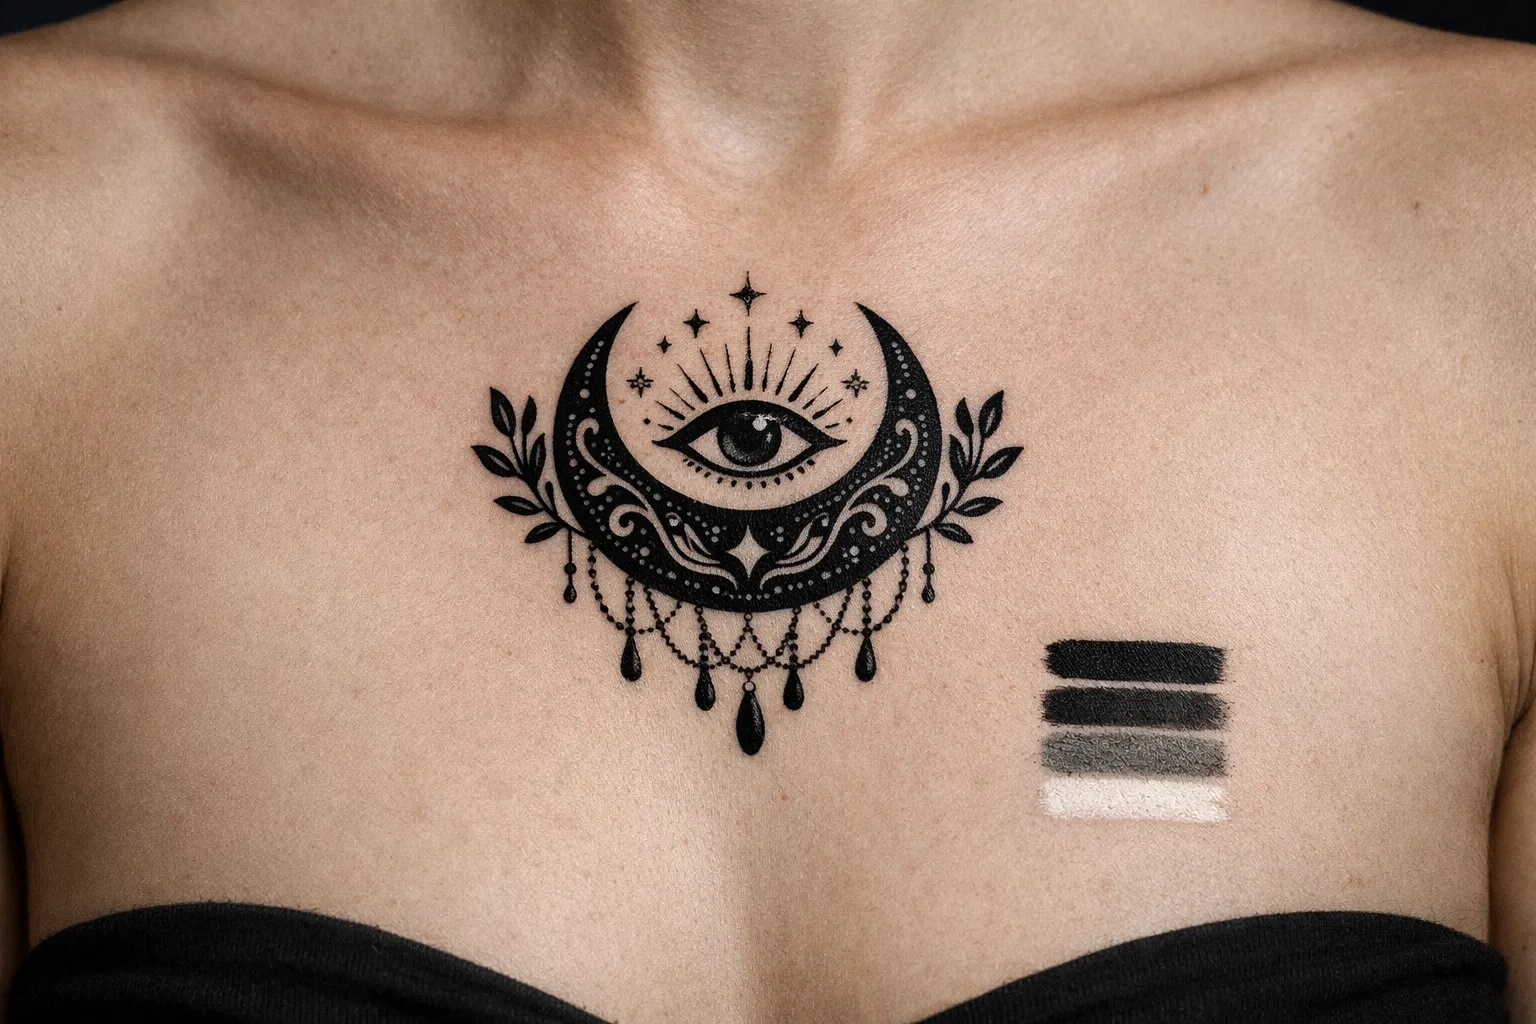
Patch test first. Especially before face application or on kids. Apply a 1-2 cm patch of adhesive plus glitter on the inner forearm, leave 24 hours, and check for redness, itching, or bumps. Contact dermatitis to cosmetic acrylate adhesives runs roughly 1-3% in dermatology patch-test data (a figure cited in occupational and cosmetic dermatology literature on acrylate sensitization) - uncommon but real.
Things to avoid:
- Broken skin, fresh cuts, eczema flares, sunburn.
- Direct application to lip line or inside the eye orbit.
- Craft glitter, ever. Sharp edges cause micro-cuts.
- Latex adhesives if you have a latex allergy - check the label.
Common Mistakes That Wreck a Glitter Tattoo
- Applying glitter to wet adhesive. Wait for the milky-to-clear transition. Wet glue traps moisture and the design cracks in hours.
- Overloading glitter. A thin, well-packed layer lasts longer than a thick mound. Chunky piles fall off in clumps.
- Skipping skin prep. Lotion, sunscreen, and skin oil all undermine adhesion. The alcohol wipe is non-negotiable for longevity.
- Picking placement badly. Inner wrists, finger sides, inner elbows - all high-friction zones that cut wear time to a day or less.
- Peeling instead of dissolving. Aggressive removal causes redness and abrasion. Oil is faster and gentler.
- Double-dipping brushes at events. Cross-contamination between clients. Decant glitter into single-use cups.
- Using craft glitter on the face. It’s not the same product as cosmetic glitter, and the sharp edges are a real eye-injury risk.
Pro Tips from Repeated Use
Working events for years, a few things have consistently made the difference between designs that last and ones that flake off by midnight.
Prep oily skin with 70% isopropyl alcohol, let it dry fully, then apply adhesive. The improvement in wear time is significant. Use two glitter tones - a darker base and a lighter or holographic top layer - for depth that photographs well. A light mist of cosmetic setting spray around (never on top of) a dried design helps it survive hot, sweaty days.
For event throughput, lay out your stencils on a board in front of clients so they choose while you finish the previous tattoo. Cuts dead time per design by a minute or two. Biodegradable plant-based “eco-glitters” are now widely available - usually 10-30% more expensive than PET glitter, but worth it if you’re working at festivals where microplastic glitter is restricted (increasingly common in the EU and UK).
Frequently Asked Questions
- Can I layer different glitter colors for a better effect?
- Yes, using a darker base glitter with a lighter or holographic top layer adds depth and makes the design look intentional rather than flat.
- Is it safe to use glitter tattoos on children?
- Yes, but only with cosmetic-grade, eye-safe glitter and latex-free adhesive. Always perform a 24-hour patch test first, especially on sensitive skin.
- What should I avoid to make my glitter tattoo last longer?
- Avoid lotion, sunscreen, oily skin, and high-friction areas. Also, pat dry after showers instead of rubbing and don't pick at flaking edges.
- Are biodegradable glitters as durable as polyester ones?
- Biodegradable glitters tend to be slightly more expensive and may wear a bit faster, but they're a good eco-friendly option, especially for festivals with microplastic restrictions.
- How do I prevent cross-contamination when doing multiple glitter tattoos at events?
- Decant glitter into single-use cups for each client and avoid double-dipping brushes to keep the process hygienic.
- Can I use regular craft glitter for face tattoos?
- No. Craft glitter often has sharp edges and is not cosmetic-grade, posing a real risk of eye injury and skin irritation.
- What happens if I peel off a flaking glitter tattoo?
- Peeling can remove a layer of skin, causing redness or irritation, especially if you have sensitive skin or recent sunburn. Use oil-based removers instead.
Bottom Line on Picking and Wearing a Glitter Tattoo
Pick the placement first, then the design. Upper arms, shoulders, and sternum get you the longest wear. Face placements look great in photos but plan for 1-3 days. Buy a kit that lists “cosmetic grade” and “latex-free” on the label - if it doesn’t, it’s not worth the price difference. Prep with alcohol, wait for the adhesive to turn clear-tacky before adding glitter, and pat dry after every shower. When you’re ready to take it off, use oil, not a scrub.
Glitter tattoos aren’t real tattoos and don’t pretend to be. They’re a low-commitment way to wear a design for a weekend, a wedding, or a festival - and they come off when you want them gone.